
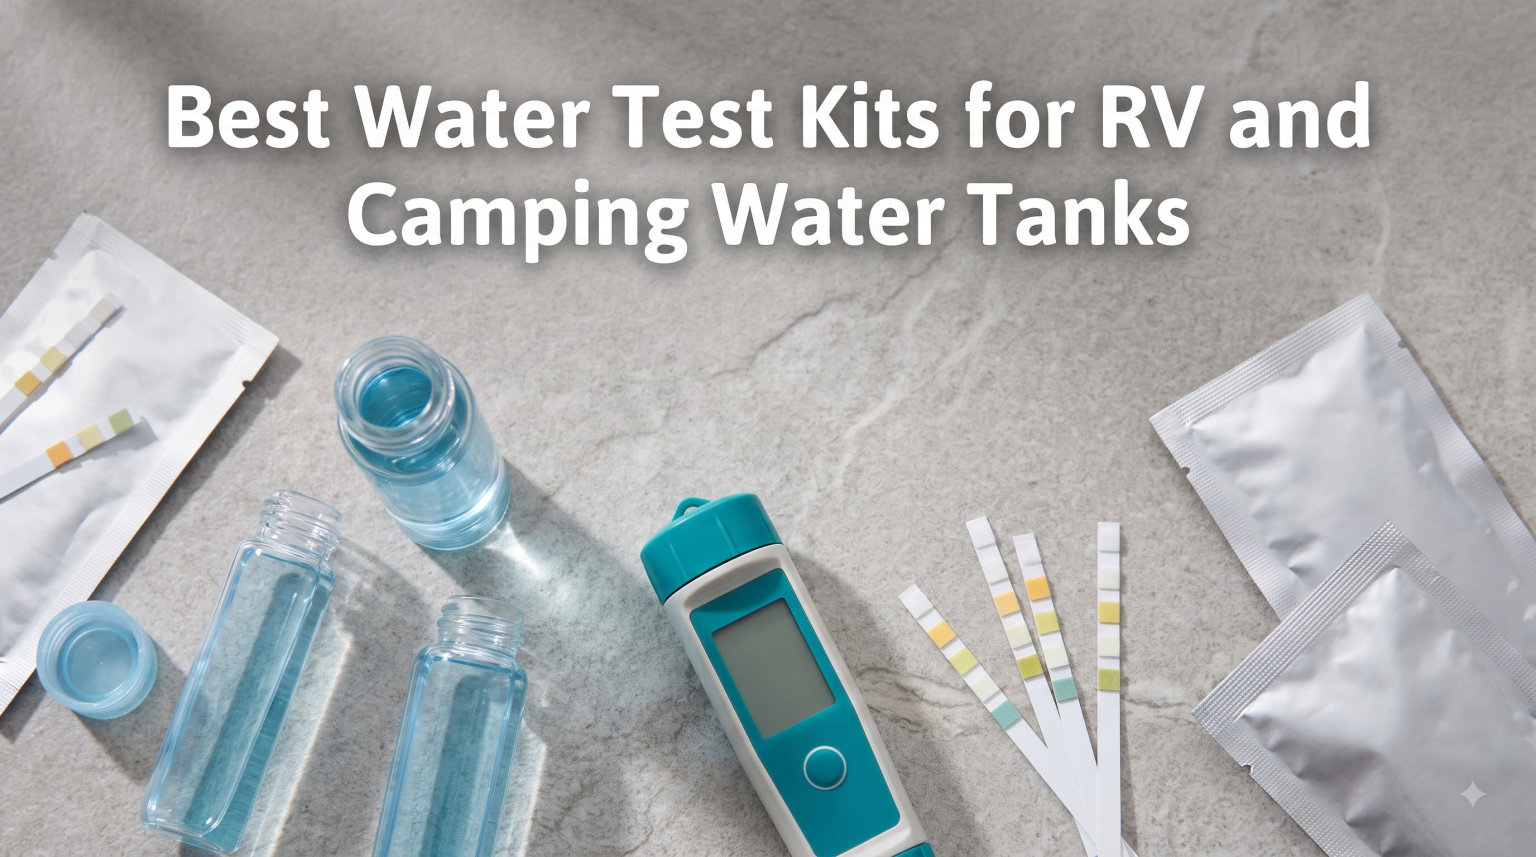
Last summer, a friend of mine filled his travel trailer at a remote campground in Montana. Three days later, his whole family came down with stomach cramps that put them in a clinic for two days. The culprit was almost certainly their freshwater tank. That story is why I started testing every fill-up, and it’s why I wrote this guide on the best water test kits for RV and camping water tanks.
If you drink from your RV freshwater tank, you need to know what’s in it. RV water systems are small, dark, and warm when stored. Bacteria thrive in exactly those conditions. Campground spigots vary from pristine to sketchy, and you usually have no way to tell before you hook up.
This guide walks through what to test, how to test, when to test, and what to do with the results. I focus on practical guidance for RVers, campers, boondockers, and overlanders who want clean drinking water without lugging lab equipment through a state park.
Table of Contents
Why RV and Camping Water Testing Matters?
RV freshwater tanks are different from home plumbing in three dangerous ways. They hold standing water for days or weeks. They stay warm inside a vehicle parked in the sun. And they connect to a rotating cast of unknown water sources through short, hard-to-sanitize hoses.
The contamination risks fall into a few categories. Bacterial growth from coliform and E. coli is the biggest concern because it travels from soil, animal waste, or poorly maintained campground systems. Heavy metals can leach from old pipes at remote sites. Chemical contamination happens when someone at a campground hookup has a cross-connection or backflow problem. Algal blooms and biofilm buildup turn tank interiors into slimy breeding grounds during storage.
I’ve been on trips where the water looked crystal clear and tasted metallic. I’ve also pulled into a state park and watched brown water sputter from the spigot before I even unhooked the car. Testing strips removed the guessing game entirely. Within 60 seconds I know whether to flush, fill, or find another source.
The health stakes are real. The CDC tracks roughly 7,000 waterborne disease outbreaks in the United States over recent reporting periods, and RV and outdoor recreation water sources make up a measurable share. For travelers with kids, elderly parents, or anyone immunocompromised in the group, testing is non-negotiable.
What to Test For: Key Parameters Explained
A quality test kit checks several parameters at once. Understanding what each one means helps you decide which kit matches your travel style and risk tolerance.
pH Levels and Water Balance
pH measures how acidic or basic your water is on a scale from 0 to 14. Safe drinking water sits between 6.5 and 8.5. Readings outside that window mean corrosion, contamination, or chemical intrusion.
Low pH (below 6.5) means acidic water that pulls metals from tank walls, fittings, and pipes. High pH (above 8.5) creates a flat, bitter taste and reduces the effectiveness of any chlorine you add for disinfection. Both extremes stress your plumbing fixtures over time.
For RV use, pH testing matters most when filling from unfamiliar sources. I test pH first before any other parameter because an off reading can explain a dozen other anomalies on the strip.
Chlorine Residual and Disinfection
Chlorine residual measures how much disinfectant remains in the water. Municipal systems aim for 0.2 to 0.5 parts per million (ppm) at the tap. Campground hookups usually deliver similar levels, but it varies wildly by location and season.
Zero chlorine residual means your water has no active disinfection. Bacteria can grow freely. High chlorine (above 4 ppm) means the source water was heavily treated, and you may want to let it vent before drinking.
Many RVers add a small dose of chlorine bleach to their tank as a sanitizer. Testing chlorine lets you confirm your dosing is working without overdoing it. I aim for 1 to 2 ppm in my freshwater tank after each refill.
Bacteria Testing: Coliform and E. coli
This is the parameter that matters most for drinking safety. Coliform bacteria are a broad group that includes species living in soil and surface water. E. coli is a specific subset that almost always indicates fecal contamination.
Most RV bacteria test kits detect total coliforms as a screening tool. A positive coliform reading means you need a follow-up E. coli test. Any confirmed E. coli presence means do not drink the water without boiling or advanced filtration.
Bacteria testing works differently than strip tests. It usually requires a culture-based vial that you fill with sample water, seal, and incubate at room temperature for 24 to 48 hours. Color change indicates growth. It’s slower, but it’s the gold standard for safety decisions.
Total Dissolved Solids (TDS) and Hardness
TDS measures everything dissolved in water: minerals, salts, metals, organic matter. Safe drinking water has TDS below 500 ppm, with 300 to 600 ppm as acceptable. Readings above 1000 ppm taste unpleasant and stress kidneys over long-term consumption.
Hardness is a subset of TDS covering calcium and magnesium. Hard water (above 180 ppm) leaves scale in water heaters and on fixtures. If you travel with a coffee maker, ice maker, or washing machine, hardness matters.
A digital TDS meter is the easiest way to measure this. The probe dips into a water sample and gives a digital readout in seconds. I use mine to evaluate campground water sources before I even connect the hose.
Types of Water Test Kits: Strips vs Digital Meters vs Reagent Kits
Three main formats exist, and they serve different purposes. Most experienced RVers carry at least two of these for layered testing.
Test strips are paper strips coated with chemical reagents at pads. You dip the strip into a water sample for one to two seconds, wait 30 to 60 seconds for color development, then compare the pads to a printed color chart. They’re cheap, lightweight, and fast. The trade-off is interpretive: color matching is subjective, and lighting conditions affect accuracy.
Digital meters use a probe to measure specific parameters electronically. TDS, pH, and chlorine meters are common. They give numerical readouts and store calibration data. They’re more accurate than strips but require battery power, regular calibration with solution, and proper storage. A good digital meter lasts years with reasonable care.
Reagent kits use liquid or tablet chemicals added to a water sample. You compare color changes to a chart or measure precipitate. Bacteria test kits fall into this category because growth requires living organisms, not just chemical reactions. Reagent kits are more involved but give the most reliable bacteria results.
For RV travel, I use a three-layer approach: strips for daily field checks, a digital TDS/pH meter for source evaluation, and a bacteria vial test before each trip or after any questionable fill-up. This combination covers the speed vs depth tradeoff in mobile testing.
How to Choose the Right Test Kit for Your Travel Style?
The right kit depends on how you travel and how much risk you’re willing to accept. Consider these factors before buying.
Parameters tested determines coverage. A strip that only checks pH is incomplete. Look for kits that check at minimum pH, chlorine, hardness, and alkalinity. Bacteria testing is usually sold separately because it requires different materials and timing.
Portability matters for RV and camping. Compact strips and pocket-sized meters fit in any cabinet. Some bottles are bulky enough that they live in an exterior bay. If you have limited storage, prioritize strip kits with sealed foil pouches that resist humidity damage.
Ease of use affects whether you’ll actually test. Color-matching strips require decent lighting and good eyesight. Digital meters need calibration steps that some users skip. Bacteria test kits demand incubation time and temperature control.
Accuracy thresholds vary by format. Test strips give plus-or-minus 10 to 20 percent accuracy on most parameters. Digital meters give plus-or-minus 2 to 5 percent when properly calibrated. Reagent bacteria kits are accurate to roughly 1 CFU per 100 mL.
Budget ranges from $12 for entry-level strips to $89 for professional meters and bacteria kits. For occasional weekend camping, a $15 to $25 strip kit covers the basics. Full-time RVers benefit from a $50 to $80 layered system with strips, meter, and bacteria vials.
Reading time is another differentiator. Strips give results in 60 seconds. Meters give instant numerical output. Bacteria tests need 24 to 48 hours of incubation. Plan your testing around what’s practical at the campsite.
How to Use Test Strips and Digital Meters?
Using strips correctly takes a few simple steps but matters more than people expect. Bad technique gives false readings either way.
Collect a clean sample. Rinse your collection cup twice with the water you’re testing, then fill it from the tank spigot or the source. Don’t dip strips directly into the tank because contamination from the tank opening skews bacteria and chlorine readings.
Dip the strip into the sample for one to two seconds, then pull it out without shaking off excess water. Lay it flat on a clean white surface and start your timer. Most strips need 30 to 60 seconds, depending on the parameter pads.
Compare colors under natural daylight when possible. Indoor lighting distorts the color match, especially yellow-orange gradients on alkalinity pads. Hold the strip against the printed chart at the same angle.
Digital meters require more setup but faster operation. Calibrate with the supplied solution before each trip or after long storage. Rinse the probe with distilled water between samples. Dip the probe into your sample, wait for the reading to stabilize, then note the value.
Log your results somewhere. I keep a small notebook in the cabinet with date, source location, pH, chlorine, TDS, and any notes about taste or smell. After three or four fill-ups, patterns emerge that help me predict which sources to trust.
When and How Often to Test Your Freshwater Tank?
Test frequency depends on three factors: how often you refill, how long water sits in the tank, and how sensitive people in your group are.
Before every trip, test the water that’s been sitting since the last trip. Standing water picks up biofilm growth and loses chlorine residual. If readings are off, drain, sanitize, and refill before heading out.
After every fill from a new source, do at minimum a pH and chlorine check. These two parameters tell you if the source water is within safe ranges. If you have time, do a full strip test for hardness and alkalinity too.
During extended storage (more than two weeks), test weekly. Bacteria can reach problematic levels in stored warm water within seven to ten days. A quick strip with a bacteria vial check once per month covers long-term storage.
After any taste or smell change, test immediately. Metallic, chemical, sulfur, or earthy odors all indicate problems. Sight also helps: cloudy water or visible particles means stop and sanitize.
Seasonal timing matters. In spring, after winterization, test before your first fill of the year. Systems that held residual water can harbor biofilm. In fall, before winterization, test to confirm you’re storing clean water in the plumbing that won’t freeze.
For full-time RVers, the rhythm looks like this: strip test at every fill, pH and chlorine checks before each drinking water use, and a full bacteria test monthly. It’s overkill if your water source is reliable, but it catches problems before they become health issues.
Boondocking vs Campground Hookups: Different Testing Scenarios
Most guides treat all RV water testing the same, but boondocking and campground scenarios have very different risk profiles. Your testing approach should reflect that.
Boondocking means filling your tank before you leave civilization, then using that water for days or weeks. Your risk is mostly about how the water sits in the tank over time. Bacteria growth, biofilm, and chlorine decay are your concerns. Test before each trip and weekly during the trip if it’s a long one.
Campground hookups mean filling from a spigot that may be municipal water, well water, or something in between. Your risk is about the source itself: contamination at the spigot, low chlorine residual, or mineral content above safe ranges. Test every fill-up because campground quality varies drastically from site to site.
Mixed travel (a few days of hookups, then boondocking) requires testing both ways. Test the fill-up when you hook up, then monitor the tank as you use the water over the days that follow. Watch for chlorine decay and bacterial growth during the boondocking phase.
Dry camping on stored water for more than a week pushes into the bacterial risk zone. Consider a small dosing of chlorine bleach (about 1/8 teaspoon per 15 gallons) to maintain residual protection during long stretches. Test chlorine every few days to keep it in the 1 to 2 ppm range.
Interpreting Your Results: What to Do Next
Getting a result is step one. Knowing what to do with it is step two, and most guides skip this.
pH between 6.5 and 8.5 is fine. Anywhere outside that range means either treat the water (with pH adjustment drops) or avoid drinking it directly. Below 6.5 increases metal leaching risk. Above 8.5 means your chlorine won’t work well.
Chlorine between 0.2 and 2 ppm is the safe zone. Zero means add a small bleach dose or run it through a UV filter. Above 4 ppm means vent the tank by running water through the system for several minutes before drinking.
Bacteria results take patience. A negative coliform vial after 48 hours means safe. A positive vial at any point before 48 hours is a clear no-go. E. coli positive results mean treat aggressively (boil, filter through 1-micron absolute, or add bleach and wait 30 minutes).
TDS below 300 ppm is excellent. Between 300 and 600 ppm is acceptable. Above 600 ppm means the water is heavily mineralized; consider a reverse osmosis filter for drinking if you’ll be consuming it long-term.
Hardness above 180 ppm means scale buildup. Flush your water heater more often and consider a water softener if you’re in hard water country for months. It doesn’t affect safety, just comfort and appliance longevity.
Borderline results deserve a second test. Strip readings on pH or chlorine within 10 percent of the threshold should be repeated with a fresh strip. Confirm before changing your drinking water plan.
Common Signs of Water Contamination to Watch For
Even without a test kit, your senses catch problems. Use them, especially if you haven’t tested in a while.
Smell is the most reliable first signal. Chlorine smell means disinfection is active, but a strong bleach odor means too much. Sulfur or rotten egg smell indicates bacterial action, often anaerobic bacteria that thrive without chlorine. Metallic smell suggests iron, copper, or corrosion in the system. Earthy or musty smells point to biofilm or organic contamination.
Taste confirms what smell suggests. Metallic taste signals mineral contamination. Bitter taste suggests high pH or high TDS. Flat taste means low dissolved oxygen, often from long storage. Anything that’s not clean and neutral means test it.
Look at the water. Cloudiness means particulates, bacterial growth, or air bubbles that won’t clear. Yellow or brown tint suggests rust or organic matter. Visible biofilm on tank walls means the system needs full sanitization regardless of test results.
Faucet aerators and showerheads collect biofilm and mineral scale. If you pull one off and see slimy residue, the tank has biofilm. If you see white crusty buildup, the water is hard and you’ve been burning through your water heater faster than you thought.
Physical symptoms in your group are the last signal you want to catch. Anyone experiencing stomach upset, nausea, or diarrhea after drinking from the tank should trigger an immediate stop-and-test response. Don’t wait for a second case.
Frequently Asked Questions
How do you test water quality in an RV water tank?
Collect a water sample from your tank spigot into a clean cup, dip a test strip for one to two seconds, wait 30 to 60 seconds for color development, then compare each pad to the chart included with your kit. For bacteria testing, fill a sealed culture vial with sample water and incubate at room temperature for 24 to 48 hours before reading results.
What should I look for in a water test kit for camping?
Prioritize kits covering pH, chlorine, hardness, and alkalinity at a minimum, plus a separate bacteria test if you drink from the tank. Look for compact, sealed packaging that resists humidity, and choose between fast strips, accurate digital meters, and slower reagent tests based on how often you refill and how long water sits in your tank.
How often should I test my RV water tank?
Test before every trip, after every new fill-up, weekly during long storage, and immediately after any change in taste, smell, or appearance. Full-time RVers should run a strip test at each refill and a bacteria vial test monthly for layered protection.
Can you drink tap water from an RV?
Yes, if you have tested it and confirmed safe parameters. RV tank water is only as clean as its last fill combined with how it was stored. Always test pH, chlorine, and bacteria before drinking, especially after storage or after filling from unfamiliar campground spigots.
What bacteria does an RV water test kit detect?
Standard RV bacteria kits detect total coliform bacteria as a screening indicator. A coliform-positive result means you need to follow up with a specific E. coli test. Confirmed E. coli presence means do not drink the water without boiling, filtering through a 1-micron absolute filter, or treating with chlorine bleach.
How accurate are home water test kits?
Test strips typically give plus-or-minus 10 to 20 percent accuracy on most parameters, while properly calibrated digital meters give plus-or-minus 2 to 5 percent. Neither matches certified lab testing, but for travel drinking water decisions, a quality home kit is accurate enough to make go or no-go calls on each tank fill.
Final Tips for Safe RV and Camping Water
Picking the best water test kits for RV and camping water tanks comes down to matching your testing approach to your travel style. Occasional campers need a basic strip kit for pre-trip confidence. Full-timers benefit from layered testing with strips, meters, and bacteria vials.
Whatever kit you choose, test consistently. The value isn’t in the kit itself; it’s in the answers it gives you before you drink unknown water from an unfamiliar source. Carry the kit, use the kit, log the results, and adjust your filling routine based on what you learn.
1 thought on “Best Water Test Kits for RV and Camping Water Tanks (September 2026)”