
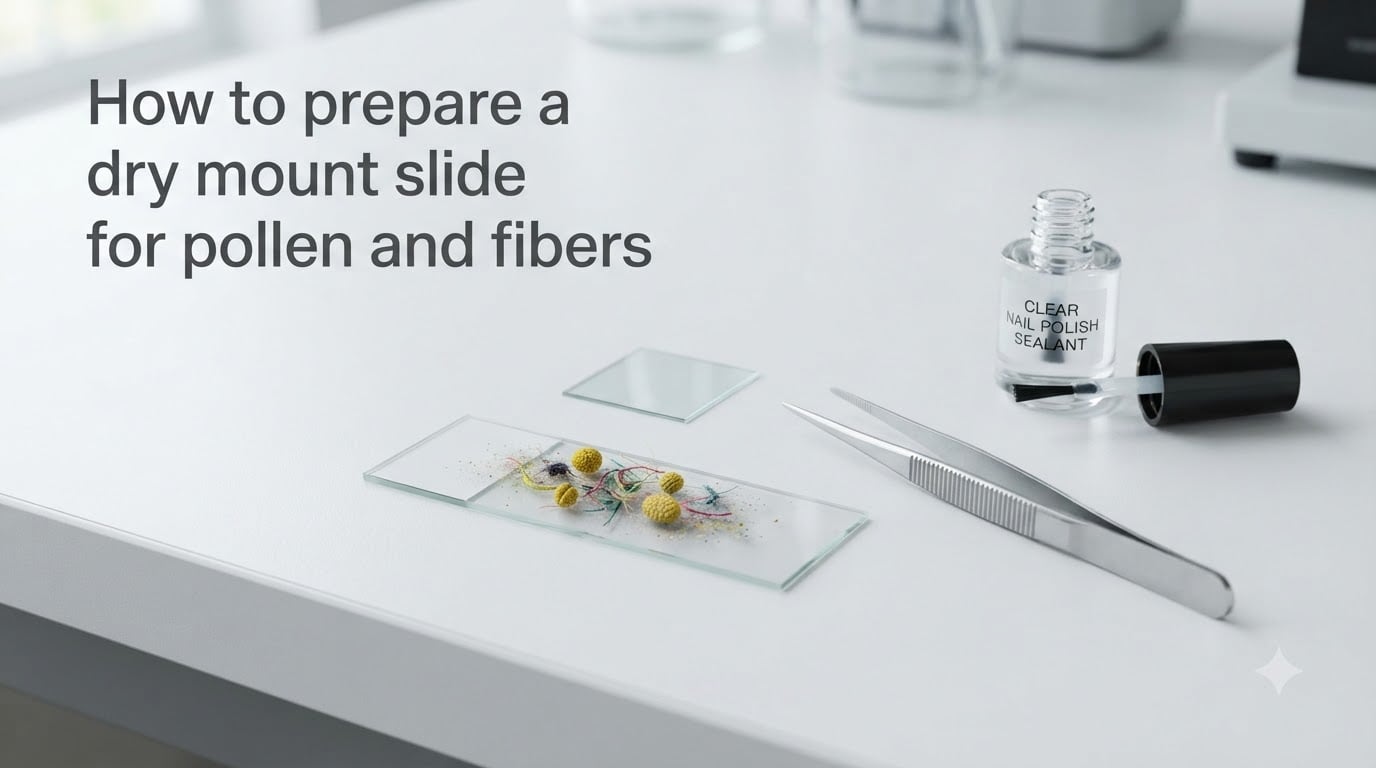
If you have ever looked at pollen grains or textile fibers under a microscope, you already know how rewarding it can be. The trick is getting the specimen onto the slide properly. Learning how to prepare a dry mount slide for pollen and fibers opens up a world of detail without the hassle of liquids, stains, or specialized mounting media.
I have spent years working with microscope slides, and dry mounting remains my go-to technique for solid specimens. It is fast, requires minimal equipment, and preserves specimens in their natural state. Whether you are a student, hobbyist, beekeeper, or fiber analyst, this guide walks you through every step.
By the end, you will know exactly which materials to gather, how to mount pollen and fibers, how to seal your slides, and how to avoid the common mistakes that ruin preparations.
Table of Contents
What Is a Dry Mount Slide?
A dry mount slide is a microscopy preparation where the specimen sits directly on a clean glass slide with no liquid medium. The specimen is held in place by a cover slip, and optionally sealed along the edges. This differs from a wet mount, where water, glycerol, or another liquid surrounds the specimen.
Dry mounts work best for solid, dry specimens that do not need to be suspended in liquid to be viewed clearly. Pollen grains, fibers, hair, insect parts, and powdered materials are all excellent candidates.
Because no liquid is involved, dry mounts avoid the artifacts that wet mounting can introduce. Pollen will not swell from absorbing water, and fibers will not shift or float. The trade-off is that dry mounts provide less optical clarity for translucent specimens, since there is no liquid to reduce light scattering.
Materials Needed for Dry Mount Preparation
You do not need expensive lab equipment to make quality dry mount slides. Here is what I keep on hand:
Glass microscope slides — standard 1 x 3 inch precleaned slides work fine
Cover slips — typically 18 mm or 22 mm square, No. 1 thickness
Forceps or fine tweezers — for handling fibers and placing specimens
A clean work surface — a lint-free cloth or lens cleaning tissue
Slides cleaner — lens cleaner or ethanol and a lint-free wipe
Optional sealant — clear nail polish, Canada balsam, or sealing tape for permanent slides
A mounting needle or toothpick — for positioning pollen and small particles
A magnifying glass or loupe — helps with specimen placement before microscopy
Cleanliness is the single most important factor. Dust, fingerprints, and lint show up dramatically under magnification. Wipe every slide and cover slip with lens cleaner before you begin.
How to Prepare a Dry Mount Slide for Pollen and Fibers: Step-by-Step
Here is the core procedure I follow every time. These steps work for both pollen and fibers, with a few specimen-specific tweaks I cover in the next sections.
Step 1: Clean your slide and cover slip. Hold each slide up to a light and inspect for smudges. Wipe both surfaces with lens cleaning tissue and a drop of ethanol. Set them on a lint-free cloth to dry.
Step 2: Collect your specimen. For pollen, tap a flower anther gently over the slide or use a clean toothpick to transfer grains. For fibers, use forceps to place a few strands on the center of the slide. Keep the specimen centered and spread thin.
Step 3: Arrange the specimen. Use a mounting needle to spread pollen into a thin, even layer. For fibers, arrange them so they do not overlap heavily. A single layer gives the clearest view.
Step 4: Place the cover slip. Hold the cover slip at a 45-degree angle to the slide, with one edge touching the glass near the specimen. Lower it slowly so air escapes from beneath. This reduces trapped air bubbles.
Step 5: Press gently. With the pad of your finger or the eraser end of a pencil, press down lightly on the cover slip. This flattens the specimen and improves contact. Do not press hard enough to crack the glass.
Step 6: Inspect under the microscope. Start at low magnification (40x) to locate your specimen, then increase magnification as needed. Adjust the condenser and light intensity for the best contrast.
Step 7: Seal if making a permanent slide. If you want to store the slide long-term, apply sealant along the edges of the cover slip. I cover sealing in detail below.
Pollen-Specific Mounting Tips
Pollen is one of the most satisfying specimens to dry mount, but it comes with quirks. Here is what I have learned from forums and firsthand experience.
Wind-pollinated plants produce dry, powdery pollen that mounts beautifully with no preparation. Tap the anther directly over the slide and the grains scatter evenly. Insect-pollinated flowers often produce sticky pollen that clumps. For these, use a toothpick to break up the clump and spread grains individually.
Avoid adding any moisture to pollen slides. Even humidity from your breath can cause grains to swell and lose their natural shape. Microscopists on the MicrobeHunter forum have noted that glycerol and water-based media actively pull pigment out of pollen grains over time, leaving them faded.
For high-density pollen samples, the technique shared on the photomacrography forum works well: shake grains onto the center of the slide using a craft knife, then spread them with the flat of the blade. If you are analyzing honey for pollen content, centrifuge a diluted sample first and transfer the concentrated pellet to the slide.
If you want a permanent pollen reference collection, dry mounting followed by a light sealant edge is the most reliable method. The grains stay in their original form indefinitely.
Fiber Mounting Techniques
Fibers behave differently from pollen and deserve their own approach. Natural fibers like cotton, wool, and silk, along with synthetics like polyester and nylon, can all be dry mounted for identification and comparison.
Use forceps to place two or three fibers on the slide. Cut them to roughly 10 to 15 mm so they fit comfortably under the cover slip. Cross one fiber over another at an angle — this lets you compare thickness and surface texture side by side under the microscope.
Fibers benefit from being flattened slightly. After placing the cover slip, press gently to collapse any curl. Wool and hair fibers may resist lying flat, so a second cover slip on top with light pressure for a few seconds can help.
For fiber analysis, scale patterning is a key identification feature. Dry mounting preserves the cuticle scales on wool and hair better than wet mounting, where liquid can obscure surface detail. Use brightfield illumination first, then switch to darkfield if your microscope supports it — darkfield brings out fiber surface texture dramatically.
If you are comparing unknown fibers, mount several types side by side on one slide. Label each with a wax pencil on the frosted end of the slide for quick reference.
How to Seal a Dry Mount Slide?
Sealing turns a temporary slide into a permanent reference that lasts for years. It prevents the cover slip from shifting and protects the specimen from dust and moisture.
The simplest sealant is clear nail polish. Run a thin bead along each edge of the cover slip using the brush applicator. Apply one edge at a time and let each dry for about 60 seconds before moving to the next. Forum users consistently recommend nail polish for beginners because it is cheap, accessible, and easy to control.
For more professional results, Canada balsam is the traditional choice. Apply a small ring of balsam around the specimen before placing the cover slip, then add a top seal after it sets. Note that Canada balsam can pull pigment from pollen over time, so test it on a spare slide first.
Sealing tape is another option if you want a quick, non-permanent seal. Cut thin strips and apply them along the cover slip edges. This works well for classroom settings where slides are handled frequently.
One common problem forum users report is sealant flowing under the cover slip. To prevent this, use less sealant than you think you need and apply it in very thin layers. You can always add a second coat after the first dries.
Dry Mount vs Wet Mount: Which Should You Use?
Both techniques have their place. Here is how I decide between them.
Use a dry mount when your specimen is solid, dry, and benefits from being viewed in its natural state. Pollen, fibers, hair, insect wings, and crystalline powders are ideal. Dry mounts are also faster to prepare and require no chemicals.
Use a wet mount when your specimen is liquid, aquatic, or needs to be suspended to be seen properly. Pond water, living microorganisms, and thin tissue sections all require a liquid medium. Wet mounts also improve optical clarity for translucent specimens by reducing light scatter at the boundaries.
Wet mounts can be stored for months if sealed properly, as users on microscopy forums have confirmed. But they introduce the risk of artifacts — specimens can shrink, swell, or lose pigment depending on the medium.
For pollen specifically, I almost always choose dry mounting. The grains maintain their shape and color, and you avoid the swelling that water-based media cause. For fibers, dry mounting is equally preferred because it preserves surface detail that liquid can obscure.
Common Mistakes and How to Avoid Them
Even experienced microscopists run into problems. Here are the issues I see most often and how to fix them.
Air bubbles under the cover slip. Lower the cover slip at an angle rather than dropping it flat. If bubbles appear, gently press the cover slip to push them toward the nearest edge.
Too much specimen. A thick layer of pollen or overlapping fibers blocks light and blurs detail. Use less than you think you need and spread it thin.
Dirty slides. Fingerprints and dust ruin more slides than any other factor. Clean every slide right before use, not ahead of time, since dust settles quickly.
Broken cover slips. Pressing too hard cracks the glass. Use light, even pressure. If the specimen is thick, use a No. 1.5 cover slip, which is slightly thicker and more durable.
Sealant leaking under the cover slip. Apply sealant in very thin amounts and let each edge dry before doing the next. Less is always better.
Frequently Asked Questions
How to prepare a dry mount slide?
Clean a glass slide and cover slip with lens cleaner. Place your specimen in the center of the slide, arrange it in a thin layer, then lower a cover slip at a 45-degree angle to avoid air bubbles. Press gently to flatten the specimen and inspect under the microscope. Seal the edges with nail polish or Canada balsam if you want a permanent slide.
How to prepare a microscope slide of pollen?
Tap a flower anther gently over a clean slide so pollen grains scatter onto the glass. Use a toothpick to spread sticky pollen into a thin layer. Lower a cover slip at an angle, press gently, and examine under low magnification first. Avoid adding any moisture, since water causes pollen grains to swell and lose pigment.
How to prepare a temporary mount slide of given material?
A temporary mount is prepared by placing the specimen on a clean slide, adding a cover slip, and viewing immediately without sealing. This works for dry mounts of solids and for wet mounts using a drop of water or glycerol. Temporary slides are used for short observation sessions and discarded afterward.
What must be added to any dry slide before testing an organism?
For a dry mount, no liquid is added to the specimen itself, but a cover slip should be placed over the organism to flatten it and protect the microscope lens. If the slide will be stored, a sealant such as clear nail polish must be applied along the cover slip edges to secure it permanently.
Conclusion
Preparing a dry mount slide for pollen and fibers is a straightforward skill that pays off every time you sit at the microscope. Clean slides, a thin specimen layer, careful cover slip placement, and a light seal are all it takes to produce professional-quality preparations.
Pollen and fibers are particularly well-suited to dry mounting because the technique preserves their natural shape, color, and surface detail. By avoiding liquid media, you sidestep the swelling, pigment loss, and shifting that plague wet mounts of these specimens.
Now that you know how to prepare a dry mount slide for pollen and fibers, grab a clean slide, collect a sample from your garden or closet, and start exploring. The detail waiting under your lens is worth the effort.