
Sharp focus is the single biggest difference between an average astrophoto and a stunning one. I learned this the hard way during my first deep-sky imaging session, when I spent four hours capturing the Pleiades only to discover every star was a soft blob.
If you want to learn how to focus a telescope on stars using a Bahtinov mask, you are in the right place. In this guide, I will walk you through what a Bahtinov mask is, the simple physics behind how it works, and the exact steps I use every clear night to nail perfect focus on my refractor. Whether you are a visual observer or chasing long-exposure nebulae, this technique works the same way.
Table of Contents
What Is a Bahtinov Mask?
A Bahtinov mask is a focusing aid invented by Russian astrophotographer Pavel Bahtinov in 2005. It is a simple plastic or metal plate with three sets of precisely cut slits that you place over the front of your telescope.
When starlight passes through these slits, it creates a distinctive diffraction pattern that tells you exactly how close you are to perfect focus. Before the Bahtinov mask existed, astronomers relied on trial and error, a Hartmann mask, or expensive electronic focusers. Today, the Bahtinov mask is considered the gold standard focusing tool because it is cheap, fast, and remarkably accurate.
The mask itself weighs only a few ounces and attaches with rubber bands, magnets, or a custom holder. A typical 8-inch Bahtinov mask costs less than a pizza, yet it can deliver sub-arcsecond focus precision on a refractor or SCT.
How Does a Bahtinov Mask Work?
The Bahtinov mask relies on a basic principle of physics called diffraction. When light waves pass through narrow slits, they bend and interfere with each other, creating a pattern of bright and dark bands.
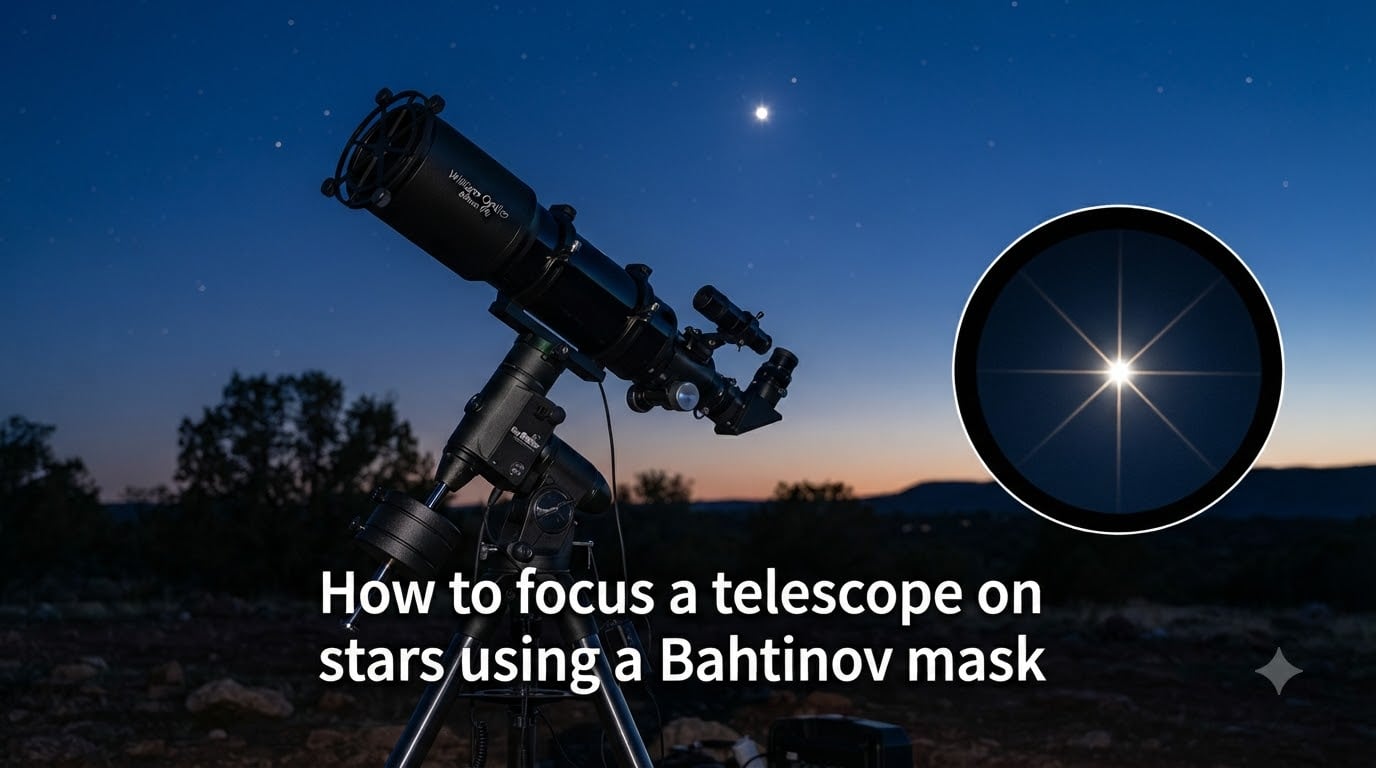
The mask has three separate slit panels arranged at specific angles. Two outer panels are tilted the same direction, and one center panel is tilted in the opposite direction. As light passes through, you see an X-shaped diffraction pattern with three spikes: two angled spikes from the outer panels and one central spike from the middle panel.
When your telescope is out of focus, the center spike sits to one side of the X. As you adjust focus, the center spike slides across the X. The moment the center spike sits perfectly centered between the two outer spikes, your telescope is in perfect focus. This visual cue is far more reliable than squinting at a fuzzy star image.
Choosing the Right Bahtinov Mask for Your Telescope
Mask size matters. The mask must be large enough to cover the full aperture of your telescope, otherwise diffraction spikes from the edges will confuse the pattern.
Most manufacturers sell masks in common sizes: 80mm, 102mm, 130mm, 150mm, 200mm, 235mm, and 254mm. Measure the outside diameter of your telescope tube or dew shield before ordering. If your scope falls between standard sizes, choose the next size up and use foam tape around the edges to hold it in place.
For Newtonian reflectors, you can also buy a curved mask that fits over the secondary cage. For Schmidt-Cassegrains, a flexible magnetic mask sticks directly to the corrector plate. Smart telescopes like the ZWO Seestar S50 use a built-in software Bahtinov mask rather than a physical plate.
Step-by-Step Guide: How to Focus a Telescope on Stars Using a Bahtinov Mask
Below is the exact procedure I follow each night. I have used this method on refractors, Newtonians, and Schmidt-Cassegrains with consistent results.
Step 1: Set up your telescope and let it cool
Mount your telescope outside at least 30 minutes before imaging. Optics need to reach ambient temperature, otherwise focus will drift throughout the night.
Step 2: Attach the Bahtinov mask securely
Place the mask over the front aperture of your telescope. Make sure it sits flat and does not wobble. Rubber bands or magnetic strips work well.
Step 3: Select a bright star near your target
Pick a bright star close to the deep-sky object you want to image. Good choices include Sirius, Vega, Capella, Rigel, or Polaris. The brighter the star, the easier the diffraction pattern is to see.
Step 4: Center the star in your camera or eyepiece
Use a finder scope or your main camera to center the star. Aim for a star near the center of the field of view, not near the edge.
Step 5: Achieve a rough focus first
Adjust your focuser until the star image looks as small as possible. You will see a clear diffraction pattern emerge with six spikes from the spider or secondary mirror plus the X pattern from the mask.
Step 6: Fine-tune focus until the center spike is centered
Slowly adjust the focuser in small increments. Watch the central diffraction spike slide across the X. Stop when the center spike is perfectly bisected by the two outer spikes.
Step 7: Lock the focuser and remove the mask
Once perfect focus is achieved, gently lock the focuser thumbscrew. Remove the Bahtinov mask immediately before starting your imaging run.
What NOT to do: avoid focusing on the Moon or a planet. These extended objects produce messy, overlapping diffraction patterns that cannot be interpreted reliably. Stars are point sources, which is exactly what the mask is designed for.
Recognizing Perfect Focus: The Center Spike Alignment
Perfect focus on a Bahtinov mask looks like a perfectly symmetrical six-pointed asterisk. The center spike slices straight through the middle of the X formed by the two outer spikes, dividing it into two equal halves.
Out of focus, you will see the center spike shifted clearly to one side, almost touching one of the diagonal spikes. The closer you bring the focuser to the sweet spot, the more the center spike migrates toward the center. As you overshoot focus, it shifts to the other side.
For best results, zoom in 5x to 10x on your live view screen. Higher magnification makes the spike movements easier to detect. Many astrophotographers use digital zoom on their DSLR or a Bahtinov grabber software tool that calculates the spike offset automatically.
Tips, Common Mistakes, and Troubleshooting
Here are field-tested tips from my own sessions and from threads I have followed on Cloudy Nights and r/AskAstrophotography.
Refocus every 30 to 60 minutes. Temperature drops overnight cause focus drift. The only way to keep stars pinpoint is to refocus periodically on a nearby star.
For fast scopes (f/2 to f/4), expect critical focus. Fast Newtonians and RASA astrographs have very shallow depth of focus. The center spike will look perfect for a tiny window only, so take your time.
Always remove the mask before imaging. I once forgot and captured a 90-minute session of the Orion Nebula with the mask still attached. Every star had a tiny cross stamped on it.
Do not use the mask during long exposures of nebulae. Even a 30-second sub with the mask in place produces stars that are unusable.
Match the mask to your scope. A 130mm mask on a 200mm telescope leaves the outer edge uncovered and ruins the pattern.
Choose a star that is high in the sky. Stars low on the horizon suffer from atmospheric turbulence, which makes the spikes dance around.
Consider an electronic focuser for long sessions. Devices like the ZWO EAF, Pegasus Astro Focus Cube, or Moonlite can automate refocusing through software like NINA or AstroPhotographyTool.
Frequently Asked Questions
What is a Bahtinov mask?
A Bahtinov mask is a focusing aid invented by Russian astrophotographer Pavel Bahtinov in 2005. It is a plate with three sets of slits that creates a diffraction pattern on a bright star, allowing you to achieve precise telescope focus quickly and reliably.
How to focus a telescope on stars?
To focus a telescope on stars, point it at a bright star near your target such as Sirius, Vega, or Capella. Use a Bahtinov mask to create a diffraction pattern, then adjust the focuser until the center spike of the X pattern sits perfectly centered between the two outer spikes.
When should I use a Bahtinov mask?
Use a Bahtinov mask any time you need precise focus, especially before astrophotography sessions, after temperature changes, after switching eyepieces or cameras, and when setting up for long-exposure deep-sky imaging.
Can a Bahtinov mask be used for visual observing?
Yes, a Bahtinov mask works for visual observing too. Attach it to the front of your telescope, point at a bright star, and use the diffraction pattern to dial in sharp focus before swapping to your eyepiece.
What size Bahtinov mask do I need for my telescope?
Choose a mask that fully covers the front aperture of your telescope. Common sizes include 80mm, 102mm, 130mm, 150mm, and 200mm. If your scope is between sizes, round up and use foam tape around the edges.
Why does my focus drift during the night?
Focus drift is caused by temperature changes as your telescope optics cool to match the night air. Plan to refocus every 30 to 60 minutes, or use an electronic focuser with temperature compensation to automate the process.
Conclusion
Learning how to focus a telescope on stars using a Bahtinov mask is one of the highest-impact skills any astrophotographer can develop. In less than five minutes per session, the mask turns focus into a precise, repeatable, almost effortless step.
Pick a bright star, attach the mask, watch for the center spike to align, lock the focuser, and remove the mask. Do that and your next deep-sky image will have pinpoint stars ready for hours of integration. Clear skies and sharp focus in 2026.