
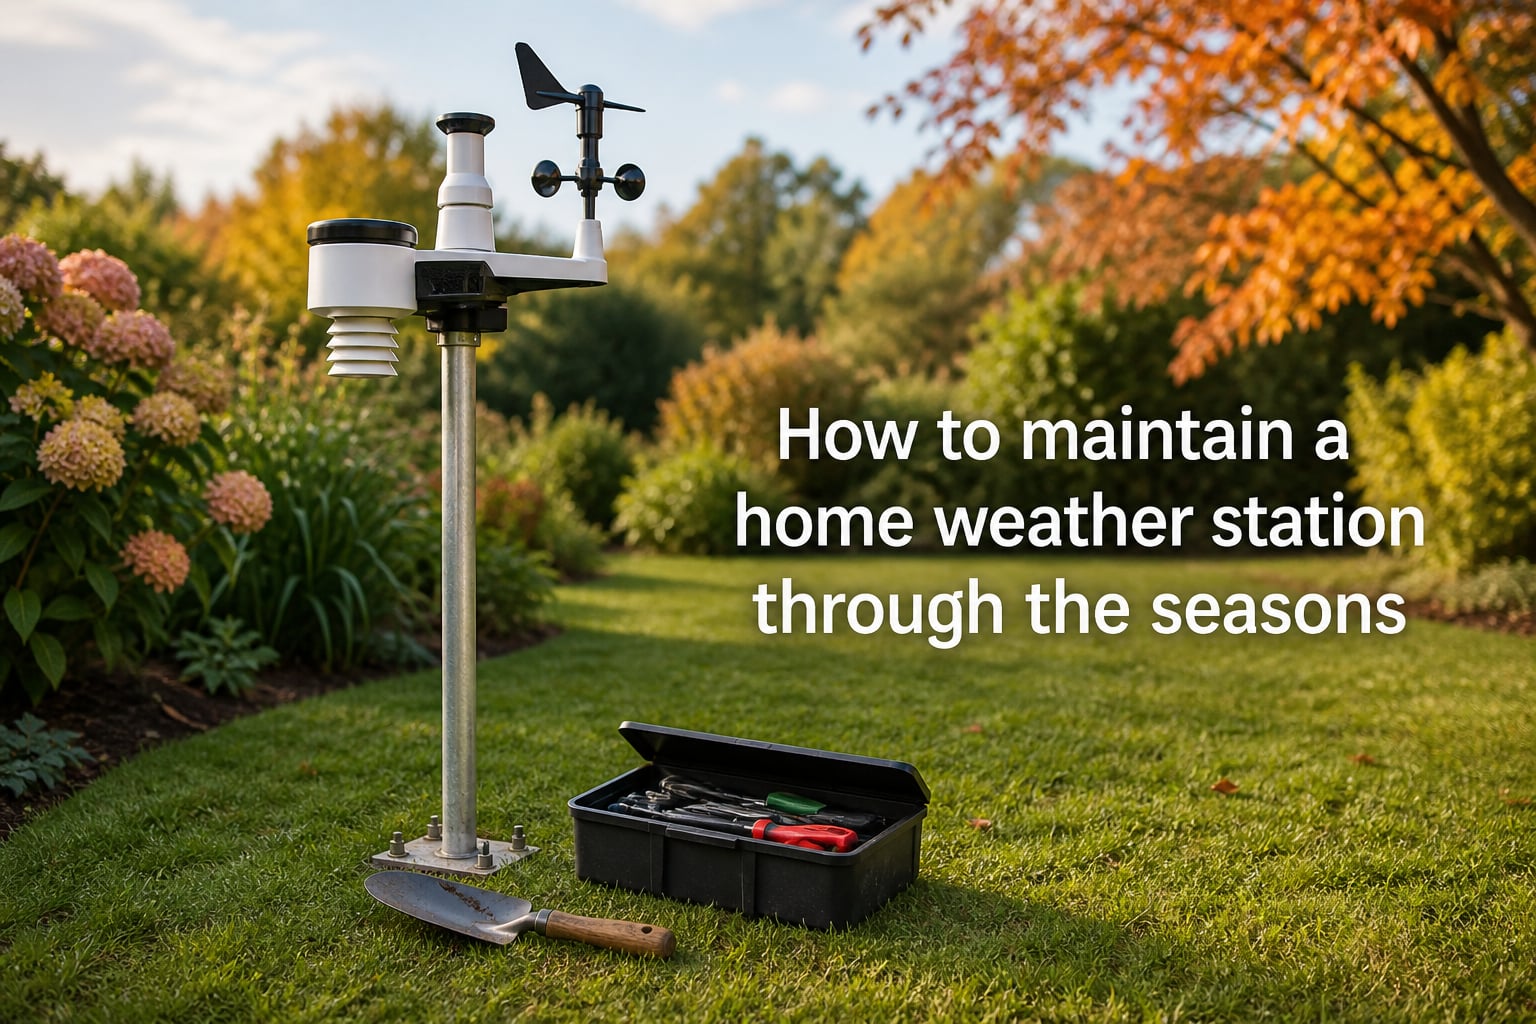
Keeping a home weather station accurate takes only a few hours each season, but those hours make the difference between trustworthy data and months of garbage readings. I have run personal weather stations for years, and the units I treated with a quick spring and fall check are still going strong while the neglected ones have rusted, clogged, or given up entirely.
If you want your station to last 10 to 20 years like the well-maintained Davis Vantage Pro 2 units I see in owner forums, this guide will walk you through how to maintain a home weather station through the seasons. You will learn the specific tasks for spring, summer, fall, and winter, plus the sensor-by-sensor cleaning routines that keep rain gauges, anemometers, and radiation shields working like new.
Table of Contents
How to Maintain a Home Weather Station Through the Seasons: An Overview
Maintain a home weather station through the seasons by following a four-part schedule: a deep clean and inspection in spring, heat and storm protection in summer, a battery and crack check in fall, and winterization in winter. Most sensors only need a quick wipe-down monthly, with sensor-specific cleaning every 3 to 6 months and a full calibration check once a year.
Doing these tasks keeps readings within 1 to 2 percent of official stations and prevents the two biggest killers of weather gear: battery leakage and water intrusion. The list below is the master plan for the rest of the article.
- Monthly: visual inspection, debris removal, battery voltage check
- Seasonally (Spring, Summer, Fall, Winter): sensor-specific cleaning, deep inspection, weather-specific prep
- Yearly: calibration verification, mounting hardware check, full teardown of rain funnel
Tools and Supplies You Will Need
You do not need a workshop to maintain a weather station. Most of what I use fits in a small bucket and is already in your garage.
- Soft-bristle brush or old toothbrush
- Microfiber cloths (lint-free)
- Mild dish soap and distilled water
- Small Phillips and flathead screwdrivers
- Spare batteries matched to your station
- Silicone spray or dielectric grease for connectors
- Step ladder (rated for your roof height)
- Crescent wrench for mounting bolts
Avoid pressure washers, harsh chemicals, and abrasive pads. They will strip the UV coating off radiation shields and scratch the tipping bucket inside your rain gauge.
Spring Maintenance: Clean, Inspect, and Reset
Spring is the most important maintenance window of the year. Winter is over, your station has survived freezing temps, ice, and wind, and now pollen, heavy rain, and new growth try to clog everything in sight. I usually spend 60 to 90 minutes on my spring service.
Start with a visual scan from the ground. Look for cracked housings, missing screws, or leaning poles. Climb up and clear any leaves, twigs, or wasp nests that built up over the cold months. Pollen is a particular enemy in spring because it cakes onto solar panels and rain funnels.
Next, open the rain gauge funnel and wipe the inside with a damp microfiber cloth. Pour a small amount of water through to confirm the tipping bucket moves freely. If the bucket sticks, gently rinse with distilled water and dry it before locking the housing back in place.
Finally, check your data console for date and time accuracy. Power outages over winter often reset clocks, which corrupts your historical records. Replace batteries now, especially if you noticed reduced range during winter.
Summer Maintenance: Monitor and Protect
Summer does not demand major cleaning, but heat and UV will punish any weakness in your station. The biggest summer jobs are solar panel care and storm preparation.
Wipe down the solar panel at least once a month with a soft cloth and a tiny drop of dish soap. Dust, pollen, and bird droppings can cut charging efficiency by 30 to 50 percent, which means your station may run on backup batteries and lose accuracy. Rinse with clean water and let it dry before reassembly.
Storm season is when I do a quick pre-storm check. Make sure the rain funnel is locked down, the wind cups spin freely, and all mounting bolts are snug. High winds can turn a loose funnel into a projectile, and I have seen rain gauge cups blow off entirely in 50 mph gusts.
Fall Maintenance: Prepare for Cold Weather
Fall is your last chance to fix anything before freezing temperatures turn small problems into expensive ones. This is the inspection window Cornell’s NEWA network and AcuRite both highlight as the most important for catching issues.
Run a full sensor check. Look for hairline cracks in the radiation shield, hardened seals on the rain gauge, and corrosion on any exposed metal. Tiny cracks let water in, which then freezes and splits the housing open by mid-January.
Replace the batteries in both the sensor array and the indoor console. Cold weather kills weak batteries fast, and a station that goes dark in a blizzard is useless. Lithium batteries perform better than alkaline below 32°F, so I switch to lithium in every station I service in October.
Clean the rain funnel, gutters, and any debris screens one more time. Falling leaves will clog everything within weeks, and a clogged rain gauge under-reports rain by 20 to 40 percent.
Winter Maintenance: Winterize and Monitor
Winter is mostly about monitoring. Get up on the roof only when it is safe, and never climb on icy surfaces. Most winter maintenance happens from the ground or from a tall step ladder with a partner holding the base.
The main winter threat is ice on the anemometer and wind vane. Ice can lock the cups and stop wind readings entirely. Some stations have built-in heaters for this; if yours does not, you can install a small thermostatically controlled heat ring. Otherwise, plan to manually clear ice after major storms using a wooden stick or plastic scraper. Never use metal near the sensors.
Snow burial of the rain gauge is also common. The weight of packed snow can crack the funnel or misalign the tipping bucket. Brush heavy snow off the gauge after each storm, but do not worry about clearing every flake. Frozen precipitation is hard to measure accurately anyway, and most official stations wait for the next melt to count it.
Keep a closer eye on your console data during winter. If you see sudden dropout, range loss, or weird readings, remote troubleshooting from the indoor console often catches problems before they kill the station.
Sensor-Specific Care Guide
Each sensor has its own quirks. Use this quick reference whenever you are doing seasonal maintenance.
Rain Gauge and Tipping Bucket
The rain gauge is the most maintenance-heavy sensor. Clean the funnel every 3 months with mild soap and water, then dry thoroughly. Remove the funnel cone and check the tipping bucket under it. The bucket should tip freely with a gentle tap. If it sticks, rinse with distilled water and let it air dry. A dirty bucket can misreport rain by 0.1 inches or more per storm.
Anemometer and Wind Vane
The anemometer (wind cups) and wind vane need very little attention, but they do need a check. Spin the cups by hand. They should rotate freely for at least 30 seconds with no resistance. If they grind or stop quickly, the bearing is worn. Check the wind vane for the same free movement.
Twice a year, apply a single drop of light machine oil to the anemometer bearing on units that allow it. Avoid over-oiling, which attracts dust.
Temperature Sensor and Radiation Shield
The radiation shield protects the temperature and humidity sensor from direct sun. The shield itself is a series of white plates that need to stay clean. Wash the plates with mild soap every 6 months. Never paint the shield; even white paint changes its reflectivity and skews readings.
If your station is in direct sun for most of the day, consider adding a separate fan aspirated shield. Aspiration pulls ambient air through the plates and can drop temperature readings by 2 to 4°F in still conditions.
Solar Panel
Clean monthly with a soft cloth and a drop of dish soap. Inspect the cable seal at the panel base every spring and fall. Cracked seals let water into the sensor housing, which kills electronics within weeks.
Calibration Basics
Most home weather stations do not need frequent calibration, but they do need a yearly check. Compare your console readings to a nearby official station or a high-quality reference instrument. Temperature differences within 1 to 2°F are normal. Humidity within 5 percent and barometric pressure within 0.05 inHg are also acceptable.
If readings drift further, consult your manual. Many modern stations allow software-based calibration offsets for temperature, humidity, and rain. Rain calibration is the most common adjustment, because every station sits at a slightly different height and wind exposure. A simple rule: if your rain gauge measures 10 percent more than your neighbor’s identical station, apply a 10 percent correction.
Protecting Your Station From Wildlife and Pests
Wildlife interference is the most common cause of sensor failure that no one talks about. Birds love to perch on temperature shields. Wasps build nests inside rain funnels. Squirrels chew wiring.
Install a small bird spike ring around the top of the radiation shield. This is the single most effective fix I have found. Bird spikes cost a few dollars and cut perching by 90 percent. For wasps, spray the inside of the rain funnel with a long-distance wasp spray in early spring before they start scouting. Most rain gauges are also designed to be insect-resistant, but adding a small mesh screen at the funnel exit can help if you have a recurring problem.
For cabling, slide flexible conduit over any exposed wire runs. Squirrels and rodents cannot chew through rigid plastic conduit, and it also protects against UV damage.
Harsh Environment Tips: Coastal and Desert Climates
Coastal users battle salt corrosion. Salt air eats metal contacts and sensor housings within a year or two. Spray the mounting hardware and any exposed metal with a silicone or marine-grade corrosion inhibitor every 6 months. Stainless steel mounting hardware is worth the small upgrade cost if you live near the ocean.
Desert users face dust and extreme heat. Dust sneaks into every opening, so wipe down the rain funnel and tipping bucket every 2 months instead of every 3. Heat also accelerates battery drain, so expect to replace batteries twice a year in summer-heavy desert climates. If your station supports a larger solar panel, upgrade it to compensate for the dust accumulation.
Warning Signs of Sensor Failure
Watch your data console for these red flags. Acting early saves the sensor.
- Sudden dropout of one sensor while others report normally
- Readings stuck at the same value for hours
- Gaps in data during storms or windy nights
- Temperature drifting 5°F or more from nearby stations
- Rain gauge reporting 0.00 inches during clear wet weather
- Wind speeds stuck at calm even in active weather
Most of these come down to batteries, corrosion, or debris. Walk the full checklist before assuming the sensor is dead. Communities like r/myweatherstation are full of owners who thought a station was dead only to find a $5 battery fix solved it.
Frequently Asked Questions
How long should a home weather station last?
A well-maintained home weather station typically lasts 10 to 20 years. Stations like the Davis Vantage Pro 2 commonly reach the 15-year mark with regular battery changes, seasonal cleaning, and firm mounting. Stations that are neglected or installed in harsh coastal environments often fail within 5 to 7 years due to corrosion or water intrusion.
How often should I clean weather station sensors?
Inspect sensors monthly and clean them every 3 to 6 months. Rain gauges and solar panels need the most frequent cleaning, typically every 3 months. Radiation shields and anemometers only need a thorough cleaning once or twice a year. Add monthly checks if you live in a dusty, coastal, or heavily pollinated area.
Do weather stations need to be calibrated?
Yes, weather stations benefit from a yearly calibration check. Compare your readings to a nearby official station or a quality reference instrument. Most home stations allow software-based corrections for temperature, humidity, and rain. Adjustments within 1 to 2 degrees, 5 percent humidity, and 10 percent rain are typical.
Where should I mount a home weather station?
Mount a home weather station in an open area at least 5 feet above the ground and away from buildings, trees, and paved surfaces. Ideal placement is over a grass-covered area with clear sky exposure. The temperature and rain sensors should be at least 100 feet from any large heat source, and the anemometer should be at least 33 feet above any nearby obstacle.
Why has my weather station stopped working?
The most common reasons a weather station stops working are dead batteries, corroded contacts, water intrusion, or debris in the rain funnel. Start by replacing the batteries in both the sensor array and the indoor console. If the problem persists, check the cable seals, clean the rain gauge, and look for nesting insects or rodent damage to the wiring.
Can I leave my weather station outside in winter?
Yes, home weather stations are designed for year-round outdoor use. Winter preparation is mostly about battery replacement with lithium cells, ice management on the anemometer, and clearing heavy snow from the rain gauge. Avoid using metal tools or sharp objects near the sensors, as they can damage the cups and housing.
Conclusion
Learning how to maintain a home weather station through the seasons is mostly about building a small, repeatable routine. A quick spring deep clean, a summer solar panel wipe-down, a fall battery swap, and a winter monitor pass will keep your station running accurately for over a decade. Block 60 minutes on your calendar this weekend and start with the rain funnel. Every other task grows naturally from there.