
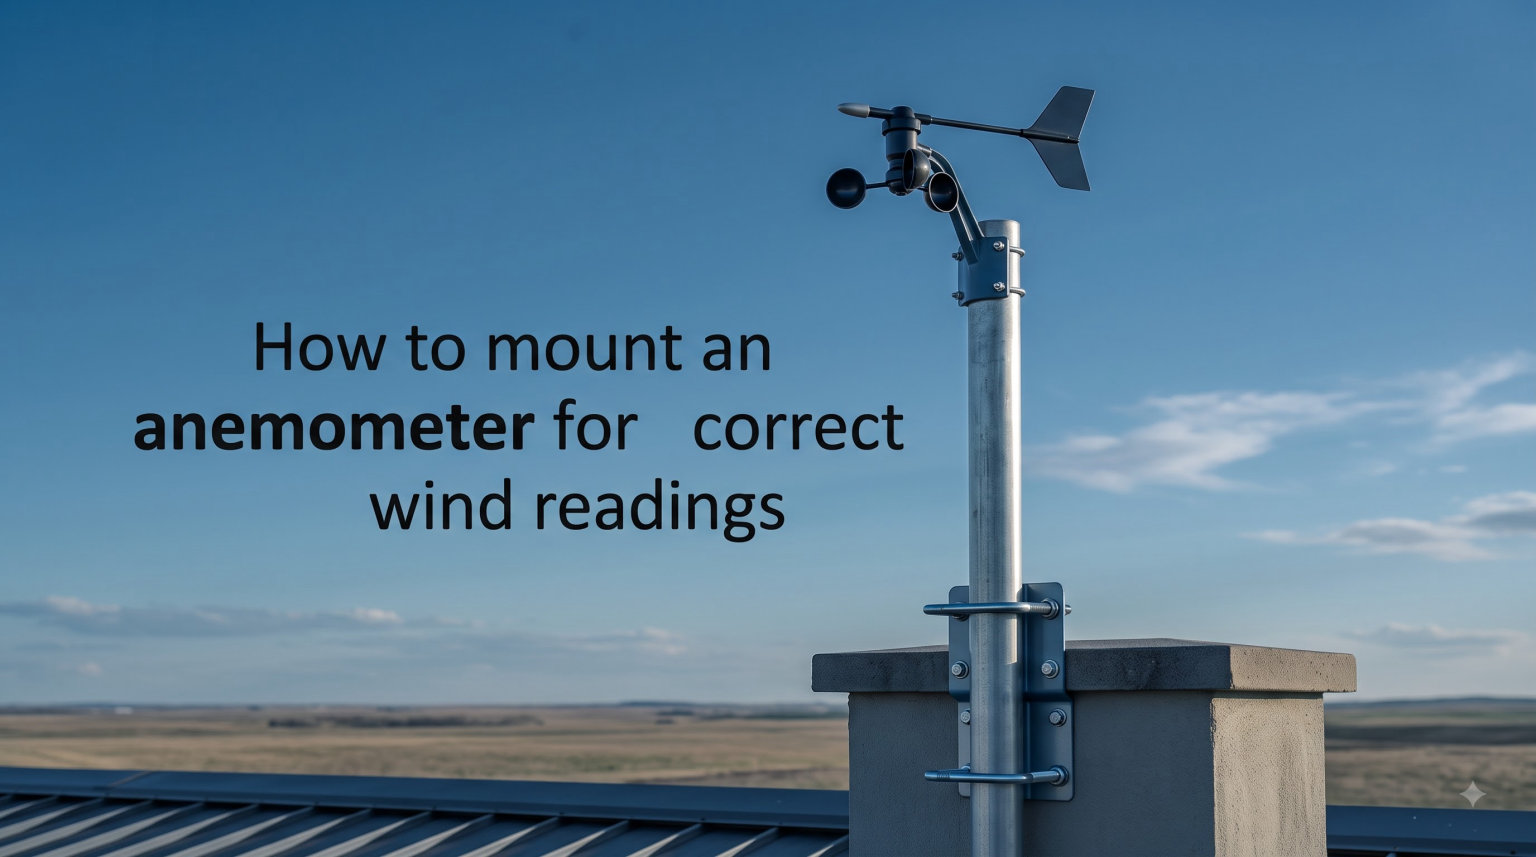
An anemometer is only as accurate as the spot where you mount it. I have seen expensive sensors produce completely meaningless data simply because they were bolted to the wrong side of a roof or placed too close to a tree line. Wind is one of the most easily disturbed measurements in all of meteorology.
If you want to learn how to mount an anemometer for correct wind readings, this guide walks you through every decision: where to place it, how high to go, how to avoid turbulence, and how to align the wind vane to true north. The World Meteorological Organization (WMO) standard calls for 10 meters (33 feet) of elevation over flat, open terrain. Most home installations cannot hit that mark, but you can get close enough for trustworthy data.
The three things that matter most are location, height, and alignment. Get those right and your weather station will give you readings you can actually trust and compare against nearby stations.
Table of Contents
Choosing the Right Location: Siting Principles
Location is the single biggest factor in getting correct wind readings. The best place to mount an anemometer is in an open area, as far as possible from anything that blocks or redirects wind flow. Think of wind like water: any obstacle in its path creates ripples, eddies, and dead zones downstream.
Meteorologists use the term “exposure” to describe how freely wind can reach your sensor. Good exposure means open sky in all directions with minimal obstructions. Poor exposure means buildings, trees, or terrain features are interfering with the air stream before it hits your anemometer.
Not all obstructions affect wind the same way. Hard objects like buildings, chimneys, and solid fences create sharp, chaotic turbulence. Soft objects like trees and hedges create a gentler but still significant disturbance. Both types degrade your readings, but hard objects are worse because they generate more intense eddies that extend farther downwind.
Walk your property and look at every direction the wind can come from. If you see trees, buildings, or hills within 50 meters, those objects will affect your data to some degree. The goal is to maximize the distance between your anemometer and the nearest obstruction in every direction.
The 2x Height Rule: Distance From Obstructions
The most practical distance rule comes from professional weather station placement standards: mount your anemometer at least two times the height of any large hard object within a 50-meter radius. This is known as the 2x height rule, and it gives you a concrete way to evaluate any potential mounting site.
Here is how it works. If you have a two-story house that is roughly 8 meters tall, your anemometer needs to be at least 16 meters away from that house. Alternatively, it needs to be mounted high enough that the top of the house sits well below the sensor when measured from the sensor’s perspective.
For buildings specifically, a stricter guideline applies: place the anemometer at least three building heights away horizontally. So that same 8-meter house would require 24 meters of clearance. If you cannot achieve that distance, you must compensate by going higher, mounting the sensor above the roofline by at least the height of the nearest obstruction.
Soft objects like single trees matter too, though slightly less. A mature tree that is 10 meters tall will still create a turbulent wake that extends 5 to 10 times its height downwind. If trees surround your property, consider roof mounting to get above the canopy.
Run this exercise before buying any mounting hardware. Measure the height of nearby obstructions, apply the 2x rule, and determine whether your site can deliver enough clearance. If not, you may need a taller mast or a different location entirely.
Understanding Mounting Height Requirements
How high above ground should an anemometer be placed? The WMO standard is 10 meters, or about 33 feet, above ground level over flat, open terrain. This height gets the sensor above the friction layer where the ground slows wind down, giving you readings that represent the true free-stream wind.
The friction layer, also called the boundary layer, is the zone near the ground where surface roughness reduces wind speed. Below about 7 meters, ground friction can cut your wind readings by 20 to 40 percent compared to what you would measure at 10 meters. The effect is stronger over rough surfaces like forests and weaker over smooth surfaces like water or grass.
For residential installations where 10 meters is not practical, the next best approach is roof mounting. Get the sensor at least 1 meter above the highest point of your roofline. If your roof is already 7 or 8 meters off the ground, adding a 2-meter mast gets you close to the standard. The key is avoiding the turbulent bubble that sits directly on top of a roof surface.
I have tested readings at 5 meters versus 9 meters on the same property. The lower sensor consistently reported wind speeds 15 to 25 percent below the higher one. Height is not a minor detail. It changes your numbers dramatically.
How to Avoid Turbulent Wake Zones?
Turbulence is the enemy of accurate wind measurement. When wind hits a building, tree, or hill, it does not simply stop. It flows over, around, and behind the obstacle, creating a chaotic zone called the turbulent wake. Inside this wake, wind speed varies wildly from second to second, and direction can shift by 180 degrees or more.
If your anemometer sits inside a wake zone, your data is essentially random. You will see gust spikes that do not exist, dead periods when wind is actually blowing, and direction readings that spin in circles. None of this reflects real weather conditions.
To get accurate wind speed readings, you need to keep your sensor out of any wake zone. A practical rule is that the turbulent wake from a solid obstacle extends roughly 10 to 15 obstacle heights downwind. A 6-meter-tall building creates disturbed airflow for 60 to 90 meters behind it.
Wake zones also exist above roof surfaces. A flat or pitched roof creates a bubble of turbulent air that typically extends one to two roof heights above the peak. This is why mounting an anemometer directly on a roof surface or on a short 30-centimeter bracket almost always produces poor data. You need to clear that bubble with a mast tall enough to reach undisturbed air.
If you suspect turbulence is affecting your readings, compare your data to a nearby official weather station. If your wind speeds are consistently lower or your direction is erratic, turbulence is the likely culprit.
Mounting the Anemometer Securely
Once you have picked the right location and height, the physical installation needs to be rock solid. Vibration and movement in the mast translate directly into noise in your wind data. Here is a step-by-step process for mounting an anemometer correctly.
Step 1: Choose a mast or pole that is rigid enough to resist wind loads without flexing. For heights up to 2 meters above a roof, a 33-millimeter steel or aluminum pole works well. For freestanding masts over 3 meters, use guy wires or a tripod base for lateral support.
Step 2: Attach the anemometer to the top of the mast using the mounting hardware provided by the manufacturer. The sensor should sit perfectly vertical and level. Use a small bubble level to confirm before tightening everything down.
Step 3: Secure all bolts and clamps firmly. Any looseness allows the sensor to wobble, which corrupts both speed and direction readings. Double-check that the mounting bracket cannot rotate under wind pressure.
Step 4: Route the cable down the mast and into your building, keeping it away from moving parts and sharp edges. Use UV-resistant zip ties every 30 centimeters to secure the cable. Leave a small drip loop where the cable enters the building so water runs off instead of tracking inside.
Step 5: Confirm the anemometer cups or propeller spin freely with no friction. Check that the wind vane rotates a full 360 degrees without sticking. Even a slight drag from a rubbing cable can cause persistent low readings.
Wind Vane Alignment: True North vs Magnetic North
If your anemometer includes a wind vane for direction, alignment is where most people go wrong. The vane must be oriented to true north, not magnetic north. These two are different, and the difference between them is called magnetic declination.
Magnetic declination is the angle between the direction a compass needle points (magnetic north) and the geographic North Pole (true north). Depending on where you live, this angle can be anywhere from a few degrees to over 20 degrees. If you align your wind vane using a compass without correcting for declination, every wind direction reading will be off by that angle.
Here is how to align the vane correctly. First, look up your local magnetic declination using an online tool like the NOAA Magnetic Field Calculator. If your declination is, say, 12 degrees east, your compass needle points 12 degrees east of true north.
Second, use a compass to find magnetic north at your installation site. Then rotate your reference by the declination angle to find true north. For a 12-degree east declination, subtract 12 degrees from your compass bearing to get true north.
Third, align the north marker on your wind vane to that true north reference. Many weather station manuals include a specific procedure for this, often involving a marking on the sensor body. Take your time here because a 15-degree alignment error means every wind direction you log is wrong by 15 degrees.
One alternative is to use the sun or stars to find true north on a clear day, then align the vane to that reference. This avoids compass errors entirely and can be more accurate if done carefully.
DIY Mounting Solutions for Home Weather Stations
You do not need expensive equipment to mount an anemometer properly. Several DIY approaches work well for residential weather stations. The key is ensuring rigidity, proper height, and safe cable routing.
Chimney mounting is a popular option for homes with an existing chimney. Stainless steel chimney straps wrap around the brickwork and support a vertical pole extending 1 to 2 meters above the chimney top. This gets you above the roofline without needing a freestanding mast. Make sure your chimney is structurally sound and that the straps are rated for wind loads.
Roof tripod mounts are another solid choice. A tripod sits on the roof surface and supports a short vertical pole. These are stable, relatively easy to install, and work well when you need the sensor 1 to 3 meters above the roof peak. Look for tripods with adjustable legs to accommodate pitched roofs.
Fence-post masts work for open rural properties. A 3 to 4 meter galvanized steel fence post set in concrete provides a sturdy base. For heights above 4 meters, add three guy wires anchored at 120-degree intervals for stability.
For educators and students building a weather station on a budget, a PVC pipe mast with guy wires can work for short-term or experimental setups. Keep in mind that PVC flexes more than metal, so it is not ideal for permanent installations or heights above 2 meters.
Final Checks After Installation
Before you declare the job done, run through a quick verification checklist. These five checks take ten minutes and catch most installation problems.
Check one: spin the anemometer cups by hand and confirm the display registers a reading. Do the same for the wind vane by rotating it through a full circle and watching the direction output change smoothly.
Check two: verify the mast is level and the sensor head is vertical. Use a bubble level on the mounting bracket, not just the pole. A tilted sensor biases both speed and direction.
Check three: tug gently on the mast to confirm it does not wobble or rotate. Wind loads are significant, and what feels sturdy on a calm day may flex in a storm.
Check four: compare your readings to a nearby official weather station or an online source like Weather Underground. Your speeds should be within 10 to 15 percent and your direction within about 20 degrees after accounting for local terrain differences.
Check five: confirm the cable is secured, has a drip loop, and enters the building through a weatherproof opening. Water intrusion along the cable is a common cause of sensor failure.
Common Mistakes That Ruin Wind Readings
Forum discussions on Reddit communities like r/meteorology and r/myweatherstation reveal the same mistakes again and again. Here are the ones I see most frequently, along with how to avoid them.
Mistake one is mounting the anemometer too close to the roof surface. A sensor sitting 30 centimeters above shingles reads the turbulent roof bubble, not real wind. You need at least 1 meter of clearance above the roof peak, preferably more.
Mistake two is ignoring trees. Many people assume trees are harmless because they are soft objects. In reality, a mature tree line creates a turbulent wake that extends 5 to 10 tree heights downwind. A 10-meter tree wall affects airflow for 50 to 100 meters behind it.
Mistake three is using a flimsy mast that vibrates in the wind. Vibration adds noise to both speed and direction data. If your mast visibly shakes in a breeze, it is too thin or too tall without guy wire support.
Mistake four is aligning the wind vane to magnetic north without applying declination correction. This is the most overlooked step, and it silently corrupts every direction reading you collect.
Mistake five is never validating against a reference. If you have no way to check whether your readings are reasonable, you have no way to catch problems. Find a nearby station and compare data regularly, especially during the first few weeks after installation.
Frequently Asked Questions
Where is the best place to mount an anemometer?
The best place is an open area with minimal obstructions in all directions, following the 2x height rule: mount at least two times the height of any large hard object within a 50-meter radius. Flat rooftops, open fields, and hilltops with clear exposure are ideal. Avoid locations surrounded by buildings or trees, and prioritize getting the sensor above the turbulent wake zone created by nearby obstacles.
How do you get accurate wind speed readings?
To get accurate wind speed readings, mount the anemometer at the correct height (ideally 10 meters per WMO standards), keep it well clear of obstructions that create turbulence, ensure the mast is rigid and vibration-free, and verify the sensor spins freely without friction. Compare your data to a nearby official weather station to confirm your readings fall within an expected range.
How do you install an anemometer step by step?
First, choose a mast or pole tall enough to clear nearby obstructions. Second, attach the anemometer to the mast top using the provided hardware and confirm it is level. Third, tighten all bolts so nothing wobbles under wind pressure. Fourth, route the cable down the mast with a drip loop at the building entry point. Fifth, verify the cups spin freely and the wind vane rotates a full 360 degrees before powering on.
How high above ground should an anemometer be placed?
The WMO standard is 10 meters (33 feet) above ground over open, flat terrain. For residential installations, this is often impractical, so aim to get the sensor at least 1 meter above the highest point of your roofline. The key is clearing the friction layer near the ground and the turbulent bubble above roof surfaces. Below 7 meters, ground friction can reduce wind readings by 20 to 40 percent.
Conclusion
Learning how to mount an anemometer for correct wind readings comes down to three core principles: location, height, and alignment. Pick an open site that follows the 2x height rule for any hard obstruction within 50 meters. Get the sensor as close to 10 meters above ground as practical, or at least 1 meter above your roof peak. Align the wind vane to true north by correcting your compass reading for local magnetic declination.
Mount the sensor on a rigid mast that does not vibrate, secure every bolt, and route the cable with a drip loop. Then validate your data against a nearby reference station to catch any remaining issues.
The difference between a well-mounted anemometer and a poorly mounted one is not subtle. It is the difference between data you can trust and numbers that mean nothing. Take the time to get the siting right, and your weather station will reward you with accurate readings for years to come.