
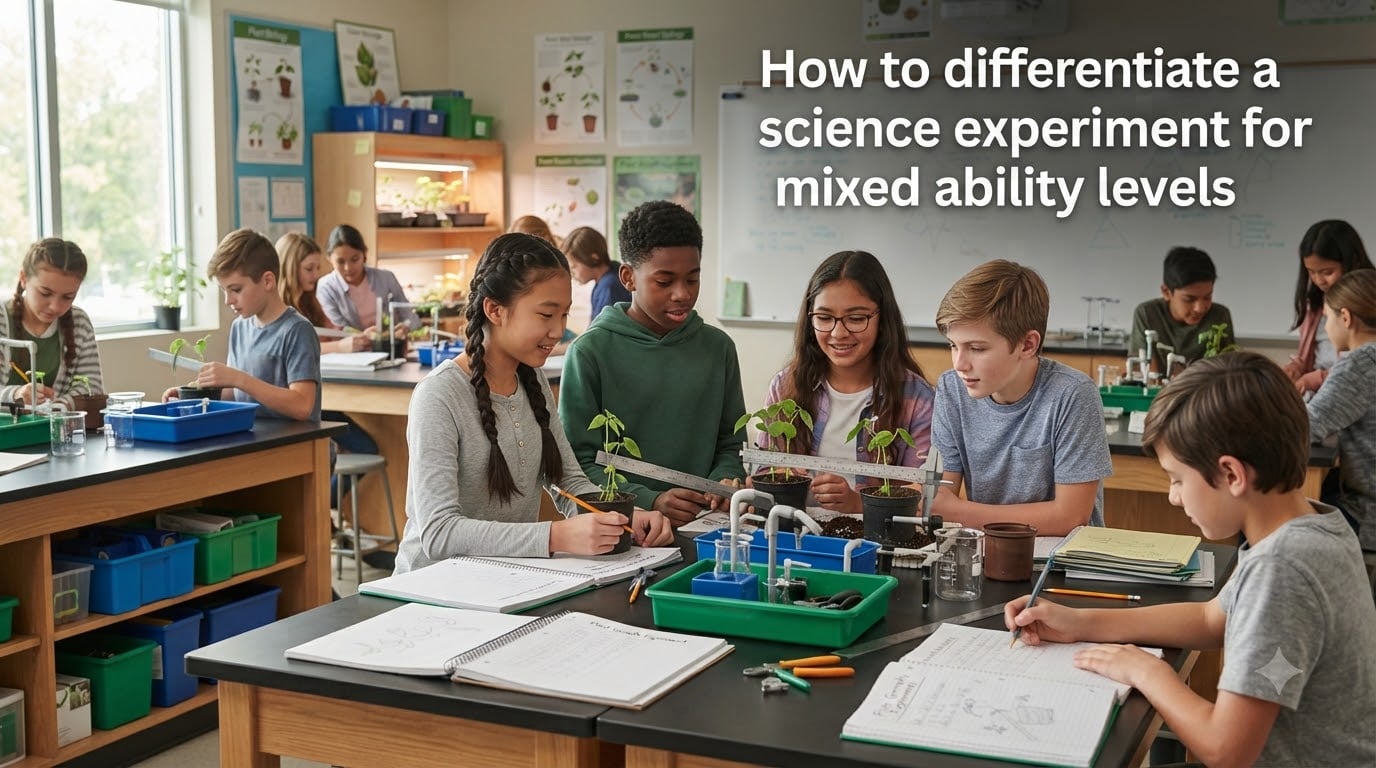
Science classrooms are rarely tidy. You might have 28 students ranging from a child who already reads grade-level data confidently to another who struggles with measurement tools. When the experiment starts, one finishes early and looks bored while another shuts down after step two. That gap is exactly why teachers need to know how to differentiate a science experiment for mixed ability levels.
Differentiation does not mean writing three separate lesson plans. It means building one experiment with multiple entry points so every student can engage at the right level of challenge. When done well, advanced learners stay stretched and struggling learners stay supported, all during the same activity.
Our team works with science teachers every day, and the most common worry we hear is this: “I do not have time to plan three different labs.” That concern is valid, and the good news is you do not have to. This guide walks through concrete strategies, real experiment examples, and a framework you can apply tomorrow without triple planning.
You will learn the four pathways of differentiation, how to pre-assess readiness, how to build tiered experiment procedures, how to group students flexibly, and how to keep rigour high for everyone. By the end, you will have a repeatable approach to take into any hands-on science lesson.
Table of Contents
What Differentiated Science Experiments Actually Mean?
Differentiated instruction in science means tailoring content, process, and product so that each student meets the same learning objective through a path that fits their readiness, interest, and learning needs. The destination stays constant. The route changes.
In a science experiment specifically, this looks like adjusting how much structure you give, how complex the procedure is, what data students collect, or how they show their understanding. A student still learns about photosynthesis, for example, but one measures growth with standard intervals while another designs a variable to test light intensity.
Many teachers confuse differentiation with making things easier. It is not about lowering expectations. It is about removing barriers so students can access the grade-level standard and grow from there. Struggling learners still learn the core concept. Advanced learners still face genuine challenge.
Think of it like a climbing wall. Everyone climbs the same wall, but some students use more holds than others. The goal at the top is the same. The support along the way is what changes.
The 4 Pathways of Differentiation in Science Labs
The four pathways of differentiation come from the work of Carol Ann Tomlinson, and they map beautifully onto science experiments. Each pathway gives you a lever you can pull without rewriting your whole lesson. Let us break them down.
1. Content: What Students Learn
Content differentiation means changing how students access the core concept. In a science lab, this often means adjusting reading levels in background materials, providing vocabulary support, or offering different entry texts.
Before a density experiment, for example, some students might read a short passage at a simpler reading level while others read the grade-level text. You could also give advanced students a primary source or a short research paper on Archimedes. The lab stays the same. The on-ramp changes.
2. Process: How Students Learn
Process differentiation is about the thinking students do during the experiment. You can scaffold with sentence starters, graphic organizers, or partially filled data tables for students who need structure. Advanced students might get an open-ended prompt with no template.
Visual learners benefit from labelled diagrams of the equipment. Kinesthetic learners benefit from manipulating the materials first. Auditory learners benefit from discussing predictions before starting. All of these are process shifts that fit inside one lesson.
3. Product: How Students Show What They Know
Product differentiation means giving students choice in how they demonstrate learning after the experiment. Some students might write a lab report with a structured template. Others might create an infographic, record a short video explanation, or design a follow-up experiment.
Choice boards work well here. Offer four or five product options and let students pick the one that fits their strengths. The rubric stays focused on the same learning objectives, so assessment stays fair.
4. Learning Environment: The Conditions for Learning
Learning environment differentiation means adjusting the physical and emotional space of your classroom. Some students need a quiet corner to process data. Others thrive in collaborative groups. Some need noise-cancelling headphones during independent work.
Routines matter too. Clear lab roles, posted procedures, and predictable transitions help all students but especially those who struggle with executive function or anxiety during open-ended tasks.
Pre-Assessment: Find Out Where Each Student Stands
You cannot differentiate effectively if you do not know where students are starting. Pre-assessment gives you the data to make grouping decisions, choose tier levels, and anticipate where confusion will arise.
Pre-assessment does not need to be formal or time-consuming. A quick exit ticket the day before, a short diagnostic question on the board, or a KWL chart at the start of class all work. The key is gathering useful information fast.
Here are four pre-assessment strategies that work well for science experiments. Each takes under ten minutes.
Strategy one: Predict-Explain question. Show students the materials they will use and ask them to predict what will happen and explain why. Their responses reveal both prior knowledge and reasoning ability, which helps you assign tier levels.
Strategy two: Vocabulary check. List five key terms from the experiment. Ask students to put a checkmark next to words they could explain to a friend. This tells you who needs vocabulary support before the lab begins.
Strategy three: Skills inventory. Ask students to rate their confidence with specific skills the experiment will require, such as measuring with a graduated cylinder or reading a graph. Students who rate themselves low on multiple skills may need a scaffolded procedure or a partner who can model.
Strategy four: Prior knowledge probe. Give a short three-question quiz on foundational concepts. Use the results to pull a small group for a quick pre-teach while the rest of the class reviews independently.
Keep the data simple. You do not need a spreadsheet with 28 rows. A clipboard note with three groups, ready, almost ready, and ready for extension, is enough to guide your decisions.
Tiered Experiment Activities: Simplified, Standard, and Extended
Tiering is one of the most powerful tools for differentiating science experiments. Instead of three separate labs, you build one experiment with three levels of complexity. Every student investigates the same core question, but the depth of inquiry varies.
Let us walk through a concrete example using a classic experiment on factors that affect plant growth. The learning objective for everyone is: students will design and conduct an experiment to test how one variable affects plant growth.
Simplified tier. Students receive a partially prepared setup with three plants already labeled. Their task is to water one with plain water, one with salt water, and one with sugar water over two weeks. They use a pre-made data table and a sentence-frame conclusion template. The focus stays on observation skills and basic data collection.
Standard tier. Students select one variable from a provided list, such as light, water, or soil type. They write their own hypothesis, design the procedure with guidance, and build their own data table. The conclusion uses a guided graphic organizer that prompts for evidence and reasoning.
Extended tier. Students design an experiment from scratch, choosing any variable and justifying their choice. They collect both quantitative and qualitative data, create a graph of their results, and write a full lab report that connects their findings to a real-world context such as agriculture or climate. They also propose a follow-up question for future research.
Notice what stays the same across all three tiers. Every student works with plants. Every student collects data. Every student draws a conclusion based on evidence. The learning objective holds for everyone. What changes is the level of independence and the complexity of the thinking required.
This approach works because it is scalable. You can apply the same three-tier structure to pendulum experiments, density towers, pH testing, or any hands-on investigation. Identify the core objective, then design backwards from the standard tier, adding scaffolds below and extensions above.
Flexible Grouping Strategies That Work in Lab Time
Flexible grouping means that student groups change based on the task, the objective, and the needs of the moment. No student is permanently labeled as the low group or the high group. This matters because ability grouping that feels permanent damages confidence and motivation.
In science labs, flexible grouping has practical benefits too. Hands-on activities require roles, materials, and shared responsibility. Getting the grouping right makes the difference between a smooth lab and a chaotic one.
Here are four grouping approaches that work well for mixed-ability science experiments.
Readiness groups. Group students by pre-assessment results for specific skill work. A teacher might pull a small group that needs help with measurement tools while the rest work independently. These groups form and dissolve quickly, often within a single lesson.
Mixed-ability pairs. Pair a stronger student with one who needs more support. The stronger student benefits from explaining, which deepens their own understanding. The supported student gets peer help. Rotate pairs regularly so no student feels permanently stuck in the helper or helped role.
Interest groups. When students choose their experiment variable or research topic, group them by shared interest. Interest-based groups tend to be naturally mixed in ability, and students stay more engaged when they chose the topic.
Choice-based groups. Let students self-select into tiered activities after you explain each option. Students often choose accurately when the options are described clearly and without judgment about difficulty. They also take more ownership when they chose their path.
The secret to making flexible grouping work is transparency. Tell students that groups change because different tasks need different combinations of people, not because some students are smarter than others. When the reasoning is clear, students stop attaching their self-worth to group assignments.
Scaffolding for Struggling Learners Without Lowering the Bar
Scaffolding is temporary support that helps a student reach a goal they could not reach alone. The support fades as the student becomes more capable. Done well, scaffolding keeps rigour high while removing barriers.
In science experiments, scaffolding strategies that work include partially completed lab templates, sentence starters for hypotheses and conclusions, visual procedure cards with photos of each step, and vocabulary glossaries with diagrams. Each of these removes a specific barrier without changing the learning goal.
Another effective scaffold is the worked example. Show students a completed data table or a sample conclusion before they write their own. Seeing a model helps struggling learners understand what success looks like without you doing the thinking for them.
Small-group instruction during lab time is also a scaffold. While most students work in pairs, you can pull three or four students for guided practice on a specific skill like measuring precisely or reading a meniscus. This targeted support is often more effective than written scaffolds alone.
The key principle is that scaffolding is temporary. Build a plan to fade support over time. A student who used a full sentence-frame template last week might use just a word bank this week and nothing next month. That gradual release is what keeps the bar high while still providing a ladder.
Extension Activities for Advanced Students
Extension is not just more of the same work. Giving an advanced student twenty more data points to graph is not extension, it is punishment. Real extension pushes students to think more deeply, make broader connections, or apply their knowledge in new contexts.
Effective extension strategies in science experiments include having students design and run a follow-up investigation, connect findings to a real-world issue like climate change or public health, analyze their data using a more advanced method, or research the history of the scientific discovery behind the experiment.
Open-ended inquiry is another strong extension. After completing the standard experiment, advanced students might ask their own question and design a mini-investigation to answer it. This develops genuine scientific thinking rather than just following a procedure faster.
Choice menus work well for extensions too. Offer three or four extension options and let advanced students pick what interests them. One might write a persuasive letter about an environmental issue related to the experiment. Another might build a model. A third might create a podcast explaining the science.
One caution from experienced teachers: be prepared for resistance. Some high achievers prefer the comfort of getting the standard work right and may push back on extension tasks. Frame extension as a privilege and an opportunity rather than extra homework. When the tasks are genuinely interesting, most students engage willingly.
Managing Lab Stations With Mixed Abilities
Hands-on lab time is where differentiation gets tested. You have materials to distribute, safety to monitor, and students moving at different speeds. Good station management keeps everyone engaged and safe.
One effective approach is the rotating station model. Set up three or four stations around the room, each focused on a different aspect of the experiment or a different tier. Students rotate through based on a pre-assigned schedule. This lets you cluster support where it is needed and gives advanced students independent work while you guide others.
Clear lab roles also help. Assign roles like materials manager, recorder, timekeeper, and safety monitor. Rotate roles across lessons so every student develops every skill. Roles give structure to group work and prevent one student from dominating while another watches passively.
Post visual timers at each station so students can pace themselves. Provide check-in points where every group pauses and reviews their progress before moving on. These checkpoints give you a natural moment to redirect, answer questions, or challenge a group that is racing ahead.
Have a fast-finisher plan ready. A small box of challenge cards at each station gives quick students something meaningful to do without disrupting the flow. Include puzzles, brain teasers, or extension questions related to the experiment.
Finally, rehearse transitions before the experiment starts. Practice moving between stations quietly and safely. A two-minute rehearsal at the start saves ten minutes of chaos later.
Common Pitfalls to Avoid
Even experienced teachers hit snags with differentiation. Here are the most common pitfalls and how to avoid them, drawn from what teachers report in forums and from our own work with science departments.
Pitfall one: triple planning. Many teachers burn out trying to create completely separate lessons for each ability level. The tiered approach prevents this because one experiment branches into three levels, not three separate experiments.
Pitfall two: obvious ability labeling. Students notice when the blue group always gets the easy worksheet. Use flexible grouping, mixed-ability pairs, and choice-based tiers so group membership changes and no one feels permanently sorted.
Pitfall three: busywork extensions. Extra worksheets are not extensions. They breed resentment and waste time. Design extensions that are genuinely more challenging and more interesting, not just longer.
Pitfall four: forgetting formative assessment. Differentiation only works if you keep checking whether students are learning. Build quick checks into each lesson so you can adjust tiers and groups as needed.
Pitfall five: going it alone. Talk with your science department colleagues. Share tiered templates, pre-assessment tools, and extension ideas. Differentiation gets easier when it becomes a shared practice rather than an individual burden.
Frequently Asked Questions
What are the 4 methods of differentiation?
The four methods of differentiation are content, process, product, and learning environment. Content is what students learn, process is how they engage with it, product is how they demonstrate understanding, and learning environment is the physical and emotional setting for learning. In science experiments, these pathways let you adjust reading levels, scaffolding, assessment options, and classroom setup without creating separate lessons.
How to differentiate in a mixed-ability classroom?
Start by pre-assessing where students are, then use flexible grouping and tiered activities so everyone works toward the same objective at the right level of challenge. In science, this means building one experiment with multiple entry points, offering scaffolds for struggling learners, extensions for advanced students, and rotating groups based on the task rather than fixed ability labels.
What are the 3 P’s of differentiation?
The 3 P’s of differentiation refer to presentation, process, and product. Presentation is how content is delivered to students, process is how students engage with and make sense of the material, and product is how students show what they have learned. These align closely with the four pathways and give teachers a quick framework for planning differentiated science lessons.
What is the 70 30 rule in teaching?
The 70 30 rule in teaching suggests that roughly 70 percent of class time should involve active student learning and practice, while about 30 percent should be teacher-led instruction. In a differentiated science classroom, this means minimizing lecture and maximizing hands-on investigation, peer discussion, and independent or small-group work where differentiation actually happens.
Bringing It All Together
Learning how to differentiate a science experiment for mixed ability levels is a skill that compounds over time. Start with one experiment, one set of tiers, and one pre-assessment. Build the habit gradually rather than overhauling every lesson at once.
The framework is simple and repeatable. Pre-assess to find where students stand, tier the experiment so complexity matches readiness, group flexibly based on the task, scaffold where needed, and extend for those ready to go further. Every student reaches the same learning objective. The path up the wall looks different for each one.
You do not need triple planning, permanent ability groups, or a classroom of separate worksheets. You need one well-designed experiment with thoughtful entry points and a teacher who knows where each student is starting. That is what makes differentiation work in real classrooms.