
When my neighbor asked me to help him set up power at his remote cabin last spring, I realized how confusing the world of solar can feel when you are just starting out. He had read three different guides, watched a dozen YouTube videos, and still felt unsure about what he actually needed. That experience is what inspired this guide.
The best solar panel kits for DIY off-grid beginners are pre-packaged systems that bundle panels, a charge controller, wiring, and often batteries and an inverter into a single purchase. They take the guesswork out of sourcing compatible parts, and most can be installed with basic hand tools over a weekend. In this guide, I will walk you through what these kits include, how to size one for your needs, and what to look for before you spend a dime.
Whether you are powering a cabin, an RV, a shed, or prepping for emergencies, this article covers everything I wish someone had told me before my first solar install. I will share what the research actually shows, what real beginners struggle with, and how to avoid the mistakes that cost me time and money.
Table of Contents
What Is a DIY Off-Grid Solar Panel Kit?
A DIY off-grid solar panel kit is a pre-packaged system that includes solar panels, mounting hardware, a charge controller, and often batteries and an inverter. It is designed for beginners to install without hiring a professional electrician.
The basic idea is simple. Solar panels capture sunlight and convert it into direct current (DC) electricity. That electricity flows through a charge controller, which regulates voltage and prevents your batteries from overcharging. The batteries store the power for use at night or on cloudy days. Finally, an inverter converts the stored DC power into alternating current (AC) so you can run household appliances like laptops, lights, and small refrigerators.
What makes a kit different from buying parts individually is that everything is matched and tested to work together. You do not have to worry about whether your charge controller can handle your panel output, or whether your inverter is sized correctly for your battery bank. For a first-timer, that peace of mind is worth the slightly higher upfront cost.
Types of Solar Panel Kits for Beginners?
Solar kits come in several shapes, and the right one depends on what you are trying to power. Here are the four main categories most beginners will encounter.
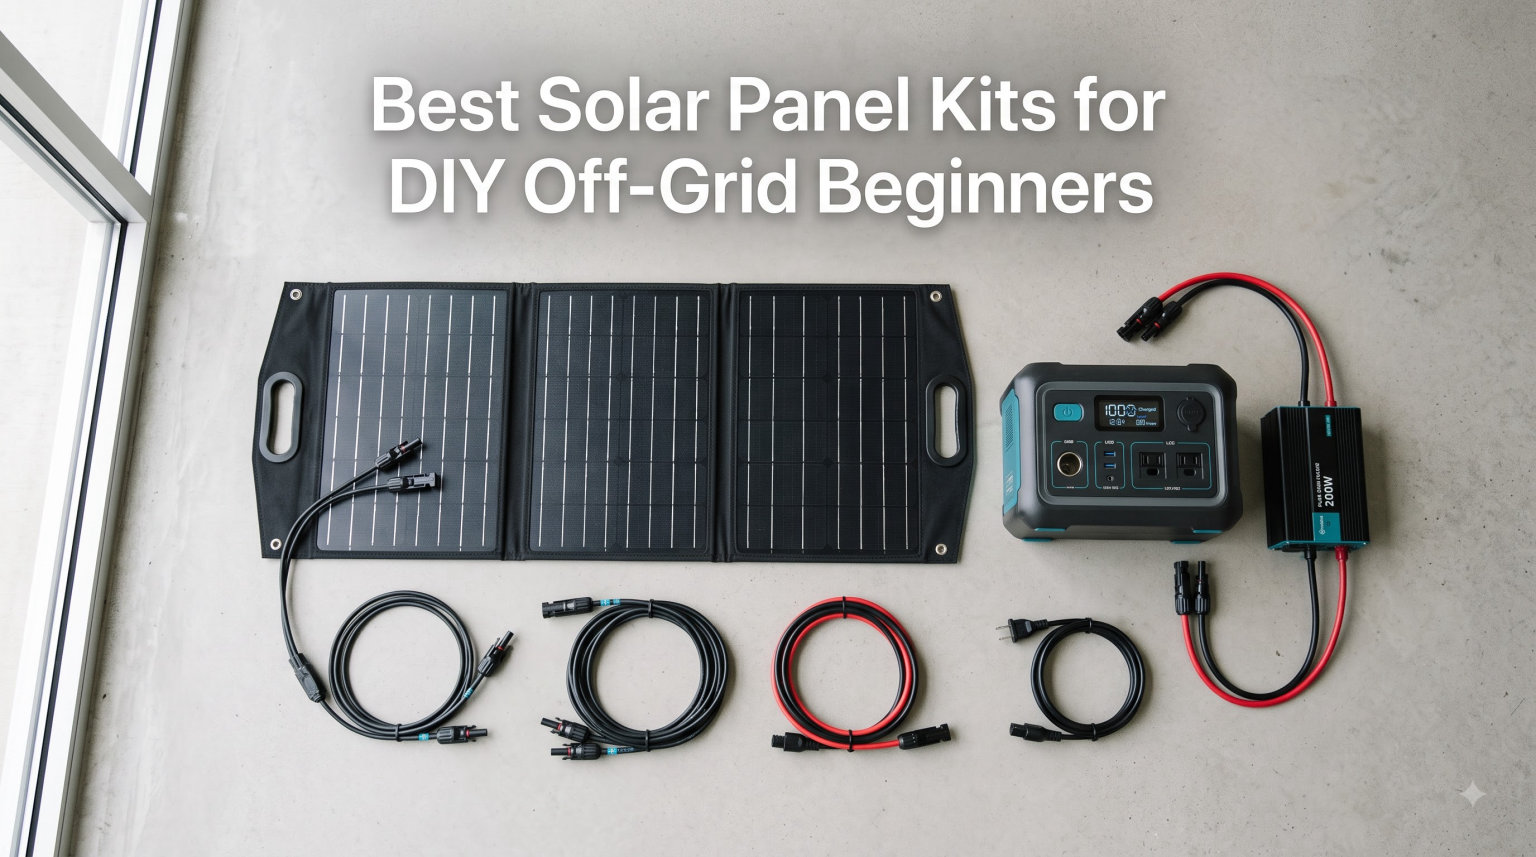
Portable solar kits are the lightest and most beginner-friendly. These are usually foldable panels rated between 50W and 200W that pair with a small power station. They are ideal for camping, emergency backup, and short RV trips. Setup takes about five minutes and requires no tools.
Cabin solar kits are designed for permanent or semi-permanent installations at remote properties. They typically include rigid panels in the 200W to 800W range, a wall-mountable inverter/charger combo, and a battery bank. These kits require some mounting work and basic wiring but are still very approachable for beginners with a drill and a wire stripper.
RV and van life kits are built around vibration-resistant panels and compact components that fit into tight spaces. They usually include 100W to 400W of panels, an MPPT charge controller, and a pure sine wave inverter. Many RV kits are expandable, letting you start small and add panels later.
Complete home backup kits are the largest option and can power essential circuits during outages or run an entire small home off-grid. These typically start at 3kW and require more careful planning, heavier gauge wiring, and sometimes a permit. I usually recommend beginners start smaller and graduate to these systems once they understand their energy use.
Solar Kit Components Explained
Every off-grid solar kit shares four core components. Understanding what each one does will save you from buying the wrong system.
Solar panels are the most visible part. Most modern kits use monocrystalline panels because they are more efficient than older polycrystalline versions. Look for panels with an aluminum frame and a tempered glass surface. Wattage ratings range from 50W for portable panels to 400W+ for residential installations.
Charge controllers sit between the panels and the batteries. They have one job: prevent overcharging. There are two types. PWM (Pulse Width Modulation) controllers are cheaper and work fine for small systems. MPPT (Maximum Power Point Tracking) controllers are 20 to 30 percent more efficient, especially in cold or cloudy weather. For any system over 200W, I always recommend MPPT.
Batteries store the energy your panels produce. The three main types are lead-acid (cheapest, shortest life), AGM (sealed, maintenance-free, mid-price), and lithium (longest life, lightest, highest upfront cost). For most beginners, lithium batteries now offer the best long-term value despite the higher sticker price.
Inverters convert DC battery power into the AC power your appliances use. Pure sine wave inverters produce clean electricity that works with sensitive electronics. Modified sine wave inverters are cheaper but can cause buzzing in audio equipment and may damage some modern devices. Always choose pure sine wave for an off-grid system.
How to Choose the Right Solar Kit for Your Needs?
Choosing the best solar panel kits for DIY off-grid beginners comes down to three questions: how much power do you need, where will you install it, and how much can you spend. Let me break down each one.
Assess your power needs first. List every appliance you plan to run, how many watts it draws, and how many hours per day you will use it. Multiply watts by hours to get watt-hours, then add everything up. A typical weekend cabin setup with LED lights, phone charging, a laptop, and a small fridge uses around 1,500 to 2,500 watt-hours per day.
Match the kit to your location. Roof-mounted kits need brackets and flashing. Ground-mounted kits need a frame or pole. Portable kits need nothing at all. Think about sun exposure, wind load, and how far the panels will be from your battery bank. Long wire runs reduce efficiency.
Set a realistic budget. A quality 200W starter kit with batteries and inverter runs between 800 and 1,500 dollars. A full cabin system in the 800W range starts around 3,000 dollars. Anything priced much lower usually means corners were cut on the charge controller or inverter, and you will pay for it later.
Plan for expansion. Most beginners underestimate their future power needs. Buy a kit with an MPPT charge controller that can handle at least 50 percent more panel wattage than you install today. Adding a second panel later is then a simple matter of mounting and wiring.
How to Calculate What Size Kit You Need?
Sizing is where most beginners get stuck. The math is not complicated once you know the steps. Here is the method I use with every first-time installer I help.
Step 1: Calculate daily energy use. Add up the watt-hours for every device you plan to run. A 60W laptop used for 5 hours equals 300Wh. A 10W LED light running 6 hours equals 60Wh. A small fridge (60W average draw) running 24 hours equals 1,440Wh. Your total becomes your daily target.
Step 2: Account for sun hours. Most of North America gets 4 to 5 peak sun hours per day on average. Divide your daily watt-hours by peak sun hours to find the minimum panel wattage you need. If you need 2,000Wh per day and get 4 sun hours, you need at least 500W of panels.
Step 3: Size the battery bank. Decide how many days of backup you want. Multiply your daily use by that number, then divide by 0.85 (to account for inverter losses) and by 0.5 (the safe discharge depth for lead-acid) or 0.8 (for lithium). For 2,000Wh per day with one day of backup and lithium batteries, you need roughly 2,900Wh of battery capacity.
Step 4: Pick an inverter. Add up the running watts of everything you might power at the same time, then multiply by 1.25 for safety margin. If you might run a 600W microwave and a 200W laptop simultaneously, you need at least a 1,000W inverter.
Can Beginners Install Solar Kits Themselves
Yes, most beginners can install a complete off-grid solar kit themselves, provided they pick a kit sized for DIY installation and follow the manual. The level of difficulty depends mostly on kit size and mounting location.
For a portable or small ground-mount system, installation is little more than plugging in MC4 connectors and bolting panels to a frame. Most people with basic hand tools can complete this in under two hours. Wiring the battery and inverter involves low-voltage DC connections that do not require an electrician’s license in most areas.
For a rooftop or whole-home installation, expect a longer project. Mounting panels on a roof involves working at height, drilling into rafters, and sealing penetrations against leaks. Most beginners can do this with a helper, a sturdy ladder, and a weekend of focused work. Some jurisdictions require a permit and inspection for permanent rooftop systems, even off-grid.
My honest advice is to start with a small portable or ground-mount kit for your first project. You will learn how the components work together without risking damage to your home or yourself. Once you have a season of experience, scaling up becomes much less intimidating.
What to Look for When Buying a Solar Kit
Here is a quick checklist I share with every first-time buyer. If a kit fails more than two of these points, I usually keep looking.
Check the charge controller type. MPPT is worth the premium for systems over 200W. PWM is acceptable for small portable setups only.
Verify the inverter is pure sine wave. Modified sine wave inverters can damage laptops, medical devices, and anything with a motor. Pure sine wave is the safe choice.
Look at the warranty length. Quality panels carry a 25-year power output warranty. Inverters and charge controllers should have at least a 5-year warranty. Batteries vary, with lithium typically warrantied for 10 years.
Confirm the connector types. MC4 connectors are the industry standard. Adapters and proprietary connectors are red flags for quality and compatibility.
Read the included documentation. Good kits include a wiring diagram, a parts list, and a step-by-step manual written for non-electricians. If the manual assumes you already know what you are doing, the manufacturer is not catering to beginners.
How Much Does a Complete DIY Solar Kit Cost
A complete DIY off-grid solar kit costs between 800 and 5,000 dollars, depending on size and component quality. Here is a realistic breakdown based on current 2026 pricing.
Entry-level kits in the 100W to 200W range with a basic PWM charge controller and no battery start around 200 to 400 dollars. These work for sheds, small electronics, and emergency phone charging. Adding a 100Ah lithium battery brings the total closer to 800 dollars.
Mid-range kits in the 400W to 800W range with an MPPT controller, lithium batteries, and a pure sine wave inverter typically run between 2,000 and 4,000 dollars. This is the sweet spot for cabin and full-time RV use.
Large whole-home systems in the 3kW to 5kW range start around 5,000 dollars and scale up based on battery capacity. A 3kW system with 10kWh of lithium battery storage, enough to run a small home, lands around 12,000 to 15,000 dollars.
Cost per watt is a useful comparison metric. Quality kits average 1.00 to 1.50 dollars per watt for the panels alone. Anything significantly under 1 dollar per watt usually means outdated components or thin warranties.
Seasonal Performance and Winter Considerations
Solar panels produce less power in winter, and any beginner going off-grid needs to plan for this. Output drops roughly 10 to 25 percent from summer to winter in most temperate regions, and even more on cloudy days.
The two biggest factors are sun angle and daylight hours. In December, the sun sits lower in the sky and days are shorter. Panels produce peak output when the sun hits them perpendicular to the surface, so a steep winter tilt can recapture some lost production.
Snow coverage is a temporary problem that usually resolves itself if you mount panels at a 30-degree angle or steeper. Snow slides off, and the dark cells generate heat that helps melt any remaining patches.
To size a system that works year-round, calculate your winter daily use and add a 30 percent buffer. Many beginners oversize their battery bank to compensate for shorter charging windows, which is cheaper than doubling their panel array.
Permits and Code Compliance for Off-Grid Solar
Off-grid does not always mean permit-free. Rules vary widely by state, county, and country, so check with your local building department before installing anything more permanent than a portable kit.
In most U.S. jurisdictions, portable solar setups under 300W do not require a permit. Permanent rooftop or ground-mount systems often do, even if they never connect to the utility grid. Common requirements include setbacks from property lines, structural certifications for roof mounts, and electrical inspections of the final wiring.
The good news is that most local building departments are helpful with small residential systems. Many publish solar-specific guides online. Calling ahead and asking what is required for a “limited electrical, off-grid solar installation” usually gets you a clear answer in under five minutes.
Frequently Asked Questions
How much does a complete DIY off-grid solar kit cost?
A complete DIY off-grid solar kit costs between 800 and 5,000 dollars depending on size. Entry-level 100W to 200W kits with a battery start around 800 dollars. Mid-range 400W to 800W systems with lithium batteries and an inverter run 2,000 to 4,000 dollars. Whole-home systems start at 5,000 dollars and scale up based on battery capacity.
What size solar panel kit do I need for an off-grid cabin?
Most off-grid cabins need between 400W and 800W of panels with 5kWh to 10kWh of battery storage. Calculate your daily watt-hour use, divide by 4 peak sun hours, and add a 30 percent buffer for cloudy days. A typical weekend cabin with lights, phone charging, a laptop, and a small fridge uses around 1,500 to 2,500Wh per day.
Can beginners install solar panel kits themselves?
Yes, most beginners can install a complete off-grid solar kit themselves with basic hand tools. Portable kits take under two hours. Ground-mount kits typically take a weekend. Rooftop installations take longer and may require a helper for safety. Start with a small portable or ground-mount project to learn the basics before scaling up.
Do solar panel kits include batteries and inverters?
Not always. Some kits include only panels, mounting hardware, and a charge controller. Complete kits add a battery bank and an inverter. Always check the parts list before buying. If batteries or an inverter are not included, factor in another 500 to 2,000 dollars depending on size and quality.
What is the difference between MPPT and PWM charge controllers?
MPPT (Maximum Power Point Tracking) controllers are 20 to 30 percent more efficient than PWM (Pulse Width Modulation) controllers, especially in cold or cloudy weather. PWM controllers are cheaper and work fine for small systems under 200W. For any larger installation, MPPT is worth the higher upfront cost.
Final Thoughts on Going Solar Off-Grid
The best solar panel kits for DIY off-grid beginners are the ones that match your actual power needs, not the ones with the biggest wattage rating. Start by calculating your daily energy use, pick a kit that comfortably covers it with room to grow, and do not skip the MPPT charge controller if you are over 200W.
For most first-time installers in 2026, a mid-range kit with lithium batteries and a pure sine wave inverter offers the best balance of price, performance, and longevity. Plan your system carefully, budget for the full component list, and remember that going solar is a marathon, not a sprint. Once your system is running, you will wonder how you ever lived without it.