
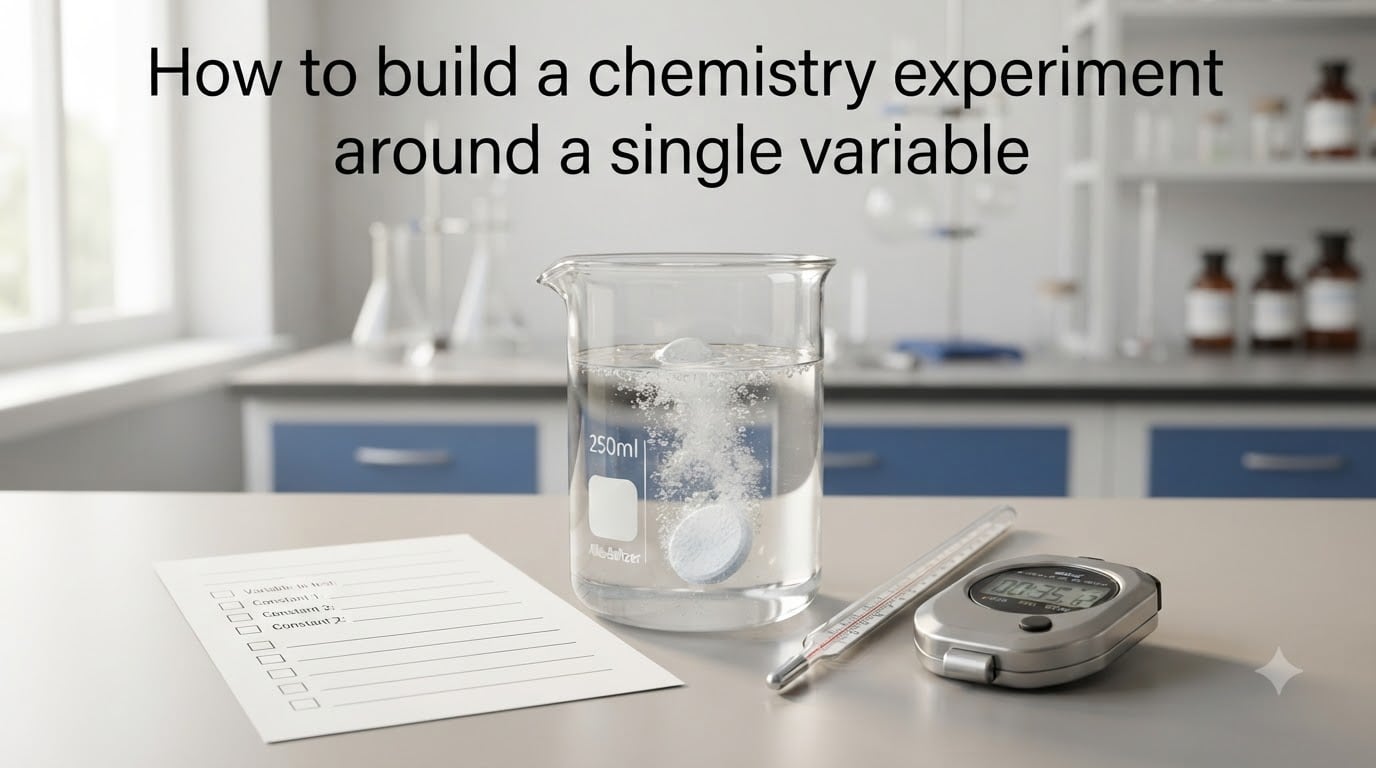
If you have ever mixed two reactants, watched something bubble or change color, and wondered why it happened, you are already thinking like a chemist. The fastest way to turn that curiosity into real knowledge is learning how to build a chemistry experiment around a single variable. This guide walks you through the definition, the variables, the step-by-step build, a worked example, and the mistakes to avoid so your next lab test gives you a clean, trustworthy answer.
I have spent the last decade helping high school and early college students design chemistry labs for science fairs and Internal Assessments, and the single biggest reason an experiment falls apart is the same one every time: more than one thing changed at once. Fix that and your data will speak clearly. Here is how to do it.
Table of Contents
Pick a clear research question
Choose a focused chemistry question that can be answered by changing one factor.
Write a testable hypothesis
State an if/then/because prediction you can measure.
Identify your variables
Name the independent, dependent, and controlled variables.
Choose your levels and number of trials
Decide what values of the independent variable you will test and how many times you will repeat each trial.
Standardize your procedure
Write a step-by-step protocol and materials list so every trial is identical except for the one variable you change.
Run trials and record data
Conduct each trial carefully and log every observation in a lab notebook.
Analyze results and conclude
Compare your data, check the trend, and write a conclusion that answers the original question.
What Is a Single Variable Experiment?
A single variable experiment is a controlled test in which only one factor is intentionally changed while every other factor is held constant, so the effect of that single change can be measured and attributed to a clear cause. In chemistry this method is the foundation of the scientific method because reactions involve many simultaneous variables, and isolating one at a time is the only reliable way to learn what each factor actually does.
Core Definition of a Single Variable Chemistry Experiment
In a chemistry lab a single variable experiment isolates one input (for example, temperature, concentration, or surface area) and measures one output (such as reaction rate, color change, or mass lost). Everything else, including the volume of solvent, the type of container, and the time of day, is held constant across every trial. This is sometimes called the OVAT method (One Variable At a Time), and it is the simplest, most beginner-friendly experimental design.
The Single Variable Approach in Plain English
Imagine you want to know whether sugar dissolves faster in hot water or cold water. If you change the water temperature but also use a different cup, a different spoon, and a different amount of stirring, you will not know which change mattered. A single variable experiment fixes the cup, the spoon, the stirring, the sugar amount, and the water volume, and changes only the temperature. Now any difference in dissolve time is caused by temperature alone. That clarity is the entire point of single variable design.
The Three Types of Variables in a Chemistry Experiment
Every chemistry experiment you build will have three kinds of variables, and naming them correctly is the single biggest predictor of a successful design. Here is how our team at March for Science SV teaches students to think about them.
Independent Variable: What You Change
The independent variable is the one factor you deliberately change from trial to trial. In a chemistry experiment it might be the temperature of the water bath, the concentration of hydrochloric acid, or the particle size of a solid reactant. You, the experimenter, set its value. The independent variable is the cause you are testing.
Dependent Variable: What You Measure
The dependent variable is the outcome you measure to see how it responded to the change. In chemistry this is usually a count of bubbles per minute, the time for a color change, the final pH, or the mass of precipitate collected. The dependent variable is the effect you are observing, and it depends on the independent variable.
Controlled Variables: What You Keep the Same
Controlled variables (also called constants) are every other factor you keep identical across all trials. They include the volume and brand of solvent, the mass of the reactant, the type and size of glassware, the room temperature, and even how hard you stir. Listing these out before you start is what turns a casual test into a real chemistry experiment.
Why Chemists Test One Variable at a Time
Chemists test one variable at a time because changing more than one factor at once makes it impossible to know which factor caused the observed effect. This is the core principle behind controlled experiments and the reason the single variable method is taught in every chemistry lab, from first-year high school to advanced research.
The Problem of Confounded Variables
A confounded variable is any extra, uncontrolled factor that changes alongside your independent variable. Suppose you decide to test how salt concentration affects the boiling point of water, but you also use a different stove burner for your second trial. Even if the boiling point changes, you will not know whether the salt or the burner caused it. Confounded variables are the most common reason chemistry students report confusing or contradictory results.
Causation Requires Isolation
To claim that factor X caused change Y, you must hold everything else fixed and vary only X. That is what the single variable method gives you. It also makes your experiment reproducible, which is a non-negotiable rule of the scientific method: another chemist, repeating your protocol with your materials list, should arrive at similar results.
How to Build a Chemistry Experiment Around a Single Variable: Step-by-Step
Below is the seven-step workflow I teach in our March for Science SV workshops. Follow it in order, and you will have a complete, defensible chemistry experiment ready to run.
Step 1: Pick a Clear Question You Want to Answer
Start with a specific, focused question that one experiment can answer. Avoid broad questions like “How does chemistry work?” and instead ask things like “How does water temperature affect how quickly an Alka-Seltzer tablet dissolves?” A good question names the system (Alka-Seltzer and water), the variable you will change (temperature), and what you expect to see (faster dissolving).
Step 2: Write a Testable Hypothesis
Write your prediction in an if/then/because format. For example: If the water temperature is increased, then the time for the Alka-Seltzer tablet to fully dissolve will decrease, because higher temperature increases the kinetic energy of water molecules and speeds up the reaction. The “because” part shows you understand the chemistry and gives your conclusion something to compare against.
Step 3: Identify the Independent, Dependent, and Controlled Variables
Be explicit. Write them down in three lines before you touch any equipment.
- Independent variable: water temperature (for example, 10C, 25C, 40C, 55C, 70C).
- Dependent variable: time for the tablet to fully dissolve, measured in seconds with a stopwatch.
- Controlled variables: 200 mL of water per trial, one whole tablet, same brand, same beaker, no stirring.
This single page in your lab notebook will save you from 90 percent of design mistakes.
Step 4: Choose Your Range and Number of Trials
Pick at least four to five levels of your independent variable so you can see a trend, not just two dots. For our example, five temperatures from cold to hot give you a clear curve. Plan to repeat each level at least three times so you can average your results and spot any outliers caused by random error.
Step 5: Build a Materials List and Standardize Your Procedure
Write a numbered procedure from setup to cleanup. Every trial must follow the same steps in the same order. Your materials list should specify quantities, concentrations, brands where relevant, and equipment sizes. Standardization is what makes your experiment a real chemistry experiment rather than a guess.
Step 6: Run Trials, Record Data, and Repeat
Run each trial carefully, measure the dependent variable, and write the number in a data table immediately. Never trust your memory. Repeat the trial three or more times at each level of the independent variable, then calculate the average for that level. Average data is more trustworthy than a single reading.
Step 7: Analyze Results and Draw a Conclusion
Plot your averages on a graph with the independent variable on the x-axis and the dependent variable on the y-axis. Look for a clear trend. Compare the trend to your hypothesis: does it support, partially support, or refute the prediction? Write a conclusion that explicitly answers your original question and explains any unexpected results.
A Practical Example: Temperature and Reaction Rate
To make this concrete, here is the exact experiment I run with first-time chemistry students using household materials.
The Research Question and Hypothesis
Question: Does water temperature affect how quickly an Alka-Seltzer tablet dissolves? Hypothesis: As water temperature increases, the time required for the tablet to dissolve will decrease.
Variables Mapped to the Example
Independent variable: water temperature at five levels (10C, 25C, 40C, 55C, 70C). Dependent variable: dissolve time in seconds. Controlled variables: 200 mL of water, one full tablet, same brand, same glass beaker, no stirring, identical start procedure (drop tablet from the same height at the same moment).
Sample Data Table and Expected Pattern
After running the experiment, our student groups typically see a curve that drops sharply between 10C and 40C and then begins to flatten above 55C. The clear downward trend supports the hypothesis that higher temperature speeds up the reaction. The flattening at high temperatures is a great teaching moment to discuss reaction rate limits.
Common Mistakes When Running Single Variable Chemistry Experiments
These are the four errors I see most often in student-designed experiments, and every one of them can be avoided with a little planning.
Mistake 1: Changing More Than One Factor at Once
If you change both the temperature and the amount of water between trials, you cannot tell which caused the difference. Fix: lock down every controlled variable in writing before you begin and check it off before each trial.
Mistake 2: Forgetting to Control Environmental Variables
Room temperature, humidity, and sunlight can quietly affect reactions. Fix: run all trials in the same room, at the same time of day if possible, and use the same lighting.
Mistake 3: One Trial Is Not Enough
A single trial can be skewed by random error, an air bubble, or a stopwatch mistake. Fix: repeat each level of the independent variable at least three times and report averages.
Mistake 4: Vague Measurements
Saying “it dissolved faster” is not data. Fix: use a stopwatch, a graduated cylinder, a balance, or a pH meter so every measurement has a number and a unit.
OVAT vs Factorial Design: When to Use Each Approach
Once you are comfortable with single variable experiments, you may hear about factorial designs that change two or more variables at the same time. Here is a quick comparison so you know when each approach fits.
OVAT (One Variable at a Time) Approach
The OVAT method is simple to plan, easy to interpret, and the best choice when you are new to experimental design, when your system is poorly understood, or when you need a quick answer. It is exactly the single variable experiment we have built in this guide.
Factorial Design Approach
A factorial design changes multiple variables at once and uses statistics to untangle their effects. It is faster and can reveal interactions between variables, but it is harder to design and analyze. Save it for advanced research, not for a first chemistry lab.
Tips for Controlling Variables Effectively
Two practical habits will dramatically improve the quality of your chemistry experiments and make your data trustworthy.
Create a Variable Control Checklist
Before each trial, run through a printed checklist of every controlled variable and confirm it matches your protocol. Checklists are how professional chemists and pilots prevent errors, and they work just as well for high school chemistry labs.
Document Everything in a Lab Notebook
Record every measurement, every observation, and every deviation from your plan, even the small ones. A dated lab notebook is your proof that you actually ran the experiment, and it is what allows other chemists to reproduce your results, which is the gold standard of the scientific method.
What is a single variable experiment?
A single variable experiment is a controlled test in which only one factor is intentionally changed while every other factor is held constant, allowing the effect of that single change to be measured and attributed to a clear cause.
How do you design an experiment in chemistry?
To design a chemistry experiment, pick a focused research question, write a testable hypothesis in if/then/because form, name your independent, dependent, and controlled variables, choose at least three levels of the independent variable, standardize your procedure, repeat each trial, and compare the results to your hypothesis.
Can you provide an example of an experiment with variables?
A simple chemistry example is testing how water temperature affects how fast an Alka-Seltzer tablet dissolves. The independent variable is water temperature (for example 10C, 25C, 40C, 55C, 70C), the dependent variable is dissolve time in seconds, and controlled variables include water volume, tablet brand, beaker size, and no stirring.
Why should only one variable be used in an experiment?
Only one variable should be changed so you can confidently attribute any observed change in the dependent variable to that single factor. Changing multiple variables at once creates confounded results where you cannot tell which factor caused the effect.
How many independent variables can be tested during a single experiment?
In a true single variable experiment, only one independent variable is tested at a time. If you need to test two or more variables together, you must use a more advanced factorial design rather than a single variable experiment.
Conclusion
Learning how to build a chemistry experiment around a single variable is the single most powerful skill a beginner chemist can develop. Pick one question, change only one factor, measure carefully, and let the data speak. Do that consistently and your chemistry experiments will produce the kind of clean, reproducible results that the scientific method was designed for.
Try this with a simple kitchen experiment this week, drop an Alka-Seltzer tablet into five different water temperatures and time the results, then share your data with our team at March for Science SV. We would love to see what you find.