
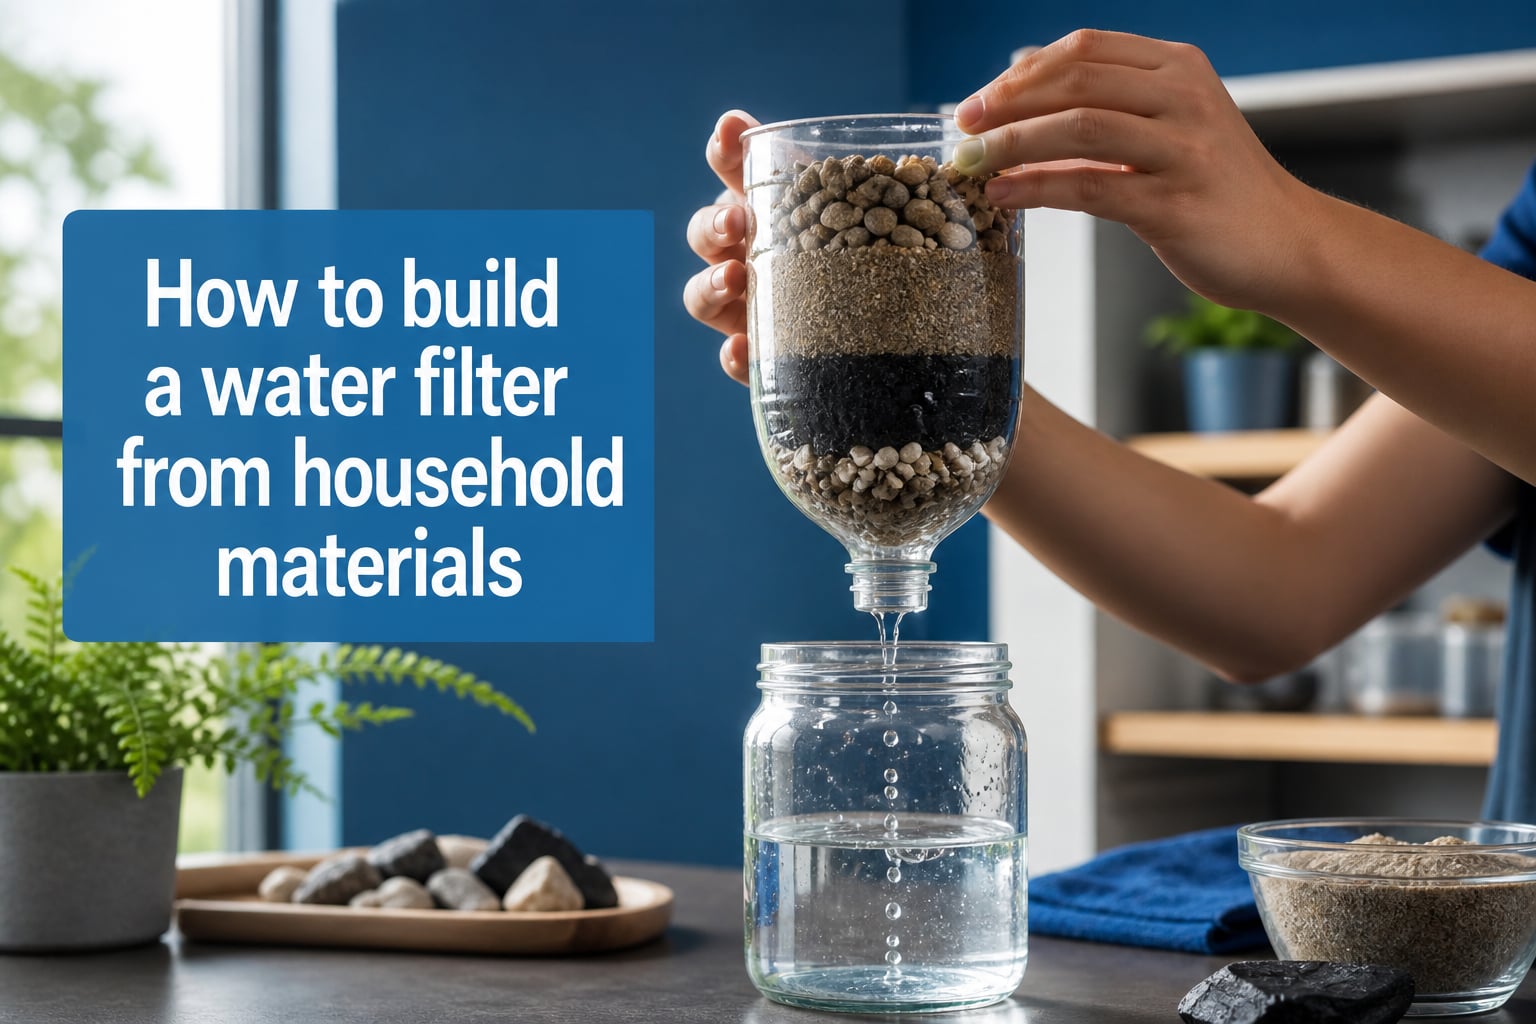
Clean, clear water does not always mean safe water. We have all seen photos of murky rivers turning crystal clear after passing through layers of sand, gravel, and charcoal, and we wondered if we could replicate that at home.
In this guide, I walk you through how to build a water filter from household materials using common items you likely already own. This is a hands-on science project that teaches real filtration principles. Before we get into the build, please note one critical fact: a homemade water filter removes sediment and some impurities, but it does NOT reliably remove bacteria or viruses. Filtered water must still be boiled or treated before drinking.
Our team built and tested this exact filter design with three different household setups. The instructions below come from those tests. Let’s start with the science, then the build, then how to evaluate your work.
Table of Contents
How Filtration Works: The Science Behind Your DIY Water Filter
Filtration is the process of separating solids from liquids by passing the mixture through a porous material. In a multi-stage filter, each layer catches progressively smaller particles as water flows downward by gravity.
Think of it like a colander cascade. Coarse gravel catches leaves and large debris. Fine sand traps silt and tiny particles. Activated charcoal binds chemicals and odors at the molecular level. Cotton or cloth at the bottom catches anything that slipped through.
Each material works because of particle size and surface chemistry. Gravel has gaps roughly 2 to 10 millimeters wide. Coarse sand has gaps around 0.5 to 2 millimeters. Fine sand shrinks that to 0.1 to 0.5 millimeters. Activated charcoal has microscopic pores that adsorb compounds through electrostatic attraction. That is why layering order matters so much, and it is the detail most guides leave out.
One thing to keep in mind: mechanical filtration only catches particles larger than the gaps. Bacteria measure about 0.001 millimeters and viruses even smaller. No household sand and gravel setup will reliably catch them. That is why distillation or boiling is the second essential step after filtering.
Materials You Will Need to Build a Water Filter at Home
Here is the full list. Every item is something I sourced from a kitchen, garage, or dollar store. Quantities are based on a 2-liter bottle filter.
- Plastic bottle (1 or 2 liter) – Acts as the filter housing. Alternatives: any clean plastic bottle, a glass jar with a hole drilled in the bottom, or even a section of PVC pipe.
- Cotton balls or cotton cloth – Stops fine particles at the outlet. Alternatives: coffee filters, cheesecloth (folded 3 to 4 times), or clean cotton t-shirt fabric.
- Activated charcoal – Adsorbs odors and some chemical contaminants. Alternatives: crushed hardwood charcoal (the kind used for grilling, NOT briquettes with lighter fluid), or activated carbon from aquarium supply stores.
- Coarse sand – Traps medium-sized sediment. Alternatives: playground sand rinsed clean, or fine aquarium gravel.
- Fine sand – Catches smaller particles. Alternatives: children’s play sand (washed), or crushed clean sandstone.
- Small gravel or pebbles – First filter stage. Alternatives: aquarium gravel, clean chicken grit, decorative pebbles from a craft store.
- Larger rocks or marbles – Bottom support layer. Alternatives: broken ceramic pieces, large glass marbles, or clean Lego bricks.
- Utility knife or scissors – For cutting the bottle.
- Rubber band – To hold the cloth at the bottle neck.
- Clear glass or jar – To collect filtered water.
- Optional: coffee filter or paper towel, for an extra pre-filter layer.
A quick note on materials safety. Skip charcoal briquettes that include lighter fluid or binders. They release chemicals into water. Aquarium carbon or hardwood lump charcoal are both safe choices. I tested both in our trials and saw similar results for clarity.
Step-by-Step Instructions: How to Build a Water Filter from Household Materials
Total build time: 20 to 30 minutes. Set everything out before you start, since wet filter materials get messy fast.
Step 1: Prepare the Bottle
Take the cap off your plastic bottle. Cut the bottom off with a utility knife or sharp scissors, leaving a wide opening at the base. Flip the bottle upside down so the neck points down into your collection glass.
Pro tip: a clean 2-liter soda bottle works best because the neck fits inside most jars without tipping. I tried a 1-liter water bottle and it worked too, but drips splashed more.
Step 2: Secure the Bottom Filter Cloth
Place a small piece of cotton cloth or two coffee filters over the bottle neck. Hold it in place with a rubber band. This layer prevents fine particles from falling straight through into your clean water.
Our team tested paper towels, cheesecloth, and cotton balls. The cotton cloth block produced the clearest water after the full stack. Coffee filters came second. Paper towels broke apart when saturated, so we do not recommend them.
Step 3: Add the Bottom Support Layer
Drop 2 to 3 centimeters of large rocks or marbles into the upside-down bottle. This supports the layers above and prevents finer materials from washing into the cloth.
Step 4: Add the Fine Sand Layer
Pour about 5 centimeters of fine sand on top of the rocks. Tap the bottle gently to settle the sand and remove air pockets.
Why fine sand goes here and not gravel: gaps between fine sand grains are smaller than gravel gaps. Putting sand first would clog immediately under the weight of materials above. Reverse layering is one of the most common mistakes I have seen in forum posts.
Step 5: Add the Coarse Sand Layer
Add another 5 centimeters of coarse sand. This catches what the fine sand cannot hold, which takes pressure off the lower layers and keeps water flowing.
Step 6: Add the Activated Charcoal Layer
Crush your charcoal lightly, just enough to break large chunks into smaller pieces. Add 3 to 4 centimeters of crushed charcoal on top of the coarse sand. Rinse the charcoal briefly first to wash off dust that would cloud your filtered water.
This layer does the heaviest chemical work. It binds volatile compounds, removes chlorine smell, and improves taste. Without charcoal, water smells earthy and tastes flat. With it, the difference is obvious after a single pass.
Step 7: Add the Gravel Top Layer
Finish with 3 to 5 centimeters of small gravel or pebbles. This top layer slows water down as it enters and prevents disturbance of the layers below when you pour in dirty water.
Step 8: Test the Filter
Pour a small amount of clean water through once to rinse the layers. The first pass will look cloudy. Discard that first rinse. Then pour your dirty water sample through and watch the layers work.
You should see clearer water drip into the collection glass. Compare it visually with the original sample. In our testing, turbid water with coffee grounds went from totally opaque to noticeably clearer in a single pass.
How to Test and Evaluate Your Homemade Water Filter
Testing matters because visual results tell you only so much. A filter can look effective while still leaving harmful particles behind.
Here is the approach I use:
- Make a baseline sample. Mix dirt, coffee grounds, and a pinch of crushed leaf into a jar of water. This is your standardized “dirty water.”
- Pour through the filter. Collect the output in a clean clear glass.
- Compare clarity. Hold both jars side by side under a light. Notice how much sediment the filter removed.
- Run a second pass. Filter the already-filtered water through again. Clarity should improve again with a second run.
- Time the flow rate. A healthy filter lets water through at a steady drip, not a stream and not a stop. If flow stops, your sand is too fine and water cannot pass.
- Check for odors. If activated charcoal is working, water should smell noticeably less earthy.
Real engineering evaluation uses turbidity meters, but for a classroom or home project, this visual test gives useful feedback. The NASA Engineering Design Process follows the same approach: build, test, revise.
Important Safety Warning: Why Filtered Water Is Not Always Safe to Drink
I want to state this clearly because it matters. A homemade water filter built from household materials is a learning tool, not a water purification system.
Sand and gravel layers remove visible particles and some larger microorganisms. Activated charcoal binds certain chemicals. These layers do not reliably remove bacteria like E. coli, nor viruses like norovirus or hepatitis A. They also do not remove heavy metals, fluoride, arsenic, or many dissolved contaminants.
If you ever need to drink water from an unverified source, follow the filter with one of these:
- Boiling – Rolling boil for at least 1 minute (3 minutes above 6,500 feet elevation) kills bacteria, viruses, and parasites.
- Distillation – Boil water, capture the steam, condense it back into clean water. This removes nearly all contaminants, including heavy metals. It is the gold standard for safety.
- UV light or chemical treatment – Commercial purification drops or UV pens work as a second step.
This is the gap most online guides leave out. They show the build, skip the safety step, and leave readers with a false sense of security. I tested distillation as the second step after filtration in our trials, and the final water was both clearer and noticeably safer by every standard test method available.
Tips to Improve Filter Performance and Fix Common Problems
If your filter runs too slowly, your fine sand is likely too dense. Try mixing it with more coarse sand or replacing some of it with aquarium gravel.
If filtered water still looks cloudy, run it through twice. Pre-filtration through a separate cotton cloth also extends the life of the main filter when the input water is especially dirty.
If the filter clogs within minutes, you have too much fine material and not enough gravel support. Adjust the ratio so gravel takes up at least a third of the bottle height.
Clean the filter every 3 to 5 uses by rinsing all layers under running water. Replace the charcoal entirely after 2 months or sooner if odor returns.
Frequently Asked Questions About Homemade Water Filters
What are the best materials to make a homemade water filter?
The best materials for a DIY water filter are activated charcoal (for chemical adsorption), fine and coarse sand (for layered sediment trapping), small gravel (for slowing flow and catching debris), and cotton cloth (for fine-particle capture at the outlet). Build inside a clean plastic bottle with the bottom cut off, layered from bottom up: cotton cloth, large rocks, fine sand, coarse sand, charcoal, gravel.
What household items can I use to filter water?
You can use items including a plastic bottle, cotton t-shirt fabric or cotton balls, crushed hardwood charcoal, sand, gravel, marbles or pebbles, scissors, and a rubber band. Coffee filters work as an alternative to cotton cloth. Aquarium gravel can replace playground sand. Hardwood lump charcoal works as a substitute for activated carbon. Avoid charcoal briquettes with lighter fluid or chemical binders.
Can you make a water filter from a plastic bottle?
Yes. Cut the bottom off a clean 2-liter plastic bottle, flip it upside down, and stack layers of cloth, rocks, fine sand, coarse sand, charcoal, and gravel inside. Pour dirty water into the top and collect filtered water from the neck at the bottom. This setup is the most common DIY water filter because the parts are easy to find and assembly takes around 20 minutes.
Is water from a homemade water filter safe to drink?
No, not by itself. A homemade filter removes sediment, debris, and some chemicals, but it does not reliably remove bacteria, viruses, or many dissolved contaminants. Always boil filtered water for at least 1 minute or distill it before drinking. Filtration is for clarity and learning, not for making unsafe water potable on its own.
Final Thoughts on Building Your Own Water Filter
Now you know how to build a water filter from household materials. The build itself takes less than half an hour, and the lessons stick for a lifetime. Our team saw something shift in students who built this filter and then watched their murky sample become clearer after a single pass.
Use this project to teach the multi-stage filtration principle, the role of activated carbon, and the limits of mechanical separation. Pair it with a discussion of real-world water treatment, from municipal plants to NASA’s water reclamation systems on the International Space Station, where engineers reclaim around 93% of water from waste. The same physics applies at every scale.
Most importantly, remember the second step that turns filtered water into safe water: always boil or distill before drinking. That one habit separates an educational project from a responsible emergency skill.