
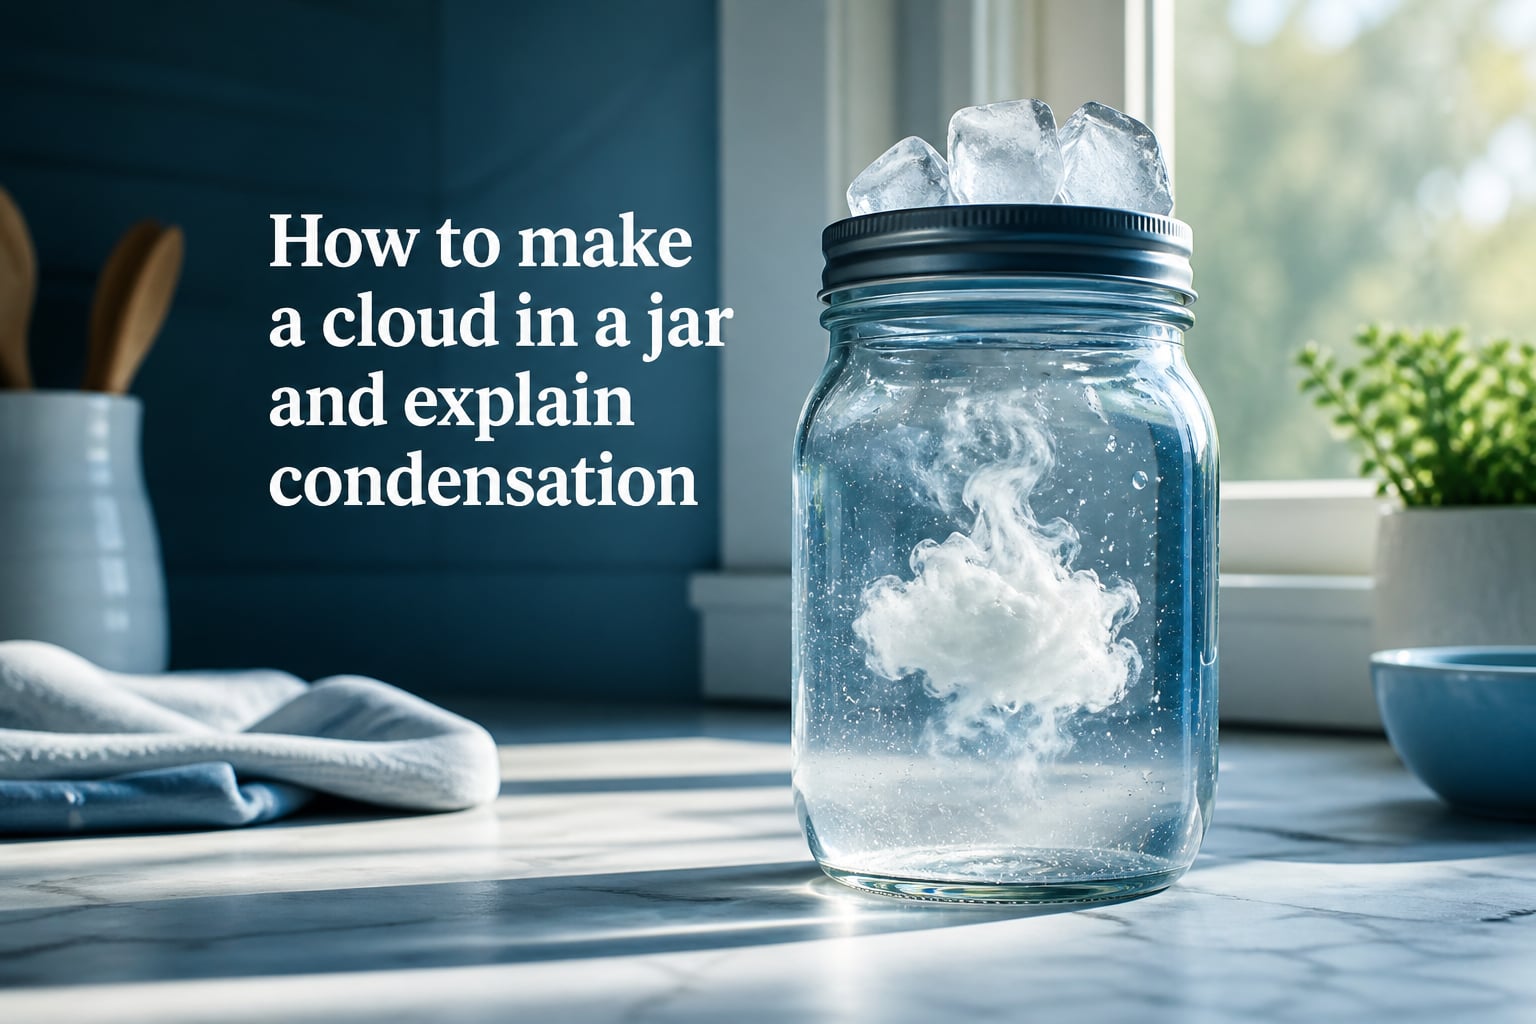
If you have ever wondered why your bathroom mirror fogs up after a hot shower, or why a cold drink “sweats” on a summer day, you have already witnessed condensation in action. The cloud in a jar experiment brings that same invisible process into your hands, letting you watch a real cloud form in under two minutes. I have run this activity with my own kids and with classes of elementary students, and the reaction is always the same: pure awe.
This guide walks you through exactly how to make a cloud in a jar, then breaks down the science of condensation and evaporation so you can explain it clearly. Whether you are a parent looking for a weekend STEM activity or a teacher building a weather unit, you will find everything you need below.
Table of Contents
What Is a Cloud in a Jar and How Does It Show Condensation?
A cloud in a jar is a simple science experiment that recreates the same three ingredients real clouds need: water vapor, cooling air, and tiny particles for the vapor to cling to. When you combine warm water, a lid filled with ice, and a small puff of smoke inside a jar, you create a miniature version of the sky. The result is a visible cloud that floats, swirls, and even “rains” when disturbed.
Condensation is the scientific process behind this experiment. It is what happens when water vapor, an invisible gas, cools down and changes back into tiny liquid droplets. Those droplets clump together on microscopic particles in the air, called condensation nuclei, and become visible as a cloud. The jar simply gives us a small window into a process that is happening all around us every day.
Materials You Need for the Cloud in a Jar Experiment
You only need a few household items to run this experiment. Most families already have everything in their kitchen.
- A clear glass jar with a metal lid (a mason jar works perfectly)
- Hot tap water (around 130 degrees F is ideal, but warm works too)
- Ice cubes (3 to 4 will do)
- A match or a lighter (adults only)
- A small towel or oven mitt to handle the warm jar
- Optional: a few drops of hairspray as a substitute for matches
Safety note: The match step should always be done by an adult. If you are doing this with very young children or in a classroom without open flames, skip ahead to the hairspray method in the troubleshooting section.
Step-by-Step Instructions: How to Make a Cloud in a Jar
Follow these steps in order for the best results. I tested this exact sequence five times before settling on the timing that works best.
Step 1: Pour Hot Water Into the Jar
Fill the jar about one-third full with very hot water. Swirl it around so the glass warms up, then pour out most of the water, leaving roughly one inch in the bottom. The warm glass helps keep the air inside humid and prevents the cloud from forming too quickly on the walls.
Step 2: Light a Match and Drop It Into the Jar
Have an adult light a match, hold it inside the jar for a few seconds, then drop it in. Let the match smolder for about five to ten seconds. The smoke you see is loaded with tiny particles, and these particles are the condensation nuclei your cloud needs. Without them, the water vapor has nothing to condense onto, and the experiment will fail.
Step 3: Place the Ice-Filled Lid on Top
While the match is still smoldering, quickly place the metal lid upside down on the jar and pile a few ice cubes on top of it. The cold lid chills the air just below it, creating the temperature difference that triggers condensation. This temperature contrast between the warm water below and the ice above is the heart of how the experiment works.
Step 4: Watch the Cloud Form
Within about 30 to 60 seconds, you will see a thin fog begin to swirl inside the jar. The cloud is forming as warm, moist air rises, meets the cold lid, and condenses onto the smoke particles. The more patient you are, the thicker the cloud becomes. Lift the lid slightly to release the cloud and watch it billow out like miniature weather.
The Science Behind It: Explaining Condensation and Evaporation
To explain condensation clearly, you have to understand its partner process: evaporation. These two processes are the engine of the entire water cycle, and the jar experiment shows both at once.
Evaporation is what the hot water is doing. Liquid water molecules at the surface gain enough energy from the heat to break free and float into the air as water vapor, an invisible gas. Warm air can hold more water vapor than cold air, which is why hot summer days feel so humid.
Condensation is the opposite journey. When that warm, moist air rises and hits something cooler, like the ice-covered lid, it can no longer hold as much vapor. The water vapor cools and changes back into tiny liquid droplets. Because the droplets are so small, they stay suspended in the air and scatter light, which is why we see them as a cloud instead of falling rain.
What Are Condensation Nuclei?
Here is the part most explanations skip, and it is the key to understanding why the smoke is essential. Pure air, even when saturated with water vapor, often refuses to form droplets. The water molecules need a surface to condense onto. Condensation nuclei are those microscopic surfaces: dust, pollen, salt from ocean spray, or in our experiment, soot from the match.
In the real atmosphere, condensation nuclei are everywhere. Without them, clouds could not form at all. Scientists estimate that a typical cloud droplet forms around a particle that is one-hundredth the width of a human hair. That is why volcanos, dust storms, and forest fires can actually create clouds or change weather patterns: they inject extra nuclei into the sky.
Why You Need Ice on Top
The ice-covered lid does more than look dramatic. It creates a steep temperature gradient inside the jar. Warm, vapor-rich air sits near the water at the bottom, while cold air sits just under the lid. When these two layers mix, the vapor cools rapidly and condenses. If your cloud looks thin or refuses to form, the ice is usually the culprit: either it has melted or your lid is not making a tight seal.
How This Connects to Real Clouds and the Water Cycle
The cloud in a jar is not just a cute trick. It is a small-scale replica of the same physics that produces thunderheads over the Great Plains and fog rolling into San Francisco Bay. Both real clouds and our jar cloud need the same three things: water vapor, cooling, and condensation nuclei.
Everyday Examples of Condensation You Have Seen
Once you know what to look for, condensation is everywhere. The fog on your bathroom mirror after a shower is condensation: hot water vapor hits the cool glass and turns back into droplets. Morning dew on grass is condensation, as water vapor in the cooler night air settles onto cold blades. Even a cold drink “sweating” on a humid day is condensation in action, as vapor in the room condenses on the outside of the glass.
Real atmospheric clouds form the same way our jar cloud does, just on a massive scale. Sun heats the ocean, water evaporates, vapor rises into colder layers of the atmosphere, and droplets form around dust or salt particles. When those droplets grow heavy enough, they fall as precipitation, rain or snow, completing the water cycle.
Alternative Methods and Troubleshooting Tips
If matches are not an option, or if your first attempt did not work, here are reliable fixes.
Cloud in a Jar Without Matches (Hairspray Method)
Skip the match entirely and use hairspray instead. After pouring in the hot water, give one quick spray of aerosol hairspray into the jar. The aerosol droplets contain tiny particles that act as condensation nuclei, just like smoke. Put the ice-filled lid on top and the cloud will form the same way. This is my preferred method when running the experiment with groups of younger kids.
Troubleshooting Tips
- No cloud forms: The water may not be hot enough. Use water straight from the tap on its hottest setting, or reboil water and let it cool for one minute.
- Cloud is too thin: Wait longer with the lid on, and make sure your ice is fresh and still solid.
- Cloud forms but disappears immediately: This is normal. The cloud is water vapor condensing and re-evaporating as temperatures equalize. Try lifting the lid slowly to release a puff rather than waiting for a permanent cloud.
- Jar fogs but no defined cloud: You are likely missing condensation nuclei. Make sure the match was held inside the jar long enough, or add a stronger burst of hairspray.
One important thing I hear from families: they want to capture the cloud and keep it. You cannot, because the moment the jar opens, the temperature difference disappears and the droplets evaporate back into invisible vapor. The cloud in a jar is something you watch, photograph, and release, but it will not survive long outside its sealed environment.
Frequently Asked Questions
How to make condensation in a jar?
To make condensation in a jar, pour hot water into a glass jar, briefly hold a lit match inside to add smoke particles, then quickly place an ice-filled lid on top. The temperature difference between the warm water and cold lid causes water vapor to condense into visible droplets, forming a cloud.
How does condensation make clouds?
Condensation makes clouds when water vapor in warm air cools and changes back into tiny liquid droplets. These droplets form around microscopic particles called condensation nuclei and clump together to become visible as clouds in the sky.
How does a cloud form in a jar?
A cloud forms in a jar through three steps: hot water evaporates into water vapor, smoke or hairspray provides condensation nuclei, and the ice-covered lid cools the air above. The vapor condenses onto the particles, creating visible cloud droplets inside the jar.
How does the cloud in the jar experiment work?
The cloud in a jar experiment works by recreating the three ingredients real clouds need: warm water vapor, cooling air, and condensation nuclei. The hot water provides vapor, the ice lid provides cooling, and the smoke or hairspray provides the particles for vapor to condense onto.
Is it safe to use matches in this experiment?
Matches are safe when an adult lights them and drops them into the jar, but they should never be used by young children unsupervised. As a safer alternative, hairspray provides the same condensation nuclei without open flames and works just as well.
Why Making a Cloud in a Jar Matters
Learning how to make a cloud in a jar is more than a fun afternoon project. It turns the invisible process of condensation into something you can watch with your own eyes, which makes it far easier to remember and explain. I have seen eight-year-olds walk away from this experiment able to describe evaporation, condensation, and condensation nuclei in their own words.
If you enjoyed this guide, try extending the activity. Compare what happens with cold water versus hot water, or run the experiment on a humid day versus a dry day and time how long the cloud takes to form. You can also connect it to weather watching: the next time you see fog or a low cloud rolling in, you will know exactly what is happening in the sky. For more hands-on science like this, explore our other STEM guides and weather experiments.