
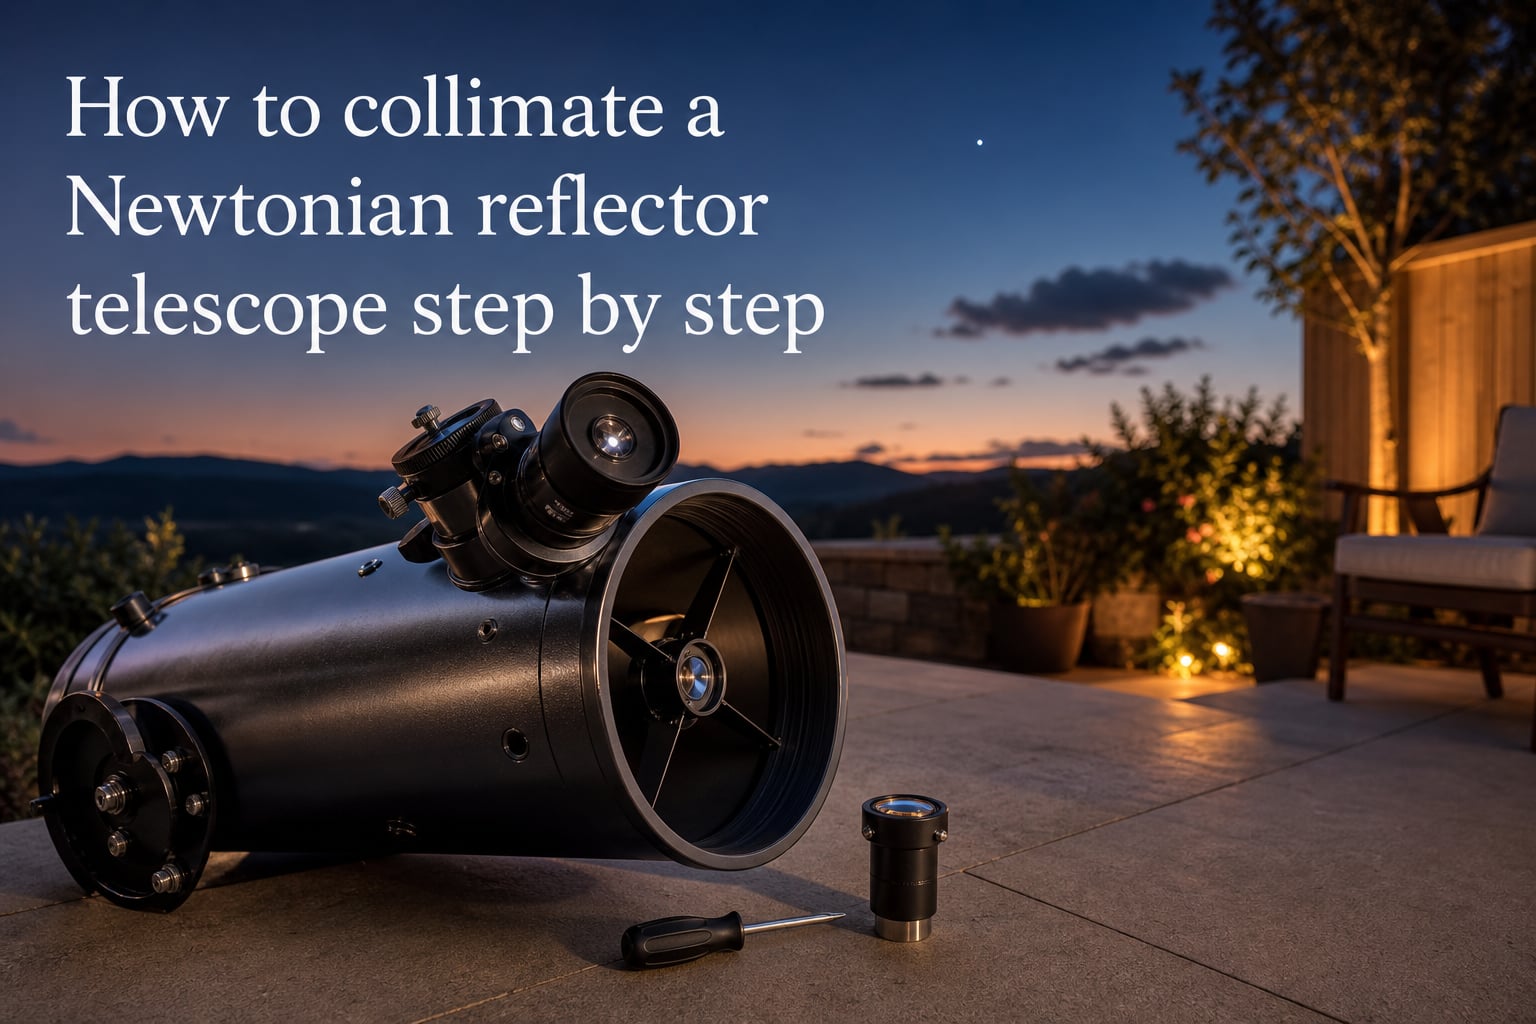
When I bought my first 8-inch Dobsonian, I assumed the optics would just work. My first view of Jupiter told me otherwise. Stars looked like comets, and Jupiter smeared into a comma-shaped blob. The fix was collimation: aligning the two mirrors so light travels a clean path to my eye. I have since collimated dozens of Newtonian reflectors, and I will walk you through the same process I use.
Collimating a Newtonian reflector telescope is the single highest-impact maintenance task you can do. It does not require an expensive shop or a degree in optics. With a simple tool and about 15 minutes, you can sharpen your views to the point where faint galaxies pop out and the Moon’s shadow line snaps into focus.
Here is a quick summary of the four steps I cover below:
- Center the secondary mirror under the focuser.
- Tilt the secondary so it points at the center of the primary mirror.
- Tilt the primary mirror so its center dot lines up with the focuser axis.
- Verify accuracy with a star test at high magnification.
Table of Contents
What Is Collimating a Newtonian Reflector Telescope and Why It Matters
Collimation is the act of aligning the optical axis of your primary mirror, secondary mirror, and focuser so all three point along the same line. When they are aligned, incoming light from a star reflects cleanly off the primary, bounces off the secondary, and exits through the focuser into your eyepiece. The result is a sharp, symmetric Airy disk surrounded by faint diffraction rings.
Newtonian telescopes are especially prone to going out of collimation because the secondary mirror is held by a thin spider, and the primary mirror rests on adjustable springs. A bump during transport, a thermal shift, or even a long drive on a rough road can tilt one of those mirrors out of alignment.
Miscollimation shows up in your eyepiece as:
- Stars that look like comets or V-shaped smears instead of points.
- Planetary detail that washes out toward the edge of the field.
- Diffraction rings that look pushed to one side at high magnification.
Diffraction limited performance is the goal. That term means your telescope is showing as much detail as physics allows for its aperture, rather than being limited by sloppy alignment.
Understanding Your Newtonian Optics: Primary, Secondary, and the Optical Axis
Before you touch a single screw, you need to understand what you are looking at. A Newtonian reflector has two mirrors and a focuser. The primary mirror sits at the back of the tube inside a metal cell with three or more collimation screws and locking screws. The secondary mirror (often called the diagonal) is a small ellipse glued to a four-vane spider at the front of the tube.
The optical axis is an imaginary line that runs from the center of the primary mirror, through the center of the secondary mirror, and out through the center of the focuser drawtube. Every part of your telescope must sit on this line.
Most modern Newtonian primary mirrors come with a small center dot. That dot is a reference marker. When the dot is centered in the focuser when you look down the tube, your primary mirror is on axis.
If your telescope is missing the center dot, you can add one yourself with a self-adhesive ring cut from paper, or by marking the spot with a permanent marker. Without a center dot, accurate collimation is nearly impossible.
Tools You Need for Collimating a Newtonian Reflector Telescope
There are three common tools for Newtonian collimation. Each has its strengths. I started with a simple collimation cap and only upgraded after a year of regular use.
Collimation Cap
A collimation cap is a small plastic plug that fits into your focuser like an eyepiece. It has a hole in the center and a reflective inner surface so you can see the mirror images when you look through it. It costs about $5 and works for both 1.25-inch and 2-inch focusers. Beginners should start here because it is impossible to misuse.
Cheshire Eyepiece
A Cheshire eyepiece is a hollow tube with a peephole on one side and crosshairs or a 45-degree angled surface on the other. When you push light into the peephole, it reflects off the angled surface and bounces a bright pattern onto the primary mirror. This makes it much easier to see whether your primary mirror is centered. A Cheshire is the sweet spot between cost and usability for most amateurs.
Laser Collimator
A laser collimator projects a red or green beam down the focuser. When the laser beam hits the primary mirror and bounces back, it should land on a target etched on the side of the laser itself. Laser collimators are fast, but they have a hidden trap. If your laser itself is not perfectly aligned to the focuser axis, you can spend hours chasing an error that is in the tool, not the scope. I recommend Cheshire-first, laser-second.
For a basic setup, all you really need is a collimation cap and a quiet, well-lit room. A red flashlight helps if you do any of the steps at night.
Preparing Your Telescope for Collimation
Collimation works best when the optics are at thermal equilibrium. If you just brought your telescope out of a warm house into 30 degree night air, the primary mirror is still warping as it cools. Wait at least 30 to 45 minutes after moving the scope before collimating.
Set the telescope on a flat, level surface. A wobbly tripod or tilted ground will change the geometry. Make sure all three collimation screws on the primary cell are accessible and that the locking screws are loose.
Check your factory alignment before doing anything else. Look down the focuser with no eyepiece. The secondary mirror should appear centered in the focuser drawtube, and the reflection of the primary mirror should appear centered in the secondary mirror. If those two things look grossly off, fix them first. If they look roughly right, you can skip to the fine-tuning steps.
Daytime collimation is easier because you have plenty of light. Pull the scope into a shaded garage or room, point the tube at a bright white wall or open sky, and you can see the reflections clearly. Just remember to recheck at night with a star test.
Step-by-Step: How to Collimate a Newtonian Reflector Telescope
Follow these steps in order. Do not skip ahead. Each step builds on the last.
Step 1: Center the Secondary Mirror Under the Focuser
Look down the focuser with the eyepiece removed. You should see the secondary mirror silhouetted against the bright background of the primary mirror. The secondary should appear perfectly round and centered in the focuser drawtube.
If it is off-center, loosen the three small screws on the spider hub and gently shift the secondary up, down, or sideways until the silhouette is centered. A Cheshire eyepiece makes this much easier because the crosshairs show exactly where the focuser axis is. Retighten the spider screws evenly so you do not shift the secondary again.
Step 2: Tilt the Secondary to Aim at the Primary Mirror’s Center
With the secondary centered, your next job is to tilt the secondary so that when you look down the focuser, you see the entire primary mirror reflected in it, including the center dot. The secondary typically has three small adjustment screws on its holder. Turn them a quarter at a time and watch the reflection of the primary shift.
The goal is to see the primary mirror as a full circle inside the secondary, with the center dot of the primary in the middle of that circle. This step is called secondary alignment, and getting it right is critical for fast f/4 and f/5 Newtonians where the sweet spot is small.
Step 3: Tilt the Primary Mirror to Align the Center Dot
Now move to the back of the telescope. Without changing the secondary, look down the focuser again. The three (or more) collimation screws on the primary cell are what you adjust now. A collimation cap or Cheshire makes this obvious because the tooling shows you exactly where the optical axis is.
The target is simple: the center dot on the primary mirror must appear directly under the focuser. Most beginners adjust two screws at a time. Turn one screw and watch the dot move. If it moves the wrong way, adjust another screw. Small movements of one-eighth to one-quarter turn make a big difference.
After each adjustment, look down the focuser and check the position. When the center dot is concentric with the focuser, lock the locking screws back down. Locking screws are usually the smaller screws next to the main collimation screws. Tighten them gently so they do not shift the alignment.
Step 4: Verify with a Star Test
The daytime view will get you 90 percent of the way. The last 10 percent comes from a star test. Point your telescope at a bright star near the zenith. Use a high-power eyepiece, around 200x or more for an 8-inch scope. Let the star settle and defocus the image slightly.
A well-collimated Newtonian shows diffraction rings as perfect concentric circles. If the rings are pushed to one side or look like a comma, the primary mirror is still tilted. Make tiny adjustments to the primary collimation screws until the rings center up.
If you do not have a clear night, do not worry. Daytime collimation plus a Cheshire eyepiece gets you within collimation tolerances for most visual observing. Astrophotographers and high-resolution planetary imagers will want the star test polish.
Verifying Collimation with a Star Test
A star test is the gold standard for collimation accuracy. Pick a star of magnitude 2 or brighter, and let your telescope reach ambient temperature. Defocus the star by a small amount, just enough to see the diffraction rings.
Look at the central obstruction (the shadow of the secondary mirror) in the defocused image. If the shadow is centered in the rings, your collimation is excellent. If the shadow is offset toward one side, the primary mirror is still tilted in that direction. Adjust the collimation screw on the opposite side of the tilt by a small amount and recheck.
For the most accurate star test, defocus by equal amounts inside and outside of focus. The patterns should look identical. If the inside-of-focus pattern has a different shape than the outside-of-focus pattern, you may have spherical aberration or pinched optics, which is a different problem from collimation.
How Often You Should Collimate a Newtonian Reflector Telescope
Most observers check collimation at the start of every observing session. A full adjustment is usually only needed once every few months for tube-style Newtonians, and more often for truss Dobsonians that get disassembled regularly.
A useful rule of thumb: collimate your Newtonian whenever star tests show asymmetric diffraction rings, whenever the telescope has been transported in a car, or whenever you notice that eyepiece views look softer than they did the previous session. Fast f/4 Newtonians are especially sensitive and benefit from checking every session.
Troubleshooting Common Collimation Problems
When adjustments seem to do nothing, the secondary mirror is shifted in the holder rather than the primary mirror being tilted. Recheck step 1 and step 2 before going back to the primary.
When the center dot appears to move but never stay centered, the locking screws are tightening faster than the adjustment screws are turning. Back the locking screws off a full turn before making collimation adjustments.
When a laser collimator shows the beam landing off-target even after perfect Cheshire eyepiece results, the laser itself is misaligned. Most laser collimators can be adjusted by tiny screws on the laser body, but if not, return it to the manufacturer.
When your telescope has a fast f/4 mirror, the sweet spot where coma is invisible is small. You may need to collimate to the nearest arc-minute. Switching from a Cheshire to a laser collimator, or adding a coma corrector, makes this much easier.
When the views still look fuzzy after a star test, the issue is probably not collimation. Check thermal equilibrium, observer fatigue, atmospheric seeing, and eyepiece quality before chasing another round of mirror adjustments.
Frequently Asked Questions
How do I collimate a Newtonian telescope without a laser?
Use a collimation cap or Cheshire eyepiece. Insert the tool into the focuser, look down the tube, and adjust the three primary mirror screws until the center dot of the primary mirror appears centered under the focuser. A Cheshire eyepiece makes the process easier because it lights up the inside of the tube.
How do I collimate a Newtonian telescope with a Cheshire eyepiece?
Insert the Cheshire into the focuser. Look through the peephole. You will see a bright cross pattern projected onto the primary mirror. Center the secondary mirror under the focuser, then tilt the secondary until the primary mirror is fully visible in the reflection. Finally, tilt the primary mirror so its center dot is centered under the focuser.
How often do I need to collimate a Newtonian reflector telescope?
Check collimation at the start of every observing session and do a full adjustment whenever star tests show asymmetric diffraction rings, after a long trip, or after any physical bump to the telescope. Fast f/4 Newtonians are more sensitive and may need adjustment every session.
What is a collimation cap?
A collimation cap is a small plastic plug that fits into your focuser. It has a tiny hole in the center and a reflective inner surface. Looking through the hole lets you see the reflections of the primary and secondary mirrors, making it easy to check whether the center dot is aligned under the focuser. It is the cheapest and most beginner-friendly collimation tool.
Why does my Newtonian telescope show star shapes instead of points?
Stars look like comets, V-shapes, or smears when the primary and secondary mirrors are not aligned with the focuser. This is a collimation problem. Adjust the primary mirror tilt until the diffraction rings in a defocused star image look concentric and the star itself snaps to a point at high magnification.
Final Thoughts on Collimating a Newtonian Reflector Telescope
Collimation is the single most valuable skill for any Newtonian owner. Start with a simple collimation cap, learn the four-step procedure, and check your star test once a season. Do that and your telescope will deliver crisp, diffraction limited views for years.
Pick a quiet afternoon, grab a Cheshire eyepiece, and run through the steps above on your scope. After your first successful star test, you will never look at a Newtonian the same way again.