
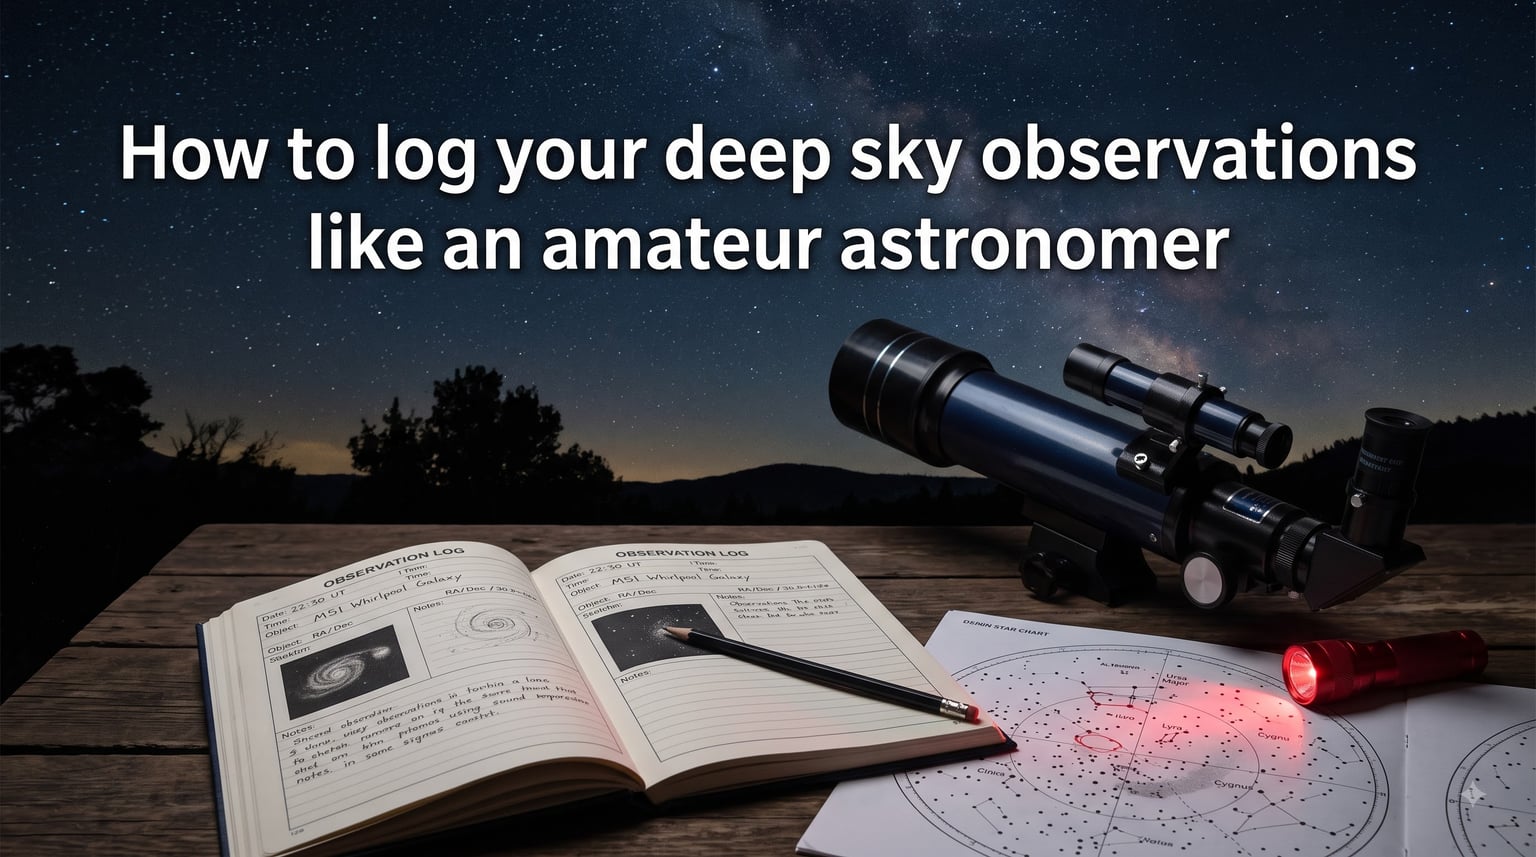
Learning how to log your deep sky observations like an amateur astronomer transforms a casual night under the stars into a lasting scientific record. I have spent years at the eyepiece, and the observers who improve the fastest are the ones who write things down. Whether you hunt Messier galaxies from a dark sky site or chase faint NGC clusters from your backyard, a well-kept astronomy observation log is your single most underrated tool.
The hobby of stargazing — formally called amateur astronomy — rewards patience and documentation. When you track what you see, when you see it, and under what conditions, patterns emerge that make you a sharper, more deliberate observer. This guide walks through everything from basic field notes to sketching techniques, digital tools, and a free template you can start using tonight.
Table of Contents
Why Keep an Observation Log?
An astronomy observation log is a systematic record of what you observe during stargazing sessions, including date, time, location, equipment used, and detailed descriptions of celestial objects viewed. Keeping one is what separates casual looking from serious observing.
Our team has found three benefits that matter most. First, a log lets you track your progress as an observer. The first time you glimpse a faint galaxy is thrilling. Reading about it months later reconnects you to that moment.
Second, logging forces intentionality. When you know you will write about an object, you look harder. You spend extra minutes teasing out detail in a nebula that you might have skipped otherwise.
Third, consistent records can contribute to citizen science. Variable star observations, comet brightness estimates, and meteor counts from amateur logs feed into databases used by professional researchers. Your backyard notes can have real scientific value.
Many experienced observers on Cloudy Nights and Stargazers Lounge forums emphasize the same point. Consistency matters more than detail depth. A brief entry every session beats a detailed one once a month.
Essential Information to Record in Your Astronomy Log
Every observation entry should capture a core set of data points. Here is what to write in your astronomy observation log, in order of importance.
Date and time come first. Always record the date using the double-date convention — for example, “night of December 14/15” — so there is no ambiguity about which calendar day a late-night session belongs to. Astronomers use Universal Time (UT), the time at the Greenwich meridian, so entries from different observers can be compared directly. Convert your local time to UT and note both.
Location is next. Record your observation site by name and by coordinates if possible. A dark sky site at 5,000 feet elevation produces dramatically different views than a suburban backyard, and your log should reflect that context.
Object identity matters for cataloging. Use the standard designation: M31 for the Andromeda Galaxy, NGC 2244 for the Rosette Cluster, or IC 434 for the Horsehead Nebula. List the constellation as well.
A description of what you saw is the heart of the entry. Note the brightness, apparent size, shape, and any structure visible. Did the galaxy show a bright core? Could you resolve individual stars in the cluster? Was the nebula uniform or mottled?
Here is a quick checklist for what should go in every entry:
Date (double-date format) and time (local and UT)
Location name and coordinates
Object designation (M, NGC, IC, or other catalog number)
Constellation
Equipment used (telescope, eyepiece, filters)
Sky conditions (seeing, transparency, limiting magnitude)
Detailed visual description
Sketch or photo reference (if applicable)
Equipment Details to Log for Every Session
Recording your equipment setup lets you compare views across different instruments and configurations. A faint galaxy invisible in a 4-inch refractor at 50x might show structure in a 10-inch reflector at 150x, and your log should capture those differences.
For each session, note the telescope type and aperture — for example, “10-inch Dobsonian reflector, f/4.7.” The focal ratio determines your magnification range and field of view, so include it.
Record the specific eyepiece used for each object. Include the focal length (such as 25mm, 13mm, or 8mm) and the resulting magnification. A 10-inch f/4.7 scope has a focal length of 1,180mm, so a 13mm eyepiece yields about 91x. Knowing your exact magnification helps when comparing notes with other observers.
Mention any filters. A narrowband or OIII filter can make the difference between detecting and missing a faint planetary nebula. Note the filter type and how it affected the view — did it darken the sky background? Did it bring out detail in the object?
Include the apparent field of view if you know it. Wide-field eyepieces show more sky, which affects how you perceive an extended object like the Veil Nebula. A 100-degree apparent field at low power frames large nebulae beautifully, while a narrow field at high power is better for small planetary nebulae.
Describing What You See in the Night Sky
The description field is where your skill as an observer shines. Instead of writing “saw galaxy,” aim for specific, reproducible language that would let another observer know exactly what to expect.
Start with brightness. Use terms like “bright core, faint halo” or “uniformly dim, averted vision only.” Averted vision — looking slightly to the side of an object rather than directly at it — activates the more light-sensitive rods in your retina. Note whether you needed averted vision to detect the object at all.
Describe the apparent size. Compare it to something familiar: “about half the apparent diameter of the Moon” or “filled about a third of the eyepiece field.” You can also estimate the size in arcminutes if you know your field of view.
Note any structure. For galaxies, can you see a nucleus, spiral arms, or a dust lane? For nebulae, is the glow uniform or are there dark bays and bright filaments? For star clusters, how many stars can you resolve, and are they evenly distributed or concentrated toward the center?
Record color if you can see any. Most deep sky objects appear gray or greenish-gray to the eye, but some bright planetary nebulae show blue or blue-green hues. Bright stars in clusters can show warm yellows or cool blues. Any color you detect is worth noting.
Finally, compare what you see to a reference chart. Does the object match the size and brightness shown in your star atlas or app? Noting discrepancies helps you calibrate your expectations for future sessions.
Weather and Sky Conditions That Affect Observing
Sky conditions determine what you can see more than any other variable. Two observers with identical equipment at the same site will have completely different experiences depending on the atmosphere. Your log should capture the key condition metrics every time.
Seeing refers to the steadiness of the atmosphere and directly affects how much detail you can resolve at high magnification. Use the Antoniadi scale, which runs from I (perfect, motionless images) to V (very bad, images so disturbed that observing is impossible). Most nights fall in the II to IV range.
Transparency measures how clear and dark the sky is. A simple way to rate it is on a 1-to-5 scale, where 1 means heavy haze and 5 means crystal clear, inky black sky. Transparency affects faint object detection more than seeing does.
Limiting magnitude is the faintest star you can see with the naked eye at your zenith. It is the single most useful number for quantifying sky darkness. Under a truly dark sky, observers report limiting magnitudes of 6.5 or fainter. In light-polluted suburbs, it may be 4.0 or worse. Estimate it by looking at a known star field and identifying the dimmest star visible.
Also note temperature, humidity, and wind. Cold temperatures affect both you and your telescope — optics need time to cool down to ambient temperature for best performance. High humidity can fog lenses and scatter light. A single line covering these factors rounds out your conditions record.
Digital vs Paper Methods: A Practical Comparison
One of the most common questions on astronomy forums is whether to use a paper logbook or a digital tool. Our team has tested both extensively, and the answer depends on your observing style and setup.
Here is a practical comparison of the two approaches:
| Feature | Paper Logbook | Digital Method |
|---|---|---|
| Dark adaptation | Dim red light friendly | Screen can ruin night vision |
| Searchability | Manual index required | Instant keyword search |
| Field reliability | Never runs out of battery | Depends on device charge |
| Sketching | Natural for pencil sketches | Requires stylus or later scanning |
| Data backup | Single physical copy at risk | Cloud sync and auto-backup |
| Template use | Print and fill by hand | Pre-built forms, dropdowns |
| Sentimental value | High — a physical record | Lower — feels more utilitarian |
A hybrid approach works well for many observers. Keep a small pocket notebook in your observing jacket for field notes — a real observer tip from the Reddit telescopes community — then transcribe entries into a digital spreadsheet or app the next day. You get the reliability and dark-adaptation safety of paper at the eyepiece, plus the searchability and backup of digital storage.
For digital logging, popular options include spreadsheet templates (Google Sheets or Excel), dedicated astronomy apps like SkySafari and Stellarium for object data, and specialized logging apps. A simple spreadsheet with columns for date, UT, location, object, equipment, conditions, and notes handles 90% of what most observers need.
Sketching Techniques for Visual Observers
Sketching is the gold standard for recording what you actually see at the eyepiece. Long before astrophotography existed, astronomers documented their observations by hand, and the practice remains one of the best ways to train your eye to see faint detail.
Start simple. You do not need to be an artist. A basic sketch shows the position and relative brightness of stars in the field, plus any extended glow from the target object. Use a blank circle about 3 to 4 inches in diameter to represent the eyepiece field of view.
Use a soft graphite pencil (2B or softer) on white paper. Record the brightest stars first as solid dots, sized to represent brightness. Then add fainter stars as smaller dots. For extended objects like nebulae or galaxies, build up the glow with light, layered pencil strokes rather than pressing hard.
Work under a dim red light to preserve your dark adaptation. Exposing your eyes to white light during a sketch resets up to 30 minutes of dark adaptation, which is why so many observers prefer paper over tablets at the eyepiece.
Label your sketch with the object name, date, UT, telescope, eyepiece, magnification, and sky conditions. Spend 10 to 15 minutes per object — rushing produces a less accurate record. Many deep sky observers find that the act of sketching makes them see more detail than they would have otherwise.
If you want to take your sketches further, you can invert them digitally later. Scan or photograph the pencil sketch, then use any image editor to reverse the tones. Stars appear as black dots on white paper in your notebook but become white dots on a black sky in the inverted version, matching how the scene looked through the eyepiece.
Coding and Abbreviation Systems to Save Time
Frequent observers develop shorthand to speed up logging at the eyepiece. A simple coding system lets you record conditions and observations in seconds rather than minutes.
Here are standard abbreviations you can adopt:
AV — averted vision required to detect
vvF — very very faint
vF — very faint
F — faint
mF — moderately faint
B — bright
vB — very bright
S — small
M — moderate size
L — large
R — round
E — elongated
U — uniform brightness
Mot — mottled
St — stellar (star-like point)
Combine codes for compact descriptions. “M31: vB core, F outer glow, E NW-SE, large” tells you the Andromeda Galaxy had a very bright center, a faint outer halo, was elongated from northwest to southeast, and appeared large in the field. This entire entry fits on one line but captures meaningful detail.
Develop your own system over time. The key is consistency — use the same codes every session so your log remains readable months or years later.
Sample Log Entry and Free Observation Log Template
Here is what a complete, well-structured observation log entry looks like. Use this as your model:
Date: Night of March 14/15, 2026
Time: 22:30 local / 03:30 UT March 15
Location: Cherry Springs State Park, PA (41.66N, 77.82W)
Telescope: 10-inch Dobsonian reflector, f/4.7 (1180mm focal length)
Eyepiece: 13mm (91x), 82-degree apparent FOV
Filter: UHC narrowband
Conditions: Seeing III (Antoniadi), Transparency 4/5, Limiting magnitude 6.2, 38F, light breeze
Object: M51 — Whirlpool Galaxy (Canes Venatici)
Description: Both components visible. Primary (NGC 5194) showed bright stellar core surrounded by mottled, vF halo. Spiral structure suspected with AV — one arm curving toward companion. Companion (NGC 5195) appeared as small, round, mF glow NE of primary. UHC filter darkened sky but dimmed galaxy slightly. Best view unfiltered at 91x. Observed for 25 minutes with sketch.
This entry takes about two minutes to write and preserves a detailed, useful record. You can copy this format into a notebook, a word processor, or a spreadsheet.
Want a ready-to-use template? Create a simple spreadsheet or printable form with these column headers: Date, Double-Date, Local Time, UT, Location, Latitude, Longitude, Telescope, Aperture, Focal Ratio, Eyepiece, Magnification, Filter, Seeing, Transparency, Limiting Magnitude, Temperature, Object, Constellation, Catalog Number, Description, Sketch (Y/N), Notes. Print a stack and keep them in your observing kit, or duplicate the sheet for each session.
For a free astronomy log book PDF download, several amateur astronomy clubs offer printable templates online. The Astronomical League provides log sheets designed for their observing club programs (Messier, Herschel 400, and others). Search for “astronomy observation log template” and you will find dozens of free, well-designed options.
Tips for Building a Consistent Logging Habit
The biggest challenge is not what to log — it is logging every time. Here are the strategies our team and the amateur community rely on to stay consistent.
Log at the eyepiece, not after. Memory fades fast. By the time you pack up and drive home, details blur together. Keep your notebook or tablet within arm’s reach and jot notes between objects.
Keep it brief but consistent. A few lines per object every session is far more valuable than a page-long essay once a month. The observers who maintain logs for decades are the ones who keep the barrier to entry low.
Index your logbook. If you use a paper notebook, leave the first few pages blank for an index. Number your pages and record which objects appear on which page. This makes it trivial to find every observation of M42 or Saturn you have ever made.
Review past entries before each session. Reading what you logged on a previous night at the same site reminds you what targets to revisit and what to look for. It also reinforces the value of keeping the log in the first place.
Do not wait for perfect conditions. Log your sub-par nights too. A marginal session under poor transparency still produces data — and it makes the exceptional nights even more rewarding to record.
Frequently Asked Questions
How do you observe deep-sky objects?
To observe deep-sky objects, use a telescope with sufficient aperture (at least 4 to 6 inches for beginners), find a dark observing location away from city lights, allow your eyes at least 20 to 30 minutes to dark adapt, and use averted vision to detect faint targets. Star hop from bright guide stars using a star chart or app, and use low magnification first to locate the object before increasing power for detail.
What should I include in my astronomy observation log?
Include the date (in double-date format), time in Universal Time and local time, observation location with coordinates, telescope and eyepiece details with magnification, any filters used, sky conditions (seeing, transparency, limiting magnitude), the object designation and constellation, and a detailed description of what you observed including brightness, size, shape, and structure.
Should I use a paper logbook or a digital app for astronomy logging?
Paper logbooks are better at the eyepiece because they do not emit light that ruins dark adaptation and never run out of battery. Digital methods offer superior searchability, backup, and template features. A hybrid approach — paper notes in the field transcribed to a digital spreadsheet later — gives you the best of both worlds.
Why should I keep an astronomy observation journal?
Keeping an observation journal helps you track your progress as an observer, preserves the memory of specific sessions, forces you to observe more carefully, and can contribute data to citizen science projects. It also creates a personal record you can revisit years later to see how your skills and equipment have evolved.
What is the best way to log telescope observations?
The best way to log telescope observations is to write brief notes at the eyepiece using a dim red light, recording the date, time, equipment, conditions, and object description for each target. Keep entries short and consistent every session rather than detailed occasionally. Transcribe field notes into a permanent digital or paper log the next day while details are still fresh.
Conclusion
Learning how to log your deep sky observations like an amateur astronomer comes down to a simple formula. Record the date and time in UT, note your location and equipment, capture the sky conditions, and describe what you saw in specific, reproducible language. Do this every session, keep entries brief, and your log becomes an irreplaceable record of your journey through the night sky.
The best time to start is your next observing session. Grab a notebook, print a template, or set up a spreadsheet tonight. Years from now, you will be glad you did — because the faint galaxies you chase tonight deserve to be remembered accurately tomorrow.