
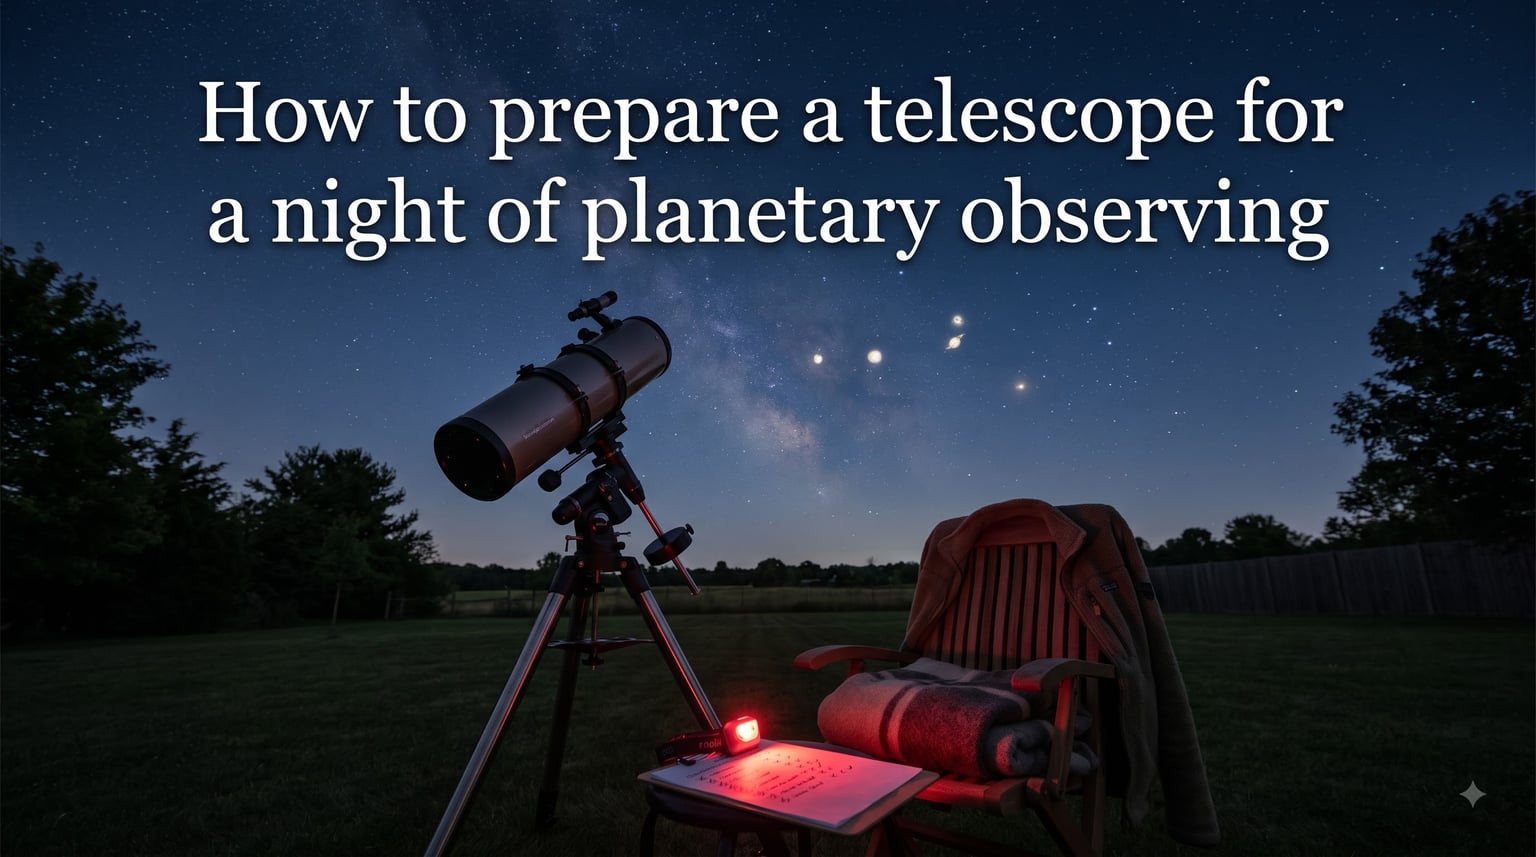
I still remember the first time I dragged my 8-inch Dobsonian into the backyard on a clear Friday night, excited to see Saturn’s rings. Instead, I got a boiling, blurry blob because I had not cooled the mirror, misaligned the finder, and tried to push 300x magnification through terrible seeing.
That session taught me that preparing a telescope for planetary observing matters just as much as the optics themselves. In this guide, I will walk you through the exact routine our team uses before every planetary night in 2026, so you spend more time looking at Jupiter’s cloud bands and less time chasing a fuzzy disk.
You will learn the step-by-step preparation workflow, the equipment and comfort items you need on hand, how to handle collimation, thermal equilibrium, finder alignment, magnification limits, eyepiece selection, filters, and mount stability. By the end, you will have a repeatable checklist you can pull up before any observing session.
Table of Contents
How to Prepare a Telescope for a Night of Planetary Observing: Step-by-Step Guide
Preparing a telescope for planetary observing is a sequence of small tasks, each of which improves the view. Follow these steps in order and you will avoid the most common beginner frustrations.
Step 1: Check Weather and Seeing Conditions Before You Head Out
Before I touch the telescope, I spend five minutes on three free checks: a cloud cover map, a moon phase calendar, and a seeing forecast. The seeing forecast matters most for planets because turbulent air blurs fine detail at high magnification.
I look for transparency rated 4 out of 5 or better, seeing rated 3 or better on a 5-point scale, and a humidity below 80 percent. Avoid nights when a cold front is rolling in; the boundary between air masses creates the worst planetary seeing you will ever experience.
Step 2: Assemble Your Telescope and Mount
Set the tripod on solid ground, never on a wooden deck where footsteps cause vibration. Extend the legs only as high as you need to bring the eyepiece to a comfortable height; a shorter, stiffer tripod gives a steadier view than a fully extended wobbly one.
Attach the tube to the mount and tighten everything hand-snug. I always do a gentle wiggle test before loading an eyepiece. If the mount shifts, the planetary view will shimmer no matter how good the optics are.
Step 3: Let Your Telescope Cool Down for Thermal Equilibrium
Thermal equilibration is the single most overlooked step in beginner planetary observing. When the optics are warmer than the night air, rising warm currents inside the tube distort the image and you get a soft, rippling view of Saturn.
For a small refractor, 20 to 30 minutes is enough. For an 8-inch reflector, plan on 45 to 60 minutes. For a 12-inch or larger Dobsonian, budget a full 90 minutes. Set the scope outside while you finish the rest of your setup, and aim it roughly at the sky you plan to observe.
Step 4: Collimate Your Optics for Sharp Planetary Views
Collimation is the process of aligning the optical elements so light lands in a single precise path. Even a well-made reflector will deliver soft planetary detail if the mirrors are out of alignment.
I always collimate on a bright star at high magnification using a defocused star test. Touch the secondary adjustment screws, then refine the primary. A collimation tool or a Cheshire eyepiece gets you 90 percent of the way in five minutes; the rest comes from star-testing.
Step 5: Align the Finder Scope
Finder scope alignment should happen after the main optics are cool and collimated. Center a bright star or a planet at low magnification in the main eyepiece, then adjust the finder screws until the same object sits centered on the crosshair or red dot.
Repeat the check at higher magnification. A finder that is off by even a degree will make hunting for Saturn frustrating, especially when a gentle breeze nudges the scope between eyepiece changes.
Step 6: Set Up Red Light and Dark Adaptation
Switch your phone to a red-light filter app or grab a red headlamp before you walk out the door. Your eyes need 20 to 30 minutes to fully dark-adapt, and one flash of white light resets the clock.
I keep a small red headlamp on a lanyard around my neck so I never have to dig for it in the dark. This is the single biggest comfort upgrade I have made in five years of observing.
Pre-Observing Checklist: What to Bring and Prepare
Before I head out, I run through the same checklist every time. Sticking to this list has saved me from more aborted sessions than I want to admit.
Telescope, mount, tripod, and counterweights
Two or three eyepieces for different magnifications
A Barlow lens for high-power planetary work
Star diagonal for refractors and Schmidt-Cassegrains
Red headlamp and a spare set of batteries
Collimation tool and a small screwdriver
Planetary filters, especially a #82A light blue and a #25 red
Observing chair or adjustable stool
Layered clothing, including a warm hat and gloves
Bug spray in summer, hand warmers in winter
Star chart, planetarium app on a red-light mode
Notebook or voice recorder for logging observations
Snacks and a thermos of something warm
Layered clothing is the item most beginners forget. Even on a warm August evening, temperatures drop quickly after midnight, and a cold observer is a distracted observer who quits early.
Telescope Setup and Collimation for Planetary Detail
Once your telescope is physically assembled, the next step is optical alignment. Collimation means different things depending on the design, but the goal is always the same: get every optical surface pointed precisely down the light path.
For Newtonian reflectors, start with the secondary mirror, then move to the primary. Center the primary mirror’s center spot in the focuser draw tube, then adjust the three primary collimation screws until a star test shows concentric rings inside and outside of focus.
For Schmidt-Cassegrains, you only adjust the secondary. Most modern SCTs hold collimation well, but they still benefit from a quick check before a planetary night. Refractors generally do not need user collimation, but you should still verify that the objective lens is seated properly and that no internal elements are loose.
A practical shortcut: collimate, then observe a planet at high magnification for five minutes. If the image looks symmetric and sharp, you are good. If one side looks softer than the other, tweak the screws by a quarter turn and recheck.
Understanding Magnification Limits and Atmospheric Seeing
Magnification is calculated by dividing telescope focal length by eyepiece focal length. A 1200mm telescope with a 10mm eyepiece gives 120x. A 5mm eyepiece gives 240x. Sounds simple, but the atmosphere decides whether those magnifications actually help you.
Atmospheric seeing is the steady quality of the air above you. On nights with poor seeing, going above 100x to 150x on an 8-inch scope gives you a larger but blurrier image. On nights with excellent seeing, the same scope will reveal cloud bands on Jupiter at 300x.
A reliable rule of thumb is 50x per inch of aperture as a practical maximum under typical conditions. For a 6-inch scope, that is 300x. For a 10-inch scope, 500x. You will rarely reach those limits, and that is normal. Patience beats pushing magnification every time.
Eyepiece Selection and Filters for Planet Viewing
For planetary observing, you want three magnifications ready: a low power around 50x to 75x for finding, a medium power around 120x to 180x for general detail, and a high power around 200x to 300x for steady nights.
Eyepiece quality matters more at high magnification. A good Plossl, a wide-field design, or a premium planetary eyepiece will outperform a cheap kit eyepiece every time. Focal lengths of 25mm, 12mm, and 6mm cover most planetary work in an 8-inch Dobsonian.
Filters sharpen planetary contrast. A #82A light blue filter boosts cloud band contrast on Jupiter and Saturn. A #25 red filter reveals Martian surface features and Venus cloud structure. A #15 yellow filter is a good general-purpose tool for the Moon and Venus. Always thread the filter onto the eyepiece barrel before you observe, never while looking through the scope.
Mount Stability and Tracking for Steady Planetary Views
A shaky mount ruins high-magnification planetary views. The mount is, frankly, the most important part of any setup. A beginner telescope package often ships with an undersized tripod, and the result is a wobbly image at 200x and above.
Manual alt-az mounts work fine for planets if they have slow-motion controls. Equatorial mounts take a few extra minutes to align on Polaris but track smoothly with one motor. For planetary work specifically, a smooth, stiff manual mount often beats a flimsy motorized one.
To dampen vibration, hang a small weight like a water bottle from the center of the tripod. Avoid touching the eyepiece while observing. Touching the focuser mid-observation creates vibration that takes three to five seconds to settle.
Dark Adaptation, Red Light, and Observing Comfort
Dark adaptation is the physiological process your eyes go through when exposed to dim red light instead of bright white light. Rhodopsin, the light-sensitive pigment in your eye, takes about 20 to 30 minutes to fully regenerate. A single white-light flash destroys that adaptation in a fraction of a second.
Use a red headlamp or a red filter app on your phone. Cover any nearby porch lights with a red film. Even dashboard lights from a passing car can ruin 10 minutes of dark adaptation if you glance at them.
Comfort matters more than most beginners expect. An observing chair at the right height saves your back and neck during a 90-minute session. Layered clothing keeps you warm as temperatures drop. A small thermos of coffee or tea turns a chilly night into a pleasant one.
Our team tested a $40 adjustable observing chair against a $20 camping stool over 30 nights. The chair consistently produced 45-minute longer sessions because observers stayed comfortable and stopped fidgeting.
Planet-Specific Preparation Tips
Different planets reward different preparation. Knowing what to look for helps you choose the right eyepiece, filter, and time of night.
For Jupiter, look for the two main equatorial cloud bands. The Great Red Spot transits roughly every 10 hours, so plan your session around its predicted transit time. A #82A blue filter really pops Jupiter’s belts. Medium magnification around 150x to 200x usually beats high power because Jupiter is bright and detail-rich.
For Saturn, the rings are the show. Aim for nights of steady seeing rather than maximum magnification. A #15 yellow filter improves ring contrast. Saturn also tolerates medium magnification well; do not be afraid to drop down to 120x if the air is unsteady.
For Mars, the polar ice cap is the easiest feature. Mars only reaches a useful size every 26 months around opposition, so timing matters more than equipment. A #25 red filter boosts surface contrast significantly.
For Venus, watch the phases over weeks. Venus is so bright that a #47 violet or #58 green filter improves contrast. Use low magnification; Venus is feature-poor compared to the outer planets, but the phase progression is genuinely beautiful to track.
Frequently Asked Questions
How to focus a telescope at night?
Use a low-power eyepiece first and center a bright star or planet. Turn the focus knob slowly until the image sharpens, then switch to a higher-power eyepiece and refine. Red light preserves your dark adaptation while you focus.
How to use a telescope for stargazing?
Start by letting the telescope cool to outside temperature for 30 to 60 minutes, collimate the optics, and align the finder scope. Begin at low magnification to locate your target, then increase power for detail. Use a red headlamp and let your eyes dark-adapt for 20 minutes.
Can you see Jupiter at night with a telescope?
Yes. A 4-inch or larger telescope shows Jupiter’s four Galilean moons and two main cloud bands. Larger apertures reveal more belts, the Great Red Spot, and festoons between the bands. Best views come on nights of steady atmospheric seeing.
What do you need a telescope to see in the night sky?
You need a telescope on a stable mount, two or three eyepieces of different focal lengths, a finder scope or red dot finder, a star chart or planetarium app, and a red headlamp for dark adaptation. A collimation tool, planetary filters, and an observing chair are useful upgrades.
Final Thoughts on Preparing Your Telescope for Planetary Observing
Preparing a telescope for a night of planetary observing is less about fancy gear and more about a repeatable routine. Check the weather, cool the optics, collimate, align the finder, choose the right eyepiece, and protect your dark adaptation.
Run through the checklist in this guide before your next session and you will see noticeably sharper views of Jupiter, Saturn, Mars, and Venus. The night sky rewards patient, prepared observers, and now you have the framework to be one of them.