
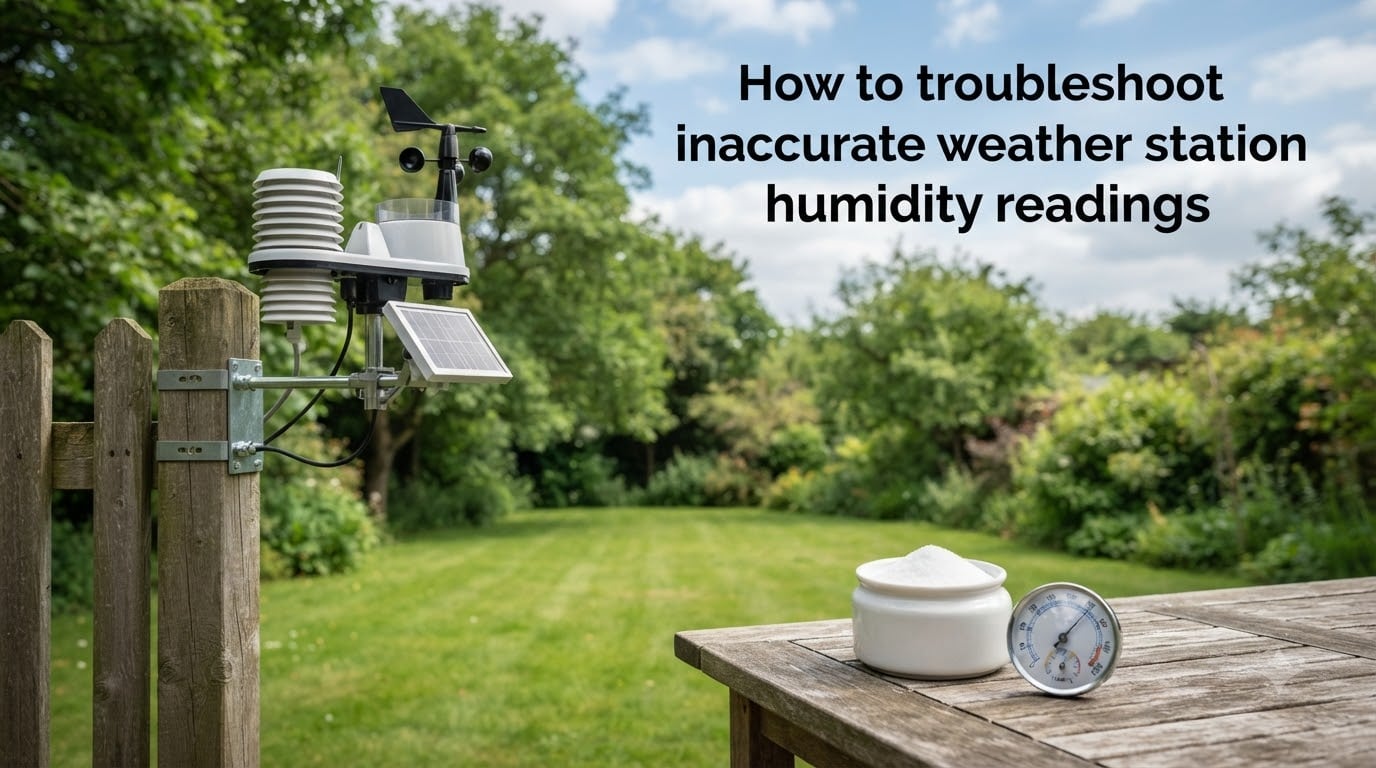
By the time you realize your weather station humidity readings are off, you may have already logged days or weeks of bad data. I have helped dozens of home weather station owners diagnose faulty humidity sensors, and the problem almost always comes down to one of a handful of fixable causes. Learning how to troubleshoot inaccurate weather station humidity readings saves you from replacing hardware that still works fine.
Humidity is one of the trickiest measurements a weather station makes. Unlike temperature, which responds quickly and predictably, a relative humidity sensor reacts to invisible moisture in the air, drifts over time, and behaves differently depending on where and how it is mounted. Even a sensor that was perfectly calibrated at the factory can start lying to you within months if the conditions around it change.
This guide walks through every common cause of inaccurate humidity readings, from the 30-second checks you should run first to the salt test calibration you can do on your kitchen table. I have built this troubleshooting framework to work across all major brands, including AcuRite, Tempest, Ambient Weather, Davis, and La Crosse, so you get clear answers no matter what hardware you own.
Table of Contents
Common Signs Your Humidity Readings Are Wrong
Before diving into fixes, you need to confirm the problem is real and not just a normal reading you were not expecting. Weather station humidity sensors fail or drift in recognizable patterns, and spotting the pattern narrows your troubleshooting fast.
The most obvious red flag is a reading pinned at 1% or 99% relative humidity. A sensor stuck at 1% almost always points to a failed humidity board or corroded connection, while 99% that never drops suggests condensation has saturated the sensor element. Neither value should persist for hours in normal outdoor conditions.
Sudden jumps are another warning sign. If your humidity reading swings 30 percentage points in minutes when the weather outside has not changed, the sensor is likely picking up interference or losing signal. Compare your reading to a nearby reference, such as a local NOAA station or a second indoor hygrometer, and look for a consistent offset of more than 5 to 10 percent.
Temperature readings of -40 degrees or 158 degrees Fahrenheit paired with bad humidity numbers tell you the combined temperature and humidity board has failed. On AcuRite and similar consumer stations, these specific numbers are error states, not real measurements. Forum users on Reddit and the Arduino community consistently confirm that a sudden -40 reading means the sensor needs replacement, not recalibration.
Quick Troubleshooting Checklist
Start with this 5-minute checklist before opening any panels or ordering parts. I have seen roughly half of all humidity complaints resolved at this stage without touching the sensor itself.
Step 1: Check signal strength. Open your display unit or app and look at the signal bars. Anything below three or four bars can cause intermittent data dropouts that show up as erratic humidity spikes. Reposition the display closer to the outdoor array or remove obstacles between them.
Step 2: Verify the time and date. If your display shows the wrong time, the console may have lost its connection to the sensor and is repeating stale data. A power cycle usually restores the link.
Step 3: Confirm batteries. Cold weather drains batteries fast, and low voltage produces garbage humidity readings before anything else fails. Replace all batteries with fresh lithium or high-quality alkaline cells, even if the low-battery indicator is not lit.
Step 4: Compare to a reference. Pull up a nearby official weather station on a site like Weather Underground or the National Weather Service. If your reading is more than 10 percent off during stable weather, something needs attention.
Step 5: Check for recent changes. Did you recently move the sensor, trim nearby vegetation, or install a new fence? Even small changes to the immediate surroundings can shift the microclimate the sensor measures.
Environmental Factors That Skew Humidity Readings
Environmental placement is the single biggest cause of inaccurate humidity readings, and it is the easiest to fix for free. A perfectly good sensor mounted in the wrong spot will give you confidently wrong numbers every minute of every day.
Heat sources are the most common culprit. If your outdoor sensor array sits above a driveway, asphalt roof, concrete patio, or near an air conditioning exhaust, it reads air that has been artificially warmed. Warm air holds more moisture, so the relative humidity drops even though the actual moisture content has not changed. Mount the sensor over grass or natural ground whenever possible.
Direct solar radiation heats the sensor housing and throws off both temperature and humidity. Every professional weather station uses a solar radiation shield, which is a series of angled plates that shade the sensor while letting air flow through. If your station lacks one, or the shield is cracked and missing plates, expect humidity errors of 5 to 15 percent on sunny afternoons.
Moisture sources cause the opposite problem. A sensor mounted near a sprinkler head, rain gutter downspout, pond, or dense wet foliage will read persistently high humidity because it is measuring a damp microclimate rather than the general air. Forum users consistently recommend mounting outdoor sensors on north-facing walls, at least 5 feet off the ground, away from any direct water source.
Microclimate effects are subtle but real. Your backyard can easily run 10 to 20 percent higher in humidity than the official reporting station a few miles away simply because of trees, shade, and evaporation. Before assuming your sensor is broken, check whether the discrepancy follows a consistent pattern that matches your local conditions.
How to Reset and Power Cycle Your Weather Station
A clean reset resolves a surprising number of humidity glitches, especially after firmware updates, battery changes, or power outages. The procedure is similar across brands but with a few key differences worth noting.
Step 1: Power down both units. Remove batteries from the outdoor sensor array and unplug the indoor display console. If your station has a rechargeable battery or solar capacitor, wait at least 10 minutes for any residual charge to drain.
Step 2: Clear the console memory. On many AcuRite models, you do this by holding the reset button on the back of the display for 10 seconds. Tempest users should use the factory reset option in the app under device settings. Ambient Weather consoles typically require holding the WiFi and Clear buttons simultaneously.
Step 3: Power up the outdoor sensor first. Insert fresh batteries into the outdoor array and wait for it to initialize. You will usually see an LED blink or hear the rain gauge tick as it boots. This order matters because the console needs to find and pair with the sensor, not the other way around.
Step 4: Power up the console. Reconnect the display and wait 5 to 15 minutes for the two units to re-establish communication. Look for full signal bars and a reading that updates at the expected interval, usually every 30 to 60 seconds.
If the humidity reading is still wrong after a clean reset, the problem is physical or environmental, not a software glitch. Move on to inspecting the sensor hardware itself.
Decoding Error Codes Across Brands
One of the most frustrating parts of troubleshooting humidity problems is that error codes mean different things on different brands. I have consolidated the most common ones here so you do not have to hunt through five different manuals.
-40 degrees Fahrenheit: On AcuRite, Ambient Weather, and La Crosse stations, this number indicates the temperature and humidity sensor has failed or lost connection. It is not a real reading. Check for corrosion on the sensor board first, then replace the board if it looks clean.
158 degrees Fahrenheit: This is the high-end equivalent of -40, signaling the same board failure. You will almost always see it paired with 1% humidity. Replace the temperature and humidity board rather than attempting repair.
1% relative humidity: A reading this low is physically impossible in any normal outdoor environment. It means the humidity element is disconnected, corroded, or dead. The fix is replacement, not calibration.
99% relative humidity: This can be real during heavy rain or dense fog, but if it persists for hours in clear weather, the sensor is saturated with condensation. Remove the sensor, let it dry in a warm room for 24 hours, and test again before replacing.
Dashes or blank readings: When the console shows dashes where humidity should appear, the display has lost communication with the outdoor array. This is a signal or pairing issue, not a sensor failure. Run through the reset procedure above.
How to Inspect a Humidity Sensor for Corrosion and Damage
If a reset did not fix the problem, the next step is a physical inspection of the outdoor sensor array. Corrosion is the number one hardware killer of humidity sensors, and it is easy to spot once you know what to look for.
Take down the sensor array and open the housing. On most consumer stations, this means removing a few screws on the bottom or back of the unit. Look for the small circuit board that contains both the temperature thermistor and the humidity element, usually a tiny rectangular component behind a protective filter.
Check the filter or screen covering the humidity sensor. If it is clogged with dirt, spider webs, salt residue, or pollen, air cannot reach the sensing element and readings will be wrong. Gently clean the filter with compressed air or replace it if damaged.
Inspect the circuit board for green or white crusty deposits, especially around the battery compartment and where wires connect to the board. These are signs of corrosion from moisture intrusion or leaking batteries. Light corrosion can be cleaned with isopropyl alcohol and a soft brush, but heavy corrosion means the board needs replacement.
Look at the connector where the sensor cable plugs into the main board. A loose or corroded connection here produces intermittent readings that look like drift or signal loss. Unplug and reseat the connector to confirm a snug fit.
How to Test Humidity Sensor Accuracy at Home?
Before replacing or recalibrating a sensor, confirm it is actually inaccurate. The DIY community, including Arduino builders and weather enthusiasts on Reddit, widely recommends two simple at-home tests that require no professional equipment.
The first is the comparison test. Place your outdoor sensor and a known-good hygrometer side by side in the same room, away from vents and windows, for at least 30 minutes. If they read within 5 percent of each other, the sensor is probably fine and the issue is environmental. A gap larger than 10 percent confirms a sensor problem.
The second is the salt test, which gives you a known humidity reference point. This is the gold standard for home hygrometer calibration, and I cover the full procedure in the next section.
For a broader check, compare your station to nearby personal weather stations on Weather Underground or the Citizens Weather Observation Program. Pick two or three stations within a few miles and average their humidity readings. If your station is consistently the outlier, the problem is yours, not theirs.
Salt Test Calibration Method: Step by Step
The salt test exploits a simple scientific fact: a sealed container with a saturated salt solution produces a known relative humidity at any given temperature. Table salt, or sodium chloride, stabilizes at exactly 75 percent relative humidity, which makes it a perfect reference for checking and calibrating humidity sensors.
What you need: table salt, a small shallow container like a bottle cap, a sealable plastic bag or airtight container large enough to hold your sensor, and a little water.
Step 1: Prepare the salt slurry. Place about two tablespoons of table salt in the small container. Add just enough water to wet the salt and form a thick paste. You do not want standing water, just a damp, saturated mix. The exact ratio is roughly equal parts salt and water by volume, but the key is that the salt is fully wet without being dissolved.
Step 2: Set up the test chamber. Place the salt container and your humidity sensor in the sealable bag or airtight container together. Make sure the sensor does not touch the salt or water directly. Seal the container completely, because any air exchange with the room invalidates the test.
Step 3: Wait and equilibrate. Leave the sealed setup at room temperature for at least 12 hours, ideally 24. The salt solution needs time to establish equilibrium humidity throughout the enclosed air space.
Step 4: Read the result. Open the container and check the reading quickly. A healthy sensor should read 75 percent, plus or minus 5 percent. If your sensor reads 65 percent, it is reading 10 points low. If it reads 85 percent, it is 10 points high.
Step 5: Apply an offset if supported. Many weather stations let you enter a calibration offset in the console or app settings. If your sensor read 10 points low in the salt test, enter a positive offset of 10. Check your manual for the specific calibration menu, since the location varies by brand.
Note that some sensors, like the DHT22 used in DIY projects, require a more involved conditioning process at elevated temperature and very low humidity. For most consumer weather stations, the salt test and offset adjustment are all you need.
Understanding Humidity Sensor Drift and Hysteresis
Even a high-quality humidity sensor slowly loses accuracy over time. This phenomenon, called sensor drift, is normal and expected. Knowing how it works helps you decide whether your sensor needs calibration or replacement.
Most home weather stations use capacitive humidity sensors. These contain a thin polymer film that absorbs water molecules from the air, changing its electrical capacitance in proportion to relative humidity. Over months and years, the polymer becomes contaminated with dust, pollutants, and chemical vapors, causing the capacitance reading to shift.
Typical drift rates for consumer-grade capacitive sensors run 1 to 3 percent per year under normal conditions. If your station has been running for two or three years without recalibration, a 5 to 10 percent error is entirely expected and usually correctable with an offset adjustment.
Hysteresis is a different effect where the sensor reads differently depending on whether humidity is rising or falling. If you move a sensor from a dry room to a humid one, it may overshoot the actual humidity, then settle slowly. Cheap sensors show more hysteresis than quality ones, and the effect cannot be calibrated out. If your station shows large, slow swings that do not match real weather changes, hysteresis may be the cause.
Sensor response time also matters. A clogged filter slows the sensor dramatically, so it lags behind rapid humidity changes like a passing rain shower. Cleaning or replacing the filter often restores normal response speed without any recalibration.
When to Calibrate vs When to Replace
This is one of the most common questions I hear, and the answer depends on the type and age of the error. Use this framework to avoid spending money on a sensor that cannot be saved.
Try calibration first if: The sensor is less than three years old, the error is consistent (always 8 percent high, for example), the salt test result is within 15 percent of 75, and the sensor board looks clean and corrosion-free. An offset adjustment should bring it back in line.
Replace the sensor if: The error is erratic and unpredictable, the salt test shows a gap larger than 15 percent, the board shows visible corrosion, or the station reports error codes like -40, 158, or 1%. Calibration cannot fix a failing sensor element.
Replace the entire board if: Your station uses a combined temperature and humidity board, like the AcuRite Model 11197 or similar modules. These are usually available as replacement parts for $20 to $40 and are easier to swap than to diagnose at the component level.
Consider a new station if: The unit is more than five years old, replacement parts are discontinued, or multiple sensors are failing at once. At that point, newer stations offer better accuracy and connectivity for a modest investment.
Brand-Specific Notes for 2026 Weather Stations
While the troubleshooting steps above apply across the board, each brand has quirks worth knowing. Here is what to watch for based on the most popular consumer weather stations in 2026.
AcuRite (including the Iris and 5-in-1 models): The most common humidity failure mode is corrosion on the temperature and humidity board, often visible as a greenish deposit near the battery contacts. AcuRite sells replacement boards that snap in without replacing the entire array. The console also has a built-in calibration offset menu accessible through the setup button.
Tempest Weather System: The Tempest has no moving parts and uses a haptic rain sensor plus capacitive humidity, so physical failures are less common. If humidity is off, check for dirt on the sensor aperture and use the calibration offset in the Tempest app. Tempest also compares your data to nearby stations automatically, which makes spotting anomalies easier.
Ambient Weather (Observer and Osprey series): These stations share architecture with some AcuRite models, so the same corrosion and board-replacement guidance applies. The console supports manual calibration offsets for both temperature and humidity through the settings menu. Ambient Weather customer support is generally responsive about sending replacement sensor arrays under warranty.
Davis Instruments: Davis stations are professional-grade and rarely develop humidity errors before five to seven years of service. When they do, the sensor sits inside a replaceable module in the radiation shield. Davis sells individual replacement modules, and the console supports fine-grained calibration offsets.
Frequently Asked Questions
How to test if a humidity sensor is accurate?
Place the sensor in a sealed container with a saturated table salt solution for 12 to 24 hours at room temperature. The salt slurry creates a stable 75 percent relative humidity environment. If your sensor reads between 70 and 80 percent, it is accurate within acceptable tolerance. A reading outside that range indicates drift or failure that needs calibration or replacement.
How do I calibrate a humidity sensor?
Run the salt test to determine the error amount, then enter a calibration offset in your weather station console or app. For example, if the salt test shows 65 percent instead of 75, apply a positive offset of 10. Most AcuRite, Ambient Weather, and Tempest stations support manual offset adjustments in their settings menus. Recalibrate annually for best accuracy.
What are two things that might cause inaccurate temperature and humidity readings?
The two most common causes are improper sensor placement near heat sources like roofs and pavement, and direct solar radiation hitting an unshielded or poorly shielded sensor. Both warm the sensor artificially, which lowers relative humidity readings even though actual moisture content has not changed.
How do I calibrate my weather station?
Start by running a salt test to find your humidity offset, then enter that offset in the calibration menu of your console or companion app. For temperature, compare your reading to a nearby official weather station on a cloudy, calm day and apply the difference as a temperature offset. Repeat both checks annually to account for sensor drift.
Why does my weather station show 99% humidity when it is clear outside?
A reading stuck at 99% usually means the humidity sensor is saturated with condensation or the sensor filter is clogged with dirt and moisture. Remove the sensor array, let it dry indoors for 24 hours, clean or replace the filter, and test again. If the reading stays at 99% after drying, the sensor element has failed and needs replacement.
What does it mean when my weather station shows 1% humidity?
A reading of 1% relative humidity is physically impossible in normal outdoor air and indicates the humidity sensor has failed, disconnected, or corroded. On most consumer stations this is paired with a temperature reading of -40 or 158 degrees Fahrenheit. Inspect the sensor board for corrosion, and if it looks clean, replace the temperature and humidity board.
Wrapping Up
Most inaccurate weather station humidity readings trace back to placement, power, or a sensor board that needs cleaning or replacement. Run the quick checklist first, move on to the salt test if the basics check out, and you will identify the cause in under an hour in most cases.
Now that you know how to troubleshoot inaccurate weather station humidity readings, the next step is putting it into practice. Start with the reset and battery swap, work through the salt test calibration, and apply the offset if your station supports it. Your humidity data will be back to trustworthy numbers before the next weather front moves through.