
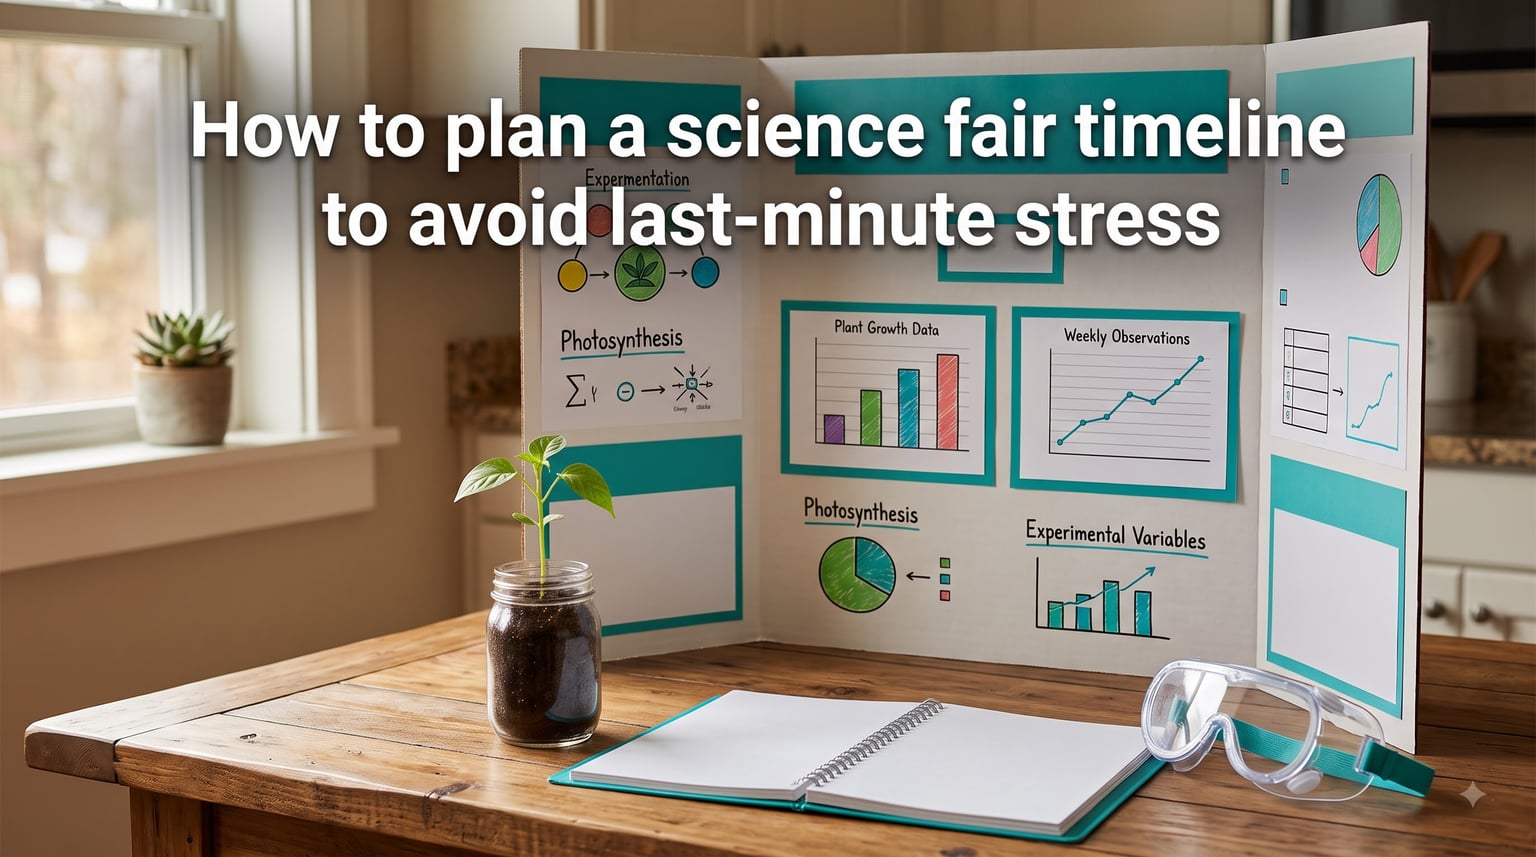
If you’ve ever watched a science fair project come together the night before the due date, you already know the value of a solid plan. I have helped my own kids through three science fairs, and the single biggest difference between a relaxed week and a tearful weekend was starting the science fair timeline early. In this guide, I’ll walk you through how to plan a science fair timeline that takes the panic out of the process and keeps the whole family sane.
By the end of 2026, your student will have a clear roadmap from “blank topic” to “polished presentation” – and you will not have to glue a poster board together at midnight.
Table of Contents
Why You Need a Science Fair Timeline?
A science fair timeline is more than a calendar. It is a week-by-week plan that breaks the whole project into small, manageable phases. Without one, families tend to ignore the project until there are only a few days left, then scramble.
I learned this the hard way. Our first science fair, we picked a topic on Day 1 and ran the experiment on Day 4. By Day 6, my daughter was crying into a half-finished poster. The next year, we used an 8-week timeline. Same kid, same workload, completely different mood.
Planning ahead also builds in cushion time for the things that always go wrong: sick days, broken equipment, experiments that fail the first three tries, and surprise homework from other classes. A good science fair schedule treats these as normal, not as disasters.
How to Plan a Science Fair Timeline: The 8-Week Breakdown
This is the core of your science fair planning. Print it out, tape it to the fridge, and check off each milestone as you go. The numbered format also makes it easy to scan for the featured snippet.
Weeks 1-2: Topic Selection and Research
The first two weeks are all about choosing the right project. A topic that excites your child is the single best predictor of a finished, polished science fair project.
Week 1, Days 1-3: Brainstorm 8-10 topic ideas based on your child’s interests. Watch a few science videos together to spark ideas.
Week 1, Days 4-7: Narrow down to 2-3 ideas. Check each against the rules (grade level, materials allowed, size limits) from the teacher.
Week 2, Days 1-4: Do background research. Read age-appropriate articles, kid-science websites, or an encyclopedia. Keep notes in a simple lab notebook.
Week 2, Days 5-7: Lock in the topic and write a one-paragraph project summary. This becomes the basis for the hypothesis.
Weeks 3-4: Experiment Design and Materials
Now that you know what to test, design the experiment. A clear plan here saves hours of confusion later.
Week 3, Days 1-4: Write a hypothesis and identify the independent, dependent, and controlled variables.
Week 3, Days 5-7: List every material you need. Check what you already have at home and make a shopping list for the rest.
Week 4, Days 1-3: Do a small test run of the experiment. This catches problems early when there’s still time to fix them.
Week 4, Days 4-7: Refine the procedure based on the test run. Update the materials list and set up a calendar slot for the real experiment.
Week 5: Conduct the Experiment and Collect Data
This is the main event of any science fair project. Treat it like a lab appointment and protect the time on your family calendar.
Days 1-2: Run the experiment once. Take photos of each step. Record measurements in a data table as you go.
Days 3-4: Repeat the experiment for accuracy. Most science fair projects need at least three trials.
Days 5-7: Run additional trials if needed. Note any unusual observations – these often become the most interesting parts of the final display.
Week 6: Analyze Data and Draw Conclusions
Data without analysis is just numbers on a page. This week turns your child’s work into a real scientific finding.
Days 1-3: Calculate averages and create simple graphs (bar chart, line graph, or pie chart). Hand-drawn or printed graphs both work.
Days 4-5: Write the conclusion paragraph. Did the data support the hypothesis? Why or why not?
Days 6-7: Review the whole project so far. This is a great checkpoint for parents to ask questions without taking over.
Week 7: Build the Display Board
The science fair display is what judges see first. A clean, readable poster beats a fancy one with cluttered text every time.
Days 1-2: Sketch the layout of the display board on paper first. Standard sections: Title, Question, Hypothesis, Materials, Procedure, Results, Conclusion.
Days 3-5: Print or write each section. Glue or tape elements onto the poster board in the planned order.
Days 6-7: Add photos from the experiment and any graphs or charts. Step back and check the board from 3 feet away – can you read the title?
Week 8: Practice Presentation and Final Prep
The final week is for polishing, not panicking. If you’ve followed the timeline, your child should feel proud rather than rushed.
Days 1-3: Practice the presentation out loud. Aim for 2-3 minutes. Have your child explain it to a parent, sibling, or even the family dog.
Day 4: Practice answering tricky questions. “What would you do differently next time?” is a favorite from judges.
Day 5: Final supplies check: poster, any props, log book, backup copies of the data.
Days 6-7: Rest, sleep early, and show up to the science fair with confidence.
Essential Science Fair Supplies Checklist
Most science fair stress comes from missing one small item at the worst time. Run through this list at the start of Week 3 and again the night before the fair.
Display: Tri-fold poster board, glue stick, double-sided tape, ruler, markers, printed photos or hand-drawn diagrams.
Documentation: Lab notebook or binder, printed data tables, graph paper, copies of any sources used.
Experiment basics: Measuring cups or beakers, timer or clock, safety goggles (if needed), notebook for observations.
Day-of kit: Small container for the display, business-card-sized note with key talking points, water bottle, snack.
Buy the poster board and glue at least two weeks early. I cannot tell you how many school stores run out in the last few days before the fair.
Tips for Choosing the Right Project
The best science fair project is one your child actually wants to finish. Here is what works for our family when we sit down to pick a topic.
Start with curiosity, not curriculum. Ask your child what they would love to explore – roller coasters, slime recipes, dog behavior, plant growth, kitchen chemistry. A real question is easier to research than an assigned topic.
Match the project to the grade level. A second grader can run a simple experiment with one variable (which paper towel absorbs the most water?). A high schooler needs controlled variables, statistical thinking, and cited sources. Use the school’s rubric as a guide.
Keep the experiment doable at home. If the project needs a lab, a microscope the school doesn’t have, or expensive chemicals, scale it down. The easiest science fair projects fit on a kitchen table.
Build in three trials. Any project that runs once is not really an experiment. Make sure the chosen topic allows for repeated tests with measurable results.
How to Avoid Common Science Fair Pitfalls?
Most science fair disasters fall into the same handful of traps. Knowing them in advance gives you a huge advantage.
Pitfall #1: Starting too late. The number one reason for last-minute science fair stress is a project that begins two days before the due date. The 8-week timeline above prevents this by design.
Pitfall #2: An unfocused topic. “Plants” is too broad. “Do different colored lights affect bean plant growth?” is testable. A clear research question is the heart of a strong project.
Pitfall #3: Skipping the test run. Jumping straight into the full experiment without a practice trial is how projects end with one data point. Always do a small pilot test in Week 4.
Pitfall #4: Ignoring the data. Some kids get so attached to their hypothesis that they fudge the numbers when results don’t match. Real science means honest reporting, even when the answer is unexpected.
Pitfall #5: A cluttered poster. Walls of text, ten different fonts, and tiny photos make a science fair display hard to read. White space is your friend.
Pitfall #6: No presentation practice. A great project can lose points if the student cannot explain it clearly. Practice at least three times out loud.
Parent’s Role: Finding the Balance
One of the most common science fair complaints from parents on forums is “I don’t want to do the project for them, but I also don’t want them to fail.” That tension is real, and the right answer is somewhere in the middle.
Be the project manager, not the project owner. Set deadlines, supply materials, and ask good questions (“What did you learn from this trial?”). Let your child make the decisions about topic, design, and presentation.
Check in weekly, not daily. A short Sunday check-in (“How is Week 3 going? What’s your plan for the next test?”) keeps you informed without hovering.
Encourage ownership. When the experiment fails or the poster looks messy, resist the urge to fix it. Helping your child work through a small disappointment is one of the hidden benefits of science fair season.
Managing Stress and Frustration During Science Fair Season
Science fair season can quietly turn into a stressful time for families. A little emotional preparation goes a long way.
Normalize failed experiments. Most real experiments fail on the first try. When your child’s test doesn’t work, frame it as part of the process, not a disaster. Scientists call this “troubleshooting,” and it is one of the most important skills in science.
Build in brain breaks. Science fair work should never eat the whole weekend. Schedule outdoor time, family meals, and at least one screen-free evening each week.
Celebrate small milestones. Finished the research? Going out for ice cream. Completed the third trial? Extra story time at bedtime. These little rewards keep motivation up without turning the project into a transaction.
Remember the bigger picture. A science fair ribbon is nice, but the real goal is to teach your child how to plan a long project, solve problems, and see it through. Those skills pay off for years.
Frequently Asked Questions
How long before a science fair should I start planning?
Most science fairs benefit from 6-8 weeks of planning. This gives students time to choose a topic, run a real experiment with multiple trials, build a clean display board, and practice the presentation without last-minute stress.
What are the most common science fair mistakes to avoid?
The biggest mistakes are starting too late, choosing an unfocused topic, skipping a test run of the experiment, ignoring data that does not support the hypothesis, and building a poster that is too cluttered to read. Building in cushion time on the science fair timeline prevents most of these problems.
What if my science fair experiment fails?
Treat a failed experiment as normal. Run a small test run first, troubleshoot what went wrong, adjust the variables, and try again. Document the failure in your data – judges often reward honest problem-solving over a perfect result.
How can I win first place in a science fair?
Winning projects usually have a clear research question, a testable hypothesis, at least three trials, clean data presented in graphs, and a confident presentation. Most of all, judges remember students who can explain what they learned and what they would try differently next time.
What is the easiest science fair project to do?
The easiest projects have a simple variable you can change at home, materials you already own, and measurable results within a few days. Examples include comparing paper towel absorbency, testing which soap makes the biggest bubbles, or measuring how different liquids affect plant growth.
How involved should parents be in a science fair project?
Parents should act as project managers – setting deadlines, supplying materials, and asking good questions – while letting the student make the key decisions. Weekly check-ins work better than daily supervision, and avoiding over-involvement builds real ownership.
Conclusion: Stay Calm and Plan Ahead
The best way to avoid last-minute science fair stress is to start early and follow a clear timeline. With an 8-week schedule, you give your child room to choose a topic they love, run a real experiment, build a clean display, and practice presenting – all without the panic of the final 48 hours.
Pick a science fair timeline that fits your family’s pace, print out this guide as a checklist, and start the first week as soon as you know the fair date. The science fair deadline becomes a finish line you all cross together, smiling.