
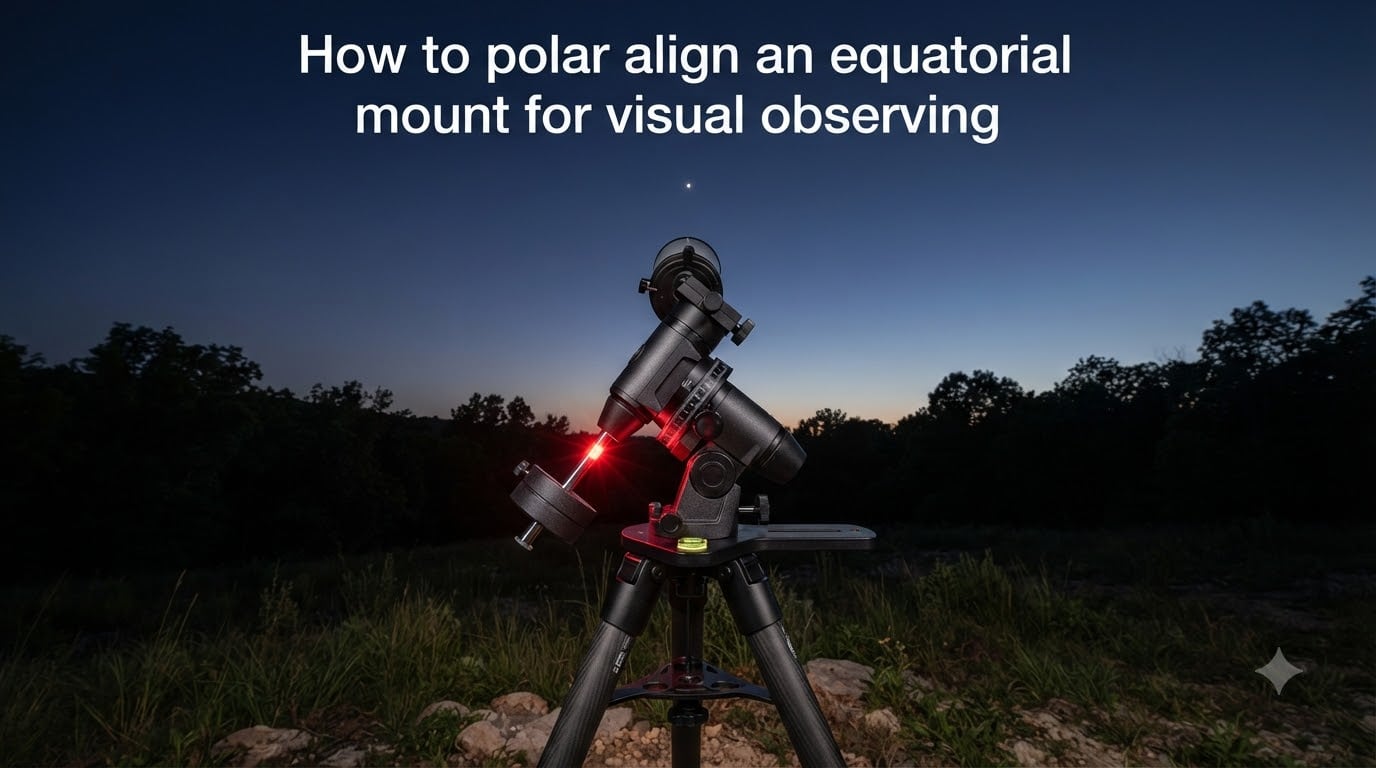
Learning how to polar align an equatorial mount for visual observing is one of those skills that looks intimidating the first time, then becomes a 10-minute ritual the tenth time. I spent my first two years wobbling around the night sky chasing Jupiter because I never quite got the mount’s polar axis parallel to Earth’s rotation axis. After a summer of practice, I can now set up, align, and be on target before twilight fully fades.
This guide walks through the entire process in plain language: what polar alignment actually means, how precise you need to be for casual viewing, the tools you need, the step-by-step routine, and the fixes for the most common frustrations beginners hit. I’ll cover both Northern hemisphere (Polaris) and Southern hemisphere (Sigma Octantis) methods, plus a daytime technique for setting up before dark.
Table of Contents
What Is Polar Alignment and Why Does Your Equatorial Mount Need It?
Polar alignment is the process of pointing your equatorial mount’s right ascension (RA) axis at the celestial pole, so it sits parallel to Earth’s axis of rotation. Once that axis is aligned, a clock drive or motor can rotate the mount at the sidereal rate, the same rate Earth spins, and stars will stay centered in your eyepiece without you touching anything.
An equatorial mount has two perpendicular axes: the polar (RA) axis and the declination axis. The polar axis is the one that tilts up from the tripod toward the sky. The whole reason an equatorial mount exists, instead of a simpler altazimuth mount, is that one motor on a single aligned axis can track the entire sky.
Without polar alignment, you are stuck nudging the telescope in two directions at once to follow a planet’s apparent motion. With even rough alignment, tracking becomes a one-finger job, and you can spend your dark-adaptation time actually looking at galaxies instead of fighting the slow-motion knobs.
How Close Does Polar Alignment Need to Be for Visual Observing?
For visual observing, accuracy within roughly one degree of the true celestial pole is fine. That is a generous target, about twice the apparent diameter of the full Moon. Anything better is wasted effort unless you plan to attach a camera.
Astrophotography, especially long-exposure deep-sky imaging, demands much tighter alignment, often under one arc-minute. But for purely visual use, your goal is simply to keep objects drifting slowly enough that you can observe them comfortably without constant correction.
In practical terms, if a planet drifts across a medium-power eyepiece in 30 to 60 seconds rather than 5 seconds, your alignment is good enough. If it slides out in 10 seconds or less, you are off enough to matter and should refine the mount.
Equipment You Need Before You Start
You do not need much to polar align for visual observing. The basics fit in a small bag and most of them probably came with your scope.
- A spirit level or bubble level for the tripod head.
- A compass or smartphone compass app to find north.
- A red flashlight to preserve night vision.
- The mount’s latitude scale and altitude lock.
- Optional: a polar scope (built into most EQ mounts) or polar alignment app.
- Optional: a small protractor for verifying your latitude setting.
If your phone has a digital compass, double-check that it shows magnetic north, not true north, and apply the local magnetic declination. In most of North America that correction is 5 to 15 degrees east or west.
How to Polar Align an Equatorial Mount: Step-by-Step Procedure
Here is the routine I use every clear night. It works for German equatorial mounts, fork mounts on a wedge, and most beginner EQ setups.
Step 1: Level the Tripod
Place the bubble level on the tripod head and adjust each leg until the bubble centers. A level tripod removes one variable, so your latitude and azimuth adjustments only have to handle the actual celestial pole, not a crooked base.
Step 2: Set the Latitude
Find your observing latitude on a map or phone GPS. Loosen the latitude lock and turn the latitude adjustment screw until the scale matches that number. The polar axis now points up at the correct angle. Tighten the lock gently.
Step 3: Face the Mount Toward True North
Loosen the azimuth lock at the base of the mount. Rotate the entire mount head until the polar axis points roughly toward north (or south, in the Southern hemisphere). A compass gives you a starting point, then eyeball toward Polaris if it is visible.
Step 4: Use the Polar Scope to Center Polaris
Look through the polar scope reticle. Polaris should appear in roughly the correct position on the circle marked for the current Polaris hour angle. Use the latitude and azimuth knobs to nudge Polaris into place. There are smartphone apps that show exactly where Polaris belongs on the reticle for your date and time.
Step 5: Confirm the Counterweight Bar Is Down
The counterweight bar should hang straight down when the mount is in its home position. This is the “normal” starting state and ensures the polar scope orientation is correct.
Step 6: Tighten All Locks
Lock the latitude, azimuth, and counterweight bar. Give the mount a gentle nudge to be sure nothing slips. Your polar alignment is complete. Now finish by aligning the finderscope and starting a one or two-star star alignment if your mount is computerized.
Refining Your Alignment Using the Drift Method
If you have time and want better tracking for high-power planetary viewing or short-exposure phone photography, the drift method is the gold standard. It works by exaggerating small alignment errors so you can see and correct them.
Point the telescope at a star near the celestial equator (around 0 degrees declination) and slightly east or west of the meridian. Use a high-power eyepiece with crosshairs, or center the star and watch for drift in declination over a few minutes. If the star drifts north, your polar axis is too far east. If it drifts south, it is too far west. Adjust the azimuth knob by a small amount and repeat.
Then repeat the test on a star near the eastern or western horizon. If that star drifts in declination, your latitude setting is off and needs tweaking. This sounds tedious, but a 5-minute drift check pushes visual tracking accuracy into the range where Saturn stays put at 200x for several minutes at a time.
Daytime Polar Alignment Without Seeing Polaris
You can complete a rough polar alignment in broad daylight, which is a huge time-saver for quick evening sessions. The trick is to use the Sun and a flat surface to point the polar axis at the true celestial pole.
First, level the tripod and set the latitude scale as usual. Then aim the polar axis north using a compass. Finally, place a small stick or a piece of tape on the ground where the shadow of the polar axis points at solar noon (when the Sun crosses your local meridian). The shadow should point exactly north at that moment. Adjust the mount’s azimuth until the polar axis casts that shadow.
You will still want a quick Polaris check once the sky darkens, but daytime setup gets you 80 percent of the way there before you ever leave the house.
Southern Hemisphere Alignment: Using Sigma Octantis
If you observe from below the equator, Polaris is useless and so is the Northern sky chart. Your target is the south celestial pole, marked approximately by the dim star Sigma Octantis in the constellation Octans.
Sigma Octantis is much fainter than Polaris, around magnitude 5.4, so you will probably not see it naked-eye from a suburban backyard. The trick is to use a polar scope reticle designed for the Southern hemisphere, or a phone app that draws the Octans region on the screen so you know exactly where to look. Set the latitude scale to your southern latitude (for example, 33 degrees south for Sydney), level the tripod, and use the same latitude and azimuth adjustment knobs to center the south celestial pole area in the reticle.
The procedure is otherwise identical to Northern hemisphere alignment. Most modern equatorial mounts ship with both polar scope reticle options, or you can swap the reticle yourself.
Common Mistakes and Troubleshooting
Most beginner alignment problems come from one of a handful of mistakes. Here is the shortlist I share with friends who borrow my mounts.
- Skipping the level step. A tilted tripod ruins everything downstream. Spend 60 seconds with the bubble level.
- Confusing altitude with azimuth. Latitude (altitude) and azimuth are two different knobs. Adjusting the wrong one wastes time.
- Looking through the main telescope instead of the polar scope. The polar scope is the alignment tool. The main optics are for star alignment later.
- Wrong latitude number. Use your GPS latitude, not the city nearest you. Ten degrees off ruins tracking.
- Not tightening the locks after adjusting. The mount will sag as the scope moves, dragging Polaris off target.
If your finderscope shows objects drifting in one direction only, the alignment is roughly right. If they drift in circles, you skipped the leveling or latitude step entirely and should reset.
Frequently Asked Questions
Do I have to polar align an EQ mount if I don’t do astrophotography?
Yes, but the tolerance is forgiving. For visual observing, accuracy within about one degree of the celestial pole is enough to keep objects in the eyepiece for 30 to 60 seconds at medium power. Astrophotography requires much tighter accuracy, often under one arc-minute. Visual observers benefit from polar alignment because tracking becomes a one-handed job instead of a constant two-axis correction.
How close of polar alignment is needed for visual observing?
About one degree is plenty. That is roughly twice the apparent diameter of the full Moon. Anything tighter is wasted effort for purely visual sessions. Use the drift method if you want to push higher powers on planets, but for general deep-sky and lunar viewing, rough alignment through the polar scope is sufficient.
How do you align and polar align using a manual EQ mount?
Level the tripod, set the latitude scale to your geographic latitude, rotate the mount head so the polar axis points north, then use the polar scope to center Polaris in the reticle. After polar alignment, finish with a one or two-star alignment through the finderscope. From that point, a clock drive or single slow-motion knob handles tracking.
How to polar align on extreme budget?
Skip the polar scope entirely. Level the tripod, set the latitude by eye using a phone GPS, aim the mount toward north with a compass, and visually center Polaris through the finderscope or main optic. Accuracy will be within a few degrees, which is fine for low-power visual observing and casual viewing.
Can I polar align without seeing Polaris?
Yes. Use a daytime method: level the tripod, set the latitude from your phone, aim north with a compass, and adjust the azimuth so the polar axis casts a north-pointing shadow at solar noon. Alternatively, use a polar alignment app that displays Polaris position even when it is behind trees or clouds, and trust the reticle guide.
Final Thoughts on Polar Alignment for Visual Observing
Mastering how to polar align an equatorial mount for visual observing is mostly about repetition. The first time takes 20 minutes; the hundredth time takes three. Once your muscle memory locks in, you will find yourself setting up at sunset and enjoying galaxies by full dark, instead of fumbling with slow-motion knobs at midnight.
Focus on rough alignment for everyday use, drift refinement for special planetary nights, and remember that an 80 percent perfect alignment you actually finish beats a 99 percent perfect one you abandon to read the manual.