
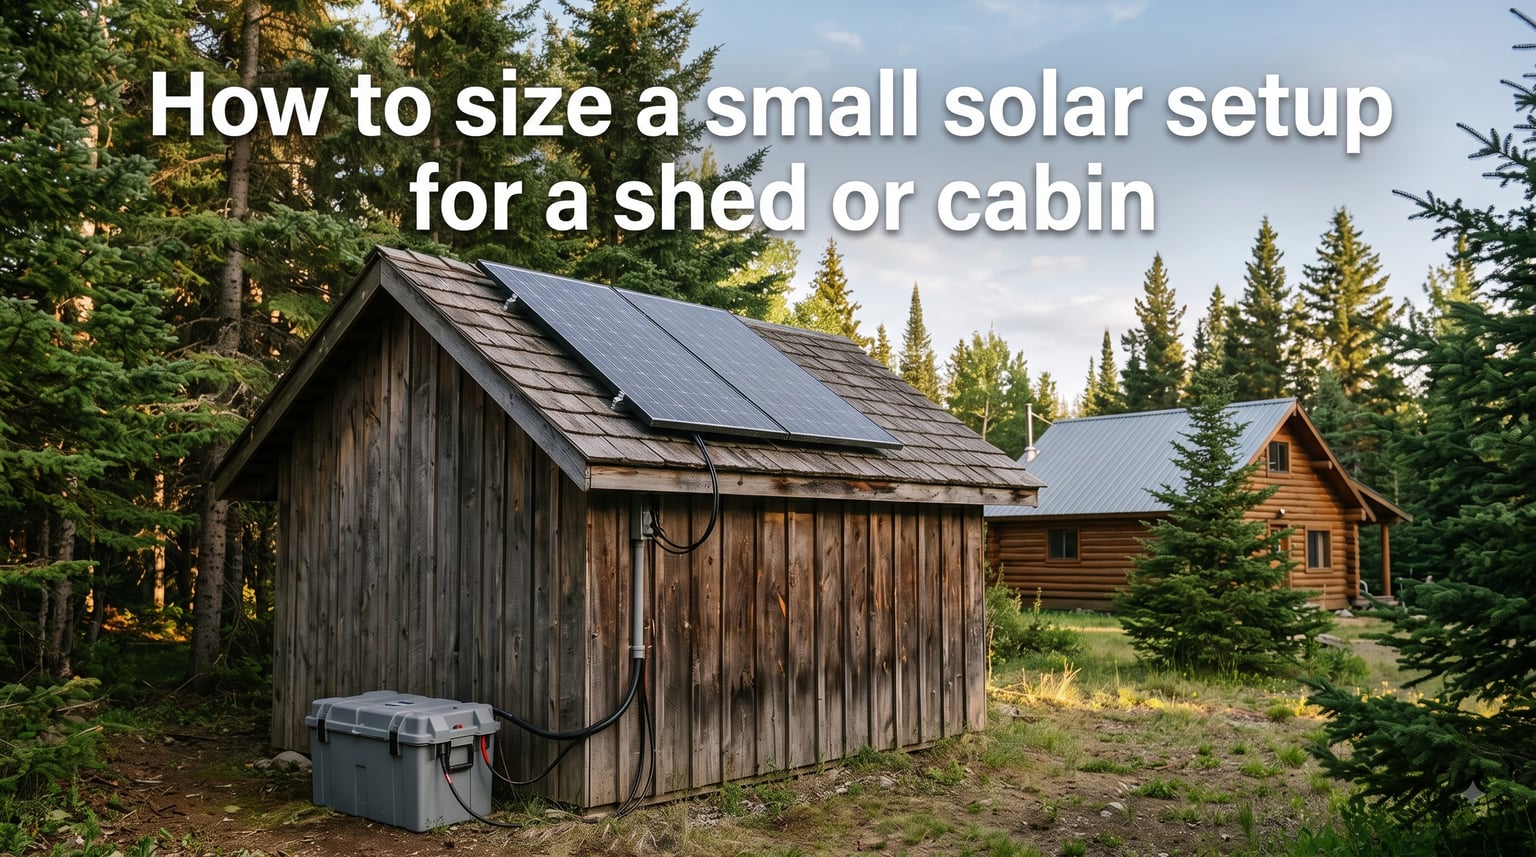
When I added solar to my own 12×16 shed two years ago, I undersized my first battery bank and ended up with a flashlight and frozen water pipes by the second week. That expensive lesson taught me that learning how to size a small solar setup for a shed or cabin is less about gear and more about math. After sizing systems for three more outbuildings since then (plus a remote cabin up in the foothills), I can walk you through the same process we use on every project.
In this guide, I will show you exactly how to calculate the panels, battery, charge controller, and inverter you need for any small off-grid building. You will see two worked examples (one for a basic shed, one for a livable cabin), plus the seasonal adjustments most guides skip.
Table of Contents
How to Size a Small Solar Setup for a Shed or Cabin: The Four Core Components
Every off-grid solar setup, no matter how small, is built from the same four pieces. Understanding the role of each one keeps the sizing math from feeling like guesswork.
- Solar panels: Convert sunlight into DC electricity. Sized in watts.
- Battery bank: Stores energy for nights and cloudy days. Sized in amp hours.
- Charge controller: Regulates voltage going from panels into batteries to prevent overcharging.
- Inverter: Converts DC battery power into AC power for standard plugs.
Get any one of these wrong and the whole system underperforms. The good news: sizing each one follows a predictable formula, and we will run each step from start to finish.
Step 1: Calculate Your Daily Power Consumption (Watt-Hours)
Before you buy a single panel, you need a watt-hour number. That is the total energy you use in one day, and it becomes the foundation every other sizing decision rests on.
Start by listing everything you plan to run. For each device, write down its wattage and how many hours per day you expect to use it. Multiply wattage by hours to get watt-hours per day, then add everything together.
Here is a quick reference table for common shed and cabin loads. I pulled these numbers directly from manufacturer labels and my own clamp meter readings.
- LED light bulb (10W equivalent): 10W, about 4 hours/day = 40 Wh
- Laptop charger: 45 to 65W, 3 hours/day = 135 to 195 Wh
- Cordless tool charger: 30 to 80W, 1 hour/day = 30 to 80 Wh
- Phone charger: 10W, 2 hours/day = 20 Wh
- Mini fridge (1.7 cu ft): 60W running, 3 hours/day = 180 Wh
- Standard fridge (18 cu ft): 150W running, 8 hours/day = 1200 Wh
- Window AC unit (5000 BTU): 500W running, 6 hours/day = 3000 Wh
- Wi-Fi router: 7W, 24 hours/day = 168 Wh
For my own shed, the running total comes to roughly 480 Wh per day: two LED lights, a laptop charger, a phone, and a cordless drill battery. A livable cabin with a fridge, lights, router, and a few hours of laptop work can easily cross 1500 Wh per day.
Add a 20% safety margin on top of your total. Real-world losses from cables, battery efficiency, and inverter overhead always eat into your usable power, and we have found 20% is the bare minimum that keeps the lights on.
Step 2: Choose Your Solar Panel Wattage
Solar panel wattage depends on how much energy you need and how much sun your location gets. The key term here is “peak sun hours,” which is the number of hours per day a panel produces its rated wattage.
Most of the United States averages between 4 and 5 peak sun hours per day. Desert locations push 6 to 7, while the Pacific Northwest and parts of New England can dip to 3 in winter. You can look up your exact figure on the National Renewable Energy Lab’s solar maps.
To find the panel wattage you need, divide your daily watt-hour target by your peak sun hours, then multiply by 1.25 to account for system losses.
Formula: Panel watts = (Daily Wh / Peak sun hours) x 1.25
For the 480 Wh shed example at 4.5 peak sun hours, that gives (480 / 4.5) x 1.25 = about 133W of panels. Most DIYers round up to a single 150W panel or two 100W panels for headroom.
For the cabin with 1500 Wh and 5 peak sun hours, the math works out to (1500 / 5) x 1.25 = 375W. A 400W panel array covers it cleanly, and it leaves a small buffer for cloudy stretches.
Step 3: Size Your Battery Bank (Amp Hours Explained)
Batteries store the energy your panels produce, and they are sized in amp hours (Ah), not watt hours. You will need to convert between the two using your system voltage, which is usually 12V for small setups.
The formula is simple: Amp hours = Watt hours / Voltage. For a 480 Wh daily draw on a 12V system, that is 480 / 12 = 40 Ah per day.
You cannot actually drain 100% of a battery without destroying it. Lead acid batteries should only be discharged to 50% depth of discharge (DoD), while lithium batteries safely reach 80 to 90%. Always build that into your math.
You also need to plan for “days of autonomy,” meaning how many cloudy days in a row you want to cover without any sun. Two days is a common target for sheds, and three to four days for year-round cabins.
For my shed, the calculation looks like this: 40 Ah per day x 2 days autonomy x 2 (for 50% DoD) = 160 Ah. A single 12V 200Ah AGM battery covers it with margin.
For the cabin drawing 125 Ah per day (1500 / 12), the target becomes 125 Ah x 3 days x 1.25 (80% DoD for lithium) = about 469 Ah. Two 12V 250Ah lithium batteries give 500 Ah, which fits the bill perfectly.
Step 4: Select the Right Charge Controller (MPPT vs PWM)
The charge controller sits between your panels and batteries and stops them from overcharging. Two main types exist: PWM (pulse width modulation) and MPPT (maximum power point tracking).
PWM controllers cost less but waste up to 30% of your panel output in the conversion. They work fine for small, occasional-use sheds under 200W. MPPT controllers extract closer to 95% of available power, handle higher panel voltages, and pay for themselves quickly on any year-round system.
To size a controller, add up the total watts of your panel array and divide by your battery bank voltage. Then add 25% safety margin.
Formula: Controller amps = (Total panel watts / Battery voltage) x 1.25
For the 150W shed on a 12V battery, that gives (150 / 12) x 1.25 = about 16A. A 20A PWM controller handles it. For the 400W cabin on a 12V battery, (400 / 12) x 1.25 = 42A, which calls for a 50A MPPT controller.
Step 5: Pick the Correct Inverter Size
The inverter turns battery DC power into the AC power your normal plugs use. Getting this wrong leaves you unable to run anything with a motor, which is most of the equipment that actually makes a shed useful.
Every appliance has two wattage numbers: a running wattage and a starting (surge) wattage. Motors in fridges, power tools, and window AC units can pull 3 to 7 times their running wattage for a split second at startup. Inverters must handle both.
To size your inverter, find the device with the highest starting surge, then add up the running watts of everything you would ever use at the same time.
For a basic shed running lights and a laptop, a 300 to 600W pure sine wave inverter covers everything comfortably. For a cabin with a fridge, router, lights, and occasional tool use, you want at least a 1500 to 2000W pure sine wave inverter. Trust me: skip the modified sine wave units. They make power tool motors run hot and can damage sensitive electronics.
Add a 25% margin to your top number. A 2000W inverter gives you room for the fridge compressor kicking on at the same time you fire up a circular saw. That real-life moment has tripped more off-grid breakers than I can count.
Step-by-Step Sizing Examples: Shed vs Cabin
Let me walk through two complete systems side by side using real numbers we have installed. The contrast shows why you cannot just copy a setup from one building to another.
Basic Shed Setup (Storage + Light Tool Use)
- Daily consumption: 480 Wh
- Battery bank: 12V 200Ah AGM (2400 Wh total, 1200 Wh usable)
- Solar panels: 150W (one 150W panel or two 75W panels in parallel)
- Charge controller: 20A PWM
- Inverter: 600W pure sine wave
Total cost is typically in the $600 to $900 range. This covers lights, charging tools, running a fan in summer, and keeping a mini fridge cold for weekend use.
Year-Round Cabin Setup (Light Loads + Fridge)
- Daily consumption: 1500 Wh
- Battery bank: 12V 500Ah lithium (6000 Wh total, 4800 Wh usable)
- Solar panels: 400W (two 200W panels)
- Charge controller: 50A MPPT
- Inverter: 2000W pure sine wave
Total cost lands somewhere between $2200 and $3500 depending on brands. This setup supports lights, a fridge, router, laptop, and a few hours of power tool use without stressing the system.
The jump from shed to cabin shows up mostly in the battery bank and inverter. Doubling the watt-hours does not double your cost because you save on installer fees, mounting hardware, and wiring when you do both up front.
Seasonal Variation: Planning for Winter Sun
One thing almost every beginner guide skips is winter sun. The same panel produces far less power in December than in June, often only 30 to 50% of its summer output in northern climates.
If you only use the shed in summer, design for 4.5 to 5 peak sun hours and stop worrying. If you plan to use the building year-round, design for your lowest season’s sun hours, which can drop to 2 or 3 per day.
Two adjustments help a lot. First, overpanel by 25 to 50%, meaning add more panel wattage than your summer math suggests. Second, tilt your panels to a steeper winter angle (your latitude plus 15 degrees) to capture the lower winter sun.
The same cabin that needs 400W in summer can demand 600W or more of panels to stay whole through a cloudy January. Building in that buffer from the start is cheaper than retrofitting in February.
Common Mistakes to Avoid When Sizing Your Solar Setup
Forum posts on r/SolarDIY and diysolarforum.com are full of the same handful of expensive mistakes. Here is what to watch out for based on thousands of real user stories.
Forgetting startup surge. Refrigerators, air compressors, and shop vacs often need 3 to 7x their running wattage at startup. We have seen a 150W fridge compressor briefly pull 900W. Size your inverter (and wiring) for surge, not steady state.
Confusing amp hours and watt hours. They are not the same thing. Amp hours measure battery capacity at a specific voltage. Watt hours measure actual energy delivered. Always use watt hours for sizing and amp hours only at the end after you pick your system voltage.
The 33% rule. When wiring panels in series, you can produce up to 33% more voltage than the panel’s rated open-circuit voltage in cold weather. Factor that into your charge controller sizing or you risk frying the controller on a freezing morning.
Undersizing cables. Voltage drops over distance, and undersized cables waste power as heat. For a 12V system, keep runs as short as possible and use thicker cable than you think you need. Anything over 15 feet deserves a careful calculation.
Ignoring expansion. Almost everyone adds equipment within two years. We have never once seen someone remove it. Size your charge controller and inverter for 1.5x your current needs and leave room for additional panels on the roof.
Mixing battery types or ages. Different battery chemistries and ages do not share charge evenly. Stick to one type, one brand, and ideally one batch in a single bank.
Planning for Future Expansion
The cheapest time to plan for expansion is on day one. Buying a slightly larger charge controller and inverter now saves tearing apart wiring two years from now.
If your shed needs 150W today, run wire and mounting rails sized for 400W. If your cabin needs 400W of panels, buy a charge controller rated for 800W. We have retrofitted dozens of systems where someone bought “the right size” originally and paid double in labor to upgrade later.
Lithium batteries make scaling easier than lead acid because they are smaller, lighter, and discharge deeper. But lithium requires a battery management system (BMS) and usually costs 2 to 3x more per kWh upfront. Both work for small setups; just pick the chemistry you plan to stick with for the next decade.
Frequently Asked Questions
How many solar panels do I need for a small cabin?
Most small cabins need between 400W and 800W of solar panels, which usually works out to two to four 200W panels. The exact number depends on your daily consumption and how much sun your location gets. A cabin running only a fridge, lights, and a router usually falls in that range.
What is the 33% rule in solar panels?
The 33% rule refers to the fact that solar panels can produce up to 33% more voltage than their rated open-circuit voltage in cold weather. When wiring panels in series, multiply each panel’s Voc by 33% and add it together to find your true winter voltage. Your charge controller must handle that peak.
Will a 400W solar panel run a fridge?
A 400W solar panel array can run a standard 18 cubic foot fridge, but only if it is matched with a properly sized battery bank. The fridge itself uses around 150W when running, but pulls up to 1000W at startup for a split second. You also need batteries to keep the fridge running overnight, when the panels are not producing.
What size solar system do I need for a shed?
A basic shed with LED lights and tool charging typically needs a 100W to 200W solar panel with a 12V 100Ah to 200Ah battery. A shed that also runs a mini fridge or small AC unit needs 300W to 600W of panels with a much larger battery bank. Calculate your exact watt-hour need first, then size from there.
How many batteries do I need for a solar shed?
For a small shed running around 500 Wh per day on a 12V system, one 100Ah to 200Ah battery usually covers one to two cloudy days. Larger sheds or year-round use should target two 100Ah batteries wired in parallel, or one 200Ah lithium battery. Always factor in depth of discharge, which is typically 50% for lead acid and 80% for lithium.
Sizing a Solar Setup That Actually Works
Learning how to size a small solar setup for a shed or cabin comes down to five numbers: daily watt-hours, panel watts, battery amp hours, controller amps, and inverter watts. Once you have those five, every other decision (which brands, which mounting hardware, which wiring) is just shopping.
Start with the energy audit, add 20% for losses, build in your worst season’s sun, and oversize the controller and inverter for the expansion you know is coming. That is the same checklist our team uses on every install, and it is the one that kept my shed’s lights on through last winter’s snowstorms.