
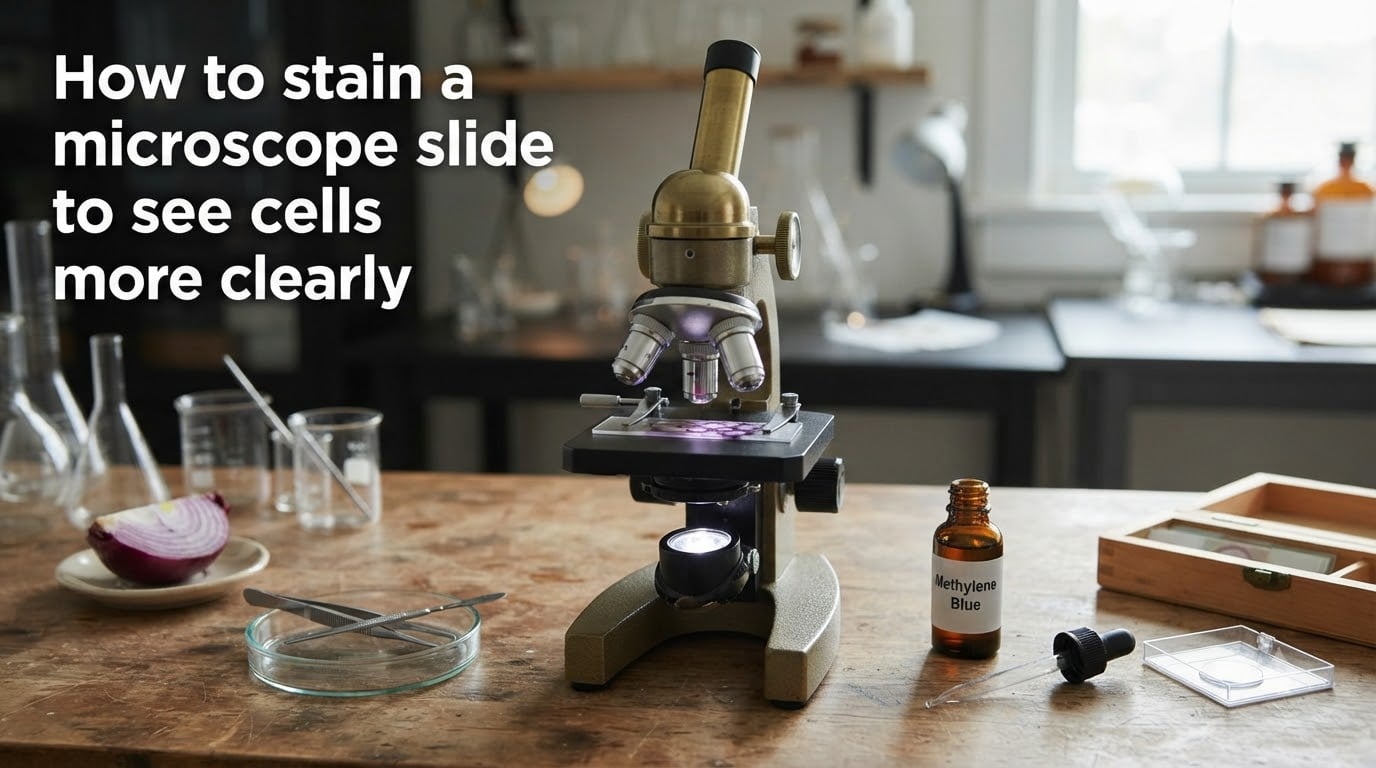
Learning how to stain a microscope slide to see cells more clearly is the single most important skill you can pick up as a beginner microscopist. I have spent years teaching students, hobbyists, and curious adults how to get crisp, colorful cell views from basic kitchen-table setups, and the difference between an unstained slide and a stained one is night and day.
Most cells are basically transparent. When you look at them under a light microscope, they blend into the background and you see almost nothing. A simple drop of methylene blue or iodine stain changes that completely by coloring the cell structures so you can make out the nucleus, cell wall, and other details.
In this guide I walk you through the entire process from start to finish. You will learn why staining works, what materials you need, the step-by-step wet mount procedure, which stains to use for plant versus animal cells, and how to fix common problems when your slides do not turn out right.
Table of Contents
Why Staining Makes Cells Visible Under a Microscope?
Cells are about 70 percent water. Their membranes, cytoplasm, and many organelles are nearly colorless, which means they let light pass through with very little contrast. Under a bright-field microscope, an unstained cell looks like a faint, ghostly outline that is frustrating to study.
Stains solve this problem by binding to specific parts of the cell and adding strong color. A stain like methylene blue carries positively charged dye ions that are attracted to the negatively charged molecules in cell walls and nuclei. When the dye attaches, those structures absorb light and stand out clearly against the background.
The result is dramatic. I have watched students go from squinting at blurry shapes to immediately spotting cell walls, nuclei, and even individual bacteria the moment a drop of stain hits the slide. That is the power of staining.
Simple Staining vs Differential Staining
There are two broad categories of staining you will encounter. Understanding the difference helps you choose the right approach for your specimen.
Simple staining uses a single dye to color all the cells on a slide the same way. You might use methylene blue to stain a smear of bacteria so every cell turns blue. This is fast, beginner-friendly, and great for learning basic cell shapes and arrangements.
Differential staining uses multiple dyes in sequence to separate different types of cells based on their chemical or structural properties. The classic example is the Gram stain, which splits bacteria into Gram-positive (purple) and Gram-negative (pink) groups by exploiting differences in their cell wall thickness. Differential staining takes more practice but gives you far more information about what you are looking at.
Materials You Need to Stain a Microscope Slide
You do not need a professional lab to start staining slides. Here is what I recommend for a basic but effective setup.
Basic Equipment Checklist
Here is the gear that goes into every staining session I run:
Glass microscope slides (flat, precleaned)
Glass cover slips (square or round, number 1 thickness)
Stain bottles or dropper bottles for your dyes
Droppers, pipettes, or transfer loops for applying stain
Forceps or tweezers for placing cover slips
Paper towels or lens paper for blotting excess liquid
Microscope (any compound light microscope with at least 40x to 400x magnification works)
Gloves and safety goggles for chemical stains
That is it. The whole kit fits in a shoebox and costs less than one nice dinner out.
Common Stains and What They Reveal
Different stains highlight different cell structures. Here are the ones beginners reach for most often:
Methylene blue is the workhorse of beginner microscopy. It binds strongly to DNA and acidic cell components, so nuclei light up a vivid blue. I recommend this as your first stain for cheek cells and general animal cell observation.
Iodine solution (Lugol’s iodine) is the classic choice for plant cells. It stains starches a deep blue-black color and turns cell walls a warm yellow-brown, making onion epidermis cells pop beautifully. If you are looking at anything from a plant, reach for iodine first.
Crystal violet is the primary stain in the Gram staining procedure and also works as a powerful simple stain. It colors cell walls a rich purple. Use it when you want to see bacterial cell structure or practice Gram staining technique.
Safranin serves as a counterstain in Gram staining, turning Gram-negative bacteria pink. On its own, it is a gentle red stain useful for plant tissue and nuclei.
How to Stain a Microscope Slide: Step-by-Step Procedure
This is the core process for making a stained wet mount. Follow these five steps and you will see cells clearly every time. I have refined this method over hundreds of classroom sessions.
Step 1: Prepare Your Specimen
Start by collecting your sample. For onion cells, slice an onion in half and peel a thin, transparent layer of epidermis from the inside of one of the fleshy layers. For cheek cells, gently scrape the inside of your cheek with a clean toothpick and smear the cells onto the center of a clean slide.
Keep the specimen thin. A thick clump of tissue blocks light and makes staining uneven. You want a single layer of cells if possible.
Step 2: Place the Specimen on the Slide
Put your specimen in the center of a clean glass slide. If you are working with onion epidermis, lay the thin strip flat so it does not fold over itself. For a liquid sample or cheek cell smear, spread it into a thin film roughly the size of a dime.
A clean slide matters more than beginners think. Fingerprints, dust, and residue show up under the microscope and create distracting artifacts. Wipe the slide with lens paper before you begin.
Step 3: Apply the Stain
Add one or two drops of your chosen stain directly onto the specimen. For onion cells, use iodine. For cheek cells, use methylene blue. For bacteria, you can use crystal violet or methylene blue.
One drop is usually enough. Too much stain floods the slide and makes the view too dark. You can always add more, but removing excess is a hassle.
Let the stain sit for 30 to 60 seconds so it has time to penetrate and bind to the cell structures. Some stains, like crystal violet in a Gram stain, need specific timing, but for basic simple staining, a short wait works fine.
Step 4: Add the Cover Slip
Take a clean cover slip and hold it at a 45-degree angle to the slide with one edge touching the liquid. Slowly lower it using forceps or your fingers, letting the stain spread evenly underneath.
This angled technique prevents air bubbles, which are the number one enemy of a clear view. If you drop the cover slip flat, you trap pockets of air that look like giant black circles under the microscope.
If a bubble does sneak in, tap the cover slip gently with the tip of a pencil or lift it and try again. One or two tiny bubbles near the edge are fine.
Step 5: Remove Excess Stain
Place the edge of a paper towel or a piece of lens paper against the edge of the cover slip. The paper wicks away excess stain by capillary action, leaving a thin, even film underneath.
Do not press down on the cover slip while blotting. You want the paper to touch only the edge and draw liquid outward gently. Your slide is now ready for viewing.
Best Stains for Plant and Animal Cells
The two specimens I recommend every beginner try first are onion cells (plant) and cheek cells (animal). Together, they teach you the key structural differences between plant and animal cells, and each responds best to a different stain.
Staining Onion Cells With Iodine
Onion epidermis is the perfect beginner plant specimen because it is already a single transparent layer of cells. You do not need to make impossibly thin sections.
Peel a small piece of the inner epidermis, mount it on a slide, and add a drop of iodine solution. The iodine stains the cell walls a golden brown and turns any starch granules dark blue. You will see neat rectangular cells arranged in a brick-like pattern with clearly visible nuclei.
Under 100x to 400x magnification, an iodine-stained onion slide is one of the most satisfying things you can look at through a microscope. The cell wall, nucleus, and cytoplasm are all clearly defined.
Staining Cheek Cells With Methylene Blue
Cheek cells are the go-to animal cell specimen for home and classroom microscopy. Gently scrape the inside of your cheek with a flat toothpick, smear the cells on a slide, and let them air dry for a few seconds.
Add a drop of methylene blue, wait about a minute, and apply the cover slip. The stain binds to the nuclei, turning them a vivid blue against the lighter blue cytoplasm. At 400x magnification, you can see the irregular, flat shape of each cell and the dark nucleus inside.
One important difference from plant cells: cheek cells have no cell wall and no regular geometric shape. They look flatter and more rounded, which makes a great comparison to the orderly rectangles of onion cells.
Simple Staining vs Differential Staining Explained
Choosing between simple and differential staining depends on what you want to learn from your specimen. Here is how I explain the decision to new students.
When to Use Simple Staining
Simple staining is your starting point. One stain, one color, one step. It takes under two minutes and gives you a clear view of cell size, shape, and arrangement.
Use simple staining when you are learning to use the microscope, comparing plant versus animal cell structures, or just exploring pond water and household samples. Methylene blue alone on a bacterial smear tells you whether your bacteria are rods, spheres, or spirals, which is genuinely useful information.
When to Use Differential Staining
Differential staining comes into play when you need to tell different cell types apart. The Gram stain is the most common example and it works like this:
Flood the heat-fixed slide with crystal violet for one minute, then rinse.
Apply Gram’s iodine (the mordant) for one minute, then rinse. This locks the crystal violet into thick cell walls.
Add a decolorizer (alcohol or acetone-alcohol) for 10 to 30 seconds, then rinse immediately. This removes purple from thin-walled cells but not from thick-walled ones.
Apply safranin counterstain for 30 to 60 seconds, then rinse and blot dry.
Gram-positive bacteria hold the crystal violet and stay purple. Gram-negative bacteria lose it and pick up the pink safranin instead. This single test has been used in clinical microbiology for over a century to guide treatment decisions.
Differential staining requires practice. The decolorizing step is where most beginners go wrong, either under-decolorizing (everything looks purple) or over-decolorizing (everything looks pink). When in doubt, err on the side of a shorter decolorizing time.
DIY and Household Alternatives to Lab Stains
One of the most common questions I see in microscopy forums is whether you can skip buying professional stains and use items from around the house. The answer is yes, and it is a fantastic way to start experimenting before you invest in lab-grade dyes.
Members of the r/microscopy community regularly share DIY stain discoveries. Wood stains, hair coloring, fabric dyes, and India ink have all been used successfully by hobbyists looking for cheaper alternatives to professional microscopy stains.
Food Coloring as a Beginner Stain
Food coloring is the most accessible DIY stain, and it is what BBC Bitesize recommends in their beginner cell observation guide. A drop of blue or green food coloring on a wet mount of onion or cheek cells adds enough contrast to clearly see cell outlines and some internal structure.
The results are not as crisp as methylene blue, and food coloring does not target specific structures the way lab stains do. But for a first exploration or a classroom demonstration on a budget, it works surprisingly well.
I always tell beginners to try food coloring first. If you enjoy what you see and want sharper images, then invest in a small bottle of methylene blue. It costs only a few dollars and lasts for years.
Other DIY Options
Besides food coloring, hobbyists have reported success with several household alternatives:
India ink works as a negative stain for bacteria, coloring the background instead of the cells so the cells appear as clear outlines.
Acidic food dyes like those found in drink mixes can add color to cell backgrounds.
Povidone-iodine from a first-aid kit works similarly to Lugol’s iodine for plant cells, though it is less concentrated.
Experiment with dilution. Full-strength household dyes are often too dark. Try mixing one drop of dye with three or four drops of water on the slide.
Fixation Methods: Heat Fixing vs Chemical Fixing
Fixation is the process of attaching cells to a slide and preserving their structure before staining. It is especially important for bacterial smears, which would otherwise wash away when you apply liquid stain.
Heat Fixation for Bacteria
Heat fixation is the simplest method and the one beginners should learn first. Here is how to do it:
Make a thin bacterial smear on a clean slide and let it air dry completely. Pass the slide (specimen side up) through the flame of a Bunsen burner or alcohol lamp two or three times. Do not hold it in the flame. You want gentle heat, not cooking.
The heat kills the bacteria, sticks them to the glass, and preserves their basic shape. Test the temperature by touching the slide to the back of your hand. It should feel warm but not hot. Too much heat scorches the cells and distorts their structure.
Chemical Fixation Options
Chemical fixation uses liquids instead of heat. Common fixatives include ethanol, methanol, formaldehyde, and glutaraldehyde. These chemicals cross-link proteins and preserve cell structure more faithfully than heat.
Chemical fixation is preferred when structural detail matters most, such as in clinical pathology or when examining delicate specimens that heat would distort. For routine beginner work with bacteria, heat fixation is simpler and perfectly adequate.
What types of specimens should be chemically fixed rather than heat-fixed? Thin tissue sections, blood smears, and any specimen where you need to preserve fine internal detail benefit from chemical fixation. Heat fixation works fine for simple bacterial smears.
Safety Tips for Working With Microscopy Stains
Stains are chemicals, and they deserve the same respect you would give any household cleaner or lab reagent. Most beginner stains are safe when handled properly, but a few precautions go a long way.
Personal Protection
Wear gloves when handling any stain, especially crystal violet, safranin, and methylene blue. These dyes stain skin quickly and the color can take days to fade. Safety goggles are a good idea when working with stains in dropper bottles, since a squeeze can send a fine spray toward your eyes.
Work in a well-ventilated area. The decolorizer used in Gram staining is typically alcohol or acetone-alcohol, both of which are flammable and produce fumes. Never use an open flame near these chemicals.
Cleanup and Disposal
Rinse used slides and cover slips with water immediately after use. Dried stain is much harder to remove. For stubborn residue, a little rubbing alcohol on a paper towel usually does the trick.
Dispose of used stain according to your local guidelines. Small amounts of beginner stains like methylene blue and iodine can typically be flushed down the sink with plenty of water, but check your local regulations. Never pour large quantities of any chemical down the drain.
Keep all stain bottles tightly closed and stored away from children and pets. Label every bottle clearly, even if you think you will remember what is inside.
Troubleshooting Common Staining Problems
Even with careful technique, staining does not always go perfectly on the first try. Here are the problems I see most often and how to fix them.
The View Is Too Dark
If everything looks dark and muddy, you used too much stain or let it sit too long. Next time, use a single drop and shorten the staining time. You can also blot more aggressively to pull excess stain out from under the cover slip.
The View Is Too Pale
If cells are barely visible, your stain was too dilute or you did not let it sit long enough. Add slightly more stain or increase the wait time to 60 to 90 seconds. For DIY stains like food coloring, try a more concentrated drop.
The Slide Dries Out
This is one of the most frustrating problems I hear about from beginners. Slides dry out quickly under the hot light of the microscope lamp. To slow evaporation, seal the edges of the cover slip with a ring of clear nail polish or petroleum jelly.
You can also add a tiny drop of water to the edge of the cover slip with a pipette to rehydrate the slide during observation. Work quickly, because a dried-out specimen distorts cell shapes.
Air Bubbles Everywhere
Air bubbles look like large dark circles and they ruin the view. Prevent them by lowering the cover slip at a 45-degree angle as described in Step 4. If bubbles are already trapped, lift the cover slip with forceps and lower it again slowly.
Tapping gently on the cover slip with a pencil tip can sometimes push bubbles to the edge, but prevention is much easier than correction.
Frequently Asked Questions
How do you stain a microscope slide?
To stain a microscope slide, place your specimen on a clean glass slide, add one or two drops of stain (methylene blue for animal cells, iodine for plant cells), wait 30 to 60 seconds, lower a cover slip at a 45-degree angle to avoid bubbles, and blot excess stain from the edge with paper towel.
Why do we use stains when making microscope slides?
We use stains because most cells are transparent and nearly invisible under a light microscope. Stains add color and contrast by binding to specific cell structures like nuclei and cell walls, allowing you to see internal details that would otherwise be invisible.
How can we make cells more visible on a slide?
Apply a colored stain such as methylene blue or iodine to the specimen before adding the cover slip. The stain binds to cellular structures, creating contrast against the background so cell walls, nuclei, and organelles become clearly visible under magnification.
What steps are important to remember when preparing and staining a slide?
Start with a clean slide, keep the specimen thin, apply only one or two drops of stain, wait 30 to 60 seconds for the dye to bind, lower the cover slip at an angle to prevent bubbles, and blot excess stain from the edges with paper towel before viewing.
What is the best stain for beginner microscopy?
Methylene blue is the best stain for beginners because it is safe, inexpensive, easy to apply, and vividly colors cell nuclei. Iodine (Lugol’s solution) is the best companion stain for plant cells because it highlights cell walls and starch granules.
Conclusion
Staining is what separates a frustrating squint at a blank slide from a clear, colorful view of living cellular structure. Once you know how to stain a microscope slide to see cells more clearly, a whole world of microscopic detail opens up to you.
Start simple. Try methylene blue on a cheek cell smear and iodine on an onion epidermis strip. Master the wet mount technique, practice lowering cover slips without trapping bubbles, and experiment with stain concentration. From there you can graduate to fixation, Gram staining, and more advanced differential techniques.
Every microscopist started exactly where you are now, and the view only gets better with practice. Grab a slide, add a drop of stain, and take a look.