
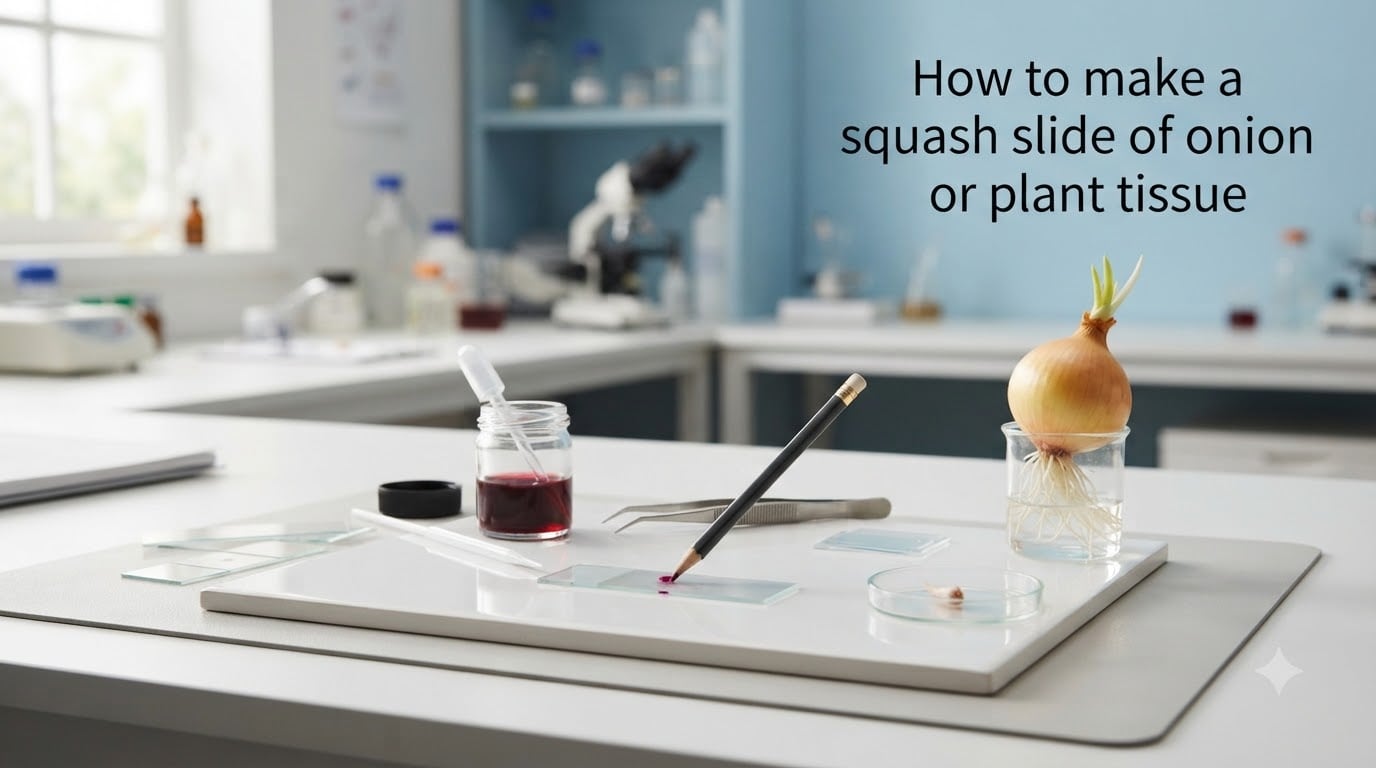
I still remember the first time I watched a high school student lean in to see their own onion root tip slide under the microscope. The room went quiet, and someone whispered, “I can actually see the chromosomes.” That moment is exactly why learning how to make a squash slide of onion or plant tissue is one of the most rewarding lab skills in biology.
This guide walks you through the entire process, from growing the roots to viewing chromosomes at 400x magnification. I have used this protocol with hundreds of students, and the steps below reflect what consistently produces clean, readable slides.
By the end, you will understand the squash slide technique, why onion root tips are ideal for studying mitosis, and how to fix the most common problems students run into.
Table of Contents
What Is a Squash Slide?
A squash slide is a microscope slide preparation technique that flattens a small piece of soft tissue into a single layer of cells using gentle, even pressure. You place the tissue on the slide, add a drop of stain, lower a coverslip, and press down on the coverslip with your thumb or the eraser end of a pencil.
The pressure spreads the cells apart without rupturing them, so individual cells, nuclei, and chromosomes become visible under a compound microscope. It is the standard method for studying mitosis because it makes dividing cells thin enough for light to pass through.
Squash slides are temporary mounts, meaning they are designed for immediate viewing rather than long-term storage. The technique works best on soft, freshly killed tissue, which is why onion root tips and other meristematic plant tissues are the specimens of choice.
Why Onion Root Tips Are Ideal for Observing Mitosis
Onion root tips have been the gold standard for mitosis observation since the early days of cell biology, and for good reason. The meristematic tissue right behind the root cap is one of the most rapidly dividing regions in the plant, which means many cells on any given slide will be caught in some stage of cell division.
Onion chromosomes are also larger than those of many other plants, so they are easier to see at 400x. The cells have prominent nuclei, and the tissue is soft enough to squash easily without boiling or sectioning.
Practical reasons matter too. Onions are cheap, available year-round, and easy to grow in a cup of water on a classroom windowsill. Students can grow their own roots in 3 to 5 days, which gives them ownership of the experiment from the start.
Materials and Equipment You Will Need
Before you start, gather everything on this list. The squash technique moves quickly once the root tip is fixed, so you do not want to be hunting for forceps mid-protocol.
Fresh onion bulb with sprouting roots, or a germinated onion seedling
Sharp razor blade or scalpel
Fine-tipped forceps
Glass microscope slides and coverslips
Compound light microscope (400x magnification required)
1N hydrochloric acid (HCl) for hydrolysis
Carnoy fixative solution (3:1 ethanol to glacial acetic acid) or 70% ethanol
Aceto-orcein stain, or toluidine blue, or methylene blue as an alternative
Small beaker or watch glass for acid baths
Hot water bath or incubator set to 60 degrees Celsius
Paper towels or filter paper
Safety goggles, nitrile gloves, and a lab apron
Pencil with a clean eraser for the squash step
If you are teaching this for the first time, I recommend aceto-orcein as the stain. It binds directly to DNA and produces the classic deep pink chromosomes that appear in every biology textbook.
How to Make a Squash Slide of Onion or Plant Tissue: Step-by-Step Procedure
The full procedure takes about 45 minutes from cutting the root to viewing the slide, including 8 minutes of waiting time during hydrolysis and fixation. Follow the steps in order, and resist the urge to skip the acid bath. That step is what makes the chromosomes visible.
Step 1: Grow or Obtain Fresh Onion Roots
Place an onion bulb in a small cup of water so that only the base touches the water. Keep it in a dark cupboard for 3 to 5 days until white roots 1 to 2 cm long emerge from the bottom.
For best results, harvest roots in the morning. Mitotic activity peaks overnight, so early morning roots contain more dividing cells than late afternoon roots.
Step 2: Cut the Root Tips
Using a sharp razor blade, cut off the terminal 5 to 10 mm of several roots. This is the region containing the meristematic tissue. The very tip is pale and slightly rounded, and that is exactly what you want.
Place the cut tips immediately into Carnoy fixative. Leave them for at least 15 minutes, or up to 24 hours if you are running a class over multiple days.
Step 3: Hydrolyze the Tissue in 1N HCl at 60 Degrees Celsius
Transfer the fixed root tips into a small beaker of 1N hydrochloric acid warmed to exactly 60 degrees Celsius. Use a hot water bath or incubator, not a Bunsen burner, to keep the temperature stable.
Leave the roots in the acid for 4 to 6 minutes. This step, called hydrolysis, breaks down the pectin in the cell walls and middle lamella, which softens the tissue and allows the stain to reach the chromosomes.
Temperature matters here. Below 55 degrees Celsius, the cell walls stay too rigid and the stain cannot penetrate. Above 65 degrees Celsius, the tissue disintegrates into mush. Sixty is the sweet spot.
Step 4: Rinse and Re-fix
After hydrolysis, rinse the root tips briefly in distilled water, then transfer them back into Carnoy fixative for 4 minutes. This stops the acid action and re-hardens the tissue slightly so it does not fall apart during squashing.
Step 5: Stain the Root Tips
Place a single root tip on a clean glass slide. Add 1 to 2 drops of aceto-orcein stain directly on top. Let it sit for 3 to 5 minutes so the stain penetrates the softened cells.
If you are using toluidine blue, the timing is shorter, usually 1 to 2 minutes, because toluidine penetrates faster. Methylene blue and iodine are weaker stains and work better for general cell structure than for chromosomes specifically.
Step 6: Apply the Coverslip and Squash
Lower a coverslip at a 45-degree angle over the stained root tip to avoid trapping air bubbles. Place a folded piece of filter paper or paper towel on top of the coverslip, then press down firmly and evenly with your thumb or the flat eraser end of a pencil.
Apply steady pressure for 10 to 15 seconds. The goal is to spread the tissue into a single cell layer without crushing the chromosomes. If you see stain pooling at the edges of the coverslip, you have applied enough pressure.
Step 7: View Under the Microscope
Start at 100x magnification to locate the spread area, then switch to 400x to identify individual cells. Look for regions where the cells form a single, even layer. Cells in mitosis will show condensed chromosomes rather than a smooth nucleus.
You should see all four phases of mitosis on a well-prepared slide: prophase with visible chromosome threads, metaphase with chromosomes lined up along the cell equator, anaphase with chromosomes pulling apart, and telophase with two new nuclei forming.
Staining Techniques: Choosing the Right Stain
The stain you choose affects what you can see in the slide. Here is a quick comparison of the three most common options used for squash preparations.
Aceto-orcein is the top pick for chromosome work. It is a deep red dye that binds directly to DNA and makes chromosomes appear dark pink against a lighter background. It requires no rinsing and gives sharp, high-contrast images.
Toluidine blue stains nuclei a vivid blue and works well for general cell division observation. It penetrates faster than aceto-orcein and is easier on the eyes for extended viewing, but it tends to overstain quickly if left on for more than 2 minutes.
Methylene blue and iodine are weaker, general-purpose stains that show cell walls and nuclei but do not highlight individual chromosomes well. Use these for introductory slides where the goal is to see cell structure rather than specific mitosis stages.
Troubleshooting Common Problems With Your Squash Slide
Even experienced students hit problems. Here are the five issues I see most often and how to fix each one.
Cloudy or hazy slides: The tissue was probably not hydrolyzed long enough, or the HCl was below 60 degrees Celsius. Soak the root tips again in fresh 1N HCl at 60 degrees for an extra 2 minutes and re-stain.
No color visible under the microscope: The stain did not penetrate the tissue. This usually means the acid bath was skipped or too short. Go back and complete the full hydrolysis step before staining again.
Cells look broken or shredded: Too much pressure was applied during squashing. Use lighter, more even pressure next time, and place the tissue on a smaller drop of stain so it does not float around under the coverslip.
Cells are piled on top of each other: Not enough pressure was used. Press more firmly, or use a fresh root tip with more vigorous squashing for 15 to 20 seconds.
No dividing cells visible: The roots may have been harvested at the wrong time of day. Try early morning roots, or use roots from a freshly sprouted seedling rather than an old bulb.
Safety Precautions When Working with Acids and Stains
Hydrochloric acid is corrosive and can burn skin and eyes. Always wear safety goggles and nitrile gloves when handling 1N HCl, and work in a well-ventilated area or under a fume hood.
Aceto-orcein and toluidine blue stain skin and clothing permanently. Wear gloves and a lab apron, and cover your work surface with a disposable absorbent pad.
Never discard acid down a regular sink. Neutralize used HCl with baking soda before disposal, and follow your school’s or lab’s chemical waste guidelines for stain disposal.
Tips for Preserving and Storing Your Slides
Squash slides are temporary by nature, but you can extend their life by sealing the edges of the coverslip with clear nail polish. This prevents the stain from evaporating and keeps the tissue hydrated for up to a week.
Store sealed slides flat in a slide box at room temperature. Avoid refrigeration, which causes condensation to form under the coverslip and ruins the preparation.
For long-term storage, consider using a permanent mounting medium like Entellan instead of temporary stain. These commercial media preserve chromosomes for months or years.
Frequently Asked Questions
How to make an onion root tip slide?
Cut the terminal 5 to 10 mm of a sprouted onion root, fix it in Carnoy solution for 15 minutes, hydrolyze it in 1N HCl at 60 degrees Celsius for 4 to 6 minutes, rinse, stain with aceto-orcein for 3 to 5 minutes, place a coverslip on top, and press gently with your thumb for 10 to 15 seconds. View at 400x magnification.
What stain is best for onion root tip mitosis?
Aceto-orcein is the best stain for chromosome work because it binds directly to DNA and produces high-contrast pink chromosomes that are easy to identify under the microscope. Toluidine blue is a good second choice for general mitosis observation.
Why are my onion root tip cells not staining properly?
Cells usually fail to stain because the acid hydrolysis step was skipped or too short. The 1N HCl bath at 60 degrees Celsius is what softens the cell walls so the stain can reach the chromosomes. Repeat the protocol with a full 4 to 6 minute hydrolysis and the stain should work.
Why use onion root tips for observing mitosis?
Onion root tips contain meristematic tissue, which is one of the most rapidly dividing regions in the plant. This means many cells will be caught in some stage of mitosis. Onion chromosomes are also larger than those of many other plants, making them easier to see at 400x magnification.
How long should I hydrolyze the onion root tip in HCl?
Hydrolyze the root tip in 1N hydrochloric acid at 60 degrees Celsius for 4 to 6 minutes. Less than 4 minutes leaves the cell walls too rigid for stain penetration. More than 6 minutes disintegrates the tissue and makes squashing impossible.
What magnification is needed to see chromosomes in a squash slide?
A compound light microscope at 400x total magnification is the minimum needed to see individual chromosomes in onion root tip cells. Start at 100x to find the spread area, then switch to 400x for chromosome identification.
Final Thoughts on How to Make a Squash Slide of Onion or Plant Tissue
The squash slide technique is one of those rare lab procedures that produces real, visible results even for beginners. Once you understand why each step matters, the protocol becomes intuitive rather than magical.
Grow fresh roots, fix them properly, hydrolyze at exactly 60 degrees Celsius, and apply even pressure. That sequence is the whole secret to learning how to make a squash slide of onion or plant tissue successfully. The first clean slide a student produces is often the moment they decide they love biology.