
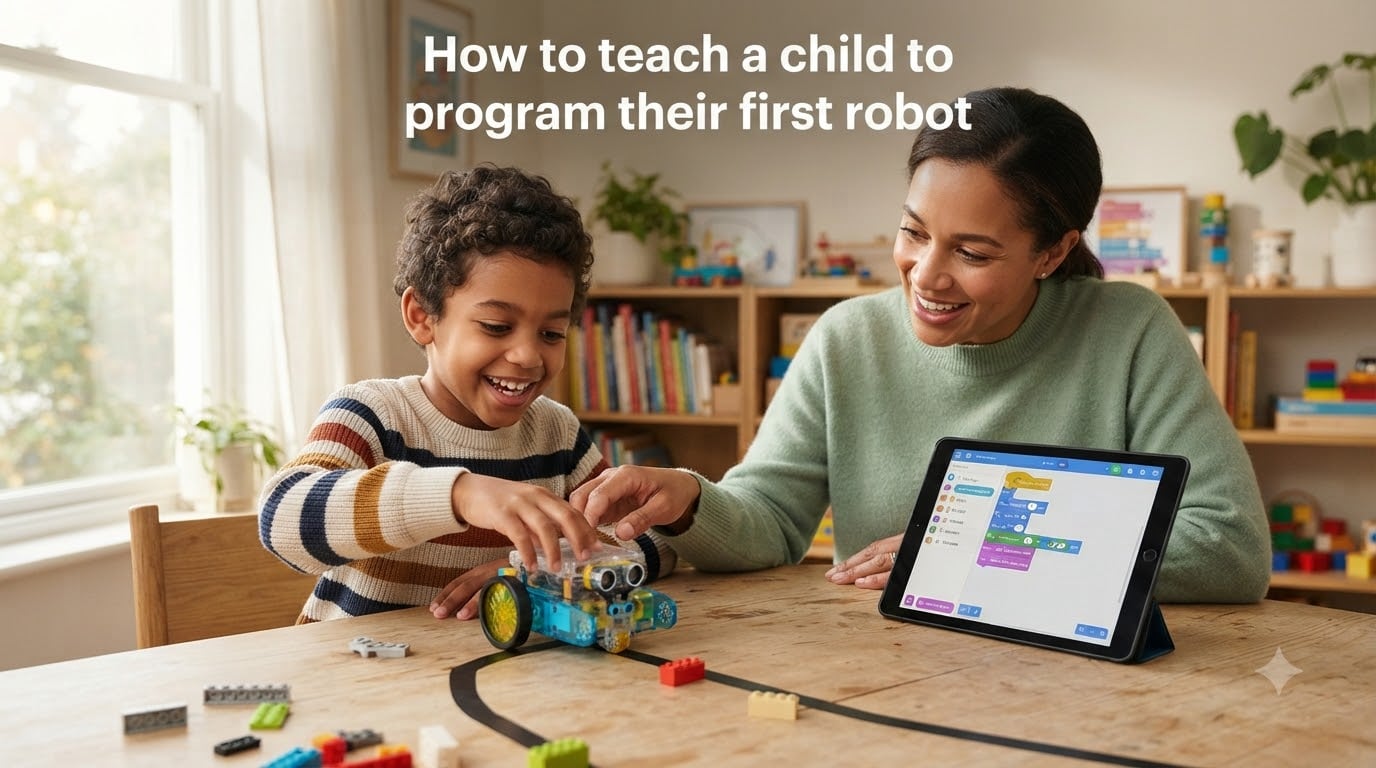
When I first showed my niece how to make a small wheeled robot spin in a circle using drag-and-drop blocks, she laughed so hard she dropped the tablet. That single moment captures why teaching a child to program their first robot works so well: the code does something real, right in front of them.
In this guide, I will walk you through exactly how to teach a child to program their first robot, from picking the right kit for their age to running their first project. You will learn which languages to start with, how to keep them engaged, and where to find free resources if you are on a budget.
Table of Contents
What Does It Mean to Program a Robot?
Programming a robot means giving it a set of instructions it can understand and execute. For kids, this usually starts with block-based coding, where children drag and drop visual blocks representing commands like “move forward” or “turn left” instead of typing text.
The robot reads those blocks, follows the sequence, and produces a physical action. A simple line of code might make the robot’s wheels spin, flash an LED, or beep. This immediate feedback turns abstract programming logic into something a child can see, hear, and touch.
Most beginner kits use three core components: a controller (the “brain”), sensors (the “eyes and ears”), and actuators like motors or LEDs (the “muscles”). Children learn by connecting these parts through code, which is why robotics is one of the most effective ways to introduce kids to coding.
Why Teach Kids Robotics Early
Robotics combines coding, engineering, and creative play, which is why I recommend it as one of the best early STEM activities for children.
Problem-solving: Children learn to break big challenges into small steps when debugging a robot that does not behave correctly.
Algorithmic thinking: Sequencing blocks builds the same logic used in math, science, and eventually any programming language.
Persistence: Watching a robot fail and retry teaches resilience in a low-pressure way.
Cross-disciplinary learning: Robotics ties together physics, math, art, and storytelling in one project.
Confidence: Making something physical move under their own code gives kids a sense of ownership that screen-only coding rarely matches.
Research from organizations like FIRST and Code.org has consistently shown that kids who learn block-based programming before text-based languages progress faster and retain more when they later learn Python or JavaScript.
How to Teach a Child to Program Their First Robot: Step by Step
Follow these six steps to teach a child to program their first robot. I have used this exact sequence with kids ages 5 through 12, and it works every time.
Step 1: Start With a Simple Concept
Do not begin with sensors, loops, or variables. Start with one idea: the robot moves when I tell it to. Get the child to make the robot drive forward, stop, then turn. That single sequence teaches sequencing, the foundation of all programming.
Step 2: Choose an Age-Appropriate Kit
Match the kit to the child’s age and reading level. A 5-year-old does not need an Arduino starter pack; they need a screen-free coding robot or a tablet-based block app. A 12-year-old will get bored with a simple remote-control toy.
Step 3: Encourage Hands-On Exploration
Let the child build the robot first before opening the programming app. Physical assembly creates ownership and curiosity. Once they have built it, they are far more motivated to make it actually do something.
Step 4: Guide With Simple Challenges
Skip the open-ended “code whatever you want” prompt. Instead, give a small mission: make the robot drive in a square, follow a line of tape, or push a block off a table. Specific challenges produce specific results and avoid the blank-page problem.
Step 5: Learn Basic Coding With Visual Programming
Use Scratch, ScratchJr, Blockly, or the kit’s own block-based app. These tools teach loops, conditionals, and events without typing. Most kits come preloaded with a compatible app that runs on a tablet or computer.
Step 6: Celebrate, Then Iterate
When the project works, pause and enjoy it. Then ask, “What if we change this part?” That single question turns a finished project into the beginning of the next one.
Age-Appropriate Robotics: Meeting Kids Where They Are
Children at different ages need very different tools. Here is the framework I use when recommending kits and platforms.
Ages 4 to 6: Screen-Free or Tablet-Based Coding
Preschoolers learn best through physical play. Screen-free coding robots like Botley or Matatalab let kids lay down instruction tiles on a board to control the robot. Tablet apps like ScratchJr use picture-based blocks designed for non-readers.
Ages 7 to 9: Block-Based Programming
This is the sweet spot for most kids. Scratch 3.0 works with LEGO Education WeDo, micro:bit, and many starter kits. Children can read simple blocks, follow tutorials, and start building their own projects within weeks.
Ages 10 to 14: Text-Based Languages With Real Hardware
Once a child is comfortable with block code, introduce MicroPython on a micro:bit or Raspberry Pi Pico. Then progress to Arduino C/C++ for sensor-heavy projects. By this age, kids can handle real-world challenges like obstacle avoidance and maze solving.
Programming Languages and Platforms for Children
The best first programming language for a child depends on their age, not on which language is “best” in the industry. Here is the progression that works.
ScratchJr (ages 5-7): Picture blocks, no reading required, available on tablets.
Scratch 3.0 (ages 7-10): The most popular block language, free, and works with most beginner robots.
Blockly (ages 8-12): Google’s block editor used in many robotics kits and games.
MicroPython (ages 10+): A simplified version of Python that runs on micro:bit, Raspberry Pi Pico, and similar boards.
Arduino C/C++ (ages 12+): The standard for hobby robotics and a stepping stone to advanced engineering.
I recommend letting a child master each stage for at least 3 to 6 months before moving up. Rushing through blocks too quickly is the most common mistake I see parents make.
First Robot Project: A Simple Movement Tutorial
This is the project I use with every beginner. It works on virtually any wheeled robot kit that supports block coding.
Goal: Make the robot drive in a perfect square.
Blocks needed: Move forward, wait 1 second, turn right 90 degrees, repeat 4 times.
Open the kit’s block-coding app and connect to the robot.
Drag a “move forward” block and set power to 50 percent, duration 1 second.
Add a “wait” block set to 1 second.
Add a “turn right” block set to 90 degrees.
Wrap all four blocks inside a “repeat 4 times” loop.
Press run and watch the robot complete a square.
If the square is wobbly, that is the lesson. Encourage the child to adjust the turn degrees or timing. Debugging is where the real learning happens.
Tips for Keeping Kids Engaged in Robotics
From talking with parents on forums and in local clubs, losing interest is the number one reason kids quit robotics. Here is what actually works.
Project over curriculum: Kids stay engaged when they are building something they care about, not completing worksheets.
Short sessions: 30 to 45 minutes is the sweet spot for kids under 10. Stop before they want to stop.
Show, don’t lecture: Build alongside them rather than explaining what they should do.
Join a community: FIRST Lego League, local maker spaces, and robotics clubs give kids peers to learn with.
Connect to their interests: A child who loves animals will happily code a robot “pet” that responds to sound.
Free Resources for Families on a Budget
You do not need an expensive kit to start. Several free resources let children learn robotics concepts at no cost.
Scratch (scratch.mit.edu): Free, browser-based, and works with many cheap or DIY robots.
micro:bit MakeCode editor: Free simulator available even without the hardware.
Raspberry Pi projects: Hundreds of free tutorials for building buggies, line-followers, and more.
Code.org Hour of Code: Annual robotics-themed activities every December.
Library and school clubs: Many public libraries now lend robotics kits just like books.
Starting with a free simulator lets you confirm your child is interested before investing in a kit. That alone can save families over $100.
Frequently Asked Questions
How do I program a robot for beginners?
Start with a beginner-friendly kit that uses block-based coding, like Scratch or Blockly. Connect to the robot, drag a movement block onto the workspace, set the duration, and press run. Once the robot moves as expected, add a second block for turning or waiting, then wrap the sequence in a repeat loop. Within 30 minutes, most beginners can make a robot drive in a square.
How do I program a robot for kids?
Choose a kit designed for children, such as LEGO Education WeDo, micro:bit, or a screen-free coding robot for younger kids. Use the included app, which runs on a tablet or computer, and follow the built-in tutorials together. Start with simple movement, then progress to sensors like distance or sound. Keep sessions short (30-45 minutes) and end on a successful project.
How do I introduce kids to robotics?
Begin with a real, physical robot they can hold, not a screen-only simulation. Show them how blocks of code control the robot’s actions, then ask them to change one block and predict what will happen. Start with a short mission like driving in a square, and avoid lecturing about programming theory. Hands-on play is the most effective introduction for kids of any age.
What is the best age to start robotics?
Children as young as 4 can start with screen-free coding robots, while 7 to 9 is the ideal window for block-based programming with Scratch. Kids ages 10 and up can move to text-based languages like MicroPython and Arduino C/C++. The right starting point depends more on the child’s reading level and interest than on a specific age.
Conclusion
Teaching a child to program their first robot is one of the most rewarding STEM activities you can share with them. Start simple, match the kit to their age, use block-based programming first, and let them build before they code.
If you remember nothing else, remember this: the goal is not to build the perfect robot. The goal is to spark curiosity. Pick a kit, sit beside them, and run that first block of code together.
Your next step is to choose an age-appropriate starter kit from the recommendations above, or try a free simulator like Scratch to test their interest before buying anything. Whichever path you choose, your child is about to learn a skill that will shape how they think for years to come.