
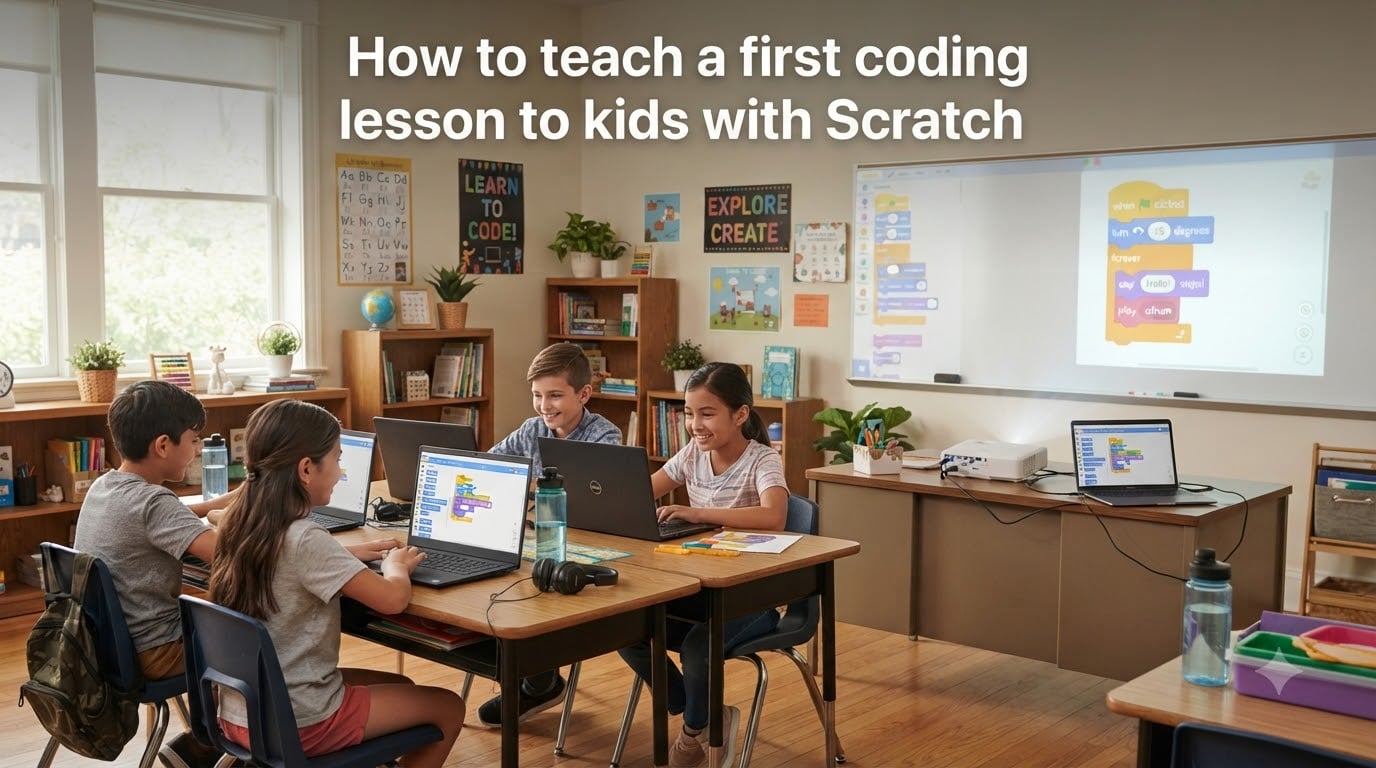
Teaching a first coding lesson to kids with Scratch is one of the easiest ways to introduce programming to children. I have run dozens of these lessons in classrooms, libraries, and after-school programs, and Scratch consistently produces the fastest “aha” moments for beginners.
In this guide, I will walk you through exactly how to teach a first coding lesson to kids with Scratch, from setting up accounts to running a 45-60 minute class. You will get a tested lesson plan, the essential blocks to teach first, and classroom management tips that solve the most common pain points teachers face.
Table of Contents
What Is Scratch and Why It Is Ideal for a First Coding Lesson?
Scratch is a free, block-based visual programming language developed by the MIT Media Lab. Instead of typing code, kids snap together colorful blocks that represent programming commands. Each block fits only with blocks that make sense together, which means beginners cannot create syntax errors.
This single design choice is why Scratch works so well for a first coding lesson. Kids ages 6-16 can build animations, games, and interactive stories within minutes, and they immediately see the results of their code on screen.
Scratch runs in any modern browser, costs nothing, and is used by millions of students worldwide. For parents, teachers, and librarians, it is the most beginner-friendly entry point to block-based coding available today.
Setting Up Your First Scratch Lesson (Accounts, Devices, and Materials)
Before you teach a first coding lesson to kids with Scratch, you need three things ready: accounts, devices, and a teaching display. Here is the setup checklist I use for every new class.
How to Create a Scratch Account
Go to scratch.mit.edu and click “Join Scratch.”
Choose a username, password, and select the country.
Confirm the email address so projects can be saved and shared.
For younger kids under 13, parents or teachers should create the account using a class email, since Scratch requires an email for sign-up.
For classrooms, I recommend a teacher account plus a shared “class” username that students can sign into together. This avoids the friction of each child remembering a personal password on day one.
Devices and Classroom Layout
Scratch runs on Chromebooks, laptops, and most tablets. I prefer Chromebooks for school settings because they boot in seconds and have no software to install. Make sure each student has a device, or pair students so two share one screen.
You also need a projector or large display connected to your own laptop. The “Code Along” method works best when students can see your screen while following along on theirs.
The Essential Scratch Blocks to Teach First
Resist the urge to teach every block category in your first lesson. Kids get overwhelmed fast, and they learn best by doing, not by watching a tour of every feature. I start with only four categories.
Events: The green flag block starts every program. It is the on-switch for everything kids build.
Motion: Move 10 steps, turn, glide, and go to position. These blocks make sprites move, which is the most satisfying thing for beginners.
Looks: Say and think blocks give instant visual feedback. Kids love making characters talk.
Control: Forever, repeat, and wait blocks introduce loops. These are the first real coding concepts to teach.
By the end of the first lesson, students should be comfortable snapping blocks together, dragging out a forever loop, and pressing the green flag to run their code. That is the foundation everything else builds on.
How to Structure a 45-60 Minute Scratch Lesson
A good first lesson plan balances demo time, hands-on time, and sharing time. Here is the structure I have refined over 30+ sessions with mixed ages and skill levels.
5 minutes – Warm-up and intro: Show a finished Scratch project, ask “How do you think this works?” Get kids excited about what they will build.
10-15 minutes – Code Along: Project your screen and build a simple project step by step. Students follow along on their own devices in real time.
20-25 minutes – Independent build: Students remix the project or start their own creation. Walk around and help one-on-one.
5-10 minutes – Share and reflect: Two or three volunteers show their projects. Ask what they learned and what they would add next.
This timing works for ages 8 and up. For ages 6-7, shorten the demo to 10 minutes and extend independent play to 30 minutes, since younger kids need more time to explore.
Step-by-Step First Project: Move a Cat With Arrow Keys
For a first coding lesson to kids with Scratch, I always teach the same starter project: move the default Scratch cat with arrow keys, then make it meow. It uses only the four block categories above, and every kid finishes with a working game.
Step 1: Pick a Backdrop and Sprite
Open Scratch and delete the default cat. Click the cat icon in the bottom right to choose a new sprite, or keep the cat for simplicity. Click the backdrop icon to pick a simple background like “Blue Sky” or “Forest.”
Step 2: Add Motion With Arrow Keys
From the Events category, drag out “when up arrow key pressed.” From Motion, drag “change y by 10” and snap it under the up arrow block. Repeat for down, left, and right using change y by -10 and change x by 10 or -10.
Press the arrow keys to test. The sprite should now move in all four directions.
Step 3: Add Sound or Looks Feedback
From Sound, drag “play sound Meow until done” and attach it under each arrow key block. Now every press triggers a meow. For a quieter option, use the Looks block “say Hello for 2 seconds” instead.
Step 4: Add a Forever Loop (Optional)
For kids ready for a challenge, add a forever loop around a “touching edge, bounce” block from Motion. The sprite will now bounce off the screen edges automatically, teaching the loop concept.
Step 5: Save and Share
Click the project name in the top left and rename it. Click the orange Save button. Students can now go home and keep building, which extends the lesson beyond the classroom.
Teaching Strategies for Different Ages (6-10 vs 10-14)
Age changes everything about how you deliver a first coding lesson to kids with Scratch. The platform is the same, but the teaching approach should shift.
Ages 6-8: Keep It Short and Visual
For younger kids, demos should run no longer than 10 minutes, and instructions should be one step at a time. Consider ScratchJr, the tablet-only version, for kids who are still developing reading skills. Many parents in online forums report ScratchJr works better than full Scratch until age 8.
Ages 8-10: The Sweet Spot
This age group picks up Scratch fastest. They can handle the full 45-60 minute structure, learn loops easily, and start experimenting with variables and scoring within two or three lessons.
Ages 10-14: Stretch With Variables and Cloning
Older beginners get bored if lessons stay too simple. After the first lesson, move quickly into variables, sensing blocks, broadcast messages, and cloning. These features keep the platform challenging through age 14.
Classroom Management Tips for Scratch Coding Lessons
The biggest pain point teachers report is mixed skill levels. Here is what has worked for me across classes of 8 to 25 students.
Use the Code Along method: Project your screen and build in real time. Students stay in sync, and you catch mistakes before they compound.
Pair beginners with confident kids: Pair programming lets stronger students teach while you focus on whoever is stuck.
Prepare extension challenges: Have a printed list of 3 “stretch” tasks for fast finishers, such as adding a second sprite or a score variable.
Build in a sharing round: Kids stay engaged when they know they will get to show their work at the end.
Common Mistakes to Avoid in a First Scratch Lesson
I have made most of these mistakes myself. Avoid them and your first lesson will go much smoother.
Teaching every block category at once. Stick to four categories in lesson one. Save Variables, Sensing, and Operators for lesson two.
Skipping the live demo. Reading instructions silently is confusing for beginners. Always build the first project together live.
Letting kids freestyle too early. Free exploration is great, but only after a structured starter project. Otherwise beginners freeze up.
Ignoring the share step. Public sharing teaches kids that code is a creative medium they can publish, not just homework.
Frequently Asked Questions
What age is appropriate to start Scratch?
Scratch is designed for ages 8-16, but kids as young as 6 can use ScratchJr on a tablet. The full Scratch platform works best from age 8 upward, when children have the reading skills to follow written instructions and the patience for multi-step projects.
How long should a first Scratch lesson be?
A first Scratch lesson should run 45 to 60 minutes. Shorter than 30 minutes does not give kids enough hands-on time to finish a project, and longer than 75 minutes leads to fatigue and off-task behavior in beginners.
Do kids need any prior coding experience before Scratch?
No prior coding experience is required. Scratch is built specifically as a first coding language. Kids who can read basic instructions and use a mouse or trackpad can start building projects on day one.
What blocks should I teach first in Scratch?
Start with only four categories: Events (green flag), Motion (move, glide, go to), Looks (say, costume), and Control (forever, repeat, wait). Teach Variables, Sensing, and Operators in lesson two or three once kids are confident with these basics.
Conclusion
Teaching a first coding lesson to kids with Scratch comes down to three things: keep the scope small, build together live, and leave plenty of time for hands-on play. Stick to four block categories, run a 45-60 minute structure, and use the Code Along method to keep the class in sync.
Once your first lesson runs smoothly, you will have a repeatable framework for every lesson after. Pick your next project, remix the arrow-key cat, and let the kids take it from there.