
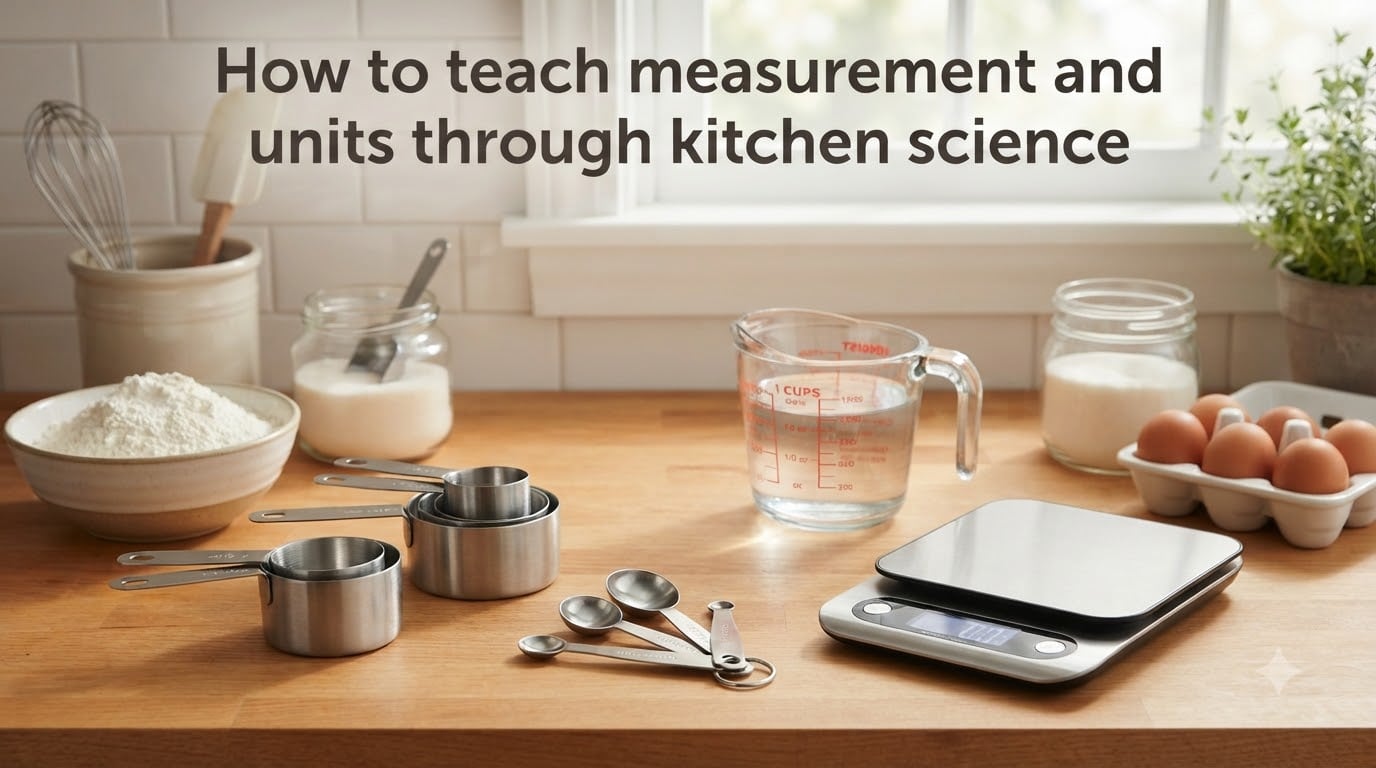
If you have ever watched a child carefully spoon flour into a measuring cup, you have seen the spark of real learning. Teaching measurement and units through kitchen science turns an abstract math lesson into something a learner can see, smell, and taste. Our team has spent years running kitchen workshops with families and classrooms, and the results consistently surprise us: kids who struggled with fractions on paper suddenly understand them when they double a cookie recipe.
This guide pulls together everything we have learned. You will find the essential tools, the golden rule of dry versus liquid measuring, conversion shortcuts, science experiments, and age-appropriate activities that make measurement stick. Whether you are a parent, homeschool educator, or classroom teacher, the kitchen offers a ready-made science lab you already own.
Table of Contents
Why the Kitchen Is the Perfect Measurement Classroom?
The kitchen works for teaching measurement and units because the consequences are immediate and delicious. Measure wrong, and the cookies spread flat or come out dry. Measure right, and you get a tangible reward. That instant feedback loop is something a textbook cannot match.
Cooking also connects three subjects at once. A single recipe involves math (fractions, ratios, unit conversion), science (states of matter, chemical reactions, heat transfer), and life skills (planning, sequencing, safety). Our team has watched reluctant learners light up when they realize 1/2 cup plus 1/2 cup equals 1 cup, then watch that math appear in a finished cake.
Beyond academics, kitchen measurement builds executive function. Children practice following multi-step directions, estimating quantities, and adjusting on the fly. These are the same skills that support success in math class, lab science, and everyday problem solving.
5 Essential Kitchen Measurement Tools You Need
Before any lesson begins, gather the right tools. We recommend this starter set because it covers every measurement concept you will teach.
Dry measuring cups: The nested metal or plastic set with handles, used for flour, sugar, and other dry ingredients. Comes in 1/4, 1/3, 1/2, and 1 cup sizes.
Liquid measuring cup: A clear glass or plastic pitcher with a spout and ounce/milliliter markings. Use this for milk, oil, water, and other liquids.
Measuring spoons: A set of 1/4 teaspoon, 1/2 teaspoon, 1 teaspoon, and 1 tablespoon. Stainless steel sets last the longest.
Digital kitchen scale: The single best tool for teaching weight versus volume. A scale that switches between grams and ounces opens the door to metric measurements.
Instant-read thermometer: Useful for teaching temperature measurement and the science of heat. A basic probe model works for most lessons.
I keep our starter set in a single drawer so kids can grab it on their own. Independence matters as much as the tools themselves.
Dry vs Liquid Measuring: The Golden Rule
The single most important rule in kitchen measurement is this: dry ingredients get dry measuring cups, and liquid ingredients get liquid measuring cups. Skip this rule, and your baking will fail in ways that confuse beginners.
Dry measuring cups are designed to be filled to the top and leveled off with a straight edge. Measuring flour this way gives you exactly 1 cup every time. Liquid measuring cups have extra space above the top line so you can carry them without spilling, and they include a spout for pouring.
Here is the technique breakdown.
For dry ingredients: Spoon the ingredient into the cup until it overflows, then sweep a butter knife or the back of a spoon across the top to level it. Never pack unless the recipe says “packed.”
For liquids: Place the cup on a flat surface and bend down so your eye is level with the measurement line. Pour slowly until the meniscus (the bottom of the curve) hits the line.
For sticky ingredients like honey or molasses: Lightly coat the measuring spoon or cup with oil first, and the sticky stuff will slide right out.
Understanding Units: Volume, Weight, and Temperature
Kitchen measurement introduces three foundational units: volume, weight, and temperature. Understanding the difference builds the same intuition that scientists use in lab work.
Volume measures the space an ingredient takes up. In US kitchens, volume uses cups, tablespoons, teaspoons, fluid ounces, pints, quarts, and gallons. Most of the world uses milliliters and liters instead. Volume works well for liquids and for dry ingredients with consistent texture, like rice or oats.
Weight measures how heavy an ingredient is, regardless of how much space it takes up. A cup of flour weighs about 120 grams, while a cup of chopped walnuts weighs around 100 grams. Weight is more accurate than volume, which is why professional bakers prefer a digital kitchen scale. Teaching both volume and weight helps learners grasp the difference between quantity and mass.
Temperature measures how hot or cold something is. Recipes use temperature to control what happens to ingredients. Yeast dies above 140 degrees F. Butter melts at around 90 degrees F. Sugar caramelizes at 320 degrees F. A simple instant-read thermometer turns these numbers into observable events.
7 Common Measurement Conversions Every Cook Should Know
Memorizing a handful of conversions will save you time and prevent most kitchen mistakes. I tell every new learner to start with these seven.
| Conversion | Equivalent |
|---|---|
| 1 tablespoon | 3 teaspoons |
| 1 cup | 16 tablespoons (or 48 teaspoons) |
| 1 pint | 2 cups |
| 1 quart | 4 cups (or 2 pints) |
| 1 gallon | 16 cups (or 4 quarts) |
| 1 fluid ounce | 2 tablespoons |
| 1 cup (US) | about 240 milliliters |
A simple trick for metric conversion: 1 cup is roughly 240 mL, so a 4-cup recipe is about 1 liter. I have seen learners abandon US cups entirely once they realize how easy metric can be.
States of Matter Demonstrations Through Cooking
The kitchen is a front-row seat for states of matter. Solid, liquid, and gas all show up in a single baking session.
Start by demonstrating melting. Place butter in a pan and watch it transition from solid to liquid as heat moves through it. Then reverse the process by setting the pan in the fridge and watching the butter solidify again. This is a phase change driven by temperature.
Evaporation offers a clean liquid-to-gas example. Heat water in a pot with a lid slightly ajar. Steam rises and condenses on the cooler lid, then drips back down. You have just watched water cycle through liquid and gas and back again.
Gas formation appears in baking. Yeast and baking soda both release carbon dioxide gas, which inflates dough and batter. You can prove this by mixing baking soda with vinegar in a balloon stretched over the top of a bottle. The balloon inflates without any heat at all.
Chemical Reactions in the Kitchen
Beyond states of matter, cooking offers perfect examples of chemical reactions. A chemical reaction creates new substances, and the kitchen is full of them.
Baking soda plus an acid (vinegar, lemon juice, buttermilk) produces carbon dioxide gas. You see this reaction when baking soda makes a banana bread rise. This is a single displacement reaction, where one element trades places with another.
Yeast is a living organism that eats sugar and releases carbon dioxide and alcohol. That is fermentation. Bread dough rises because the yeast is breathing and bubbling. Heating the dough kills the yeast and evaporates the alcohol, leaving behind airy, stable bread.
Maillard reaction explains why bread turns golden and steak gets a browned crust. Heat causes proteins and sugars to rearrange into hundreds of new flavor compounds. This same chemistry happens when you toast marshmallows or roast coffee beans.
Fun Hands-On Activities to Teach Measurement by Age
Activities should match the developmental stage of the learner. What excites a 5-year-old will bore a 12-year-old, and vice versa. Here is what has worked in our workshops.
Ages 4 to 6: Counting and Pouring
At this age, keep things simple and sensory. Scoop and pour dry ingredients from one container to another while counting scoops. Use 1/4 cup, 1/3 cup, and 1/2 cup measuring cups so kids see fraction sizes in their hands.
Make “rainbow oatmeal” by letting children measure and add drops of food coloring to plain oatmeal. You can also let them stir and watch butter melt into warm toast.
Ages 7 to 10: Fractions and Conversions
Older kids are ready to read fractions and use measuring spoons accurately. Doubling or halving a recipe teaches fractions with real meaning. Write the original recipe on one side of an index card and the doubled recipe on the other, then bake both and compare.
A simple chocolate chip cookie recipe works perfectly. Each ingredient becomes a chance to practice multiplication or division of fractions.
Ages 11 to 14: Ratios and the Metric System
Middle schoolers can handle ratios and convert freely between metric and US units. Teach the 1:2:3 ratio for a simple pancake recipe (1 part flour, 2 parts milk, 3 parts eggs by weight) and let them scale it up or down.
A digital kitchen scale becomes a lab tool at this stage. Weigh ingredients in grams, then convert to ounces. The same recipe in different units teaches proportional reasoning and the metric prefixes (milli-, centi-, kilo-).
Teaching the Scientific Method Through Recipes
Every recipe can become a science experiment. Frame the recipe as a question, and the cook becomes a researcher.
Start with a hypothesis. “If I add more baking powder, the muffin will rise higher.” Then run the controlled experiment by making two batches that differ only in baking powder. Observe the result, measure the height of each muffin, and record the data.
Our team ran this exact test in a fifth-grade classroom and the kids wrote paragraphs comparing results. Several of them went home and tried variations with their families. That is what we want: learners who take the question with them.
Kitchen Safety Guidelines for Young Scientists
Kitchen safety is non-negotiable, even for the simplest measurement activity. A few rules keep the learning fun and safe.
Always wash hands before handling food and after handling raw ingredients like eggs.
Tie back long hair and roll up loose sleeves.
Use child-safe knives for cutting, and keep sharp tools away from younger hands.
Never let small children handle the stove without direct adult supervision.
Keep a fire extinguisher nearby and teach kids what to do if something smokes.
Clean up spills right away to prevent slips.
We teach safety alongside the first measuring activity. Once the rules become routine, kids internalize them and operate more independently.
Frequently Asked Questions About Teaching Measurement Through Kitchen Science
How to memorize kitchen measurements?
Start with the seven most common kitchen equivalents: 3 teaspoons equals 1 tablespoon, 16 tablespoons equals 1 cup, 2 cups equals 1 pint, 4 cups equals 1 quart, 16 cups equals 1 gallon, 2 tablespoons equals 1 fluid ounce, and 1 cup equals about 240 milliliters. Practice by halving and doubling real recipes. The repetition through real cooking locks these conversions into memory far faster than flashcards.
How to teach measurements in a fun way?
Turn the kitchen into a game. Use scavenger hunts where kids find ingredients by weight or volume, run a measurement relay race, or bake cookies while doubling the recipe to practice fractions. Color-coded measuring cups and edible rewards (like the food they just measured) make abstract units feel real. Kids retain measurement concepts far better when they see and taste the result.
What are 5 measuring tools used in the kitchen?
The five essential kitchen measuring tools are dry measuring cups (for flour and sugar), a liquid measuring cup (for milk and oil), measuring spoons (for spices and small amounts), a digital kitchen scale (for weight in grams and ounces), and an instant-read thermometer (for temperature). These five tools cover every measurement concept a beginner cook needs, including volume, weight, and temperature.
What is the golden rule of measurement in the kitchen?
The golden rule is to use dry measuring cups for dry ingredients and liquid measuring cups for liquid ingredients. Dry cups are filled and leveled off, while liquid cups have extra space at the top and a spout for pouring. Mixing these up is the number one reason beginner baking fails, so mastering this single habit solves most measurement problems.
Final Thoughts on Teaching Measurement Through Kitchen Science
Teaching measurement and units through kitchen science works because it turns math into something you can hold, taste, and share. Start with a few simple tools, teach the golden rule of dry versus liquid measuring, and let real recipes do the rest. Our team has seen learners of every age light up when their measurements produce something delicious, and we hope the activities in this guide do the same for you.