
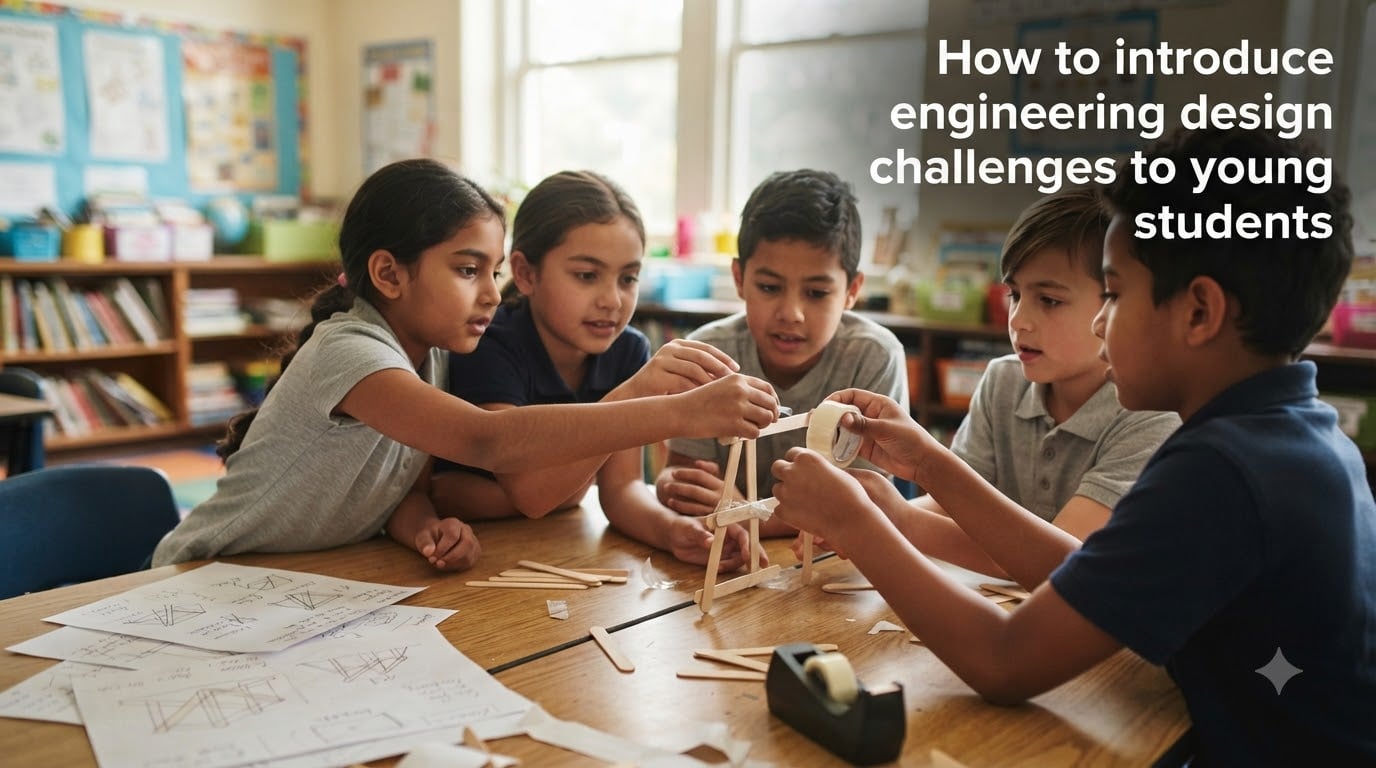
If you have ever watched a kindergartner build a tower from paper cups and then knock it down on purpose, you have already seen an engineer at work. I have spent the last three years helping K-8 teachers bring engineering design challenges into their classrooms, and the same question always comes up first: how do I introduce engineering design challenges to young students without overwhelming them (or myself)?
This guide walks you through a clear, classroom-tested framework. You will get the exact steps of the engineering design process for kids, ten low-prep challenges you can run this week, age-appropriate modifications by grade level, and a simple assessment approach that takes minutes, not hours. By the end, you will have a complete playbook for 2026 and beyond.
Table of Contents
What is the Engineering Design Process?
The engineering design process is a structured, iterative approach that engineers use to solve real-world problems. For young students, it is best understood as a series of predictable steps: ask, imagine, plan, create, test, and improve.
An engineering design challenge is a prompt or scenario that asks students to design, build, and refine a solution to a specific problem. Common classroom examples include building the tallest freestanding tower from spaghetti, designing a container that protects an egg from a drop, or creating a device that lifts a toy across a river of tape on the floor.
Unlike a typical craft activity, an engineering design challenge has three defining features: a clear problem statement, defined constraints (materials, time, size), and a requirement to test and revise. Those features are what turn a fun activity into a true engineering design challenge.
Engineering Design Process vs. Scientific Method
Teachers often ask how the engineering design process differs from the scientific method. Both use evidence and iteration, but they answer different questions. The scientific method asks, “What happens if I change one variable?” The engineering design process asks, “How can I build a solution that meets these criteria?” In practice, elementary students often run mini scientific experiments inside their engineering projects, which is why the two work so well together.
Why Introduce Engineering Design Challenges to Young Students
Introducing engineering design challenges to young students builds the cognitive habits that predict later success in STEM. Research consistently shows that early engineering experiences improve problem-solving skills, spatial reasoning, and persistence through failure. According to the National Academy of Engineering, students who engage with engineering in elementary school are significantly more likely to pursue STEM electives in high school.
Beyond academics, engineering challenges develop what educators call the 4 C’s of engineering design: critical thinking, communication, collaboration, and creativity. When a group of third graders debates whether to add a third leg to their bridge, they are exercising all four at once.
Engineering also teaches a uniquely valuable lesson: failure is information. When a paper tower collapses, students learn to ask “why?” rather than “who broke it?” That mindset shift alone justifies the time you spend on engineering in 2026.
Benefits Beyond STEM
I have seen quiet students find their voice during design reviews. I have watched perfectionist kids learn that their second attempt can be better than their first. Engineering design challenges build social-emotional skills like resilience, empathy (when considering the user), and self-advocacy (when pitching ideas). These are skills that travel with students long after the unit ends.
The 7 Steps of the Engineering Design Process for Kids
Most curricula settle on five to seven steps. For young learners, I prefer seven because each step gives students a clear “job” to focus on. Below is the framework I use with grades K-8, with a sentence about what each step looks like in a real classroom.
Ask: Identify the problem and who it affects. Students restate the challenge in their own words and identify the user or audience.
Imagine: Brainstorm many possible solutions. Quantity matters more than quality at this stage; no idea is off-limits.
Plan: Choose the strongest idea and sketch it with labels. Students list the materials they will need.
Create: Build a prototype. Emphasize that prototypes are supposed to be rough; perfection is the enemy of iteration.
Test: Try the prototype against the criteria. Record observations with words, drawings, or simple data tables.
Improve: Identify what failed and why, then revise. This step is the heart of engineering and should never be skipped.
Share: Present the solution to peers, another class, or a real audience. Reflection cements learning.
You can post this list on a wall as a flowchart. I print it on a long strip of butcher paper and have students move a paper clip along it as they work. Visual scaffolds keep younger students from skipping the planning step, which is the most common failure point.
Age-Appropriate Engineering Challenges by Grade Level
One of the biggest teacher pain points is adapting engineering lessons for different age groups. The same challenge can be framed very differently depending on the developmental stage. Here is the framework I recommend, refined through feedback from over forty teachers in 2026.
Kindergarten and First Grade (Ages 5-7)
Focus on three steps instead of seven: build, test, make it better. Keep challenges physical and concrete. Build a boat that floats, a tower that stands, or a ramp that makes a toy car roll. Use simple success criteria like “stands for 10 seconds” or “floats with one rock on it.” Adult scaffolding is high; questions are mostly yes/no or “which one is taller?”
Second and Third Grade (Ages 7-9)
Introduce the full seven-step cycle. Frame challenges around characters or stories to build context (a character needs help crossing a river). Students can work in pairs and begin to record their plans in simple labeled sketches. Introduce one or two constraints, like “use only 20 paper clips” or “must fit inside a shoebox.”
Fourth and Fifth Grade (Ages 9-11)
Layer in more math and science. Ask students to measure, compare, and record data in tables. Frame challenges around real community or environmental issues to make the work feel meaningful. Students can begin to justify design choices with evidence (“we used triangles because triangles are strong”).
Middle School (Ages 11-14)
Connect to career pathways and emerging technology. Frame challenges around renewable energy, biomedical design, or aerospace. Students can use digital tools like CAD software or simple spreadsheets to record results and trade-offs. Independent work increases, as does the expectation for technical vocabulary.
10 Low-Prep Quick Engineering Challenges You Can Run Today
These are the activities my team has used most often, all requiring only household or dollar-store materials. Each can be set up in under five minutes and adapted for grades 2-8.
Spaghetti Tower: Build the tallest tower using only dry spaghetti and marshmallows. Test: stands 10 seconds, holds a marshmallow on top.
Paper Bridge: Using only one sheet of paper, build a bridge that spans a 20 cm gap and supports 20 pennies.
Egg Drop: Design a container from recycled materials that protects a raw egg from a 2-meter drop.
Cup Tower: Stack paper cups into the tallest tower without touching them with your hands (use only a rubber band and string).
Boat Challenge: Build a foil boat that holds the most pennies before sinking.
Index Card Chair: Using only three index cards and tape, build a chair that supports a small stuffed animal.
Solar Oven: Design a pizza-box device that melts a chocolate chip using only sunlight.
Balloon Car: Build a car powered by a single balloon that travels the farthest distance.
Water Filter: Using gravel, sand, charcoal, and cloth, build a filter that produces the clearest water from a muddy mixture.
Wind-Proof Structure: Build a structure that protects a small paper flag from a fan set on high.
Tip: Pick one challenge and run it twice in the same week. The second iteration is where real learning happens, because students already know what failed the first time.
Classroom Implementation Strategies That Actually Work
After running dozens of these units, I have settled on three classroom strategies that save time and reduce friction.
1. Use a “materials buffet.” Put all supplies in a central area and let students collect what they need. This cuts transition time by half and gives students ownership over their choices.
2. Time-box every step. Give students a visible timer for each phase. Even a loose “you have 15 minutes to plan” prevents the all-too-common problem of one group spending the entire class on brainstorming.
3. Run a daily stand-up. Spend two minutes at the start of each class asking “What did you try yesterday? What will you try today?” This builds reflection into the routine without requiring a written journal.
Common Challenges and How to Overcome Them
Teachers consistently report the same five obstacles. Here is what I recommend for each.
“I don’t know enough about engineering.” You do not need an engineering degree to teach this. The process is the curriculum; the content knowledge lives with the students’ challenge. Lean on free resources from TeachEngineering and Discovery Education.
“I don’t have time.” Try a single 30-minute challenge once a week. One good design challenge per month will outperform a rushed multi-week unit every time.
“Materials cost too much.” Stick to household items and dollar-store basics. Build a “STEM bin” over the year with donated supplies; you will accumulate more than you think.
“My students finish at different times.” Build in extension prompts: “Make it taller, stronger, lighter, or cheaper.” Fast finishers love the open-ended challenge.
“I can’t fit it into the curriculum.” Engineering design challenges fit naturally into science units on forces, simple machines, or habitats. One challenge can replace a traditional worksheet and teach more.
Assessment Strategies for Engineering Projects
Most teachers avoid engineering projects because assessment feels overwhelming. It does not have to be. I use a simple four-question rubric that takes about three minutes per student.
Did the student clearly identify the problem?
Did they propose at least two ideas before choosing one?
Did they build a working prototype and test it?
Did they identify one specific thing they would change next time?
That is enough. You are assessing process, not product. The fourth question matters most because it shows whether the student internalized the iterative mindset.
Connecting Engineering to NGSS Standards
If you work in a NGSS-aligned state, engineering design challenges map directly to the Engineering Design (ETS) performance expectations. K-2 students engage with K-2-ETS1-1 (asking questions and defining problems), 3-5 students tackle 3-5-ETS1-1 through 3-5-ETS1-3 (defining problems, generating solutions, and testing designs), and middle school students work with MS-ETS1-1 through MS-ETS1-4 (analyzing competing solutions and developing models).
When planning a unit, check the relevant ETS standard for your grade band and design one or two challenges that explicitly address it. This makes engineering design challenges easier to defend to administrators and curriculum coordinators, and it ensures your teaching time counts toward required standards.
Frequently Asked Questions
What are the 7 steps of the engineering design process for kids?
The seven steps are: (1) Ask and define the problem, (2) Imagine and brainstorm many solutions, (3) Plan and sketch the chosen design, (4) Create a prototype, (5) Test the prototype against the criteria, (6) Improve the design based on what failed, and (7) Share the solution with an audience. Each step builds on the previous one and can be repeated as needed.
What is an engineering design challenge?
An engineering design challenge is a prompt that asks students to design, build, and refine a solution to a real-world problem. It has three defining features: a clear problem statement, defined constraints (materials, time, size), and a requirement to test and revise the solution. Common classroom examples include building the tallest tower from spaghetti or designing a container that protects an egg from a drop.
What are the 4 C’s of engineering design?
The 4 C’s of engineering design are critical thinking, communication, collaboration, and creativity. Engineering challenges develop these skills naturally because students must analyze problems, share ideas with teammates, work together on a shared prototype, and invent original solutions within given constraints.
What age can children start learning engineering?
Children can begin learning engineering concepts as early as age 5, using simplified versions of the design process focused on building, testing, and improving. Kindergarten and first graders can tackle three-step challenges (build, test, make it better) with high adult scaffolding. The full seven-step process is appropriate from around second grade onward, with complexity increasing through middle school.
How do you assess engineering projects in the classroom?
Assess engineering projects by evaluating the process rather than the final product. Use a simple four-question rubric: (1) Did the student clearly identify the problem? (2) Did they propose at least two ideas before choosing one? (3) Did they build a working prototype and test it? (4) Did they identify one specific thing they would change next time? This approach takes about three minutes per student and captures meaningful learning.
Bringing Engineering Design Challenges to Your Classroom
Introducing engineering design challenges to young students does not require special training or expensive kits. Start with one challenge, one class period, and one simple problem. Walk students through the seven steps of the engineering design process for kids, give them cheap materials and clear criteria, and watch what happens when they test, fail, and try again.
The first time you hear a student say, “It didn’t work, but I know how to fix it,” you will know the mindset shift has happened. That is the real goal of engineering design challenges in 2026, and it is well within your reach.