
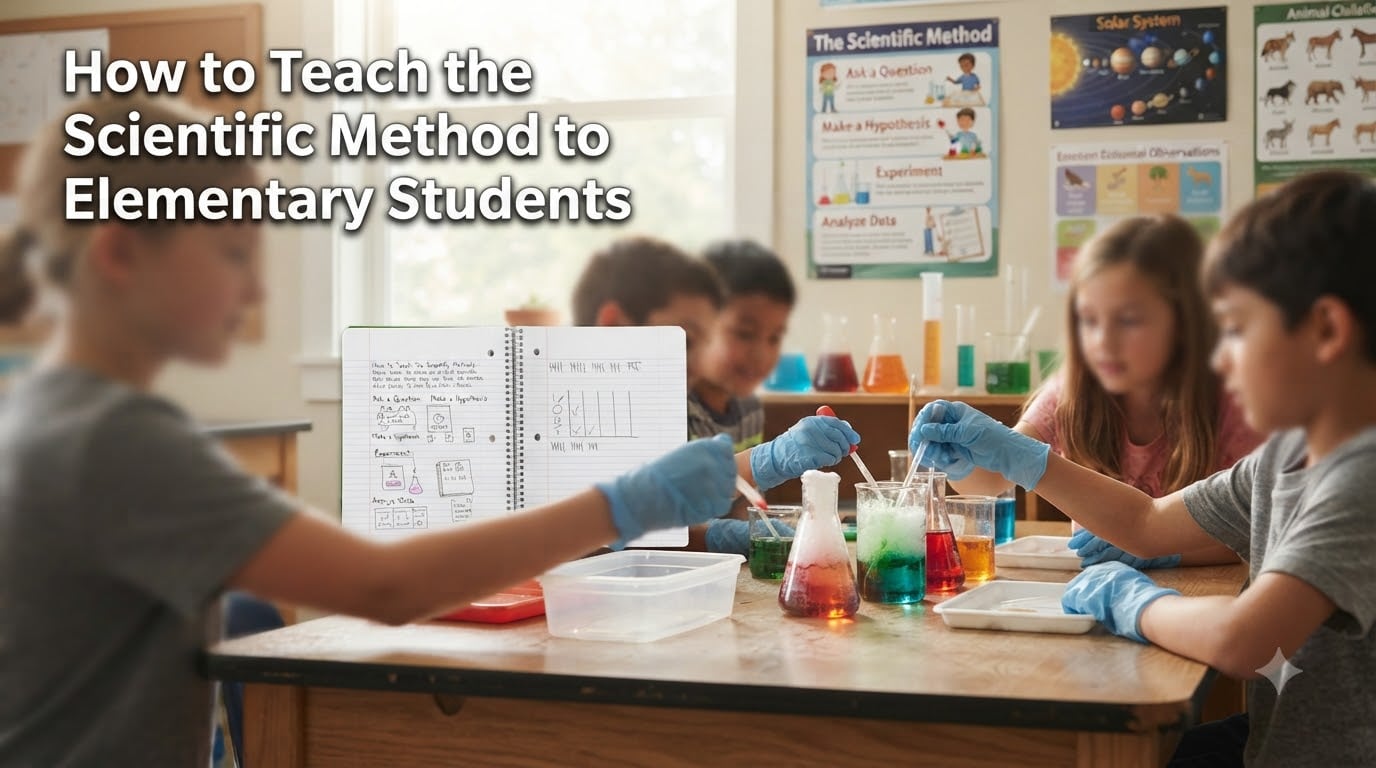
Teaching the scientific method to elementary students can feel like asking 7-year-olds to follow a recipe they cannot yet read. I have watched teachers struggle with this exact challenge, and I have seen what works in real classrooms.
This guide gives you a clear, kid-friendly version of the 6 steps, age-appropriate modifications for K-2 and grades 3-5, hands-on experiment examples, and the teaching pitfalls I have seen trip up even experienced educators. By the end, you will have a complete roadmap you can use as early as your next science block.
Table of Contents
What Is the Scientific Method? A Simple Definition for Elementary Classrooms
The scientific method is a step-by-step process scientists use to investigate questions about how the world works.
For elementary students, I describe it as a thinking routine: wonder about something, make a guess, try it out, look at what happened, and figure out what it means. It is not a rigid checklist. It is a habit of mind that helps kids test ideas with evidence instead of guessing or arguing.
When I explain this to a class, I keep it concrete. I tell them scientists are like detectives. Detectives look for clues, ask questions, and check their ideas before they solve a case. Scientists do the same thing with nature. That framing sticks because every elementary student already knows what a detective does.
The simplified version works because young learners do not need the full history of empirical inquiry. They need a process they can repeat every time they wonder about something, whether that is why ice melts or how plants drink water.
Why Teach the Scientific Method to Elementary Students
Teaching the scientific method in elementary school builds the foundation for every later science class, and for problem solving outside of science too.
Here is what I have seen it do in real classrooms over the past several years.
- It builds critical thinking. Kids learn to back up claims with evidence instead of opinions.
- It teaches that failure is part of learning. A hypothesis that does not pan out is still useful information.
- It supports NGSS Science and Engineering Practices, which expect students to plan and carry out investigations starting in kindergarten.
- It connects to everyday problem solving. Kids start asking, “How can I test this?” about everything from friendship conflicts to which backpack holds more.
- It builds scientific vocabulary that compounds over time. Words like observation, hypothesis, and evidence become tools the student owns.
Skipping this step in the early grades means kids arrive in middle school memorizing the steps instead of using them. Catching them early is the difference between kids who think like scientists and kids who can recite a textbook.
The 6 Steps of the Scientific Method (Kid-Friendly Version)
The 6 steps of the scientific method for kids are: ask a question, make observations, form a hypothesis, conduct an experiment, analyze the data, and draw a conclusion.
I teach these steps in this order, then remind students that real scientists sometimes loop back. The numbered structure gives kids a clear path. The reminder that science is iterative gives them an accurate picture of how the process works.
Step 1: Ask a Question
Everything starts with curiosity. I ask kids, “What have you wondered about today?” and write their questions on the board. Some are testable, some are not. I help them reshape unanswerable questions into testable ones.
Kid-friendly prompt: “What do you want to find out?”
Step 2: Make Observations
Before guessing, kids need to look closely. I ask them to use their five senses to gather information about whatever they are studying. We record observations with drawings, words, or both.
Kid-friendly prompt: “What do you notice?”
Step 3: Form a Hypothesis
A hypothesis is an educated guess that can be tested. I tell kids it is not just any guess. It is a guess based on what you already know, and it is a guess you can check.
Kid-friendly prompt: “What do you think will happen, and why?”
Step 4: Conduct an Experiment
This is the part kids love. They change one thing (the independent variable), keep other things the same (controlled variables), and measure what happens (the dependent variable). For young learners, I keep variables to one and call them the “thing you change.”
Kid-friendly prompt: “What will you try, and what will you change?”
Step 5: Analyze the Data
Kids collect numbers, drawings, or notes. Then we stop and look. I ask, “What does this tell us?” We graph results, count outcomes, and look for patterns.
Kid-friendly prompt: “What did you see happen?”
Step 6: Draw a Conclusion
This is where kids answer their original question using the evidence they collected. I push them to use the word “because.” “I think X because the data shows Y.” That single word forces them to connect their claim to evidence.
Kid-friendly prompt: “Was your guess right? What did you learn?”
Age-Appropriate Modifications: K-2 vs. Grades 3-5
The scientific method looks different depending on the developmental stage of your students, and using the right version for the age group is the difference between engagement and confusion.
For Kindergarten Through 2nd Grade (K-2)
I use a 3-step version with K-2 students: Wonder, Try, See. This simplified version captures the heart of the scientific method without overwhelming emerging readers.
- Wonder: What do you want to find out?
- Try: What can you do to test it?
- See: What happened?
Vocabulary swaps work better than technical terms at this age. I use “guess” or “prediction” instead of “hypothesis.” I use “what happened” instead of “results.”
For K-2, I avoid asking kids to control variables. The cognitive demand is too high. Instead, I focus on the cycle of wonder, try, and reflect.
For Grades 3-5
By third grade, I introduce the full 6-step model. Students can handle more vocabulary and can start to think about variables, even if they only control one at a time.
I introduce “hypothesis” as a real word by third grade, paired with the kid-friendly translation: “an educated guess you can test.” I introduce the word “variable” in 4th or 5th grade as “the thing you change.”
By 5th grade, students can run simple controlled experiments with one independent and one dependent variable, plus a control group. This sets them up for middle school science, where multiple variables become routine.
Simple Experiment Examples Kids Can Do in Class
These three experiments walk students through all 6 steps and use materials you already have in your classroom.
Example 1: The Paper Folding Experiment
This is the classic classroom experiment because the result surprises almost everyone.
- Question: How many times can a piece of paper be folded in half?
- Observation: Students look at a sheet of paper and predict what will happen.
- Hypothesis: Most students guess 4, 6, or even 10 folds.
- Experiment: Students fold and refold, counting each fold.
- Data: Almost every student gets to 6 or 7 folds before the paper becomes too thick.
- Conclusion: Students realize their guess was wrong and discuss why the paper gets too thick to fold.
This experiment is gold because the surprise drives the learning. The hypothesis fails, and that failure becomes the most teachable moment of the week.
Example 2: Sink or Float Investigation
Materials: a tub of water, a collection of small classroom objects (cork, coin, leaf, paperclip, sponge, eraser).
- Question: Which objects will sink and which will float?
- Observation: Students sort objects by appearance and weight first.
- Hypothesis: Students predict outcomes and explain why.
- Experiment: One by one, students place objects in water and record what happens.
- Data: A simple tally chart on the board.
- Conclusion: Students look for patterns. Heavy objects often sink, but not always. Shape matters too.
Example 3: Plant Growth With Different Water Amounts
This experiment takes about 2 weeks and gives students a real reason to track data over time.
- Question: How does the amount of water affect plant growth?
- Observation: Students examine identical seedlings on day 1.
- Hypothesis: Students predict which plant will grow best.
- Experiment: Three plants get no water, little water, and lots of water. Everything else stays the same.
- Data: Weekly measurements of height and number of leaves.
- Conclusion: Students compare results to their hypothesis and discuss what surprised them.
Common Mistakes to Avoid When Teaching the Scientific Method
Even experienced teachers make these mistakes, and addressing them up front saves instructional time.
Presenting the method as strictly linear. Real science loops back. After analyzing data, a scientist often returns to refine the question or run a new experiment. I tell students the steps are a circle, not a line. This single shift changed how my students approached investigation.
Skipping what a hypothesis really is. Many kids hear “hypothesis” and assume it is any guess. I correct this every time. A hypothesis is an educated guess, one you can actually test. If you cannot test it, it is not a hypothesis. It is just a guess.
Treating failed experiments as failures. When a student’s hypothesis does not work, the experiment did not fail. The student learned something true about the world. I celebrate this in front of the class every time it happens.
Using jargon without kid-friendly definitions. Words like “variable,” “control,” and “data” are not in a 7-year-old’s vocabulary. Define every term with a kid-friendly phrase and use both side by side. “The variable, which is the thing you change.”
Rushing to the experiment. Kids want to skip ahead to the fun part. I slow them down at the hypothesis and data analysis steps because those are where the real thinking happens.
Tips for Engaging Young Learners in the Scientific Process
Engagement is the difference between a lesson kids remember and a lesson they sleep through.
- Use surprising results to spark curiosity. The paper folding experiment works because the answer is not what anyone expects.
- Let kids choose their own questions. When students own the question, they own the investigation.
- Connect experiments to everyday life. Test which soap bubbles best, which paper towel absorbs most, or which sneakers grip best on the playground.
- Build in time for kids to share findings. A 3-minute share-out at the end of an investigation cements learning.
- Use science notebooks consistently. Drawings, numbers, and words all count as data.
When you combine these engagement strategies with the 6-step framework, the scientific method stops being something kids memorize and becomes something they actually do.
Frequently Asked Questions
What are the steps of the scientific method for kids?
The 6 steps of the scientific method for kids are: (1) ask a question, (2) make observations, (3) form a hypothesis, (4) conduct an experiment, (5) analyze the data, and (6) draw a conclusion. Each step builds on the one before it, and kids can move through the cycle repeatedly as they investigate new questions.
How do you teach the scientific method to elementary students?
Start with a kid-friendly definition, then walk students through the 6 steps using a hands-on experiment they can see, touch, and measure. Use simple vocabulary, let students pick their own questions when possible, and treat failed hypotheses as learning opportunities rather than mistakes. Adjust the number of steps based on grade level: 3 steps for K-2 and the full 6 steps for grades 3-5.
What is the scientific method for kids?
The scientific method is a step-by-step process scientists use to investigate questions about how the world works. For elementary students, it works best described as a thinking routine: wonder about something, make a guess, try it out, look at what happened, and figure out what it means.
What are some fun scientific method experiments for kids?
Three popular experiments are: the paper folding experiment (how many times can you fold a sheet of paper?), the sink or float investigation (testing classroom objects in water), and the plant growth experiment (giving different amounts of water to identical plants). Each experiment walks students through all 6 steps of the scientific method.
Final Thoughts on Teaching the Scientific Method to Elementary Students
The scientific method is one of the highest-leverage habits you can build in an elementary classroom. It teaches kids to wonder, test, and revise their thinking in a world full of fast opinions and loud claims.
Start with one experiment this week. Walk your students through all 6 steps once. Watch what happens when their hypothesis fails and they have to revise it. That single moment is the scientific method coming alive.
Once you have taught the 6 steps one time, you have given your students a thinking tool they will use for the rest of their academic careers, and probably the rest of their lives.