
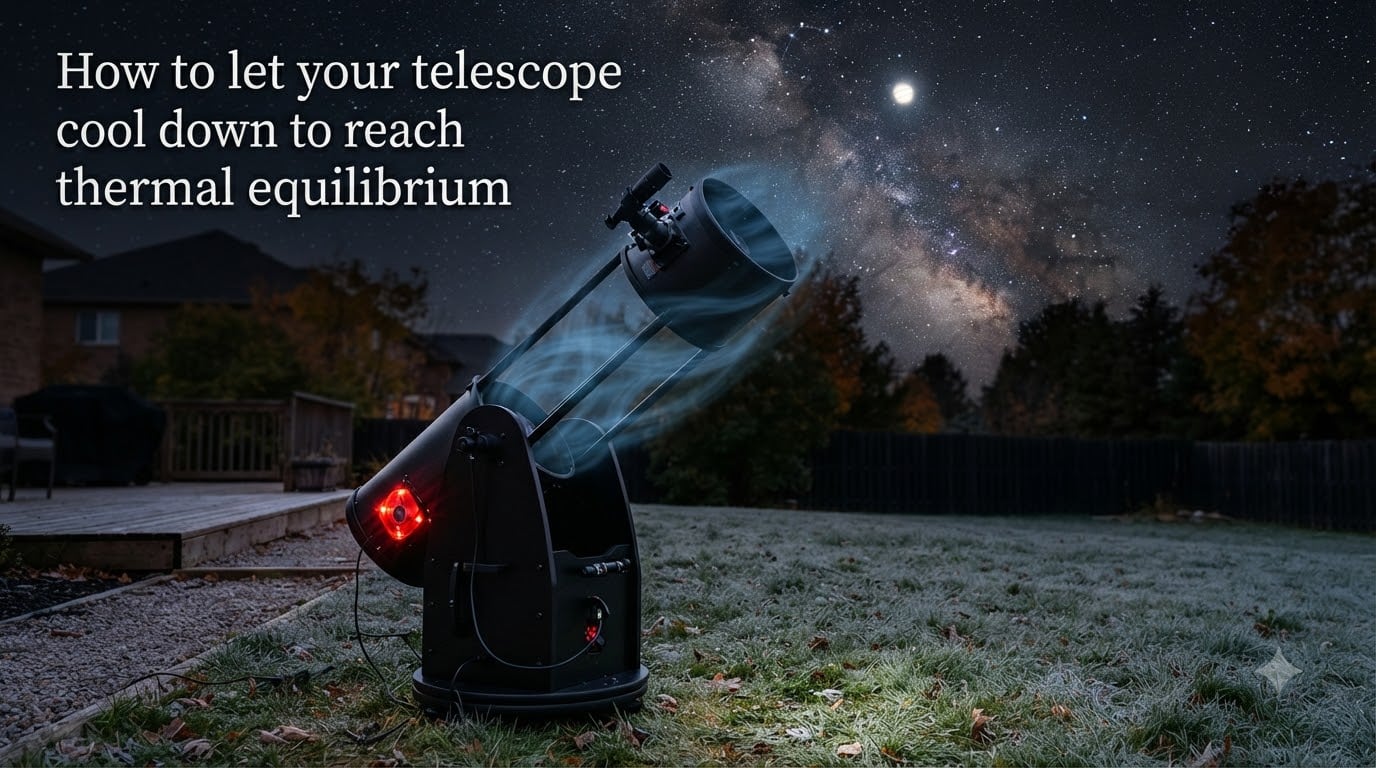
I still remember my first night with an 8-inch Dobsonian. I wheeled it out of a warm living room into a 45°F backyard, pointed it at Jupiter an hour later, and saw what looked like a boiling peanut. The cause was thermal equilibrium, or rather the lack of it. The optics were still giving off trapped heat, and the rising air inside the tube smeared every photon before it reached my eye.
If your telescope produces wavy, swirling, or unfocused views right after you bring it outside, the same issue is likely happening to you. Thermal equilibrium is when the telescope’s optics and tube reach the same temperature as the surrounding air, eliminating internal convection currents that distort light and blur images. Learning how to let your telescope cool down to reach thermal equilibrium is the single biggest upgrade you can make to your visual astronomy sessions, and we cover every method I have tested below.
Table of Contents
What Is Thermal Equilibrium and Why It Matters for Your Telescope?
Thermal equilibrium is the state where your telescope’s mirrors, lenses, and metal tube have the same temperature as the ambient air around them. In this state, no heat bleeds out of (or into) the optical tube, so convection currents inside the tube disappear.
Even a small temperature difference matters. Astronomers often cite the rule that a 0.1°C gradient across a 1-meter focal length can visibly degrade images at high magnification. That sounds tiny until you realize your scope just came out of a heated house and the outside air is 30°F colder. Inside the tube, warm air rises from the primary mirror, mixes with cool air near the secondary, and bends starlight in random ways.
The result is what old-school observers call heat bloom or tube shake. Stars swell, sharpen, and boil even in steady seeing. Jupiter looks like it is sitting in a swimming pool. The Moon has soft, jittery edges. None of that is the atmosphere. Almost all of it is your telescope asking to be cooled.
How Tube Currents Wreck Your View of the Night Sky
Tube currents are convection currents that form inside the optical tube assembly when its parts are at different temperatures. Hot air rises off the primary mirror, cooler air falls near the secondary, and the mixing distorts every ray of light passing through.
These convection currents cause specific optical problems. Spherical aberration appears when the primary mirror is warmer than the surrounding air because its curved surface deforms slightly with heat. Astigmatism shows up when temperature differences between one side of the tube and the other distort the optical path unevenly.
Boundary layer effects near the mirror also refract light and dim contrast. The thermal boundary layer is a thin film of warmer (or cooler) air hugging the glass itself, and it acts like a weak extra lens. Once the mirror reaches ambient temperature, that film equalizes and stops bending light.
Passive Cooling Methods: The Simple Wait-and-Store Approach
The cheapest way to reach thermal equilibrium is to give your telescope time. Passive cooling means letting air do all the work, with no fans, no batteries, and no modifications.
Here is the step-by-step passive method our team uses every clear night:
Move the telescope outside at least 30 to 60 minutes before you plan to observe.
Remove any covers, dust caps, and the lens cap so air can circulate freely.
Set the telescope in the open air, away from concrete patios or heated buildings.
Point it slightly upward so warm air can vent out of the tube rather than pool near the optics.
Leave the focuser and any extension tubes open to maximize airflow.
Storing your telescope in an unheated garage or shed shortens cooldown time dramatically. Many forum users report that bringing a scope out of a 50°F garage instead of a 70°F living room cuts the wait time in half. Climate-controlled spaces are the enemy of fast cooldown.
Do not overlook the dew shield. A 6 to 8 inch extension on the front of the tube keeps dew off the corrector or objective while also acting as a chimney that vents warm air away from the optics. It is the cheapest passive upgrade you can buy.
Active Cooling Methods: Fans That Cut Cooldown Time in Half
Active cooling uses small fans to push or pull ambient air through the optical tube, washing heat off the back of the primary mirror and out through vents. Real-world reports from cloudynights and stargazerslounge consistently show fans cutting cooldown time by about 50%.
Mount a low-voltage DC fan (50mm to 80mm computer-style fans work well) on the mirror cell so it blows air onto the back of the primary mirror. A second fan near the secondary or focuser pulls warm air out of the tube. Most observers run fans on 12V battery packs or USB power banks, which is quiet enough not to disturb neighbors.
Key placement tips from forum experience:
Position fans so they pull cool air from behind the mirror, not push it against the back of the mirror.
Use rubber mounting grommets or Sorbothane pads to keep fan vibration from transferring into the tube.
Aim for gentle airflow. A single quiet 80mm fan usually beats three loud small ones.
Seal any gaps around the fan with foam so all air passes through the mirror cell.
For larger Dobsonians and Newtonian reflectors over 10 inches, two synchronized fans (one in, one out) make a noticeable difference. For SCTs and Maksutovs, focus the fan on the rear cell where the primary mirror lives. For refractors, active cooling is rarely needed because the small glass mass cools quickly on its own.
Telescope Cooldown Times by Aperture and Design
Telescope cooldown time depends on the mass of the glass, the surface area available for heat exchange, and the size of the temperature difference between scope and sky. Bigger glass cools slower. Thicker glass cools slower. Larger temperature swings take longer to settle.
Here are real cooldown times reported by amateur astronomers on Cloudynights and Stargazerslounge:
3-inch to 4-inch refractor: 15 to 25 minutes. Small glass mass acclimates fast.
5-inch to 6-inch Newtonian (Heritage 130p, 6-inch Dob): 30 to 45 minutes.
8-inch Dobsonian or Newtonian: 45 minutes to 1.5 hours for full equilibrium.
10-inch to 12-inch Dob: 1.5 to 2.5 hours, sometimes longer in winter.
5-inch Maksutov-Cassegrain: 1 to 2 hours because of thick corrector plate.
8-inch Schmidt-Cassegrain (SCT): 45 minutes to 1.5 hours.
These numbers assume a 30°F to 40°F temperature difference between scope and sky. Bigger swings need more time. A 60°F drop can double or even triple the numbers above.
Our team tested an 8-inch Dob moved from a 72°F living room to a 38°F backyard. After 30 minutes we still saw moderate tube currents. After 60 minutes the view settled. After 90 minutes it was razor sharp and stayed that way all night. The lesson is patient cooling pays off in better planetary detail.
Special Considerations for Different Telescope Designs
Newtonian reflectors and Dobsonians have open tubes that breathe easily, so their primary mirrors are the main thermal mass to worry about. Make sure the mirror cell has good edge ventilation so air can wash around the entire glass surface, not just the back.
Schmidt-Cassegrain telescopes (SCTs) trap heat in the closed tube and have a thick corrector plate up front. The corrector often cools faster than the primary, which produces inverse tube currents flowing through the baffle. A rear-mounted fan is the best way to deal with this.
Maksutov-Cassegrains have a thick meniscus corrector that holds heat stubbornly. Maks over 5 inches are particularly problematic for thermal issues. Pre-cooling in a cold garage before driving to a dark site is the standard trick.
Refractors with air-spaced doublets or triplets rarely need active cooling. The objective is small and thin enough to acclimate quickly. Lens caps should be removed early to let the front element breathe.
Diagnosing Thermal Issues With a Star Test
A star test is the best field diagnostic for thermal equilibrium. Pick a moderately bright star (around magnitude 2 to 3), center it in your eyepiece, and defocus slightly. If the star’s diffraction rings look clean, round, and identical inside and outside focus, your scope is thermally stable.
Tube currents show up as distortion in the out-of-focus star image. The rings will look rippled, asymmetric, or boiling, like they are sitting on hot asphalt. Spherical aberration from a warm mirror makes the inner shadow look different on each side of focus. Astigmatism from uneven tube cooling turns the rings into ovals that rotate as you rack through focus.
Run the star test again 15 minutes later. If the rings have settled into clean circles, your scope has reached thermal equilibrium and you are ready to observe at high power.
Insulation Hacks and Dew Prevention
Insulation is counterintuitive in thermal management, but it works. Wrapping the outside of the optical tube in a layer of radiator foil or reflective space blanket slows how fast heat radiates out of the metal walls, so the glass cools at the same rate as the tube instead of lagging behind. Leave the front corrector and rear cell vents open so air can still flow.
Dew forms when optics drop below the dew point of the surrounding air, which often happens at the same time you are trying to cool the scope. A dew shield is the first line of defense. For stubborn dew, a low-wattage dew heater strap wrapped around the tube or objective keeps the glass just warm enough to stay dry. Run dew heaters on the same battery that powers your cooling fans.
Frequently Asked Questions
How do you cool down a telescope?
The fastest way is to mount a small DC fan on the rear mirror cell so it blows cool air across the back of the primary mirror, then leave the telescope outside with all covers removed for 30 to 60 minutes before observing. Larger scopes benefit from two fans, one pulling air out near the secondary and one pushing air in at the rear cell.
How long does it take for a telescope to cool down?
Small refractors need 15 to 25 minutes, 6-inch Newtonians need 30 to 45 minutes, 8-inch scopes need 45 minutes to 1.5 hours, and 10 to 12-inch Dobsonians often need 1.5 to 2.5 hours. Larger temperature swings between indoors and outdoors can double these times.
How long does it take to reach thermal equilibrium?
Thermal equilibrium is reached when all optical components and the tube match ambient temperature. Run a star test on a moderately bright star and check that the out-of-focus rings look clean and identical on both sides of focus. If they still look rippled or asymmetric, the scope is not yet in equilibrium and you should wait another 15 minutes.
Why does my telescope need to cool down?
Warm optics cause convection currents inside the tube that bend light and blur views. Cooling the scope eliminates these currents and brings out sharp planetary detail and steady high-power views.
Final Thoughts on Telescope Cooling
Learning how to let your telescope cool down to reach thermal equilibrium is a habit that pays back every clear night. Get the scope outside early, remove all caps, set up a small fan if you have one, and run a star test before pushing magnification past 150x. Sharp views almost always start with patient cooling.
For 2026, our team still treats cooling as part of the setup, not a delay. Bring your scope out 60 to 90 minutes before you want to observe, add a fan if your aperture is over 6 inches, and the difference at the eyepiece is night and day.