
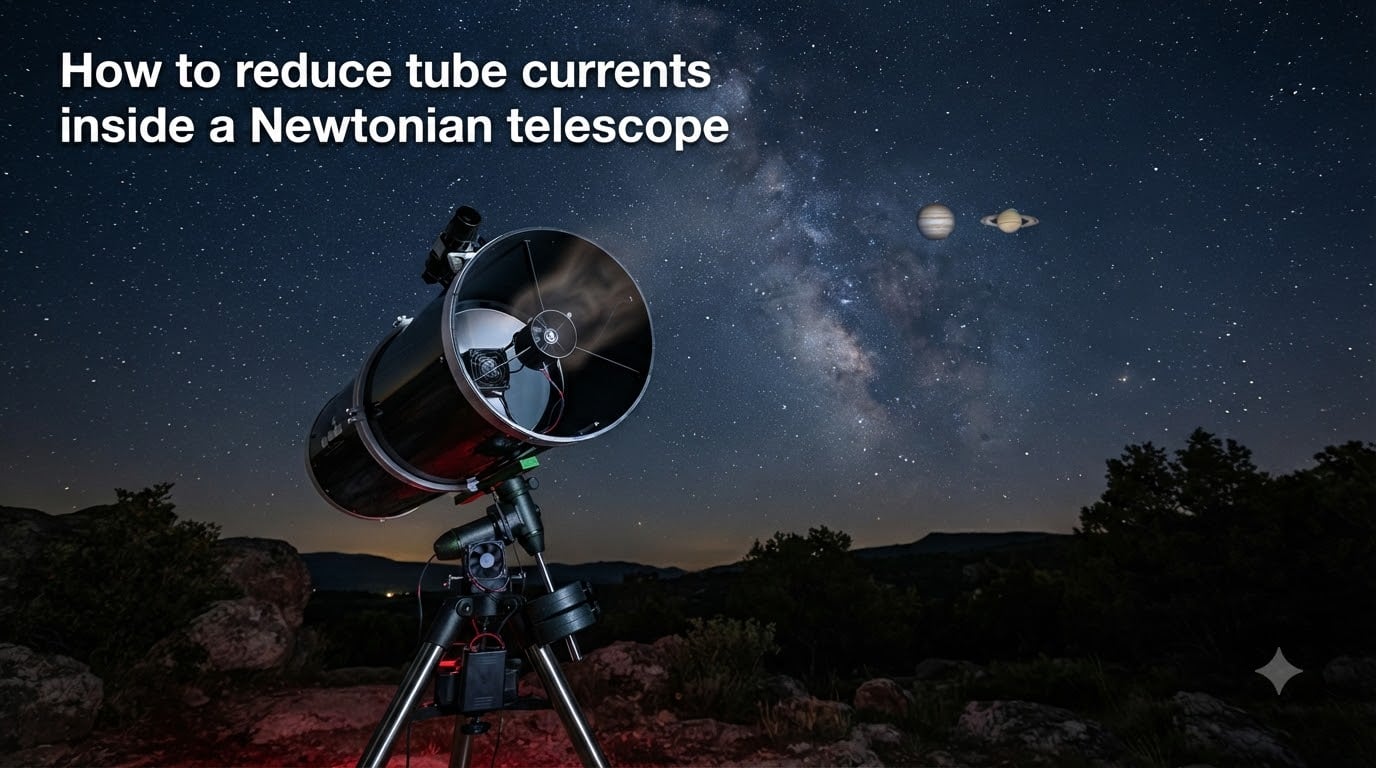
I pulled my 8-inch Newtonian out of a warm garage on a 40°F night last March, and the view of Jupiter looked like I was staring through a swimming pool. The planet rippled, smeared, and refused to snap into focus no matter how hard I collimated. That night taught me what every visual observer eventually learns the hard way: tube currents inside a Newtonian telescope will wreck your images long before bad optics or bad seeing get a chance to.
If you have ever watched the view at high magnification turn into a slow-motion lava lamp, you are seeing thermal turbulence inside your optical tube. The good news is that tube currents are a solvable problem. In this guide I will walk you through exactly how to reduce tube currents inside a Newtonian telescope using five field-tested methods, from installing a cooling fan to insulating the tube and monitoring mirror temperature with a digital thermometer.
Most of what I cover here comes from years of observing with Newtonian reflectors of different sizes, cross-checked against detailed technical write-ups by Gary Seronik and the TelescopicWatch team. By the end you will know what tube currents actually are, why Newtonians suffer from them more than other designs, and which combination of fixes will give you the sharpest possible view at the eyepiece.
Table of Contents
What Are Tube Currents and Why Do They Matter
Tube currents are warm air currents rising inside a telescope tube that create a thermal gradient across the optical path. Because air with different temperatures has a different refractive index, light rays bend unpredictably as they pass through layers of warm and cool air. The result at the eyepiece is a view that looks wavy, rippling, or as if you are peering through running water.
Astronomers often describe this effect as “heat shimmer inside the tube,” and it is one of the most common reasons a perfectly collimated Newtonian gives soft, mushy views at high magnification. The turbulence you see is not the atmosphere. It is your own scope fighting itself as warm air from the primary mirror mixes with cooler ambient air.
The classic way to visualize tube currents is with schlieren photography, a technique that makes temperature differences visible. Bryan Greer published landmark Sky & Telescope photos in 2004 showing exactly this effect. The photos made it obvious: even a small temperature difference between the mirror and the surrounding air can produce a wall of shimmering turbulence directly in front of the eyepiece.
Boundary layer effects make the problem worse. Right at the surface of the primary mirror, a thin layer of warm air clings to the glass. When light grazes this layer on its way up the tube, it gets bent just enough to defocus the image. This is why tube currents cause more damage at high magnification than at low power, and why they are most noticeable during planetary and lunar observing.
Why Newtonian Telescopes Are Particularly Susceptible
Newtonian reflectors have two design features that work against thermal stability. First, the primary mirror sits at the back of an open tube, exposed to whatever temperature the scope was stored at. Second, that same mirror has a huge thermal mass, meaning it takes a long time to change temperature to match the night air.
Graham Reed, writing for the British Astronomical Association in 2022, summarized this neatly: “The primary mirror is the heat source.” The glass absorbs warmth from your house, your car, or even direct sunlight, and then keeps radiating that warmth into the optical path for hours after you bring the scope outside.
Astronomers often call the mirror a “heat battery” for exactly this reason. A 2-inch thick Pyrex mirror in a 12-inch truss Dob can take 90 minutes or more to reach thermal equilibrium on a cold night. A thin, low-expansion mirror in a small reflector cools much faster, but it still produces tube currents during the cooldown period.
Refractors and catadioptric scopes do not suffer as badly because their objective lenses and corrector plates are much smaller in thermal mass and sit at the front of the tube where air can mix freely. In a Newtonian, the warm air has nowhere to go but up through the light path. That is the structural reason tube currents are part of Newtonian life.
How to Tell Tube Currents Apart From Bad Seeing
One of the most common questions on CloudyNights and the r/telescopes subreddit is how to distinguish tube currents from regular atmospheric seeing. The two look superficially similar, but they behave very differently.
If the turbulence is from the atmosphere, defocusing a star will show a steady, fast shimmer that does not change much over many minutes. Atmospheric seeing also tends to improve or worsen on timescales of an hour or more as weather patterns shift. Tube currents, on the other hand, are usually worst right after you take the scope outside and slowly improve as the mirror cools.
The second clue is where the turbulence appears. With tube currents, you will see the wavy distortion get noticeably worse as you increase magnification past about 150x. If you drop back to 50x and the view is steady, but at 250x it looks like an aquarium, the problem is almost certainly thermal. Bad seeing tends to look bad at every magnification.
A third diagnostic trick is to defocus a bright star and watch the diffraction rings. With tube currents, the rings appear to boil and stream in one direction. With seeing, the rings shimmer uniformly in all directions. Once you know what to look for, you can usually tell within ten minutes of observing whether your scope has reached thermal equilibrium or whether you need to wait it out.
Method 1: Install a Cooling Fan Behind the Primary Mirror
The single most effective way to reduce tube currents in a Newtonian telescope is to install a small DC cooling fan behind the primary mirror. The fan pulls cooler outside air across the back of the mirror and flushes warm boundary-layer air out through vents in the mirror cell.
Why fans work so well
Forced air cuts cooldown time roughly in half compared to passive cooling, and it actively disrupts the boundary layer that causes most of the image degradation. Once the mirror is at ambient temperature, leaving the fan running keeps that boundary layer from re-forming because the air right at the glass is constantly being replaced.
This is the same principle used in professional observatory instruments and in catadioptric Schmidt-Cassegrains, where rear-cell fans are standard equipment. A Newtonian does not come with a fan from the factory in most cases, but adding one is a simple afternoon project.
Choosing the right fan size
For Newtonian reflectors, an 80mm (3.15 inch) 12V DC brushless fan is the sweet spot for scopes up to about 10 inches in aperture. Larger scopes from 12 to 16 inches benefit from a 120mm fan, which moves more air without spinning fast enough to introduce vibration. Avoid small 40mm or 50mm fans. They do not move enough air to be useful and they tend to be high-RPM, high-vibration devices.
Pick a fan rated for low noise and high static pressure. Static pressure matters more than airflow rating because the fan has to push air through the gap behind the mirror. Brands like Noctua, Arctic, and Orion’s own fan kits are popular choices in the amateur astronomy community.
Mounting and vibration control
Mount the fan directly behind the mirror, blowing air toward the back of the glass. The standard approach is to attach the fan to the rear of the mirror cell with small screws or industrial adhesive. Wire it to a 12V battery pack or a variable DC power supply so you can adjust speed.
Use Sorbothane vibration dampening pads between the fan housing and the mirror cell. Sorbothane is a viscoelastic polymer that absorbs high-frequency vibration better than rubber. Without it, even a well-balanced brushless fan can send tiny vibrations into the optics and degrade your view. A few small squares cut from a Sorbothane sheet cost a few dollars and make a noticeable difference.
Finally, drill or enlarge two to four ventilation holes in the mirror cell directly behind the fan. These let the warm air escape. Without vents, the fan is just circulating the same warm air in a closed loop, which does almost nothing.
Method 2: Allow Proper Cooldown Time Before Observing
If you do not want to modify your scope, the simplest fix is patience. Just let the telescope reach thermal equilibrium with the night air before you start observing at high magnification.
A common rule of thumb is to allow one minute per inch of mirror aperture as a baseline cooldown time. An 8-inch scope needs roughly 30 to 60 minutes, while a 14-inch truss Dob can take 90 minutes or more. This is just a starting point. Real cooldown time depends on mirror thickness, glass type, and the temperature difference between storage and observing.
Mirror material and thickness
Pyrex and Borosilicate mirrors cool slower than standard soda-lime glass because they have lower thermal expansion, but their higher mass means more stored heat. Low-expansion (LXD or Sitall) mirrors hold their shape better during cooldown but still need the same amount of time to release their stored heat.
Thicker mirrors also take longer. A 2-inch thick primary in a 16-inch Dob is the worst-case scenario for cooldown. Lightweight mirrors with ribbed backs release heat faster because more of their mass is exposed to air, and they are a common feature in premium Newtonian OTAs.
Tips to speed up passive cooldown
Store the scope in a garage, shed, or car that is closer to outdoor temperature. The smaller the temperature delta between storage and observing, the faster the mirror reaches equilibrium. I keep my 10-inch Dob in an unheated observatory and the cooldown time drops from 90 minutes in winter to about 20 minutes in summer.
Set the scope up immediately when you arrive at the observing site. Do not leave it in a hot car while you unload other gear. Open any dust covers right away so air can circulate through the tube.
Method 3: Insulate the Optical Tube Assembly
Insulation sounds counterintuitive. You are trying to cool the scope, not keep it warm. But wrapping the outside of the tube can actually help in some situations by slowing heat loss from the mirror through the tube walls and reducing the thermal gradient between the mirror and the air immediately around it.
This trick works best for solid-tube Newtonians where the tube itself can act as a thermal bridge. Foam pipe insulation from the hardware store, wrapped around the tube exterior, reduces radiative and convective heat loss. The mirror reaches thermal equilibrium more gently, which means less violent air movement inside the tube.
Insulation is most useful for observers in climates where evening temperatures drop quickly, like desert or mountain sites. In those conditions, a bare metal tube can cool the surrounding air faster than the mirror, creating its own set of thermal gradients. Wrapping the tube smooths this out.
Avoid insulation in humid conditions. An insulated tube cools the mirror less efficiently, which can leave the glass warmer than the dew point and cause condensation. If you insulate, pair it with a dew heater on the secondary mirror and a tube of desiccant in the lower OTA.
Method 4: Improve Mirror Cell Ventilation
Even without a fan, you can reduce tube currents by improving the airflow around the primary mirror. Most commercial mirror cells ship with two to four small vent holes behind the mirror, but those holes are often too small to allow meaningful convection.
Drilling additional ventilation holes in the mirror cell, spaced evenly around the perimeter, allows warm air to escape and cooler air to enter from below. This passive chimney effect can cut cooldown time by 20 to 30 percent in solid-tube Newtonians.
Cover the inside of the vent holes with fine mesh or acoustic foam to keep dust and insects out of the tube. The mesh does not significantly restrict airflow but it does keep the optical path clean. Many ATM (amateur telescope maker) forums have detailed plans for retrofitting commercial cells with better venting.
If you do add a cooling fan (Method 1), the vent holes become mandatory. Without them, the fan has nowhere to push the warm air and you get no benefit at all. The combination of a fan plus enlarged vent holes is the gold standard for Newtonian thermal management.
Method 5: Monitor Mirror Temperature With a Thermometer
You cannot manage what you cannot measure. The simplest way to know whether your scope has reached thermal equilibrium is to attach a digital thermometer probe to the back of the primary mirror.
A $15 digital thermometer with an external probe is all you need. Stick the probe tip to the back of the mirror with a small piece of aluminum tape. Run the wire out of the mirror cell and tape the display to the outside of the tube. Now you can read the mirror temperature at any time during the night without taking the scope apart.
When the displayed temperature matches (or is within 1°C of) the ambient air temperature, you are at thermal equilibrium. This is when tube currents will be at their minimum. I usually start with low-power wide-field viewing during cooldown and switch to high magnification only once the thermometer reading stabilizes.
This technique is especially valuable for planetary observers, where minutes of high-magnification time matter. Knowing exactly when the mirror is ready means you do not waste a clear sky hour watching a wavy Jupiter.
Special Considerations for Dobsonians and Truss Tubes
Truss-tube Dobsonians have an advantage over solid tubes when it comes to thermal management. The open truss design lets air circulate freely around the primary mirror, which speeds up passive cooldown. You can often start observing a 12-inch truss Dob at high magnification after just 30 minutes, where a 12-inch solid tube would still be churning out tube currents.
Solid-tube Dobsonians and Newtonian OTAs benefit the most from a rear cooling fan. If you own a solid-tube scope and you only do one modification from this guide, install the fan. It is the single biggest upgrade you can make to image stability.
For very large apertures (16 inches and up), consider a multi-fan setup with two or three 120mm fans working in parallel. Some amateur astronomers also use a small blower fan mounted on the secondary spider to keep the upper tube air moving. Both approaches help with the boundary layer problem at the secondary mirror.
Choosing the Right Thermal Management Approach
Different observing styles call for different combinations of these five methods. Here is how I think about it for my own gear.
For high-magnification planetary and lunar viewing, the priority is getting the mirror to thermal equilibrium fast. A rear cooling fan plus a mirror thermometer is the minimum kit. Add passive cooldown time if the temperature delta between storage and outside is more than 20°F.
For deep-sky observation at lower magnifications, tube currents are less critical because you are using exit pupils of 4 to 6 mm and atmospheric seeing usually dominates any thermal artifacts. A basic fan setup is helpful but not essential. Focus your budget on a good eyepiece instead.
For astrophotography with a Newtonian, thermal stability is non-negotiable. Long-exposure planetary imaging stacks will average out most seeing, but they cannot average out sustained tube currents. Use a fan plus a primary mirror heater set to within 0.5°C of ambient. Some imagers also wrap the tube in insulation to smooth out the gradient.
The good news is that even a modest setup (one fan, one thermometer, and 30 to 60 minutes of cooldown) will solve 80 percent of the tube current problem for most observers. You do not need every method listed here. Pick the ones that match your scope, your climate, and your observing style.
Frequently Asked Questions
What are tube currents?
Tube currents are warm air currents inside a telescope tube that create a thermal gradient across the optical path. Because air of different temperatures has a different refractive index, light rays bend unpredictably as they pass through layers of warm and cool air, producing wavy or rippling views at the eyepiece.
How do I stop dew on a telescope?
Use a dew heater strap or controller on the optics that are prone to condensation, especially the secondary mirror and any exposed corrector plates. Pair the heater with a tube of desiccant inside the lower OTA and consider a dew shield extending beyond the front of the tube to block stray radiant cooling.
How do I adjust a Newtonian telescope?
Adjusting a Newtonian involves collimation, which is the alignment of the primary and secondary mirrors. Use a collimating tool like a laser collimator or Cheshire eyepiece to center the primary mirror’s reflection under the secondary. Check collimation every time you set up and fine-tune it after the scope has reached thermal equilibrium.
What are the disadvantages of a Newtonian telescope?
Newtonian reflectors need regular collimation, are open to dust on the optics, and suffer from tube currents because the primary mirror acts as a heat source in an open tube. They also tend to be bulky for their aperture compared to catadioptric designs and can develop coma at the edge of the field without a corrector.
How long does a Newtonian telescope take to cool down?
A typical Newtonian needs roughly one minute per inch of aperture as a baseline cooldown time. An 8-inch scope takes 30 to 60 minutes, while a 14-inch truss Dob can need 90 minutes or more. A rear cooling fan can cut this time in half, and storing the scope in a cooler location before observing reduces the time further.
Do tube currents affect the focused image?
Yes, tube currents do affect the focused image, and they get noticeably worse as magnification increases above about 150x. The boundary layer of warm air right at the mirror surface bends light just enough to defocus the final image, which is why tube currents are most damaging during high-magnification planetary and lunar observing.
Final Thoughts on Managing Tube Currents in Your Newtonian
Tube currents are the single most common reason a Newtonian reflector underperforms at high magnification, and they are completely fixable with the right combination of equipment and patience. Start with the cheapest intervention: give your scope 30 to 60 minutes of cooldown time and monitor the mirror temperature with a $15 thermometer. If that does not deliver the views you want, install an 80mm or 120mm DC fan behind the primary mirror with Sorbothane vibration dampening, and add a few ventilation holes to the mirror cell.
I run a fan plus a thermometer on every Newtonian I observe with, and I have watched Jupiter go from a wavy mess to a sharply defined disk with bands visible in under 30 minutes. Once you solve tube currents in your own scope, you will never go back to observing without that setup again. Clear skies.