
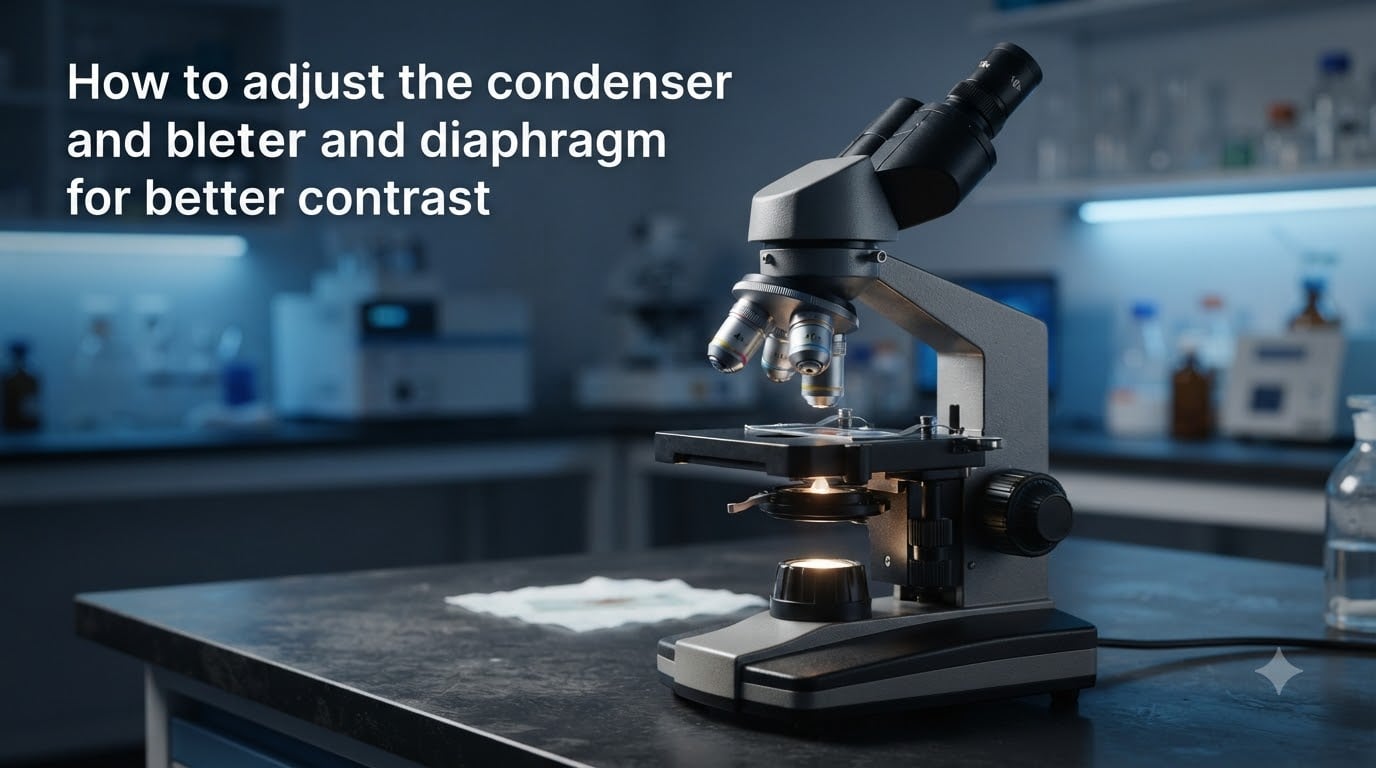
I remember the first time I sat down at a research microscope and realized the image looked washed out — no matter how I twisted the light intensity, nothing snapped into focus. The fix was hiding in plain sight under the stage: the condenser and its diaphragm. This guide shows you how to adjust the condenser diaphragm for better contrast, the same workflow I teach every new student on our team.
Below you’ll find a complete walkthrough — what these parts actually do, how to set them up step by step, how to center the condenser, and the most common mistakes beginners make. The whole routine takes about 5 minutes once you know what to look for.
Table of Contents
What Is the Condenser and Diaphragm on a Microscope?
The condenser is the lens system beneath the stage that focuses light onto your specimen, and the diaphragm is an adjustable iris inside it that controls how wide that light cone opens. Most compound microscopes actually have two diaphragms — a field diaphragm in the illuminator housing and an aperture diaphragm inside the condenser.
The field diaphragm controls how much of the field of view gets illuminated. It should be opened just enough to fill the circular field you see through the eyepieces — no more.
The aperture diaphragm (often called the iris diaphragm) controls the angle of the light cone hitting the specimen. This is the one you adjust to balance contrast and resolution. Closing it down to roughly 70–80 percent of the objective’s numerical aperture is the standard starting point for brightfield work.
How the Diaphragm Affects Contrast
Closing the condenser diaphragm increases specimen contrast by blocking the high-angle stray light that washes out fine details. When you stop down the iris, the illumination cone becomes narrower, so more of the light reaching your eyes interacts with stained or opaque structures in the sample.
There is a trade-off, though — and this is the “aperture paradox” our microscopy mentors always emphasize. Close the diaphragm too far and you will see beautiful contrast but lose resolution because the light cone becomes so narrow that diffraction artifacts take over. Open it too wide and glare floods the image, drowning subtle contrast in bright background haze.
Think of it like the aperture on a camera lens. Stop down for sharpness on flat subjects; open up for low-light depth. Your microscope works the same way, except the “subject” is your specimen and the “lens” is the condenser iris.
How to Adjust the Condenser and Diaphragm for Better Contrast
To adjust the condenser and diaphragm for better contrast, follow this Kohler illumination procedure — start with the field diaphragm, focus and center the condenser, then stop down the aperture diaphragm to about 70–80 percent of your objective’s NA. The whole sequence takes under five minutes once practiced.
Before you start, place a stained smear or any high-contrast slide on the stage and bring it into focus with the lowest magnification objective (4x or 10x). All steps below assume a transmitted-light brightfield microscope.
Step 1 — Focus the field diaphragm. Close the field diaphragm almost fully (the lever or collar is usually on the illuminator housing near the base). You should see a sharp-edged polygon of light appear in the field of view. Use the condenser focus knob — the large knob under the stage that moves the condenser up and down — until the edges of that polygon are crisp, not blurry.
Step 2 — Center the condenser. With the field diaphragm still closed, the bright polygon will likely sit off-center. Use the two small condenser centering screws (usually brass knobs on either side of the condenser) to nudge it into the middle of the field of view. Reopen the field diaphragm until the lit area just fills the eyepiece field.
Step 3 — Adjust the aperture diaphragm. Now move to the aperture diaphragm lever — usually a small ring or tab on the condenser itself. Looking at the back of the objective (or removing an eyepiece and looking down the tube), close the diaphragm iris until it fills about 70–80 percent of the objective’s back aperture.
Step 4 — Match NA to your objective. When you switch objectives, repeat step 3. Higher magnification objectives have higher numerical apertures and need a wider condenser aperture to feed them properly. A 100x oil objective, for example, expects a much wider opening than a 10x.
Step 5 — Fine-tune for your specimen. Once you have a clean Kohler setup, fine-tune the aperture diaphragm by eye. Slowly close it while watching the specimen — stop the moment contrast improves but fine detail stays sharp. Going one click further usually introduces diffraction fringes.
How to Center the Condenser
To center the condenser, close the field diaphragm until you see its image in the eyepiece, then use the two centering screws to move that image into the middle of the field of view. A misaligned condenser is the number one cause of uneven illumination and is something our team checks on every microscope before imaging sessions.
Most modern research condensers have a swing-out top lens. Flip this lens out of the optical path when using 4x or 10x objectives — it is only needed for 40x and above. If the field diaphragm image disappears or blurs when you flip it, the lens was already in the wrong position for that objective.
On student microscopes the centering screws may be capped or hidden under a plastic ring. Gently rotate the ring or look for two small metal screws near the condenser mount. Older microscopes sometimes require loosening a locking collar first.
Common Mistakes When Adjusting the Condenser Diaphragm
The most common mistake is closing the diaphragm all the way down because the image “looks more contrasty.” This actually destroys resolution and introduces diffraction artifacts that look like halos around structures. Stop the moment the specimen is well defined and no further.
A second frequent error is forgetting to readjust the aperture when switching between objectives. Each objective has its own NA, and the diaphragm setting that looked perfect at 10x will be either too closed or too open at 40x. Get into the habit of repeating the centering and NA-matching steps every time you click in a new objective.
Beginners also confuse the field diaphragm with the aperture diaphragm. The field diaphragm sits in the illuminator housing and should be opened to match the field of view. The aperture diaphragm sits inside the condenser and controls contrast. Adjusting the wrong one will leave your image either dark in the corners or washed out in the center.
Finally, leaving the condenser set too high or too low is a subtle but common error. If you cannot get the field diaphragm edges to snap into sharp focus, the condenser height is wrong. The Kohler setup only works when the condenser is racked to its proper focal position for the current objective.
Recommended Aperture Settings by Objective Magnification
As a rule of thumb, set the aperture diaphragm to 70–80 percent of the objective’s numerical aperture — this gives the best balance of contrast and resolution for most brightfield specimens. Below is a practical reference I keep taped to my lab bench.
At 4x (NA ≈ 0.10), close the diaphragm to roughly 70–80 percent of the back aperture. The swing-out lens should be flipped out. Image contrast will look strong because the NA is already low.
At 10x (NA ≈ 0.25), keep the same 70–80 percent rule. The swing-out lens stays out. Expect noticeably brighter illumination than at 4x.
At 40x (NA ≈ 0.65), flip the swing-out lens back into the optical path and reopen the aperture diaphragm to feed the larger objective. The 70–80 percent rule still applies.
At 100x oil (NA ≈ 1.25), the diaphragm needs to be opened significantly wider, often near its maximum, just to fill the back aperture. Without immersion oil between the slide and the condenser, you will never reach proper NA — always oil both contacts.
Frequently Asked Questions
How do you increase or decrease contrast using the diaphragm of the condenser?
Close the aperture diaphragm slightly to increase contrast and block stray high-angle light; open it to decrease contrast and brighten the image. Stop closing as soon as the specimen looks well defined — going further introduces diffraction and loses resolution.
Does adjusting the aperture of the diaphragm improve contrast?
Yes. The aperture diaphragm is the primary control for specimen contrast in brightfield microscopy. Closing it increases contrast by limiting the illumination cone, though excessive closure reduces resolution.
Does contrast increase or decrease as the diaphragm is closed?
Contrast increases as the diaphragm is closed, up to a point. Close it too far and you lose fine detail to diffraction, so the practical optimum is around 70 to 80 percent of the objective’s numerical aperture.
Which way do you need to turn the condenser to increase contrast?
To increase contrast, raise or lower the condenser focus knob to its proper focal height, then close the aperture diaphragm lever toward the smaller opening. Direction depends on the microscope model, but smaller aperture means more contrast.
Final Thoughts on Adjusting the Condenser and Diaphragm for Better Contrast
Learning to adjust the condenser and diaphragm for better contrast is one of those skills that pays you back every single time you sit down at a microscope. Start with a proper Kohler setup, match the aperture to about 70–80 percent of your objective’s NA, and trust your eyes to fine-tune from there.
Our team runs this exact routine before every imaging session, and it has saved countless hours of staring at washed-out fields. Practice it on a familiar slide a few times and the muscle memory will click — your images will look sharper, more contrasty, and far more publication-ready.