
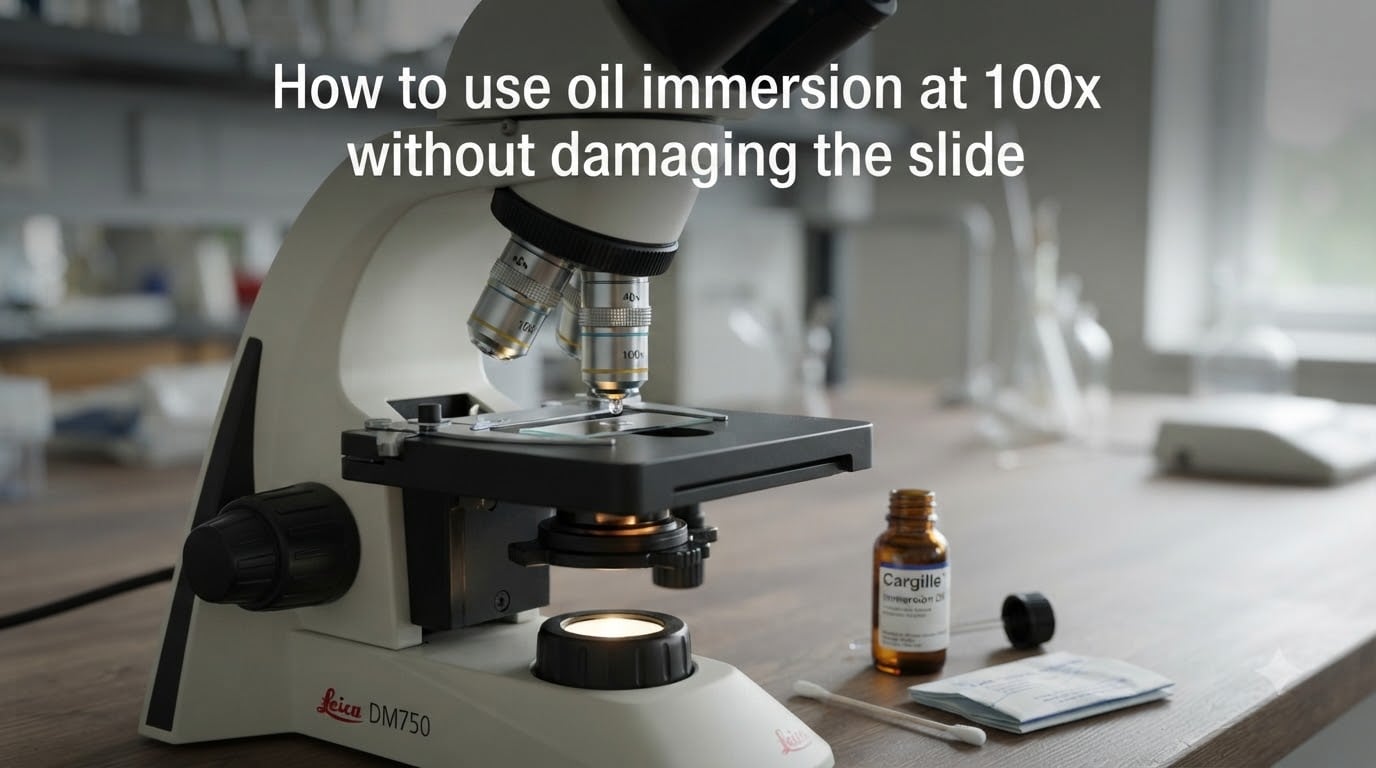
When I first tried oil immersion at 100x in my microbiology lab, I cracked two coverslips before realizing the technique has nothing to do with rushing and everything to do with patience.
Oil immersion at 100x is the only way to get true 1000x total magnification with sharp, detailed resolution. The oil bridges a tiny air gap between your coverslip and the objective lens, and light bends less through oil than through air. The result is the kind of crisp image that lets you see bacteria, blood cell morphology, and fine cellular structures.
This guide walks you through exactly how to use oil immersion at 100x without damaging the slide, based on what I have learned from teaching microscopy courses and from the mistakes I made early on. You will learn the optical principles, the step-by-step application process, how to identify oil-compatible objectives, and how to clean up afterward without scratching expensive optics.
Table of Contents
What Is Oil Immersion and Why Does the 100x Objective Need It?
Oil immersion is a microscopy technique that places a drop of specially formulated optical oil between your coverslip and the 100x objective lens. This single drop of oil eliminates the air gap that otherwise scatters light and reduces image quality.
Here is the optical reason this matters. Light bends when it moves between materials of different densities. The technical term for this bending is the refractive index. Glass has a refractive index around 1.515, and air has a refractive index of 1.0. When light leaves your glass coverslip and crosses through air to reach your objective lens, it bends sharply and scatters.
Immersion oil is formulated to have a refractive index of 1.515, which exactly matches glass. When oil fills the space between your coverslip and the objective, light passes through without bending. The objective can then capture its full numerical aperture, and you get the maximum resolution the lens can deliver.
The 100x objective has a very short working distance, often less than 0.2 mm. At this proximity, even a thin layer of air causes severe image degradation. A 40x objective works fine without oil because it has a longer working distance and lower numerical aperture. The 100x oil objective is different by design, and it demands immersion oil to function properly.
How to Identify an Oil-Compatible 100x Objective
Not every 100x objective uses oil. Confusing the two is one of the most common mistakes I see in beginner labs, and it leads to either poor images or, worse, oil contamination on dry objectives.
Look at the engraving on the side of your objective lens. Oil-compatible objectives are typically labeled with one of these terms: “Oil,” “Oel,” “HI,” “Oil Iris,” or simply the Greek letter “OIL.” Dry 100x objectives may be labeled “dry” or have no oil indicator. Many manufacturers also print a colored ring near the top of the objective. Black or red rings often indicate oil immersion, though color coding varies by manufacturer.
Another way to check is the numerical aperture (NA) value printed on the lens. Oil immersion 100x objectives typically have an NA of 1.25 to 1.40. Dry 100x objectives have a much lower NA, around 0.7 to 0.95. If the NA is above 1.0, the objective almost certainly requires immersion oil.
If you are unsure, contact the manufacturer with the objective’s serial number, or check the manual that came with your microscope. Applying oil to a dry objective creates a mess but does not usually cause permanent damage. Using oil immersion without oil just produces a blurry image.
Step-by-Step: How to Use Oil Immersion at 100x Without Damaging the Slide
Follow these steps in order. I recommend practicing on a prepared slide of cheek cells or onion epidermis before moving to clinical specimens. Each step protects your slide and your optics.
Step 1: Start at low magnification.
Place your slide on the stage and locate your specimen using the 4x or 10x objective first. Bring the image into sharp focus using the coarse focus knob. Then switch to the 40x objective and refocus using only the fine focus knob. Your specimen should be centered in the field of view before you proceed.
Step 2: Verify your slide is properly prepared.
Your slide must have a coverslip. Standard coverslips are 0.17 mm thick, which matches the correction collar on most 100x oil objectives. If your coverslip is the wrong thickness, adjust the correction collar on the objective (usually a small rotating ring) before applying oil.
Step 3: Apply a single small drop of immersion oil.
This is where most slide damage happens, so go slowly. Place one small drop of oil directly onto the coverslip, right above the area you are viewing. The drop should be about 2 to 3 mm in diameter, no larger. More oil does not improve the image and increases the risk of oil seeping under the coverslip and lifting it off the slide.
Step 4: Apply oil to the 100x objective lens.
Place a second small drop directly onto the front lens of the 100x oil objective. This step is sometimes skipped, but it creates a continuous oil bridge and produces a noticeably brighter, sharper image.
Step 5: Rotate the 100x objective into position.
Slowly rotate the revolving nosepiece until the 100x oil objective clicks into place. Watch carefully from the side as the lens approaches the slide. The lens should not touch the coverslip. If you see the objective descending into the oil without making contact, you are at the correct distance.
Step 6: Focus using only the fine focus knob.
Never use coarse focus at 100x. The working distance is so small that coarse focus can drive the objective straight through the coverslip and into the slide. Use the fine focus knob slowly until your specimen comes into sharp view.
Step 7: Examine and document your findings.
Once focused, take your time. Bacteria and cellular structures at 1000x magnification reveal details you have not seen before. Adjust the iris diaphragm and condenser height for optimal contrast if needed.
Step 8: Switch back to lower magnification first.
When you finish viewing, rotate back to the 40x objective before lifting the slide. Never lift a slide with the 100x oil objective still engaged. The oil will transfer onto the 40x objective and contaminate it.
How to Prevent Slide and Coverslip Damage
Slide damage is the single biggest risk during oil immersion, and almost all of it is preventable. I have broken more coverslips than I care to admit, and each one taught me a specific lesson.
The first rule is to never force the focus. If the image will not come into focus after turning the fine focus knob through its full range, you are too far from the specimen. Stop, raise the objective slightly, and try again. Forcing the knob downward is what cracks coverslips.
The second rule is coverslip thickness. Most oil immersion objectives are calibrated for 0.17 mm coverslips. Using thicker or thinner coverslips requires a correction collar adjustment. If your objective has no correction collar, you must use the correct coverslip thickness or accept degraded images.
The third rule is to keep the slide stage locked when not focusing. Accidentally bumping the stage while looking away is a surprisingly common cause of damage. Engage the stage lock or simply move your hand away from the focus knobs between adjustments.
The fourth rule is to clean oil spills on the slide immediately. If oil seeps under the coverslip, it can dissolve the mounting medium and cause the coverslip to slide off. Wipe excess oil from the edges of the coverslip with lens paper before switching objectives.
The fifth rule is to never move the slide laterally while the 100x oil objective is engaged. The objective lens is so close to the coverslip that any sideways movement can drag the lens across the glass surface, scratching both. Always rotate to a lower magnification objective before repositioning the slide.
Choosing the Right Immersion Oil for Your Application
Not all immersion oil is the same. The type you choose affects image quality, cleanup difficulty, and compatibility with specialized techniques like fluorescence microscopy.
Type A oil is the most common general-purpose immersion oil. It has a viscosity similar to light corn syrup, a refractive index of 1.515, and works well for brightfield microscopy at room temperature. This is the oil most labs keep on hand for routine work.
Type B oil is thicker and has a slightly higher viscosity. It stays in place longer, which helps during long observation sessions. Type B is also slightly more resistant to flowing under the coverslip, which reduces the risk of slide damage. However, it is harder to clean off lenses.
Low-viscosity oil flows more easily and is often preferred for high-resolution work where the objective needs to come very close to the specimen. It cleans up faster than Type B but may run more freely on the slide.
Fluorescence-grade oil is specifically formulated to have minimal autofluorescence. Standard oils can glow under fluorescence illumination, which adds background noise and reduces contrast. If you do fluorescence microscopy, pay the extra cost for low-autofluorescence oil.
Synthetic oils are now the standard in most labs because they do not yellow over time the way natural cedar wood oil once did. Stick with synthetic unless your lab protocol specifically requires otherwise.
Cleaning Your Microscope After Oil Immersion Use
Cleaning immediately after every oil immersion session is non-negotiable. Dried oil is significantly harder to remove and can permanently damage lens coatings.
Start with the objective lens. Fold a piece of clean lens paper into a point, apply one drop of lens cleaning solution (or a small amount of microscope-specific cleaner), and gently wipe the front lens in a single direction. Do not rub in circles and do not use the same tissue twice. Repeat with fresh lens paper until the lens is completely clean.
Never use xylene, acetone, or household cleaners on your microscope optics. These solvents strip the anti-reflective coatings on modern objectives and cause irreversible damage. Stick to solutions specifically labeled for microscope lens cleaning.
Clean your slide and coverslip the same way, using lens paper and cleaner. If oil has seeped under the coverslip, you may need to remount the specimen. Check your slide under low magnification before storing it.
Wipe down the stage and condenser with a slightly damp lint-free cloth. Oil on the stage can transfer to future slides and create a mess. Pay special attention to the area around the condenser lens, where oil droplets often collect unnoticed.
Recap the immersion oil bottle immediately after use. Oil left open absorbs dust and debris, which then scratches your lens the next time you apply it. Store the bottle in a cool, dark place.
Common Mistakes and Troubleshooting Focus Issues
Even experienced microscopists run into problems with oil immersion. Here are the issues I see most often in teaching labs and how to solve them.
The image is blurry even with oil applied.
Check three things first: coverslip thickness, correction collar setting, and oil quantity. If all three are correct, the oil itself may be contaminated or expired. Old oil can change viscosity and refractive index. Replace the oil and try again.
I cannot find focus when switching from 40x to 100x.
This is by far the most common question in microscopy forums. The cause is almost always that you are looking through the wrong focal plane. Start by raising the 100x objective well above the slide, then slowly lower it while watching from the side. Apply oil as the objective approaches the coverslip, then use only fine focus to find the specimen.
Oil got on my 40x objective. What do I do?
Clean it immediately using the same lens cleaning method described above. Oil on a dry objective causes foggy images and can damage the lens coating over time. If you cannot get the image clarity back after cleaning, the lens may need professional servicing.
More oil gives a clearer image, right?
Wrong. One small drop is enough. Excess oil seeps under the coverslip, contaminates dry objectives, and makes cleanup harder. If your image is dim, the issue is usually the condenser or diaphragm, not oil quantity.
I see a haze or fog over the field of view.
This usually means oil has dried on the objective or condenser lens. Clean both with lens paper and proper cleaning solution. If the haze persists, check the eyepieces for oil transfer from your eyebrows or fingers.
Frequently Asked Questions About Oil Immersion at 100x
How much immersion oil should you add to the glass slide when using the 100X oil immersion lens?
Use one small drop, about 2 to 3 mm in diameter, on top of the coverslip. Adding more oil does not improve image clarity and increases the risk of oil seeping under the coverslip and damaging your slide preparation.
How do you use immersion oil with a 100X objective lens?
First focus the specimen at lower magnification, then place one drop of oil on the coverslip and another on the 100x objective lens. Slowly rotate the 100x objective into position and focus using only the fine focus knob. Never use coarse focus at 100x.
Why does 100X need immersion oil?
The 100x oil objective has a numerical aperture above 1.0 and a very short working distance. Immersion oil matches the refractive index of glass (1.515), eliminating the air gap that would otherwise scatter light and reduce resolution at high magnification.
Does oil immersion damage the lens?
Immersion oil does not damage a properly designed oil objective. However, using the wrong cleaner (such as xylene or acetone) or letting oil dry on the lens can strip coatings and cause permanent damage. Clean the lens promptly after every session.
What can I see with a 100x oil immersion microscope?
At 1000x total magnification with oil immersion, you can clearly see bacteria, blood cell morphology, mitochondria, chloroplasts in some preparations, and other fine cellular structures that are not visible at lower magnifications.
Can I use immersion oil with any 100x objective?
No. Only objectives specifically designed for oil immersion should be used with immersion oil. Check the engraving on the objective for the word Oil, Oel, or OIL. Dry 100x objectives have lower numerical apertures and will produce poor images with oil.
Final Thoughts on Safe Oil Immersion at 100x
Oil immersion at 100x is one of the most rewarding techniques in light microscopy. Once you master the application process, the cleaning routine, and the focus discipline, your slides stay intact and your images stay sharp.
Remember the core principles: one small drop of oil on the coverslip and one on the objective, slow rotation of the nosepiece, fine focus only, immediate cleaning with proper lens solution, and never letting oil dry on your optics. These habits protect your slide, your coverslip, and your 100x oil objective from the kind of damage that ends lab careers and budgets alike.
Practice on a prepared slide this week. The technique becomes second nature after three or four sessions, and you will wonder how you ever managed at 1000x without it.