
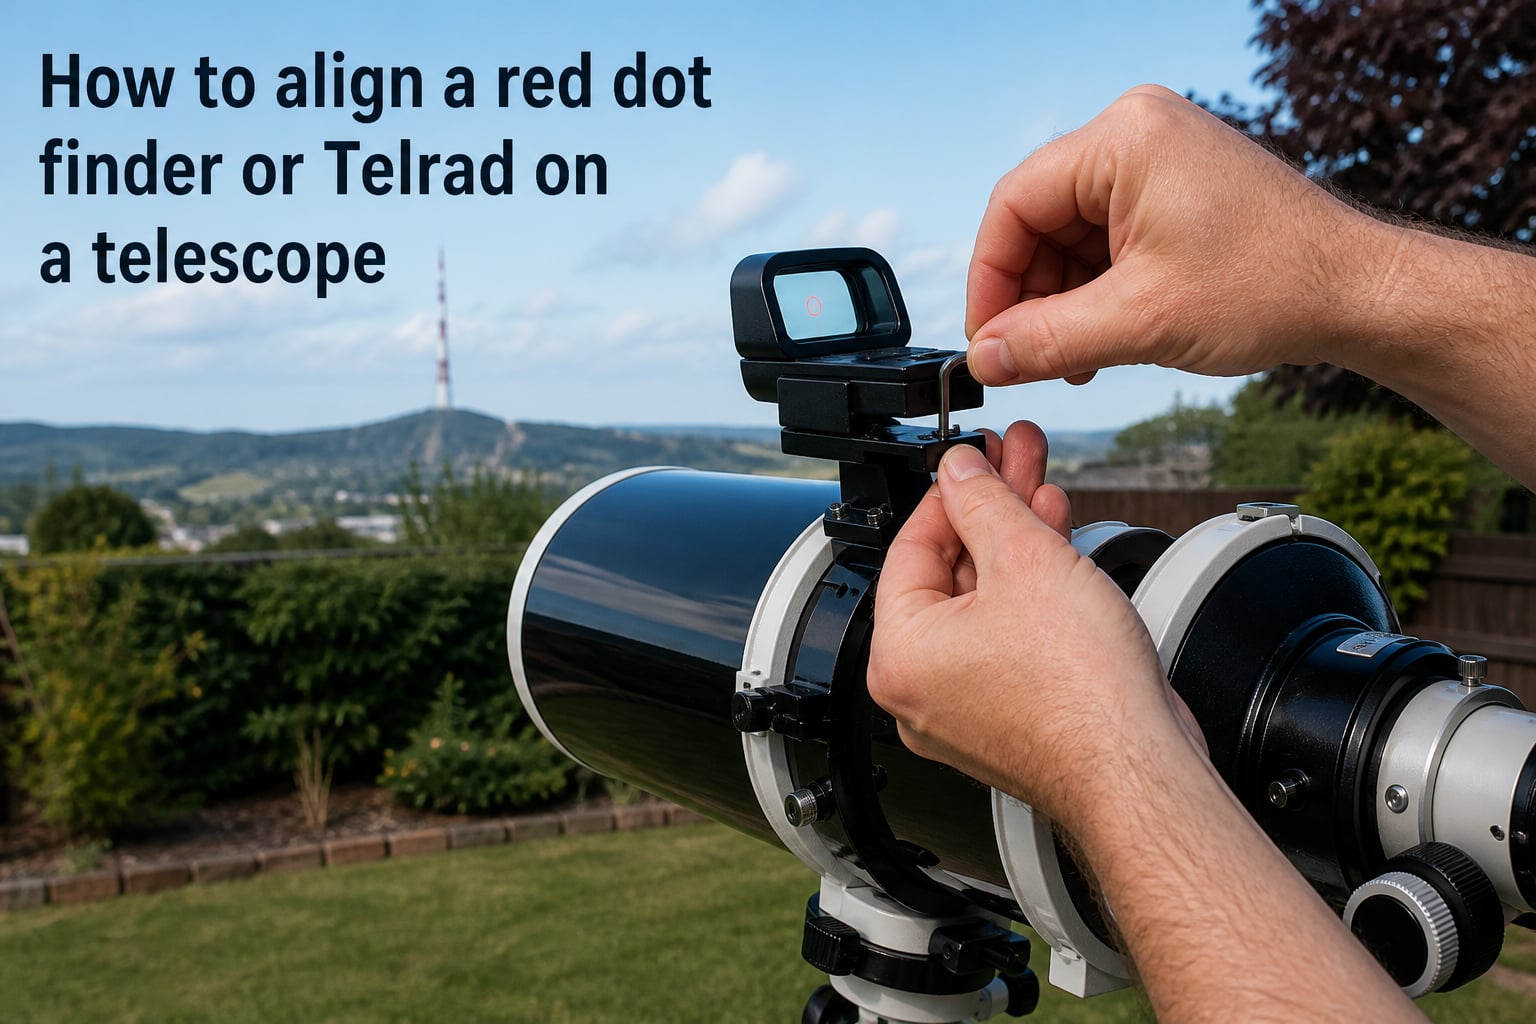
When I first unboxed my Dobsonian, I aimed the scope at the Moon, peeked through the eyepiece, and saw nothing but black. The Moon was literally three degrees from where my red dot was pointing. That night was the moment I learned how to align a red dot finder or Telrad on a telescope the right way, and it changed my observing forever. In this guide, I walk you through the same process I now use every session, with the math, the targets, and the night-time polish that turns a frustrating hunt into a one-second acquisition.
Table of Contents
What Is a Red Dot Finder or Telrad on a Telescope?
A red dot finder and a Telrad are both non-magnifying reflex sights that project an aiming reticle onto a clear glass window. You look through the window with one eye open, line up the dot or bullseye on your target, and the telescope ends up pointing at the same spot. They are far easier to use than a traditional magnifying finderscope, especially when you are learning to point a telescope at deep-sky objects.
The red dot finder shows a single illuminated dot — usually with adjustable brightness. The Telrad shows three concentric red circles (often called a “bullseye”) that look like a target painted on the sky. Both work on the same principle: a tilted beamsplitter window reflects an LED-driven reticle toward your eye while letting the sky pass through. Both attach to your telescope tube with a small mounting bracket and have two adjustment screws to dial the reticle into alignment.
Why Proper Alignment Matters for Your Telescope?
Alignment is the bridge between your eyepiece view and the sky. When the red dot and the eyepiece point at the same patch of sky, finding Jupiter takes one second. When they are off, you can spend ten minutes star-hopping to nowhere. A finder that is even a degree off will miss a full Moon-width of sky, and the higher your magnification, the worse the feeling when you think you have found something and instead see empty star field.
Beginners lose hours of observing time to a misaligned finder. It is the single most common reason new astronomers quit too early. Get this right, and you unlock everything else your telescope can do.
Red Dot Finder vs Telrad: Key Differences
Both finders do the same job, but they suit different hands. Here is a quick comparison based on my own use of both on the same 8-inch Dobsonian.
Red dot finder: small, lightweight, runs on a coin-cell battery, and has a single dot reticle. It is fast to aim and almost invisible in the dark sky. The dot can be hard to place precisely on a small target like a planet.
Telrad: larger, uses two AA batteries, and shows three concentric red rings (about 0.5°, 2°, and 4° across the sky). The bullseye is easier to center on a star, and the rings double as a star-hopping ruler. It is bulkier and slightly heavier.
I keep both mounted: the Telrad for star-hopping along the Milky Way and the red dot for quick hops to bright planets. Many amateur astronomers do the same, and the combination is well documented in the Cloudynights forum community.
Choosing the Right Alignment Target
The single best target for daytime alignment is the most distant stationary object you can clearly see. A radio tower on a distant hill, a chimney on the horizon, or a tall telephone pole 200 or more feet away all work well. The reason distance matters is angular precision. If your finder is off by 1/8 inch at the eyepiece, that error grows with distance. At 200 feet, the same angular error covers a much smaller slice of sky than at 50 feet.
Use this quick rule: aim for a target at least 200 feet away for a daytime alignment accurate to about 0.1 degree. That is the consensus figure shared by experienced observers on Stargazers Lounge and Cloudynights. A streetlight down the block is fine. A bird feeder in the yard is not — your finder will drift the moment you point at the sky.
For nighttime fine-tuning, Polaris is the gold standard. It is the brightest star that barely moves, so you can give it a long stare while you dial in the screws.
How to Align a Red Dot Finder or Telrad: Step-by-Step
This is the procedure I run every time I set up a telescope. The whole thing takes about 5 minutes the first time, and 2 minutes once you have done it a few times.
Set up your telescope outdoors during the day with the mount level and the tube roughly horizontal.
Insert your lowest-power eyepiece (the one with the longest focal length, usually 25 mm or similar).
Pick a distant target at least 200 feet away — a radio tower, a roof peak, or the top of a tree on the horizon.
Move the telescope by hand until the target is centered in the eyepiece. Use slow, steady motions so the target stays in the field of view.
Turn on the finder or Telrad. Adjust the brightness until the dot or rings are clearly visible against the sky without washing out your view of the target.
Look through the finder with both eyes open. You will see the red dot (or rings) superimposed on the real landscape.
Use the two adjustment screws on the finder bracket to nudge the dot until it sits exactly on the same target that is centered in your eyepiece.
Lock the screws — most finders have a thumbscrew or tension knob that holds the alignment in place. Snug is enough; do not overtighten.
Move the telescope to a second distant target, re-center in the eyepiece, and confirm the dot still matches. If it drifts, repeat steps 5 to 8.
Swap to a higher-power eyepiece and confirm the alignment holds. If not, repeat the whole process with the higher-power eyepiece.
If you follow this list in order, the alignment will be accurate enough to put the Moon in a low-power eyepiece on your first try.
Fine-Tuning Your Alignment with Polaris at Night
Daytime alignment gets you close. Polaris alignment gets you perfect. Once the sky is dark, find Polaris — the bright star at the end of the Little Dipper’s handle. It moves less than 1 degree through the night, so it acts like a fixed target for alignment purposes.
Center Polaris in your eyepiece using your lowest-power eyepiece. Then put the red dot or Telrad bullseye directly on Polaris using the adjustment screws. Polaris is a point source, so even a small offset is easy to see. Once Polaris is centered in both the eyepiece and the finder, your alignment is essentially perfect for the rest of the night. The community over at Cloudynights has used this method for decades for a reason.
One caveat: Polaris sits 0.7 degrees off the true celestial pole, so its position in the eyepiece will drift slightly as you track across the sky. For visual observing (not astrophotography), this drift is invisible compared to the alignment error you started with.
Quick Confirmation Before Each Observing Session
Alignment is not a one-time setup. Bumps in transport, temperature changes, and loose screws will slowly nudge the finder out of true. Of our team, every member does a 60-second confirmation before each night of observing. Here is the checklist I use.
Power on the finder and check the battery — a dim dot is the first sign of a dying cell.
Center a bright star or planet in the eyepiece at low power.
Look through the finder. If the dot is on the target, you are good. If not, tweak the screws until it lands.
Confirm the lock screws are snug.
That is it. Four steps, one minute, and you are ready to hunt for faint galaxies.
Troubleshooting Common Alignment Problems
Even with a careful setup, you will hit snags. These are the four issues I see most often in telescope forums and the ones I have personally fought.
Problem: The dot looks like a small star, not a clean point. This means the brightness is too high. Turn it down until you can see the dot without it glaring. If the dot has a fuzzy halo at the lowest setting, the battery is weak.
Problem: The dot is on the target in the finder but the eyepiece shows empty sky. You have parallax between your eye and the finder window. Move your head closer or farther from the window until the dot sits in the same spot no matter how you tilt your head. Some finders have a parallax-free design, but most do not.
Problem: The alignment drifts between targets. The lock screws are loose, or the finder bracket is slipping. Tighten the bracket first, then re-run the full daytime alignment.
Problem: The mount moves when I tighten the adjustment screws. This is normal on a Dobsonian. Always grip the tube or counterbalance first, then make small adjustments. Half a turn of a screw is plenty — small movements at the finder translate to big movements at the target.
When to Re-Align Your Finder Scope?
Re-align your finder any time it gets bumped, transported, or left in bright sunlight for hours. The clear window on a Telrad or red dot finder can shift slightly as the bracket warms and cools, so I always do a quick confirmation during my first target of the night. Beginners often blame themselves for “missing” objects when the real culprit is a finder that drifted in the trunk of the car.
For a permanent backyard setup, a full alignment once a month is enough. For a portable scope that travels to dark sites, run the full daytime procedure every time you set up at a new location. After a few sessions, the whole process becomes second nature and takes less time than changing an eyepiece.
FAQ
How to align a Telrad finder?
To align a Telrad finder, point your telescope at a distant target (200 feet or more away) and center it in a low-power eyepiece. Turn on the Telrad and adjust the two screws on the mounting bracket until the three concentric red rings sit directly on the same target. Lock the screws and confirm with a second target, then fine-tune at night using Polaris.
How to align a red dot finder?
To align a red dot finder, center a distant stationary object in your eyepiece at low power, then look through the finder with both eyes open. Use the adjustment screws on the bracket to nudge the red dot until it sits exactly on the same target. Lock the screws and double-check with a second distant object before using the telescope.
How do you align a telescope finderscope in general?
To align any telescope finderscope, first center the target in the main eyepiece using the lowest-power eyepiece available. Then adjust the finder’s screws until its reticle lines up with the same target. Always lock the adjustment screws and confirm with a second target before observing.
Does a red dot sight need to be centered?
Yes, the red dot should be centered on the target when you look through the finder with your eye in a normal viewing position. If the dot shifts when you move your head, you have parallax and should adjust your eye position or shift the finder closer to the eyepiece until the dot stays stationary.
What distance is needed for alignment?
At least 200 feet (about 60 meters) is recommended for daytime finder alignment. That distance gives roughly 0.1 degree of accuracy, which is enough to land most deep-sky targets in a low-power eyepiece on the first try.
Conclusion
Learning how to align a red dot finder or Telrad on a telescope is the single highest-leverage skill you can pick up as a visual observer. Once the finder is centered, every other part of the hobby becomes easier — finding planets, star-hopping to galaxies, and enjoying more time at the eyepiece. Take five minutes during the day to center a distant target, then polish the alignment with Polaris after dark, and confirm at the start of each session. That is the entire workflow. Clear skies, and I hope your next finder alignment is the easiest one you have ever done.