
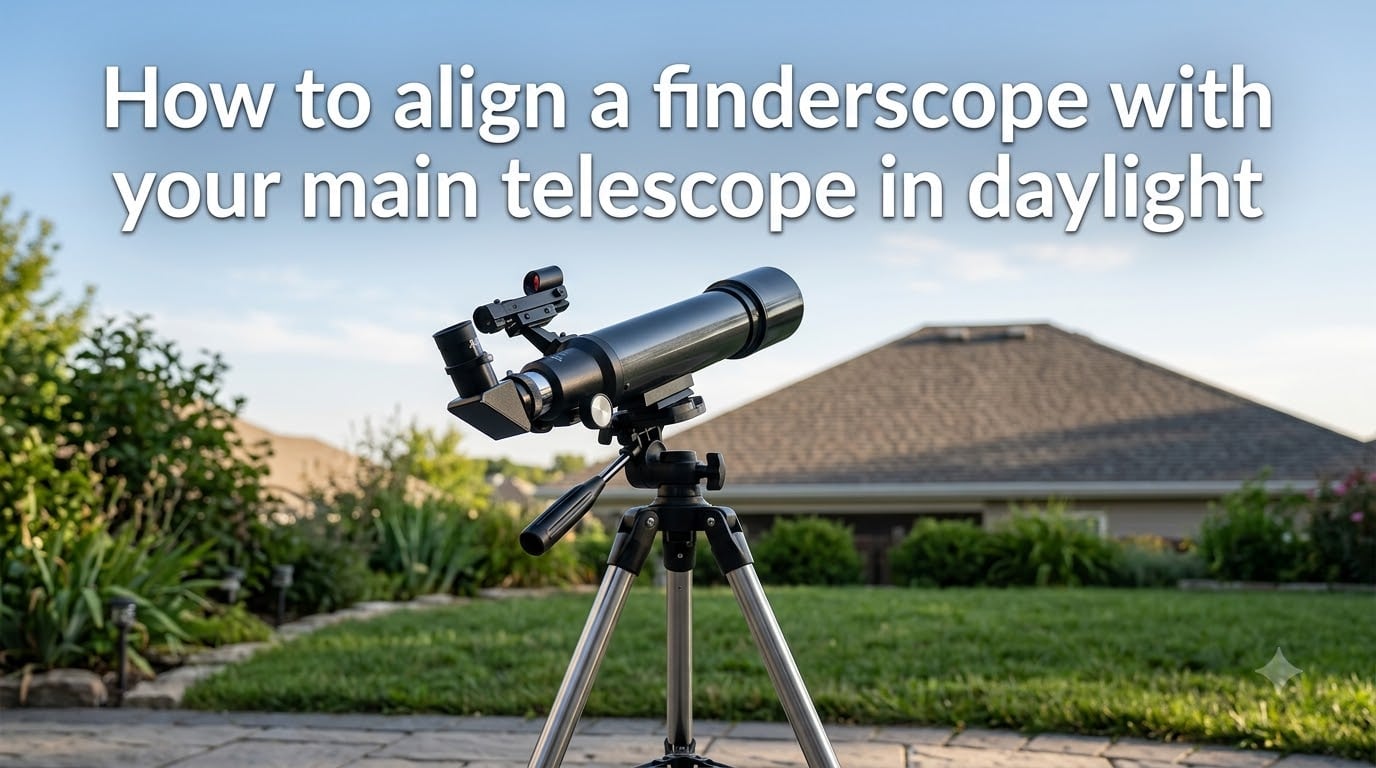
If you just unboxed a new telescope and the finder seems to be pointing somewhere completely different than your eyepiece, you are not alone. I have been there, twisting the little thumbscrews in the dark, getting frustrated, and wondering why my target kept slipping out of view. Learning how to align a finderscope with your main telescope in daylight is the fastest fix, and it is the method I now recommend to every beginner I help.
Daytime alignment takes about 10 minutes once you have done it a few times. In this guide, I will walk you through the exact steps I use, the distance and target I pick, and the small mistakes that keep your finder from locking onto the same spot as your main scope. You will finish this article knowing how to set it up the right way and how to keep it aligned for every clear night ahead.
Table of Contents
Why You Should Align a Finderscope With Your Telescope During Daylight?
Daylight is the easiest, most forgiving time to align your finder. The sky is bright, your target is sharp, and you can see exactly where both the main telescope and the finderscope are pointing at the same time.
Your finderscope has a much wider field of view than the main telescope. That is exactly why it exists: it helps you locate objects before zooming in. When the two are properly aligned, you can drop a star, planet, or deep-sky target into the crosshair of the finder and trust that it will already be sitting in your eyepiece.
At night, even a small misalignment turns into a guessing game. During the day, you can confirm the alignment with your own eyes, fix it on the spot, and walk away confident.
How to Align a Finderscope With Your Telescope in Daylight: Step-by-Step
This is the same process I run through before every observing session. Set up your telescope in a safe spot away from direct sunlight, then follow these five steps in order.
Step 1: Pick a Distant, Stationary Target at Least 100 Yards Away
Choose something sharp, fixed, and far away. A telephone pole, a chimney, the tip of a distant radio tower, or a roof peak all work well. Half a mile is ideal if you have a clear line of sight.
Avoid anything that moves (trees blowing in wind, flags) or anything too close. A near target will appear in completely different positions at low versus high magnification, which will throw off your alignment.
Step 2: Center the Target in Your Main Telescope Using the Lowest-Power Eyepiece
Put your longest focal length eyepiece into the focuser. If your scope came with a 25mm eyepiece, start there. The lowest power gives you the widest field of view and the most forgiving tolerance for centering.
Move the telescope by hand or with slow-motion controls until the target is dead center in the eyepiece. Take your time. This centering is the foundation of the whole alignment, so it is worth a minute of patience.
Step 3: Lock Your Mount so the Telescope Does Not Drift
Tighten the altitude and azimuth locks on your mount. If you skip this step, the telescope will slowly drift and your careful centering will be wasted.
This is one of the most common frustrations I see beginners hit. They align the finder perfectly, walk to the eyepiece to check, and the target has drifted out of frame. Lock it down.
Step 4: Adjust the Finderscope Thumbscrews Until the Target Is Centered
Look through the finderscope without moving the main telescope. You will see the target sitting somewhere off-center. Most finders have two or three small thumbscrews (or set screws) on the bracket around the tube.
Turn the screws a little at a time. Small adjustments create big movement at the eyepiece. For a red dot finder, you are moving the dot onto the target. For an optical finder with a crosshair, you are sliding the crosshair until it sits exactly on the target.
Step 5: Verify Alignment With a Second Distant Target
Pick a different landmark, point the telescope at it using the lowest-power eyepiece, then check the finder. If the target is still centered in both, you are done. If not, repeat Step 4 with the new target.
Verification is the step most beginners skip. It only takes 30 seconds and catches small errors that would otherwise ruin your first night of observing.
What Type of Finderscope Do You Have? Red Dot vs Optical
Red dot finders project a small illuminated dot onto a viewing window. They are fast to use, and the dot itself is your reference point. When adjusting, your goal is to slide the dot until it lands on the same spot your main telescope is pointing.
Optical finders work like miniature telescopes. They show a real, magnified image with a crosshair etched into the glass. Alignment is the same in principle, but you will see an upside-down or mirror-reversed image depending on the model. That is normal and is not a defect.
If your optical image looks upside down, do not try to fix it. That is just how most finders render the view. To flip the image right-side up, you would need a correct-image diagonal, which costs extra and is not required for alignment.
Common Mistakes and Troubleshooting When Daylight Alignment Fails
Even after following the steps, alignment can refuse to stick. These are the issues I see most often, with the fixes that work.
Target too close. A tree 30 feet away will not stay centered between eyepieces. Move your target out to at least 100 yards, ideally half a mile.
Thumbscrews not tight enough. After adjustment, snug each screw so the finder cannot shift when you carry the scope. If the screws keep loosening, a two-ring finder mount is a worthwhile upgrade.
Finder bracket slipped during transport. Even a small bump can rotate the finder in its ring. Loosen the ring collars, square up the finder, and repeat the alignment.
Wrong adjustment direction. If the dot moves the wrong way when you turn a screw, simply turn the opposite screw. Each pair of screws works in opposition: tighten one to loosen the other.
Maintaining Alignment After Transport and Storage
Finderscopes drift. It is normal. Any time you carry your telescope to a new site or store it with the tube vertical, expect to realign before observing.
I do a quick daylight alignment at the start of every session, even if I aligned at home the night before. It takes five minutes and saves a lot of frustration later. Treat alignment as part of your setup routine, not a one-time task.
Frequently Asked Questions
How to align a finderscope at night?
At night, center a bright star or planet in your main telescope using the lowest-power eyepiece. Lock the mount, then adjust the finderscope thumbscrews until the star or planet sits on the crosshair or red dot. Verify with a second bright target before moving on.
How to align a telescope during the day?
Point your telescope at a stationary target at least 100 yards away using the lowest-power eyepiece. Lock the mount. Without moving the main scope, adjust the finderscope thumbscrews until the same target is centered in the finder. Always check with a second target to confirm.
Why is my finderscope image upside down?
Most optical finders show an upside-down or mirror-reversed image because they use simple prism arrangements. This is normal and does not affect alignment. Adding a correct-image diagonal fixes the orientation if it bothers you, but it is not required.
Final Thoughts
Daylight alignment is the simplest way to get your finderscope and main telescope pointing at the same spot. Pick a distant target, center it with the lowest-power eyepiece, lock the mount, adjust the finderscope thumbscrews, and verify with a second target. Once you have done it a few times, the whole process takes less than 10 minutes and gives you a finder you can trust all night long.
Make it a habit before every session. Your future self, scanning the sky for a faint galaxy, will thank you.