
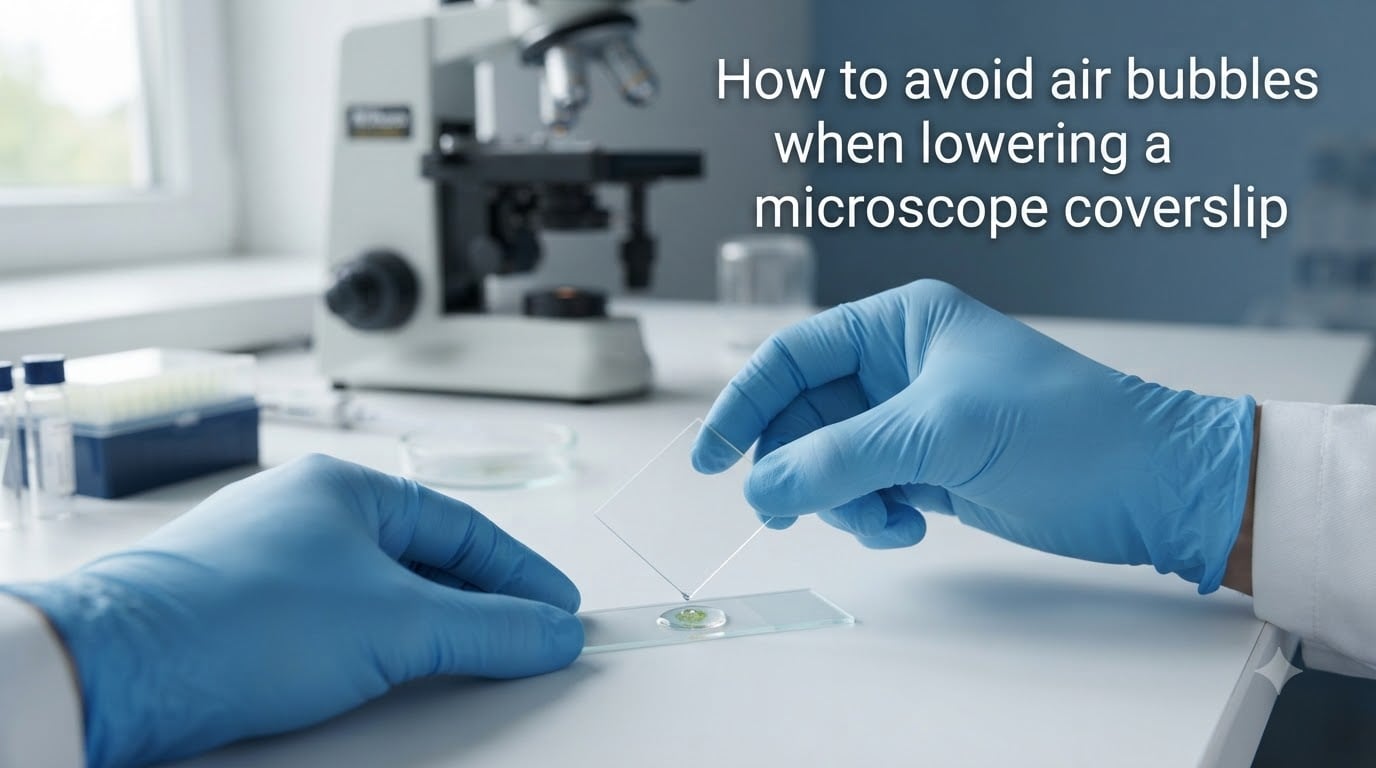
Air bubbles are the single most common frustration I see when teaching newcomers to prepare a microscope slide. The good news: they are almost always preventable.
In this guide, I will walk you through exactly how to avoid air bubbles when lowering a microscope coverslip, from the science behind why they form to a step-by-step technique you can use on your next slide.
Table of Contents
What Are Air Bubbles and Why Do They Form Under a Coverslip?
An air bubble is a pocket of trapped gas sealed between the glass slide, the specimen, and the coverslip. Bubbles form when air gets trapped during placement.
Three factors drive the problem. Surface tension in the mounting medium resists the coverslip’s advance. The medium’s viscosity controls how quickly it can flow and push air out.
The angle and speed at which you lower the coverslip determines whether air has a path to escape. When any of these factors go wrong, a tiny air pocket gets sealed in.
That bubble has a different refractive index than the surrounding medium, which is why it shows up so clearly under the microscope. Understanding these causes is the foundation of any successful coverslip technique.
Why Air Bubbles Are Problematic in Microscopy?
Bubbles are more than an aesthetic annoyance. They cause real problems during observation and imaging.
The biggest issue is that bubbles distort the light path. Because air has a different refractive index than water or mounting medium, the bubble’s curved surface bends light away from your specimen. This creates a thick dark border and an unreadable region in the middle of your field of view.
Bubbles also block parts of your specimen from view. A single bubble can hide the exact structure you are trying to examine. In documentation work, this often means re-imaging a region or preparing a new slide entirely.
The optical artifacts caused by bubbles are particularly frustrating in fluorescence microscopy, where DAPI and other nuclear stains show ghost-like halos around bubble edges.
The Step-by-Step Technique for Lowering a Coverslip Without Bubbles
This is the core method I teach. Follow these steps in order and you will avoid air bubbles on the vast majority of wet mount slides.
Step 1: Prepare a Clean, Flat Workspace
Place your clean slide on a flat, dark surface. A dark background makes it easier to see your specimen and the mounting medium. Make sure your slide is free of dust and fingerprints, because any contaminant can lift the coverslip and create a bubble pocket.
Step 2: Place the Specimen and Add the Right Amount of Mounting Medium
Position your specimen in the center of the slide. Add one drop of mounting medium or water directly over the specimen.
The drop should be roughly the size of the coverslip itself, not larger. Too much medium causes overflow and messy slides. Too little creates dry spots and bubbles.
Step 3: Hold the Coverslip at a 45-Degree Angle
This is the key step. Using your fingers or fine forceps, hold the coverslip by its edges. Position one edge of the coverslip against the slide at about a 45-degree angle, with the edge just touching the outer edge of the mounting medium drop.
Step 4: Lower the Coverslip Slowly
Lower the coverslip gradually, allowing the mounting medium to spread across the underside of the glass as it descends. The angled approach gives air an escape route along the upper edge of the coverslip, so bubbles are pushed out rather than trapped in.
Do not drop the coverslip flat. Do not press down. Slow and steady is what works.
Step 5: Let the Slide Rest
Once the coverslip is down, let the slide sit for 20 to 30 seconds. Some researchers place a small weight on top to gently press out any remaining bubbles. I have found this simple rest period fixes more bubble problems than any other technique.
Step 6: Remove Excess Medium
Blot the edges of the coverslip with a lint-free tissue to remove any overflow. This keeps your slide clean and prevents dried medium from interfering with observation.
Choosing the Right Mounting Medium and Amount
Your choice of mounting medium matters as much as your technique. The two main levers for avoiding air bubbles when lowering a microscope coverslip are angle and medium selection.
Water is the simplest medium for wet mounts of living organisms. It is low-viscosity, so it spreads easily and releases trapped air quickly. The downside is that it evaporates, so wet mounts dry out within minutes to hours.
Glycerin and glycerol-based media are thicker. They last longer but are more prone to trapping bubbles because they flow more slowly. If you use a thick medium, tilt the coverslip at a steep angle and lower it even more slowly. You can also let a freshly opened bottle sit for a few minutes to allow any air introduced during dispensing to rise.
For permanent mounts, resin-based media like Euparal or Canada balsam require careful handling. These are typically used with dehydrated specimens and need a coverslip lowered very slowly to avoid bubbles. Some labs vacuum-degas their mounting medium before use to remove pre-existing bubbles.
Specimen-Specific Challenges and How to Handle Them
Different specimens create different bubble problems. Here is how to handle the most common ones I encounter.
Hydrophobic Specimens
Waxy leaves, insect wings, and many arthropod parts repel water. When you place the coverslip, the water pulls away from the sample and traps air against it.
Add a small drop of detergent or dish soap to your mounting medium. The detergent breaks the surface tension and lets the medium wet the specimen evenly.
Hairy or Fuzzy Specimens
Mold, fungi, and some plant parts have tiny hairs that trap air like a gasket. Lower the coverslip extra slowly and consider adding detergent to the medium. The bubbles tend to appear in the hair layer, so patience helps the medium gradually displace the air.
Large Sheet-Like Specimens
Onion skin, leaf sections, and thin tissue layers can fold and trap air underneath. Pre-flatten the specimen using a fine brush before adding the coverslip. If you see a fold forming, lift the coverslip and reposition the specimen.
Porous Specimens
Sponge, cork, and similar materials hold air in their structure. Soak them in your mounting medium for a few minutes before placing the coverslip. This pre-fills the pores so the coverslip seal does not trap new air pockets.
Troubleshooting: How to Remove Bubbles That Already Formed
Even with good technique, bubbles sometimes appear. Here is what to do.
Gently tap the coverslip with a blunt object like the eraser end of a pencil. The vibration often nudges small bubbles to the edge where they escape. Do not press hard, or you will crack the coverslip.
Place a small weight on the coverslip and let the slide rest for 20 to 30 minutes. Gravity slowly pushes the mounting medium outward and can flatten bubbles against the coverslip where they become nearly invisible.
For thick permanent mounts, some researchers leave slides standing on edge overnight. Bubbles gradually rise toward the upper edge and dissipate. This is a slow fix, but it works for stubborn cases.
If a slide is unusable, prepare a fresh one. Trying to forcefully remove bubbles often damages the specimen or creates new artifacts.
Advanced Tips for Consistent Bubble-Free Slides
Once you have mastered the basics, these advanced techniques help you produce consistently clean slides.
Vacuum degassing your mounting medium removes any pre-existing bubbles in the bottle. Place the medium in a syringe or vacuum chamber for a few minutes before use. This is especially useful for thick or resin-based media.
Warming the mounting medium slightly reduces viscosity and helps bubbles escape more easily. I keep a small warming tray at around 40 degrees Celsius for this purpose. Do not overheat, as some media degrade.
Avoid shaking or vigorously mixing your mounting medium. Every time I have seen someone rapidly mix a bottle of medium, they introduce dozens of tiny bubbles that take hours to settle. Gentle inversion is the safer approach.
For experienced microscopists, the technique becomes almost automatic. Beginners should expect to waste a few slides while learning. That is normal, and it is part of the skill.
Frequently Asked Questions
How to prevent bubbles when coverslipping?
The single most effective technique is to hold the coverslip at a 45-degree angle to the slide and lower it slowly. This lets mounting medium spread across the underside while air escapes along the upper edge. Pair this with the right amount of medium, not too much and not too little, and let the slide rest for 20 to 30 seconds after placement.
Why is it important to avoid air bubbles when placing the coverslip on the slide?
Air bubbles distort the light path because air has a different refractive index than water or mounting medium. This creates thick dark borders and obscures parts of your specimen. In fluorescence work, bubbles can also create halos around stains like DAPI, making your images harder to interpret and forcing you to re-image or re-prepare the slide.
What can be done to reduce the amount of air trapped under the cover slip of a wet mount slide?
Lower the coverslip at a 45-degree angle rather than dropping it flat. Add detergent to your mounting medium for hydrophobic specimens. Pre-soak porous samples in the medium. Use the right amount of medium, around one drop sized to match the coverslip. Let the slide rest for 30 seconds after placement to allow bubbles to escape or shrink.
How do you prevent air bubbles?
Prevent air bubbles with three habits: clean slides free of dust, the correct volume of mounting medium, and a slow angled lowering technique. Avoid shaking or vortexing your medium, and consider vacuum degassing thick media before use. For stubborn specimens, add a tiny drop of detergent to break surface tension.
What do air bubbles look like under a microscope?
Air bubbles appear as round or oval shapes with thick, dark, sharply defined borders. The interior is uniformly bright or shows the color of the light source. You can usually tell a bubble apart from a cell by the smoothness of its edge and the lack of any internal structure. Bubbles also change position slightly when you focus up and down, due to their curved surface.
Why are air bubbles bad in a wet mount slide?
Air bubbles block the view of your specimen, distort light, and create optical artifacts that can mislead your observations. They are especially problematic in documentation, photography, and fluorescence work where precise imaging matters. They also waste time, since you often need to prepare a new slide rather than work around them.
Final Thoughts on Bubble-Free Coverslipping
Learning how to avoid air bubbles when lowering a microscope coverslip is a skill that gets easier with practice. The core technique is simple: lower the coverslip at a 45-degree angle, slowly, with the right amount of medium. Combine that with clean slides, the right medium for your specimen, and a short rest period, and you will produce clean, readable slides consistently.
If you keep getting bubbles, do not get discouraged. Try adjusting your angle, slowing your hand, or switching to a thinner medium. Every slide is a chance to refine your technique, and pretty soon it will become second nature.