
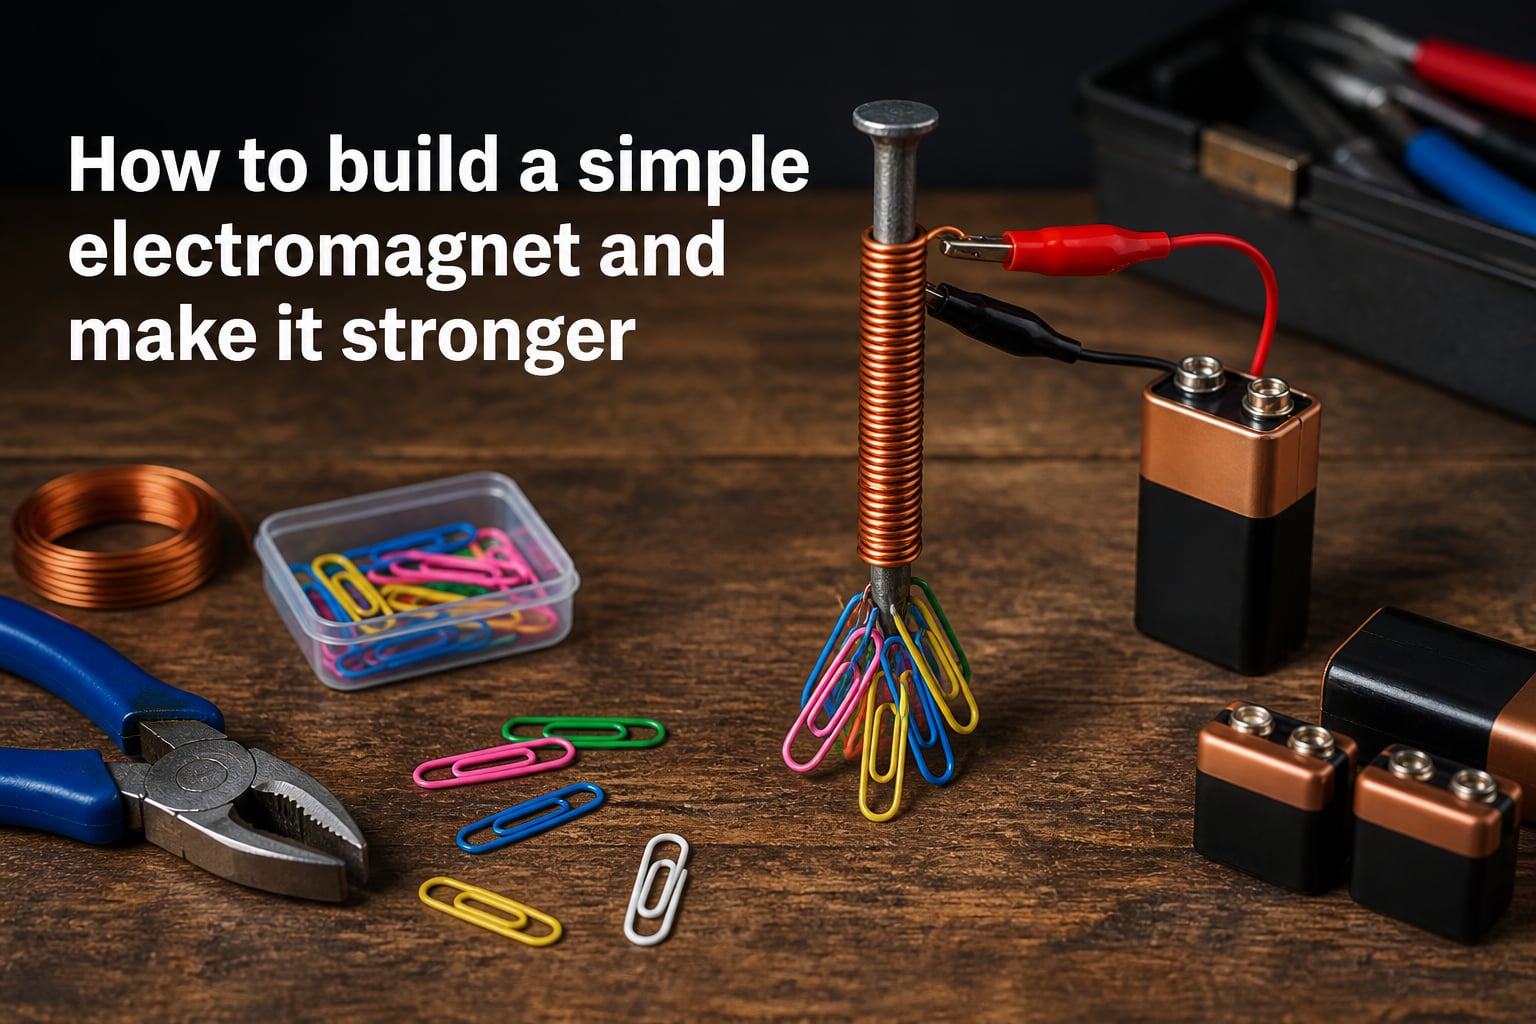
Learning how to build a simple electromagnet is one of the most rewarding hands-on science experiments you can do at home or in the classroom. With just a battery, some copper wire, and an iron nail, you can create a real working magnet in under 10 minutes. Best of all, this project teaches you the same fundamental physics that powers everything from electric motors to MRI machines. Our team has built dozens of these with students, and we are sharing the exact process that works every time.
In this guide, you will get step-by-step instructions, the science behind why electromagnets work, seven tested ways to make your electromagnet stronger, and a troubleshooting section for when things go wrong. Whether you are a student preparing a science fair project, a parent doing weekend STEM with your kids, or an educator looking for a classroom demonstration, this guide has you covered.
Table of Contents
What Is an Electromagnet and How Does It Work?
An electromagnet is a temporary magnet that produces a magnetic field only when electric current flows through a coil of wire. Unlike a permanent magnet, you can turn it on and off by switching the current, and you can control its strength by adjusting how much current flows.
The physics is straightforward. When electricity moves through a single straight wire, it creates a small, circular magnetic field around the wire. You can see this effect by placing a compass near a wire carrying current; the needle will deflect. When you coil that wire into many loops, called turns, the small magnetic fields from each loop combine and stack on top of each other. This concentrates the field into a much stronger force inside the coil.
The final piece of the puzzle is the core. Sliding a ferromagnetic material like an iron nail into the center of the coil amplifies the magnetic field dramatically, sometimes by 1000 times or more. This is because iron contains many tiny magnetic domains that line up with the applied field, adding their own magnetic contribution to the overall effect. The combination of current, turns, and a ferromagnetic core is what makes a powerful electromagnet possible.
Materials You Will Need to Build a Simple Electromagnet
You probably have most of these materials at home or can grab them at a hardware store for a few dollars. We recommend gathering everything before you start.
Iron nail or screw: A 3-inch (about 7.5 cm) iron or steel nail works great. Larger nails give stronger results because there is more iron for the field to align.
Insulated copper wire: Use 22-gauge or 24-gauge magnet wire (also called enameled wire). It has a thin insulating coating that lets you wind tight coils without short circuits. About 2 to 3 feet of wire is enough for a basic electromagnet.
Power source: A standard 1.5V AA or D-cell battery works well for beginners. For more strength, a 6V lantern battery or a 9V battery produces a more powerful magnet. Never use a car battery or any high-voltage source.
Small metal objects to test with: Paper clips, staples, pins, or small washers are perfect for measuring how strong your electromagnet is.
Wire strippers or sandpaper: You will need these to scrape the insulating enamel off the ends of the wire so it can make electrical contact with the battery.
Optional: switch and alligator clips: Adding a simple switch makes it easier to turn the magnet on and off without disconnecting the battery.
How to Build a Simple Electromagnet Step by Step
Follow these steps in order and you will have a working electromagnet in about 10 minutes. We have included troubleshooting tips along the way based on problems our readers have shared.
Prepare your wire. Cut about 2 to 3 feet of magnet wire. Use sandpaper or wire strippers to remove the enamel coating from the last inch of both ends. This bare copper is what will touch the battery terminals and complete the circuit.
Start winding. Leave about 6 inches of wire free at one end, then begin wrapping the wire tightly around the iron nail. Wind in the same direction the whole time, with each loop sitting neatly next to the previous one. This direction matters for keeping the magnetic field uniform.
Make at least 50 turns. For a basic electromagnet, 50 turns is the minimum. Aim for 100 to 200 turns if you want noticeably stronger results. The more turns you add, the stronger the field becomes, up to a point.
Finish winding. Stop when you have about 6 inches of wire left at the other end. A small piece of tape can hold the coil in place so it does not unravel.
Connect to the battery. Touch one bare end of the wire to the positive (+) terminal of the battery and the other end to the negative (-) terminal. Hold them in place or tape them down. The nail should now pick up paper clips and other small metal objects.
Test and observe. Try lifting paper clips, pins, and other small metal items while the circuit is closed. Disconnect one wire end to see the magnetism disappear. This on-and-off control is what makes electromagnets so useful.
Pro tip: If your electromagnet is not working, the most common cause is leftover enamel on the wire ends. The coating looks like bare copper, but it is an insulator. Scratch the ends firmly with sandpaper until you see shiny copper before connecting to the battery.
How to Test Your Electromagnet
Testing is simple and fun. Place a pile of paper clips on a table. With your electromagnet connected to the battery, touch the nail head to the pile and slowly lift it. Count how many clips come up with the nail. That number is your magnetic strength score.
Write down your result, then try the experiment with different numbers of turns to see how strength changes. Our team tested a 50-turn coil against a 200-turn coil using the same battery and nail. The 200-turn version picked up nearly four times as many paper clips. This kind of comparison is excellent for a science fair project because it produces real, measurable data.
For more advanced testing, try lifting different materials to see what magnetic field attracts. Your electromagnet will pick up iron, steel, nickel, and cobalt, but it will not attract aluminum, copper, plastic, or wood. This is a great way to demonstrate which metals are ferromagnetic.
How to Make an Electromagnet Stronger?
Once you have a basic electromagnet working, the next question is almost always the same: how can I make it stronger? Here are seven proven techniques, ranked from easiest to most effective.
Add more turns of wire. This is the single biggest factor you can control. Each additional turn adds more magnetic field contribution. Going from 50 to 200 turns typically increases lifting power by 3 to 4 times.
Use a higher voltage battery. A 6V lantern battery or 9V battery will push more current through the wire than a 1.5V AA cell. More current means a stronger magnetic field. Be careful, though, because more current also means more heat.
Use a better core material. Pure iron gives the strongest results for classroom projects. Steel nails work but are not quite as good. Avoid brass, aluminum, or wood as cores because they are not ferromagnetic.
Use thicker wire. A lower gauge number means thicker wire, which has less electrical resistance. Less resistance allows more current to flow, which produces a stronger magnet. 22-gauge copper wire is a good balance of thickness and ease of winding.
Wind the coils tightly and neatly. Loose coils leak magnetic field. Tight, evenly stacked coils concentrate the field inside the core. Take your time winding.
Keep wire resistance low. Longer wire has more resistance. Use the shortest wire length that gives you enough turns. Heavier gauge wire also helps here.
Add insulation and cooling. If you plan to run the electromagnet for more than a few minutes, the wire and battery will get hot. A small fan or rest periods prevent overheating and let your electromagnet run at peak strength safely.
Warning: Batteries can get very hot or even leak if you draw too much current. If the battery or wire feels too hot to touch, disconnect immediately and let it cool down. Short circuits on a battery can cause burns or start fires.
Comparing Core Materials: Iron vs Steel vs Ferrite
The core material you choose has a huge impact on how strong your electromagnet gets. Here is a quick comparison of the most common options.
| Core Material | Magnetic Strength | Cost | Best For |
|---|---|---|---|
| Pure iron nail | Very High | Low | Classroom experiments, science fairs |
| Steel nail or bolt | High | Low | Quick home demos |
| Ferrite rod | High at high frequencies | Medium | Radio and electronics projects |
| Aluminum | None | Low | Not magnetic, do not use |
| Wood or plastic | None | Low | Not magnetic, do not use |
For a typical school project, an iron nail is the clear winner. Pure iron has very high magnetic permeability, which means it conducts magnetic field lines very efficiently. Steel nails are slightly weaker because they have other metals mixed in, but they still work well. Ferrite cores are excellent for high-frequency electronics like radios and transformers, but they are overkill for a basic electromagnet experiment.
Troubleshooting: Why Your Electromagnet Is Not Working
After years of helping students build electromagnets, we have seen the same handful of problems come up again and again. Here is how to fix the most common issues.
No magnetism at all: Check that you scraped the enamel off both wire ends. This is the number one cause of failure. Also make sure the wire is actually touching the battery terminals, not just resting on the plastic coating.
Weak magnetic field: You probably need more turns. Add another 50 to 100 wraps and try again. Using a higher voltage battery also helps.
Wire gets hot quickly: Too much current is flowing. Use a smaller battery or add a small resistor in series. Allow the wire to cool between tests.
Battery drains in minutes: This is normal for a high-power electromagnet. A standard 9V battery has limited capacity. Use a D-cell or lantern battery for longer experiments.
Pickup strength varies between tests: Make sure the wire is making solid contact with the battery and that the coils are not loose. Loose coils lose magnetic efficiency fast.
One parent who built an electromagnet with their 6-year-old son mentioned in a forum that they spent hours debugging before realizing they were using regular insulated wire instead of magnet wire. The difference is that magnet wire has a very thin enamel coating that lets you wind many tight turns, while regular wire has thick plastic insulation that takes up too much space. If you can only find regular wire, you can still wind a coil, but use fewer turns and a thicker gauge.
Safety Precautions When Building Electromagnets
Electromagnets are generally safe, but there are a few hazards we want you to know about before you start.
Battery heat: When you draw a lot of current from a small battery, it gets hot. Never leave your electromagnet connected to a battery unattended. Disconnect the wire when you are not actively using it.
Wire heat: Thin copper wire can also overheat, especially with a high-voltage battery. If the wire feels hot, stop and let it cool.
Short circuits: If the two bare wire ends accidentally touch each other, you create a short circuit. This drains the battery fast, can cause burns, and in rare cases can damage the battery. Tape the wire ends down so they stay separate.
Adult supervision: Younger students should have an adult present, especially when working with batteries and small parts.
Eye protection: Wire ends can snap back when being stripped. Safety glasses are a good idea if you have them.
Real-World Applications of Electromagnets
The electromagnet you just built uses the same physics as devices that shape modern life. MRI machines in hospitals use giant superconducting electromagnets to take detailed images of the human body. Electric motors in everything from blenders to electric cars use electromagnets to convert electricity into motion. Speakers in your phone or stereo use electromagnets to turn electrical signals into sound waves. Even scrap metal yards use huge electromagnets on cranes to lift car bodies and steel beams.
Understanding electromagnets is also the first step toward understanding more advanced physics like electromagnetic induction, which is the principle behind generators, transformers, and wireless charging. Every electrical engineer, physicist, and product designer has built an electromagnet at some point in their training.
Frequently Asked Questions
How to make a simple strong electromagnet?
To make a simple strong electromagnet, wrap at least 200 turns of 22-gauge insulated copper wire tightly around an iron nail. Connect the bare wire ends to a 6V or 9V battery. The three factors that control strength are the number of turns, the current, and the core material. More turns, more current, and a pure iron core all make the magnet stronger.
How can I make an electromagnet more powerful?
You can make an electromagnet more powerful by adding more turns of wire, using a higher voltage battery, switching to a thicker wire gauge, using a pure iron core, and winding the coils as tightly as possible. Each of these changes increases the magnetic field produced by the coil.
How to increase the strength of an electromagnet?
The strength of an electromagnet depends on four main factors: the number of turns of wire, the current flowing through the wire, the type of core material, and the wire gauge. To increase strength, focus on adding more turns and using a higher voltage power source for more current. Keep the wire tight and the core ferromagnetic for best results.
How to create a strong electromagnetic field?
To create a strong electromagnetic field, you need a coil carrying high current with many turns wrapped around a ferromagnetic core. In a school setting, this means 200 or more turns of 22-gauge copper wire around an iron nail powered by a 9V battery. In industrial settings, engineers use thousands of turns and high-current power supplies to achieve much stronger fields.
Conclusion
Now you know how to build a simple electromagnet and make it stronger using real physics. Start with the basic build: an iron nail, 100 turns of 22-gauge magnet wire, and a 1.5V battery. From there, experiment with more turns, a higher voltage, and different core materials to see how strong you can make it. Every adjustment teaches you something about how electricity and magnetism work together.
This is the kind of project that turns abstract science into something you can hold in your hand. Share it with a friend, run it at your school science fair, or use it as a launchpad for exploring electric motors and generators. The principles you learned here are the foundation for nearly every electrical technology we use today.