
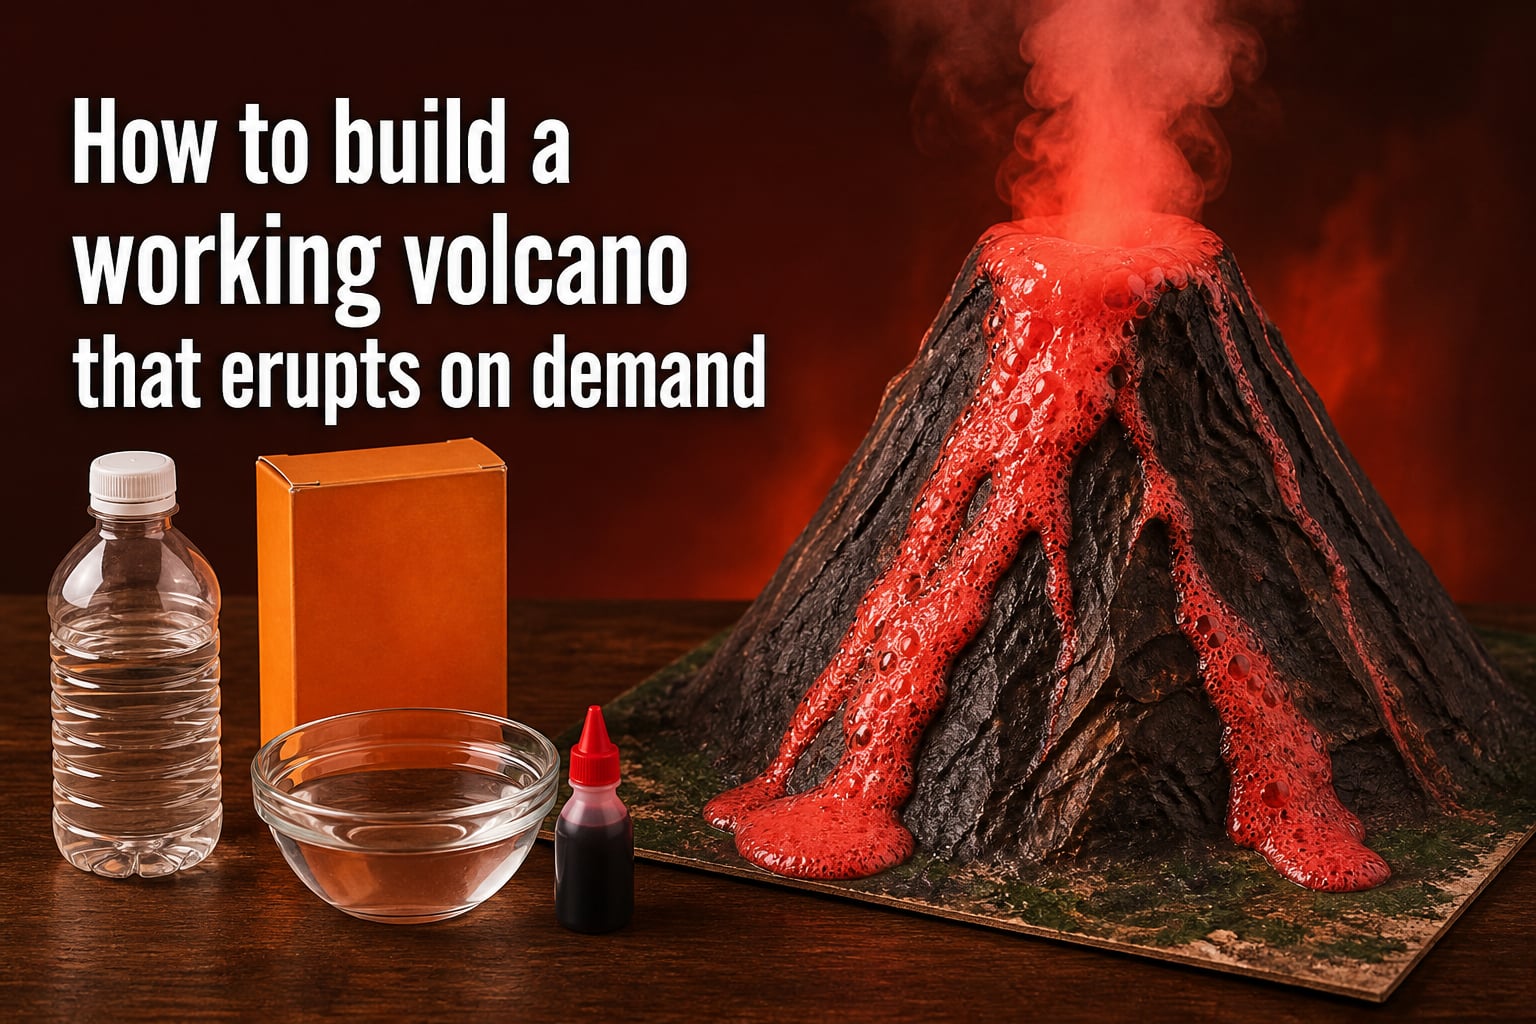
I still remember the first time I helped my daughter with her volcano science project. We spent three hours on a lopsided paper mache mountain only to watch a tiny puddle of foam ooze out the top. The kids were underwhelmed, the kitchen was a mess, and I realized most instructions online skip the practical details that actually make the eruption work.
Since then, our family has built and rebuilt volcano models for science fairs, classroom demos, and weekend homeschool experiments. I’ve tested ratios of baking soda to vinegar until the kitchen smelled like a pickle factory. The good news is that once you know the right proportions and a few structural tricks, you can build a working volcano that erupts on demand, every single time you trigger it.
If you want to learn how to build a working volcano that erupts on demand, this guide walks through every step. We cover the cone structure, the paper mache layers, the eruption recipe with exact ratios, the science behind the reaction, troubleshooting, and safety tips. Whether you are a parent on a deadline, a teacher planning a class demonstration, or a student prepping for a science fair, you will have a reliable, reusable model by the end.
Table of Contents
How to Build a Working Volcano That Erupts On Demand?
Building the volcano structure is the part most people rush through, but it is also what determines whether your eruption flows down the sides or just pools around the base. Take the time to build a solid cone with a deep crater and a narrow neck.
Step 1: Gather Your Volcano Model Materials
Here is what you need for the structure itself. Most of these items are already in your recycling bin or junk drawer.
One empty plastic bottle (16 oz water bottle or 2-liter soda bottle depending on how big you want the volcano)
Sturdy cardboard base, at least 12 by 12 inches
Cardboard strips or scrunched newspaper for building the cone shape
Duct tape or masking tape
Aluminum foil (optional but helpful for shaping)
Newspaper torn into strips about 1 to 2 inches wide
Paper mache paste (flour and water, or white school glue diluted with water)
Acrylic paint in brown, green, red, and gray
Paint brushes and a small dish of water for cleanup
For a classroom demo where you need the volcano done today, you can skip paper mache entirely and build the cone from Play Doh or salt dough. NASA JPL recommends this approach for their volcano activities because it lets you get to the eruption faster and you can even layer different colors to simulate rock strata.
Step 2: Build the Cone Shape and Crater
Start by taping the plastic bottle upright in the center of your cardboard base. Make sure the bottle opening, which becomes your crater, faces straight up. This is the single most important structural step. If the bottle leans, your eruption will shoot sideways.
Next, build up the cone around the bottle. Scrunch sheets of newspaper into balls and pack them around the base of the bottle, building a sloped mountain shape. Tape each layer in place as you go. You want the newspaper to slope from the top of the bottle down to the cardboard base at an angle of about 45 degrees.
Keep the neck of the bottle clear. Do not stuff newspaper into or over the opening. That opening is your eruption vent, and anything blocking it will either prevent the eruption or send it in unpredictable directions. Trust me, a blocked vent is the number one reason volcanoes fail.
For a smoother cone, wrap a sheet of aluminum foil over the newspaper and mold it to the slope. This gives the paper mache a clean surface to stick to and cuts down on the number of layers you need.
Step 3: Add the Paper Mache Layers
Paper mache is what gives your volcano its hard shell. Mix your paste first. For the flour method, combine one part all-purpose flour with one part water and whisk until smooth. The consistency should be like thin pancake batter.
Dip a newspaper strip into the paste, pull it between two fingers to remove excess, and lay it across the cone. Overlap strips slightly and cover the entire surface from the crater rim down to the base. Smooth out air bubbles as you go.
Apply two to three layers for a sturdy volcano. One layer will feel flimsy and tear easily, while three layers will survive multiple eruptions and even being carried to school on a bus. Let each layer dry for at least 12 to 24 hours before adding the next.
Here is a tip I learned the hard way. Drying time depends heavily on humidity. In a dry climate, one layer can dry in 6 hours. In a humid basement, it might take a full day. If you are on a deadline, set up a fan pointed at the volcano or put it in an oven at the lowest setting (170 degrees Fahrenheit) for a couple of hours.
Step 4: Paint and Decorate the Volcano
Once the paper mache is completely dry and hard to the touch, it is time to paint. Acrylic paint works best because it adheres to the paper mache surface and dries waterproof. Start with a base coat of brown or dark gray for the mountain body.
Add details once the base coat dries. Red and orange streaks running down from the crater look like old lava flows. Green at the base can represent vegetation. A sprinkle of real dirt or sand while the paint is still wet adds realistic texture that judges at science fairs always notice.
Let the paint dry fully before you do a test eruption. Wet paint will run and mix with the foam, and you will end up with a pinkish mess instead of a clean red lava flow.
Materials You Need for the Eruption
The eruption ingredients are separate from the structural materials, and getting these right is what separates a dramatic eruption from a disappointing fizz. Here is your basic eruption kit.
Basic Eruption Kit
2 tablespoons baking soda (sodium bicarbonate)
1/2 cup white vinegar (5 percent acetic acid)
1 tablespoon dish soap (this is the secret ingredient for thick foam)
1 tablespoon red food coloring (or a few drops of liquid watercolor)
A small funnel or a piece of paper rolled into a cone
The dish soap is what most basic instructions leave out. Without it, you get a quick fizz that lasts about three seconds. With it, the carbon dioxide gas gets trapped in the soap bubbles and you get a thick, slow-moving foam that looks like real lava flowing down the mountain. I tested this side by side with my kids, and the dish soap version lasted four times longer and produced roughly three times more volume.
Optional Upgrades for a Longer, Foamier Eruption
A few drops of glitter for a shimmering lava effect
1 teaspoon of yeast and 3 percent hydrogen peroxide (instead of baking soda and vinegar) for a more dramatic elephant toothpaste-style eruption
Warm water mixed with the baking soda to speed up the reaction
A pinch of salt to alter the reaction rate and create a more vigorous fizz
How to Make the Volcano Erupt On Demand?
This is the moment everyone waits for. The key to an eruption you can trigger on command is keeping the baking soda and vinegar separate until you are ready. The reaction starts the instant they touch, so your setup needs to allow for a deliberate pour.
The Basic Eruption Recipe
Using a funnel, load the bottle inside your volcano with the following in this order. First, drop in 2 tablespoons of baking soda. Then add 1 tablespoon of dish soap directly on top. Finally, add a few drops of red food coloring.
In a separate cup, measure out 1/2 cup of white vinegar. Keep this cup ready but do not pour it yet. Your volcano is now loaded and armed. When you are ready for the eruption, pour the vinegar into the bottle opening in one smooth, steady pour.
The eruption should begin within two seconds. Foam will rise out of the crater and flow down the sides of your volcano for 15 to 30 seconds depending on the exact proportions and the size of your bottle opening.
Best Ratio of Baking Soda to Vinegar for a Dramatic Eruption
After testing multiple ratios, the sweet spot is 1 tablespoon of baking soda to 1/4 cup of vinegar. For a standard 16 oz bottle volcano, doubling that to 2 tablespoons of baking soda and 1/2 cup of vinegar gives you a full, dramatic eruption without overflowing the cone.
The chemistry matters here. The balanced equation for the reaction is roughly 1 part baking soda to 12 parts vinegar by volume. Using more baking soda than vinegar means you are wasting baking soda because there is not enough acid to react with it. Using too much vinegar wastes liquid and can flood the base of your volcano before the foam has time to develop.
If you want an even bigger eruption for a class demonstration, scale up proportionally but use a larger bottle. A 2-liter bottle can handle 4 tablespoons of baking soda and 1 cup of vinegar comfortably.
Triggering On Demand
The phrase “on demand” means you control exactly when the eruption happens. This is important for science fair presentations where the judge is watching, classroom demos where the teacher calls the shot, or simply when you want to film the reaction.
To set this up, load the baking soda, dish soap, and food coloring into the bottle ahead of time. Cover the bottle opening loosely with a small piece of plastic wrap or a cap if your bottle has one. When the moment comes, remove the cover, pour the vinegar, and step back.
I have used this method in front of a classroom of 28 third graders, and the ability to count down from three before the eruption made the whole demonstration feel controlled and intentional rather than chaotic.
How to Repeat the Eruption
One of the best things about this volcano design is that it is reusable. After an eruption, wait for the foam to settle, then rinse the bottle interior with a small amount of water. Dump out the rinse water, reload with fresh baking soda and dish soap, and you are ready to erupt again.
You can get three to five eruptions from the same volcano in a single afternoon. The paper mache shell holds up well as long as you let it dry completely between sessions. If the paint starts to wear, touch it up with a fresh coat before the next eruption.
The Science: Why Baking Soda and Vinegar Erupt
Understanding the chemistry behind the eruption is what turns this from a fun craft into an actual science lesson. Many teachers and chemistry educators on Reddit have pointed out that most volcano instructions never explain the reaction, which is a missed educational opportunity.
What Is an Acid-Base Reaction?
Vinegar is a weak acid. It contains acetic acid, typically at a concentration of about 5 percent. Baking soda is a base, specifically sodium bicarbonate. When an acid and a base meet, they neutralize each other in what chemists call an acid-base neutralization reaction.
In this specific reaction, sodium bicarbonate reacts with acetic acid to produce sodium acetate, water, and carbon dioxide gas. The chemical equation is: NaHCO3 + CH3COOH gives you CH3COONa + H2O + CO2.
The Role of Carbon Dioxide Gas
The carbon dioxide gas is the star of the show. When the reaction produces CO2, the gas wants to expand and escape. As it bubbles up through the liquid, it carries the dish soap and colored water with it, creating the foam that flows out of the crater.
This is similar to what happens when you open a shaken soda can. The dissolved gas rapidly expands and pushes the liquid upward. In the volcano, the narrow bottle neck acts like a nozzle, channeling the expanding foam out the top in a concentrated stream rather than a gentle fizz across the surface.
How This Connects to Real Volcanoes
Real volcanoes and baking soda volcanoes share one key similarity: both eruptions are driven by expanding gas. In a real volcano, magma deep underground contains dissolved gases, mostly water vapor and carbon dioxide. As magma rises toward the surface, the pressure decreases, and those gases expand rapidly, pushing the magma upward and out.
However, the comparison has limits. Real volcanic eruptions are driven by heat and pressure from inside the Earth, not by a chemical reaction at the surface. The baking soda and vinegar reaction is a simulation of the gas-expansion effect, not a true model of volcanic processes. Being honest about this distinction with students is important for scientific accuracy, and educators appreciate when this nuance is addressed.
For older students, you can extend the lesson by discussing viscosity. Thick, sticky magma traps gas more effectively, leading to explosive eruptions like Mount St. Helens. Thin, runny magma lets gas escape easily, producing gentle eruptions like those in Hawaii. You can simulate this by varying how much dish soap you use. More soap means thicker, slower foam, mimicking a viscous stratovolcano eruption.
Troubleshooting Common Volcano Problems
Getting the eruption to work properly is the most common frustration I hear from parents and teachers. Here are the problems we have run into and how to fix each one.
Why Is My Volcano Not Erupting?
The number one cause of a failed eruption is a blocked bottle neck. Check that no paper mache paste, paint, or newspaper has dripped into the bottle opening during construction. Shine a flashlight down the neck to inspect.
The second most common cause is old or inactive baking soda. Baking soda loses its effectiveness over time, especially if the box has been open for months. Test a small pinch in a cup of vinegar. If it fizzes vigorously, it is still good. If it barely bubbles, buy a fresh box.
A weak eruption can also mean your vinegar is too dilute. Standard white vinegar at 5 percent acidity works perfectly. Apple cider vinegar and cleaning vinegar with lower acidity will produce a wimpy reaction. Stick with standard white vinegar.
How to Control Eruption Size
If your eruption is too small, increase the baking soda to 3 tablespoons and add 1 extra tablespoon of dish soap. The dish soap is what multiplies the volume, so adding more soap is often more effective than adding more baking soda.
If your eruption is too large and making a mess, cut the recipe in half. Use 1 tablespoon of baking soda, 1 teaspoon of dish soap, and 1/4 cup of vinegar. You can also use a taller bottle with a narrower neck, which slows the flow and creates a more controlled stream.
Pouring speed matters too. A fast pour creates a sudden, dramatic eruption. A slow pour creates a gradual oozing effect that lasts longer but never reaches the same height. Choose your pour speed based on the effect you want.
Cleaning Up the Mess
The cleanup complaint is real. Baking soda and vinegar foam can leave a sticky, soapy residue on tables and floors. The best approach is prevention. Line your cardboard base with a trash bag or old towel before the eruption, and set the whole volcano inside a large plastic bin or roasting pan.
For cleanup, wipe surfaces with a damp cloth while the foam is still wet. Dried foam is much harder to remove. The dish soap in the eruption actually helps with cleanup because it breaks down the baking soda residue. Any leftover mixture is safe to rinse down the sink.
Safety Tips and Precautions
The baking soda and vinegar volcano is one of the safest science experiments you can do, but a few precautions keep it that way.
Where to Set Up the Eruption
Do the eruption outdoors if at all possible. A driveway, patio, or backyard table is ideal because the food coloring can stain light-colored surfaces. If you must do it indoors, work over a protected surface like a plastic tablecloth, a large baking sheet, or inside a bathtub or sink.
Keep the volcano away from carpet, upholstery, and electronics. Red food coloring in particular can permanently stain fabric and porous surfaces.
Protective Gear and Supervision
Have children wear safety goggles or regular glasses to protect their eyes from splash-back during a vigorous eruption. The vinegar is mild, but it can sting if it gets in the eyes.
Adult supervision is recommended for all steps involving scissors, tape, and the eruption itself. Young children should not pour the vinegar without help because a strong eruption can splash upward unexpectedly.
Allergies and Skin Contact
The ingredients are household-safe and non-toxic. Skin contact with baking soda paste or vinegar is not harmful, but prolonged exposure can cause mild irritation. Wash hands after handling. If anyone in your group has a wheat allergy or gluten sensitivity, use the glue-based paper mache method instead of the flour and water paste.
Variations and Reusability Tips
Once you have mastered the basic build, you can customize your volcano for different effects, age groups, and educational goals.
Color and Texture Variations
Swap the red food coloring for other shades to simulate different minerals. Orange and yellow create a brighter, more cartoon-like lava perfect for younger kids. A mix of red and a drop of blue creates a deep purple flow that looks surprisingly realistic in dim lighting.
For a glittering effect, add a pinch of fine craft glitter to the baking soda before loading the bottle. The glitter rides the foam down the mountain and catches the light. Just remember that glitter does not dissolve and will need to be cleaned up.
How to Make the Volcano Reusable
The design described in this guide is already reusable because the paper mache shell is waterproof once painted with acrylics. To maximize longevity, seal the inside of the crater with an extra coat of paint or a layer of Mod Podge. This prevents the vinegar from soaking into the paper mache over time.
Between uses, let the volcano dry completely and store it in a cool, dry place. Avoid stacking heavy objects on top of it. With proper care, a well-built paper mache volcano can last through an entire school year of demonstrations.
Storage Tips
Keep your eruption ingredients in a labeled bag or box so the volcano is ready to go at a moment’s notice. A small container of pre-measured baking soda, a bottle of dish soap, a small jug of vinegar, and food coloring can be stored together. When a science lesson or a rainy-day activity calls for it, you can have the volcano erupting in under five minutes.
Extension Activities for Older Students
For middle school and high school students, take the project further. Have them calculate the molar ratio of the reaction and test whether doubling the vinegar actually doubles the gas output. You can also compare different acids, like lemon juice or citric acid solution, to see which produces the most vigorous reaction.
Another extension is building different volcano types. A wide, shallow cone simulates a shield volcano like those in Hawaii. A tall, steep cone simulates a stratovolcano like Mount Fuji. Test how the cone shape affects the speed and direction of the lava flow. This is a great way to connect the craft to actual Earth science concepts.
Frequently Asked Questions
How much vinegar and baking soda make a volcano model erupt?
For a standard 16 oz bottle volcano, use 2 tablespoons of baking soda and 1/2 cup of white vinegar. Add 1 tablespoon of dish soap for thick foam and a few drops of red food coloring. For a larger 2-liter bottle volcano, double the amounts to 4 tablespoons of baking soda and 1 cup of vinegar.
What is the best material for a volcano project?
The best material for the volcano structure is paper mache over a cardboard and newspaper cone built around a plastic bottle. For the eruption, the best combination is baking soda, white vinegar at 5 percent acidity, dish soap, and red food coloring. Play Doh or salt dough are faster alternatives if you need to skip the drying time of paper mache.
How to make a volcano erupt easily?
Load 2 tablespoons of baking soda, 1 tablespoon of dish soap, and red food coloring into the bottle inside your volcano. Pour in 1/2 cup of white vinegar in one steady pour. The eruption starts within 2 seconds and produces thick foam that flows down the sides for 15 to 30 seconds.
How do you make a volcano erupt without baking soda?
You can use the elephant toothpaste method with 1 teaspoon of dry yeast dissolved in warm water and 3 percent hydrogen peroxide. Another option is diet cola and Mentos, which creates a tall eruption through nucleation. Both methods produce dramatic results but require different safety precautions than baking soda and vinegar.
Can you reuse a baking soda volcano?
Yes, a paper mache volcano with an acrylic paint finish is fully reusable. After each eruption, rinse the bottle interior with water, dump out the rinse, and reload with fresh baking soda and dish soap. You can get 3 to 5 eruptions in one session and reuse the volcano across multiple sessions throughout the school year.
Conclusion
Learning how to build a working volcano that erupts on demand comes down to three things: a solid cone structure with a clear vent, the right ratio of baking soda to vinegar, and the often-overlooked dish soap that turns a quick fizz into a dramatic lava flow. With 2 tablespoons of baking soda, 1 tablespoon of dish soap, and 1/2 cup of white vinegar, you get a reliable eruption every single time.
The best part is that this is a reusable project. Build it once, paint it well, and you have a volcano that can erupt on command for science fairs, classroom demos, and homeschool lessons all year long. Start with the basic recipe, then experiment with ratios, colors, and cone shapes to see how each variable changes the eruption. The science is real, the mess is manageable, and the payoff is absolutely worth it.