
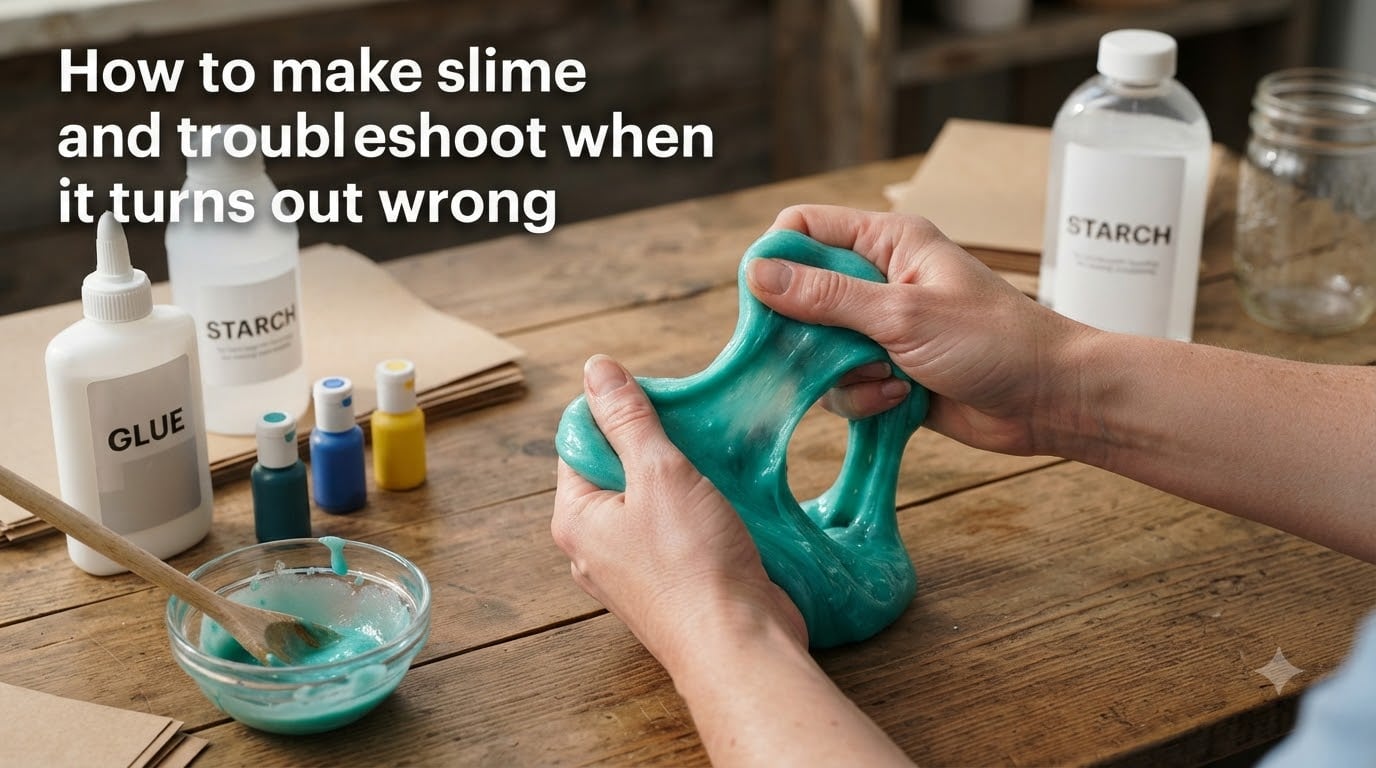
If you have ever stared at a bowl of sticky goo wondering what went wrong, you are in the right place. Learning how to make slime feels simple until your first batch turns into a runny mess or a rubbery brick. Our team has tested dozens of recipes, ruined plenty of batches, and figured out exactly what fixes each type of failure.
This guide covers the full process: the basic recipe, the science behind why slime works, and a detailed troubleshooting section for every common problem. Whether your slime is too runny, too hard, too sticky, or just will not form at all, you will find a fix here.
We also address the questions most guides skip, like why slime shrinks over time, why it leaks water after sitting, and how humidity changes your results. Let us start with the fundamentals so your next batch actually works.
Table of Contents
The Science Behind Slime: Why It Works (or Doesn’t)
Slime is not magic. It is a chemical reaction between two things: PVA (polyvinyl alcohol) glue and an activator. When you mix them, the activator causes the long polymer chains in the glue to link together in a process called cross-linking. Those linked chains create the stretchy, moldable texture we call slime.
Understanding this reaction is the key to troubleshooting. Too little activator means not enough bonds form, leaving you with runny liquid. Too much activator means too many bonds form too tightly, leaving you with hard, rubbery, or rippy slime that snaps instead of stretches.
The sweet spot sits right in the middle. Your goal is to add activator slowly until the polymer network is just strong enough to hold together while still allowing the chains to slide past each other. That balance is what gives you soft, stretchy slime.
What is PVA glue? Polyvinyl alcohol glue is a water-based adhesive containing long polymer molecules. White school glue and clear school glue from reputable brands both contain PVA. Without PVA, slime will not form, no matter how much activator you add.
What is an activator? An activator is a substance containing borate ions that trigger cross-linking. The three most common activators are borax dissolved in water, saline solution (contact lens solution containing boric acid and sodium borate), and liquid laundry starch. All three work through the same chemical mechanism.
Essential Slime Ingredients (and Which Brands Actually Work)
The single biggest factor in slime success is ingredient quality. Forum users and our own testing consistently confirm this: cheap glue is the number one reason recipes fail.
For glue, stick with Elmer’s. Both Elmer’s White School Glue and Elmer’s Clear School Glue contain reliable PVA concentrations. Dollar store glue and generic brands often have lower PVA content or different formulations that refuse to activate properly. Elmer’s Glitter Glue also works well and saves you from adding color separately.
For activator, you have three main options. Borax powder (like 20 Mule Team Borax) dissolved in warm water creates the strongest, most consistent activator. Saline contact lens solution must contain boric acid and sodium borate to work, so check the label. Liquid laundry starch (like Sta-Flo) provides a ready-to-use activator that is popular for beginners.
One critical note on saline solution: buffered saline or saline without boric acid will not activate slime. We have seen this trip up countless beginners. Read the ingredient list before you buy.
For water, use room temperature tap water. Cold water slows the reaction, and hot water can partially dissolve the forming polymer bonds.
How to Make Slime: The Foolproof Basic Recipe
This is our go-to recipe that produces reliable slime almost every time. It uses liquid laundry starch because it is the most forgiving activator for beginners.
Ingredients you need:
1/2 cup Elmer’s White School Glue
1/2 cup water (room temperature)
1/2 cup liquid laundry starch (like Sta-Flo)
Optional: food coloring or glitter
Step 1: Pour the glue into a mixing bowl. Add the water and stir until fully blended. The water thins the glue and helps the activator distribute evenly.
Step 2: Add food coloring or glitter now if you are using them. Stir thoroughly so the color is uniform before activation begins.
Step 3: Slowly pour in the liquid laundry starch while stirring continuously. You will see the mixture immediately start to clump and pull away from the sides of the bowl.
Step 4: Keep stirring until the slime forms a single mass and most of the liquid has been absorbed. This usually takes 30 to 60 seconds.
Step 5: Take the slime out of the bowl and knead it with your hands for 2 to 3 minutes. It will be sticky at first. Keep kneading. The warmth and pressure from your hands help the polymer bonds settle into their final structure.
How to tell when slime is done: Properly finished slime should stretch smoothly without breaking, hold its shape when you roll it into a ball, and pull cleanly away from your fingers without leaving heavy residue. If it snaps immediately when pulled, it is overactivated. If it dribbles off your fingers, it is underactivated.
Follow this basic ratio of 1 part glue, 1 part water, and 1 part laundry starch and you will avoid most common problems before they start.
How to Make Slime Without Borax?
Many parents prefer borax-free recipes. The good news is that saline solution and laundry starch both work without borax powder. Here is our recommended borax-free recipe using saline solution.
Ingredients: 1/2 cup Elmer’s White Glue, 1/2 cup water, 1/4 to 1/2 teaspoon baking soda, and 1 tablespoon saline contact lens solution (must contain boric acid and sodium borate).
Step 1: Mix glue, water, and baking soda in a bowl. The baking soda helps the saline solution activate properly.
Step 2: Add 1 tablespoon of saline solution and stir. The slime should begin forming immediately.
Step 3: Knead with your hands for 2 to 3 minutes. If the slime is still too sticky after kneading, add a few more drops of saline solution, one drop at a time.
The key with saline recipes is restraint. It is very easy to overactivate with saline because it is concentrated. Add less than you think you need, then adjust.
Troubleshooting Common Slime Problems
Even with a great recipe, things go wrong. Here is how to fix the five most common slime problems, based on our testing and the pain points most commonly reported in slime-making communities.
Slime Too Runny (Underactivated)
Runny slime means you have not added enough activator to form sufficient polymer bonds. The fix is straightforward but requires patience.
Step 1: Add activator in tiny amounts. We are talking 1/2 teaspoon of liquid starch or 3 to 4 drops of saline solution at a time.
Step 2: Stir thoroughly after each addition. The reaction takes a few seconds to fully develop.
Step 3: Repeat until the slime pulls together into a single mass. Stop as soon as it holds its shape.
Step 4: Knead for 2 minutes. Runny slime often just needs more kneading time to let the bonds settle.
The biggest mistake here is adding too much activator at once and swinging from runny to overactivated in one pour. Go slow.
Slime Too Hard or Rippy (Overactivated)
Rippy, hard, or rubbery slime is the most common complaint in slime communities. It means you added too much activator and the polymer bonds are too tight. You can fix this.
Step 1: If there is standing liquid starch in the bowl, pour it off before doing anything else.
Step 2: Add a small amount of glue, about 1 tablespoon at a time, and knead it in. The extra glue provides more polymer chains to spread out the bonds.
Step 3: Knead thoroughly for 3 to 5 minutes. The new glue needs time to incorporate.
Step 4: If the slime is still stiff, add a pea-sized amount of lotion or hand cream and knead it in. The oils soften the polymer network and restore stretch.
For severely overactivated slime, you may need to repeat the glue addition two or three times. Be patient and knead between each addition.
Slime Too Sticky
Sticky slime that clings to your hands is usually underactivated or under-kneaded. It can also mean your activator is too weak.
Step 1: Knead the slime for an additional 2 to 3 minutes. Sometimes stickiness is just incomplete kneading.
Step 2: If it is still sticky, add a few drops of activator (saline or starch) and knead again.
Step 3: If you do not have activator handy, coat your hands with a small amount of lotion or baby oil and knead the slime. This reduces surface stickiness temporarily.
A little stickiness is normal right after mixing. Only chase it away if the slime leaves heavy residue on your hands after full kneading.
Slime Is Stringy
Stringy slime stretches into thin threads instead of a solid sheet. This usually results from too much water or slightly too much activator.
Step 1: Knead the slime firmly for 2 to 3 minutes. Stringiness often disappears with kneading as the polymer chains align.
Step 2: If stringiness persists, leave the slime uncovered for 15 to 30 minutes. Some water will evaporate, tightening the texture.
Step 3: If it is still stringy, add a small pinch of baking soda (for saline recipes) or a tiny amount of extra glue and knead thoroughly.
Slime Won’t Form at All
If your mixture stays completely liquid no matter how much activator you add, you likely have a glue problem. This is the most frustrating failure, but the cause is almost always the same.
Check your glue first. Dollar store glue, washable glue with low PVA content, or glue that has expired will not activate. Switch to Elmer’s and start over.
Check your activator. Saline solution without boric acid or sodium borate will not work. Laundry starch that has been diluted or is past its expiration date loses potency.
Check your ratios. If you added way too much water relative to glue, there is not enough PVA to form a solid polymer network. Reduce the water and try again.
Quick-Reference Slime Troubleshooting Table
Here is a fast reference for identifying and fixing problems at a glance.
| Problem | Likely Cause | Quick Fix |
|---|---|---|
| Too runny | Not enough activator | Add activator 1/2 teaspoon at a time |
| Too hard or rippy | Too much activator | Add glue 1 tablespoon at a time, knead in lotion |
| Too sticky | Under-kneaded or underactivated | Knead longer, add a few drops of activator |
| Stringy | Too much water or slight overactivation | Knead firmly, let sit uncovered 15 minutes |
| Won’t form | Wrong glue or bad activator | Switch to Elmer’s glue, check activator ingredients |
| Leaks water | Syneresis from too much activator | Knead on absorbent surface, store airtight |
Why Slime Shrinks and Leaks Water Over Time
This is a problem almost every slime maker encounters but few guides explain. Over days or weeks, slime shrinks, gets stiffer, and sometimes beads of water pool on its surface or in the container.
The shrinking is caused by evaporation. Slime contains a significant amount of water trapped within the polymer network. Over time, that water slowly evaporates, especially if the slime is stored in a container that is not fully airtight or is opened frequently.
The water leaking is a related but distinct phenomenon called syneresis. When too much activator is used, the polymer bonds contract so tightly that they squeeze out the trapped water like a sponge being wrung. The water separates from the slime and pools in the container.
To prevent shrinking: Store slime in an airtight container with the lid sealed tightly. Avoid leaving it out for extended play sessions. Re-knead it every few days to redistribute remaining moisture.
To fix leaking slime: Pour off the excess water, then knead the slime on a paper towel to absorb surface moisture. Add a small amount of fresh glue and knead it in to rebalance the polymer-to-water ratio.
To revive dried-out slime: Add a few drops of warm water or a pea-sized amount of lotion and knead thoroughly. Repeat until the slime regains its stretch. This works best for slime that is a few weeks old. Slime that has dried hard for months may not be recoverable.
Climate and Humidity: How Weather Affects Your Slime
If you have followed a recipe perfectly and gotten different results on different days, the weather may be to blame. Humidity and temperature both affect slime chemistry.
In high humidity, the air already holds more water, which slows evaporation during kneading. Slime may feel softer and take longer to set. You might need slightly more activator than usual. In dry climates, water evaporates faster, and slime can stiffen quickly or feel brittle. You may need less activator and more kneading time.
Cold rooms slow the cross-linking reaction, making slime seem underactivated even when you added the right amount. Warm rooms speed it up, increasing the risk of overactivation. Try to make slime at room temperature, between 68 and 75 degrees Fahrenheit.
If you live in a humid climate, reduce your water slightly and expect longer kneading times. In dry climates, add a touch more water and store slime immediately after play to prevent fast evaporation.
Common Slime-Making Mistakes to Avoid
Most slime failures come down to a handful of preventable mistakes. Here are the ones we see over and over.
Using cheap or wrong glue. This is the top culprit. PVA content varies between brands. Stick with Elmer’s school glue, either white or clear. Avoid washable school glue from discount stores, glue sticks, and tacky glue.
Adding activator all at once. Pouring the full amount of activator in one go almost guarantees overactivation. Always add slowly, stir, and assess before adding more.
Rushing the knead. Slime transforms dramatically during kneading. What feels too sticky at the 1-minute mark may be perfect by minute 3. Give it the full time before deciding something is wrong.
Using the wrong saline solution. Buffered saline, saline without boric acid, or contact solutions labeled “sensitive eyes” often lack the active ingredients needed. Always check for boric acid and sodium borate on the label.
Not measuring properly. Eyeballing glue and activator leads to inconsistent batches. Use actual measuring cups and spoons, especially when starting out.
Skipping the water. Water thins the glue so the activator can distribute evenly. Omitting it leads to clumpy, uneven slime with pockets of overactivated and underactivated material.
Frequently Asked Questions
How to fix a failed slime?
First, identify the problem. If the slime is too runny, add activator in tiny amounts (1/2 teaspoon at a time) and knead. If it is too hard or rippy, add glue 1 tablespoon at a time and knead in a pea-sized amount of lotion. If it will not form at all, your glue likely lacks sufficient PVA, so switch to Elmer’s school glue and start over.
What will ruin my slime?
Using cheap non-PVA glue, adding too much activator at once, using saline solution without boric acid, skipping the kneading step, and storing slime in non-airtight containers are the most common things that ruin slime. Leaving slime out in dry air also causes it to harden and shrink.
How to fix your slime if it’s overactivated?
Pour off any standing liquid starch. Add clear or white glue 1 tablespoon at a time and knead thoroughly for 3 to 5 minutes after each addition. If the slime is still stiff, knead in a pea-sized amount of lotion or hand cream to soften the polymer bonds. Repeat as needed until the slime stretches without snapping.
What are common slime-making mistakes?
The most common mistakes are using dollar store glue with low PVA content, adding all the activator at once instead of slowly, using the wrong type of saline solution, not kneading long enough, and not measuring ingredients accurately. Measuring carefully and adding activator gradually prevents most failures.
Conclusion
Making great slime comes down to three things: quality ingredients, careful measurements, and patience during activation. Once you understand how to make slime and why the chemistry works, troubleshooting becomes intuitive rather than frustrating.
Remember the core principle. Too little activator means runny slime. Too much means hard, rippy slime. The fix is always adjusting in small increments and kneading thoroughly between each adjustment. When in doubt, go slow.
Keep your slime in an airtight container, knead it every few days, and adjust with a few drops of water or lotion when it starts to dry out. With a bit of practice, you will be turning out perfectly stretchy slime every single time.