
Building a science fair display board that actually impresses judges is harder than most students and parents expect. I have helped dozens of students prepare for school and regional science fairs, and the boards that win are rarely the ones with the most text. They are the ones that tell a clear story in seconds.
In this guide, I will walk you through exactly how to build an effective science fair display board from scratch. You will learn the standard board size, the essential sections every board needs, design tips that make your project stand out, and the common mistakes that sink otherwise good projects.
Whether you are a student preparing for your first school science fair or a parent helping a middle schooler organize their tri-fold, this guide gives you a step-by-step process you can follow today.
Table of Contents
What Is a Science Fair Display Board?
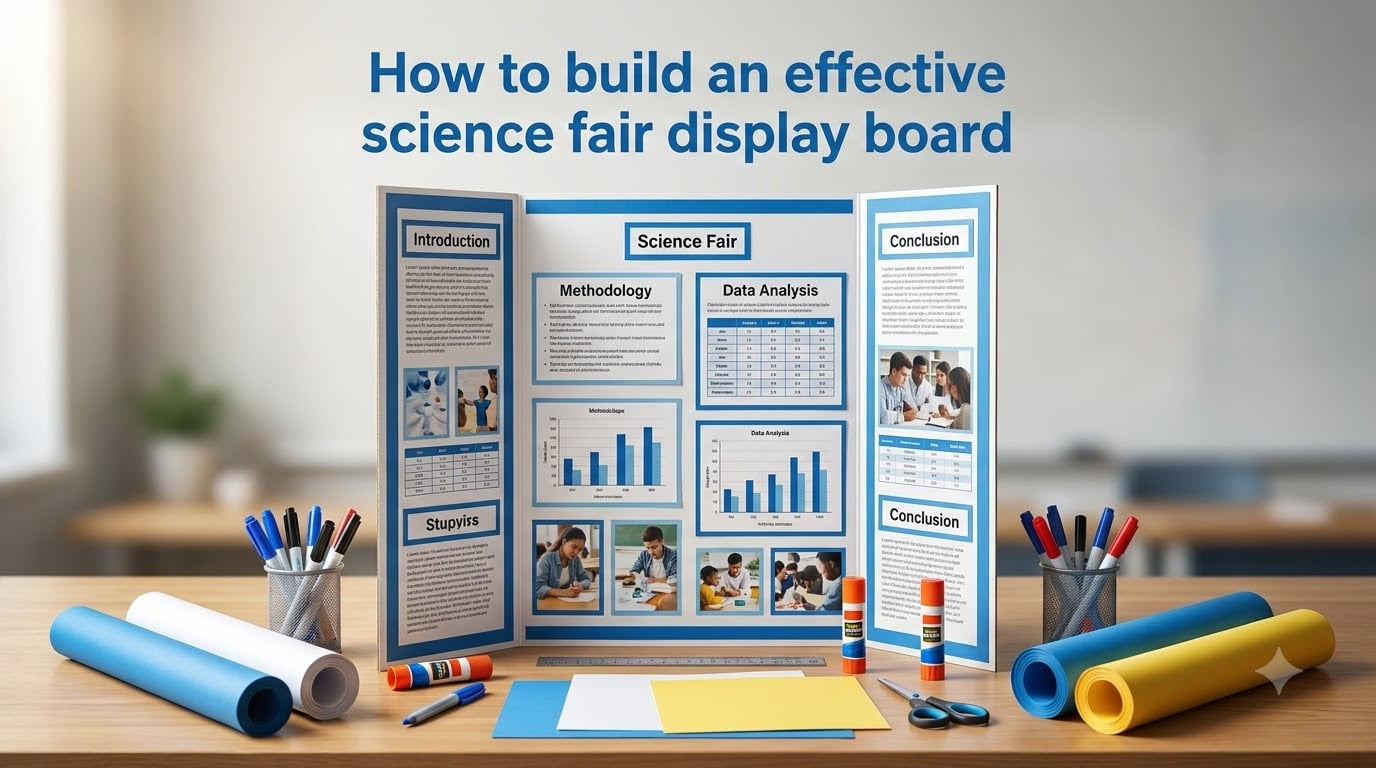
A science fair display board is a tri-fold presentation board that showcases your entire science project in a single, organized visual format. Most school and regional fairs use the standard 48 by 36 inch tri-fold board, which folds into three panels and stands upright on a table.
The board works as a visual summary of your experiment. Judges and visitors walk past dozens or hundreds of boards, so yours needs to communicate your question, method, and results at a glance. Think of it as a billboard for your science project, not a textbook.
How to Build an Effective Science Fair Display Board?
Building a great science fair display board comes down to planning the layout, gathering the right materials, assembling each section in order, and finishing with clean design touches. Here is the step-by-step process I recommend.
Step 1: Plan Your Layout Before You Cut Anything
Before touching a glue stick, sketch your layout on paper. Decide which sections go on the center panel, left panel, and right panel. Most winning boards follow a left-to-right reading flow that mirrors the scientific method.
Print or write rough drafts of every section first. Lay them out on the board without gluing so you can adjust spacing. This single step prevents the most common mistake I see: cramming too much onto the board at the last minute.
Step 2: Choose the Right Materials
Skip regular printer paper. Use cover stock (67 pound) or card stock (110 pound) for printed sections. These heavier papers look more professional, do not wrinkle when glued, and hold up during transport.
Use glue sticks generously, or use rubber cement for a cleaner finish. Avoid tape, which peels and looks sloppy. Have a paper trimmer or sharp scissors ready for clean edges.
Step 3: Assemble the Center Panel First
The center panel is your focal point. Place your title at the top, large and bold. Below the title, add your abstract or summary, your results with charts or graphs, and your conclusion. The center panel should answer the question “what did you find out?”
Step 4: Fill the Left and Right Panels
The left panel typically holds your title subtitle, question, hypothesis, and background research. The right panel holds your materials list, procedure, and any future research ideas. This creates a natural left-to-right story flow that judges can follow easily.
Step 5: Add Visual Elements and Final Touches
Photographs of your experiment, data charts, and diagrams break up text and make the board scannable. Add construction paper backings behind each white section to create a framed, color-coordinated look. Proofread every word twice.
Essential Sections Every Board Needs
Every effective science fair display board includes the same core sections, organized so judges can find them instantly. Here is the checklist I use with every student.
Title and Student Information
Your title should be catchy and descriptive, readable from at least six feet away. Use a font size of 72 points or larger. Include your name, grade, school, and teacher on a small card in the lower right corner.
Question and Hypothesis
State your research question clearly in one sentence. Follow it with your hypothesis, written as an “if-then” statement. For example: “If plants receive blue light, then they will grow taller than plants receiving red light.”
Background Research
Keep this section short. Summarize the key science concepts behind your project in three to five bullet points. Judges want to see you understand the topic, not read a research paper.
Materials and Procedure
List your materials in a clean bulleted list. Write your procedure as numbered steps, keeping each step to one line. Include a photograph or diagram of your experimental setup if possible.
Results and Data
This is where most boards succeed or fail. Use charts, graphs, and data tables instead of paragraphs of numbers. Bar graphs work for comparisons, line graphs show change over time, and pie charts show proportions. Label every axis and include units.
Conclusion and Reflection
State whether your hypothesis was supported or rejected, and explain why. Add a brief section on what you would do differently or what future research you would pursue. Judges love seeing genuine scientific thinking here.
Design Tips for Visual Impact
A board that looks organized and intentional will always score higher than one packed with information but visually chaotic. These design tips come straight from judges I have spoken with at regional fairs.
Choose Two or Three Colors Maximum
Pick a simple color scheme and stick with it. Use one color for backgrounds, one for headings, and one for accents. Too many colors make a board look cluttered and distract from the science.
Use Readable Fonts
Body text should be at least 18 points, and section headings should be 36 points or larger. Avoid decorative fonts that are hard to read. Stick with clean sans-serif fonts like Arial or Helvetica for headings and a readable serif or sans-serif for body text.
Leave White Space
White space is not wasted space. It gives the eye room to rest and helps each section stand out. If your board feels crowded, you probably have too much text. Cut until each section fits comfortably with margins around it.
Frame Each Section
Mount every white paper section on a slightly larger piece of colored construction paper. This creates a clean framed border that makes even handwritten sections look polished. It is the single fastest way to upgrade a board’s appearance.
The 5-Second Rule: How Judges Scan Boards
The 5-second rule in science fairs means that judges form their first impression of your project within about five seconds of looking at your board. In that brief window, they should be able to read your title, see your main visual result, and understand what your project investigated.
This rule explains why board design matters so much. If a judge cannot identify your question and your key finding in five seconds, they move on. Design your board so the title, one strong visual, and your conclusion are immediately visible from the center panel.
How to Present Data Clearly?
Data presentation separates good boards from winning boards. Judges want to see your evidence, but they do not want to read raw numbers. Here is how to handle data the right way.
Use the right chart for your data type. Bar graphs compare categories, line graphs show trends over time, and scatter plots show relationships between two variables. Always label your axes, include units of measurement, and add a title to every chart.
Keep tables small. If a table has more than five rows, consider turning it into a graph instead. Include a brief caption under each visual explaining what it shows and what the key takeaway is.
Highlight your most important result. Use a callout box, a colored border, or a larger chart for the finding that proves or disproves your hypothesis. Make it impossible to miss.
Common Science Fair Board Mistakes to Avoid
After working with many students, the same mistakes appear year after year. Avoiding these will immediately put your board ahead of most entries.
Too much text in long paragraphs. Break text into short bullets and use visuals instead.
Headings that are too small to read from a distance. Section headings need to be visible from across the room.
Missing key sections like the hypothesis, data, or conclusion. Always check the judging rubric.
Poor handwriting or blurry printed images. Use a printer whenever possible.
No clear story flow. A judge should be able to follow your project from left to right without getting lost.
Glue marks, crooked papers, and wrinkled sections. Take your time mounting each piece.
Forgetting to proofread. Spelling errors signal carelessness to judges.
Digital Tools for Creating Board Elements
You do not need to hand-draw everything. Free digital tools can help you create polished charts, headings, and section layouts that look professional when printed.
Google Sheets and Microsoft Excel generate clean charts from your data. Canva offers free templates for science fair headings, section dividers, and infographic-style data displays. Google Slides and PowerPoint work well for designing your full layout digitally before printing individual sections.
If you want to plan your entire board layout before assembling it, try Creately or similar diagramming tools. They let you drag and drop elements into a tri-fold template so you can experiment with arrangements digitally.
What Makes a Science Fair Board Stand Out?
Standing out is not about flashy decorations. The boards that catch a judge’s eye combine clear organization, strong visuals, and a compelling story. Here is what sets top boards apart.
A title that makes someone want to stop and read more.
One striking visual that communicates the main result instantly.
Consistent color and font choices that look intentional.
Physical props or samples from the experiment displayed in front of the board.
A clean, uncluttered layout with plenty of white space.
FAQ
What is the best size for a science fair board?
The standard science fair board size is 48 by 36 inches in a tri-fold format. This is the size most school and regional fairs require, and it provides enough space for all required sections while standing upright on a display table.
What is the 5 second rule in science fair?
The 5-second rule means judges form their first impression within about five seconds of seeing your board. In that time, they should be able to read your title, identify your main visual, and understand what your project tested.
What are common science fair board mistakes?
The most common mistakes are too much text, headings that are too small, missing required sections, blurry images, no clear story flow, sloppy mounting, and spelling errors. Avoiding these puts your board ahead of most entries.
How do you make a science fair board stand out?
Use a strong title, one striking visual for your main result, a consistent two-to-three color scheme, readable fonts, physical props from your experiment, and plenty of white space. Clean organization matters more than decoration.
How to win first place in a science fair?
Winning requires a strong project, a board that follows the 5-second rule, clear data presentation, and a confident judging interview. Your board should tell a complete story that judges can grasp quickly, supported by visuals and a clear conclusion.
Conclusion
Knowing how to build an effective science fair display board comes down to three things: telling a clear story, presenting your data visually, and designing for the 5-second rule. Plan your layout first, use quality materials like cover stock or card stock, and assemble with care.
The boards that win are not the ones with the most information. They are the ones that communicate the most clearly. Keep text short, use charts instead of raw numbers, frame every section, and proofread everything.
Now grab your tri-fold board, sketch your layout, and start building. Your project deserves a display that does it justice.