
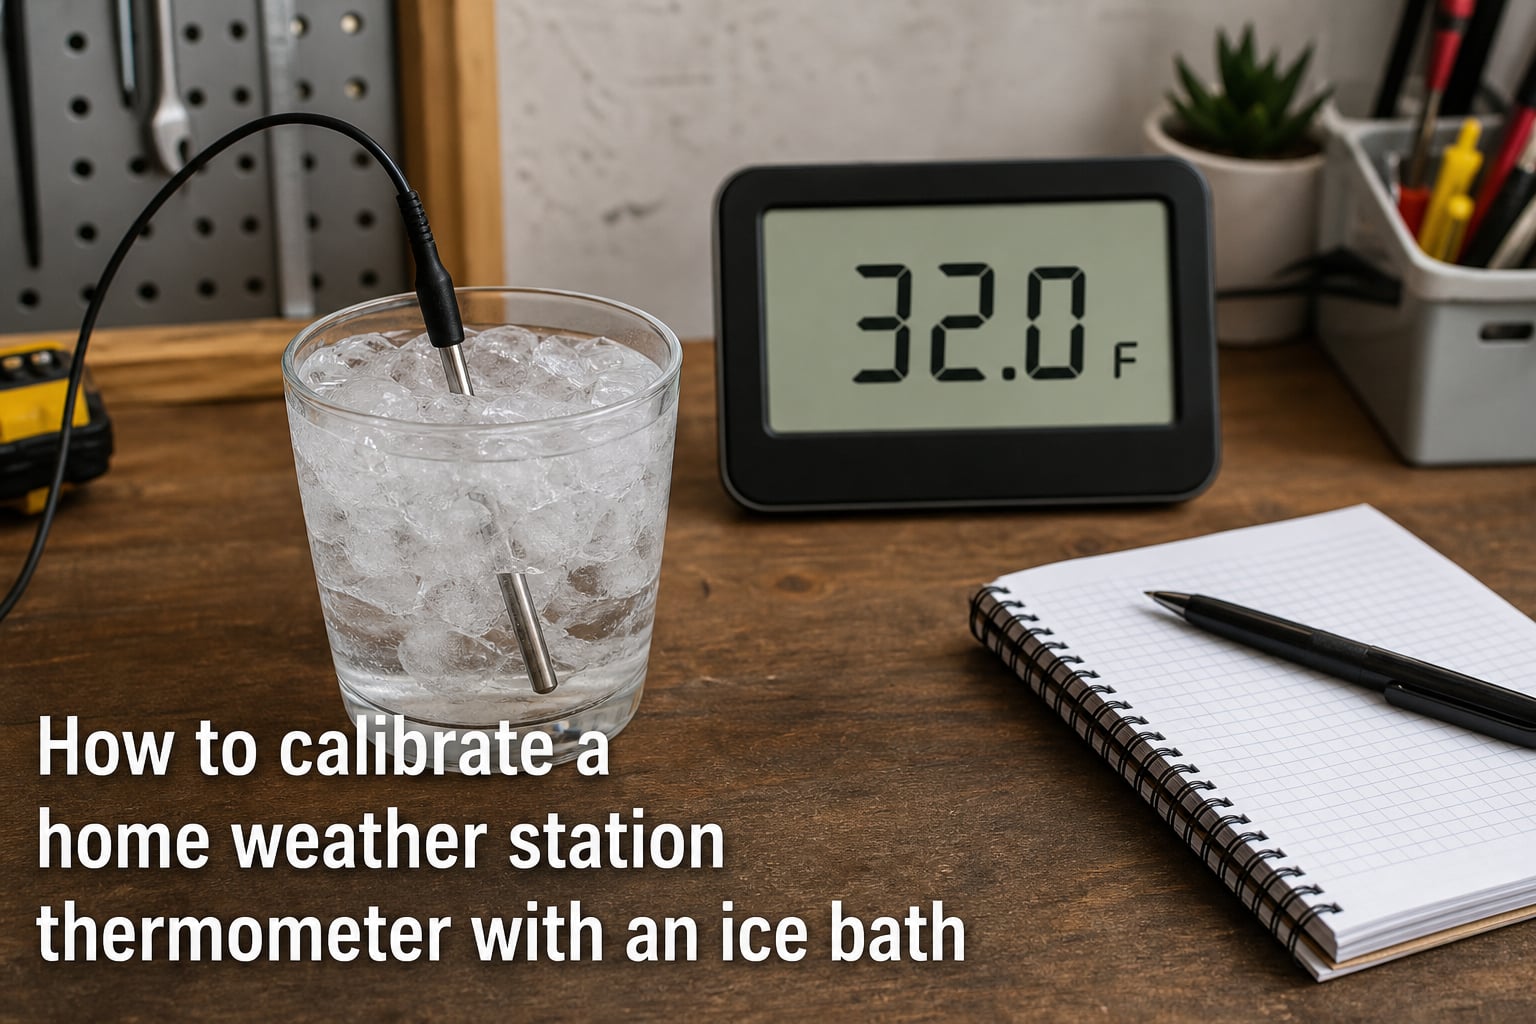
Last winter, my home weather station kept telling me it was 28°F outside while my neighbor’s identical unit read 33°F. That’s a 5-degree gap, and for anyone tracking weather data, that kind of drift is enough to throw off frost warnings, gardening decisions, and personal climate logs. I pulled the sensor indoors, ran the ice bath method on it, and discovered it was reading 4°F high. After calibration, both stations agreed within 0.3°F. That experience is exactly why I wrote this guide.
If you want to calibrate a home weather station thermometer with an ice bath, this method gives you a reliable 32°F (0°C) reference point using nothing but crushed ice, water, and a small container. In this guide, I will walk you through the science of why it works, the exact 7-step procedure, weather station-specific considerations most guides skip, and answers to the questions I hear most often from fellow weather enthusiasts.
Table of Contents
Why the Ice Bath Method Works for Weather Station Thermometers?
The ice bath method works because of a basic physical principle: when ice and water coexist in equilibrium, the mixture stabilizes at exactly 32°F (0°C). This is the freezing point of water at standard atmospheric pressure, and it is one of the most reliable reference temperatures available without specialized lab equipment.
For home weather station owners, this matters more than you might think. Outdoor sensors sit in sun, rain, and wind for months at a time, and that exposure causes drift. The thermistor or RTD (resistance temperature detector) inside your sensor slowly shifts away from true values, and the error compounds if you never check it. I have seen forum users report drift of 3°F to 5°F after a single season, which is enough to make your weather data useless for serious tracking.
The beauty of the ice bath is that it requires no certified reference thermometer. The 32°F point is defined by nature, not by your equipment. As long as your ice and water are in equilibrium, your bath is a NIST-traceable reference. That is why the GLOBE Observer program, NOAA citizen science projects, and even commercial audit standards accept the method as a valid accuracy check.
What You Need: Materials Checklist
You only need a few common items, and you probably already have most of them at home. Here is what I use every time I calibrate a weather station sensor.
A tall insulated container (I use a 16 oz foam cup or a small thermos)
Crushed ice (a full tray from your freezer, ideally let it sit 5 minutes to reach 32°F)
Clean tap water, chilled to roughly 40°F
A stirring stick (a plastic spoon works fine)
Your weather station thermometer probe or sensor
A timer or stopwatch
A notebook or phone to record the reading
One thing to avoid: do not use distilled water unless you live at very high altitude. Standard tap water freezes at the same 32°F point you are trying to verify, and the minerals in it do not affect the calibration reference. The exception is if you are above 5,000 feet, where the freezing point drops slightly and you may want to account for that, which I cover later in this guide.
How to Calibrate a Home Weather Station Thermometer With an Ice Bath: Step-by-Step
Here is the exact procedure I follow every time. Set aside about 15 minutes, and do this in a room at normal room temperature (around 68°F to 72°F) for best results.
Step 1: Prepare your crushed ice. Run a tray of ice cubes through a blender or wrap them in a towel and smash them with a rolling pin. You want pea-sized pieces, not large chunks. Smaller ice means more surface area, which speeds up equilibrium.
Step 2: Fill your container to the top with ice. Pack the foam cup or thermos full. Leave about half an inch of space at the very top so you can add water without overflow.
Step 3: Add just enough chilled water to fill the gaps. Pour slowly until water reaches the level of the ice. You should see ice floating with water filling the spaces between pieces. The ratio should look like roughly 70% ice and 30% water by volume. If you see standing water above the ice line, you have added too much.
Step 4: Stir the mixture for 30 seconds. Use your plastic spoon to gently stir. This eliminates temperature layers and brings the entire bath to equilibrium. You will feel the mixture become uniform, and tiny ice crystals may form on the spoon handle.
Step 5: Insert your thermometer probe. Submerge the sensor tip at least 2 inches into the slurry. For weather station probes with cables, make sure the sensing element (not the cable junction) is fully immersed. Do not let the probe touch the bottom or sides of the container, where temperatures can be slightly different.
Step 6: Wait for the reading to stabilize. This is where patience matters. Watch the display and wait until the reading holds steady for at least 60 seconds. For wireless sensors, watch the console display. Most digital sensors stabilize within 3 to 5 minutes, but cheap units can take up to 10 minutes.
Step 7: Record and compare. Write down the reading. A properly calibrated thermometer should read 32.0°F ±0.5°F (0.0°C ±0.3°C). If your reading falls outside that range, your sensor needs adjustment, which I cover in the next section.
Pro tip: I always run the calibration twice and average the two readings. Single readings can vary by 0.2°F to 0.4°F even on a good sensor, and averaging gives you a much more reliable baseline.
Ice Bath vs Other Calibration Methods
The ice bath is the easiest home calibration method, but it is not the only one. Here is how it compares to the alternatives I have tried over the years.
| Method | Reference Temperature | Accuracy | Equipment Needed | Best For |
|---|---|---|---|---|
| Ice Bath | 32°F (0°C) | ±0.5°F typical | Ice, water, cup | Home weather stations, quick checks |
| Boiling Water | 212°F (100°C) at sea level | ±1.0°F typical | Stove, pot, thermometer | High-range verification |
| Dry Block Calibrator | Any set point | ±0.1°F | Professional dry block unit | Commercial audit compliance |
| Reference Thermometer | Any range | ±0.05°F | NIST-traceable reference | Laboratory and scientific work |
For home weather station use, the ice bath hits the sweet spot. It is accurate enough to catch drift greater than 1°F, costs nothing, and takes 15 minutes. The boiling water method is useful if you suspect your sensor has a high-range error, but it introduces altitude complications and safety risks that the ice bath avoids.
Weather Station Specific Tips: Handling Wireless Sensors
Here is the part no other guide covers. Most calibration articles assume you have a handheld probe with a cable. Real home weather stations often have sealed wireless sensor units with the thermistor built into the housing. You cannot submerge the whole thing, and getting accurate readings takes a different approach.
For wireless weather station sensors, I use one of two methods. The first is partial submersion: if your sensor has an exposed thermistor port or vent (most Davis, AcuRite, and Ambient Weather units do), submerge only that portion in the ice bath while keeping the electronics and battery compartment dry. Wrap the battery area in a small plastic bag sealed with a rubber band if you are worried about splashes.
The second method is the sealed sensor comparison test. Place your wireless sensor next to a calibrated reference thermometer inside a shaded area for 24 hours. Compare readings at morning, midday, and evening. If the wireless unit reads consistently 2°F high across all three points, you know it has drifted and needs factory recalibration or replacement.
For indoor weather station consoles that display outdoor readings, you cannot calibrate the console directly. The calibration happens at the sensor. If your sensor does not have a calibration menu, check the manufacturer’s app or web interface. Some modern units (like the Davis Vantage Pro) let you apply an offset value to compensate for known drift without physically adjusting the sensor.
Common Mistakes to Avoid During Ice Bath Calibration
I have made most of these mistakes myself, and I see them posted in forums every week. Here is what to watch out for.
Using ice cubes straight from the freezer. Fresh from the freezer, ice is actually below 32°F because home freezers run at 0°F to 10°F. Let your ice sit at room temperature for 5 minutes before starting. I learned this the hard way and got a reading of 30°F on a perfectly accurate sensor.
Not enough ice. If your container has more water than ice, the bath will warm up faster than it equilibrates. The mixture should be mostly ice with water filling only the gaps. Think iceberg, not ice cubes in a glass of water.
Touching the container walls or bottom. The probe should hang in the middle of the slurry. Contact with the foam cup walls can throw off readings by 0.5°F to 1°F because the container conducts heat from the room.
Reading too soon. Some digital thermometers update every 5 seconds and look stable before they actually are. Watch the reading for a full minute of unchanged values before recording. Forum users often report “drift” that was actually just early reading.
Skipping the altitude adjustment at high elevation. If you live above 3,000 feet, water freezes at slightly below 32°F. At 5,000 feet, the freezing point is about 31.3°F. At 7,000 feet, it is about 30.7°F. Check your elevation and adjust your target temperature accordingly.
How Often Should You Calibrate a Weather Station Thermometer?
For most home weather stations, I recommend a calibration check twice a year: once in early fall before cold weather sets in, and once in late spring after winter. That timing catches drift from temperature cycling and UV exposure, which are the two biggest causes of sensor drift.
If you live in a climate with extreme temperatures (below 0°F in winter or above 100°F in summer), check three times a year. If you notice your readings consistently differ from a trusted local weather station by more than 2°F, check immediately regardless of schedule.
For citizen science participants logging data with GLOBE Observer or CoCoRaHS, monthly checks during the first year are wise. After you understand your sensor’s drift pattern, you can settle into a routine that matches your unit’s actual behavior. I keep a simple spreadsheet with date, reading, and adjustment, and that log has saved me hours of guesswork over the years.
FAQ Section
How do you calibrate a thermometer in an ice bath?
Fill a container with crushed ice, add just enough chilled water to fill the gaps between ice pieces, stir for 30 seconds, insert the thermometer probe into the middle of the slurry without touching the container, and wait for the reading to stabilize for at least 60 seconds. A properly calibrated thermometer should read 32°F (0°C) within ±0.5°F.
What temperature should a thermometer read in ice water?
A correctly calibrated thermometer should read 32°F (0°C) when placed in an ice bath made of crushed ice and water at equilibrium. Readings outside 32°F ±0.5°F indicate the thermometer needs adjustment or replacement.
How to calibrate a weather thermometer?
For a home weather station sensor, prepare an ice bath of crushed ice and chilled water, submerge only the thermistor portion of the sensor (keeping electronics dry for wireless units), wait for the reading to stabilize for 60 seconds, and compare against 32°F. Most modern weather stations allow offset adjustment through the console or app.
How to calibrate a thermometer using the ice point method?
The ice point method relies on the freezing point of water, which is exactly 32°F (0°C) at standard sea-level pressure. When ice and water exist together in equilibrium, the mixture holds this temperature regardless of ambient conditions, creating a reliable reference for checking thermometer accuracy.
How do I know if my weather station thermometer is accurate?
Compare your weather station readings against a trusted local weather station or run an ice bath calibration. If your readings differ by more than 2°F from the local source or fall outside 32°F ±0.5°F in an ice bath, your sensor needs adjustment or replacement. Twice-yearly calibration checks catch drift before it affects your data.
Conclusion
Calibrating your home weather station thermometer with an ice bath is a 15-minute task that pays off in accurate, trustworthy weather data. The 7-step procedure I outlined gives you a reliable 32°F reference using nothing but crushed ice, water, and your existing sensor. Run the check twice a year, pay attention to wireless sensor handling, and watch for the common mistakes that throw off readings.
Your next step is simple: pull your outdoor sensor indoors, run the ice bath procedure this weekend, and see how far your unit has drifted. If you find more than 2°F of error, apply an offset through your console or contact the manufacturer about replacement. Accurate weather data starts with a calibrated sensor, and now you have everything you need to get there.