
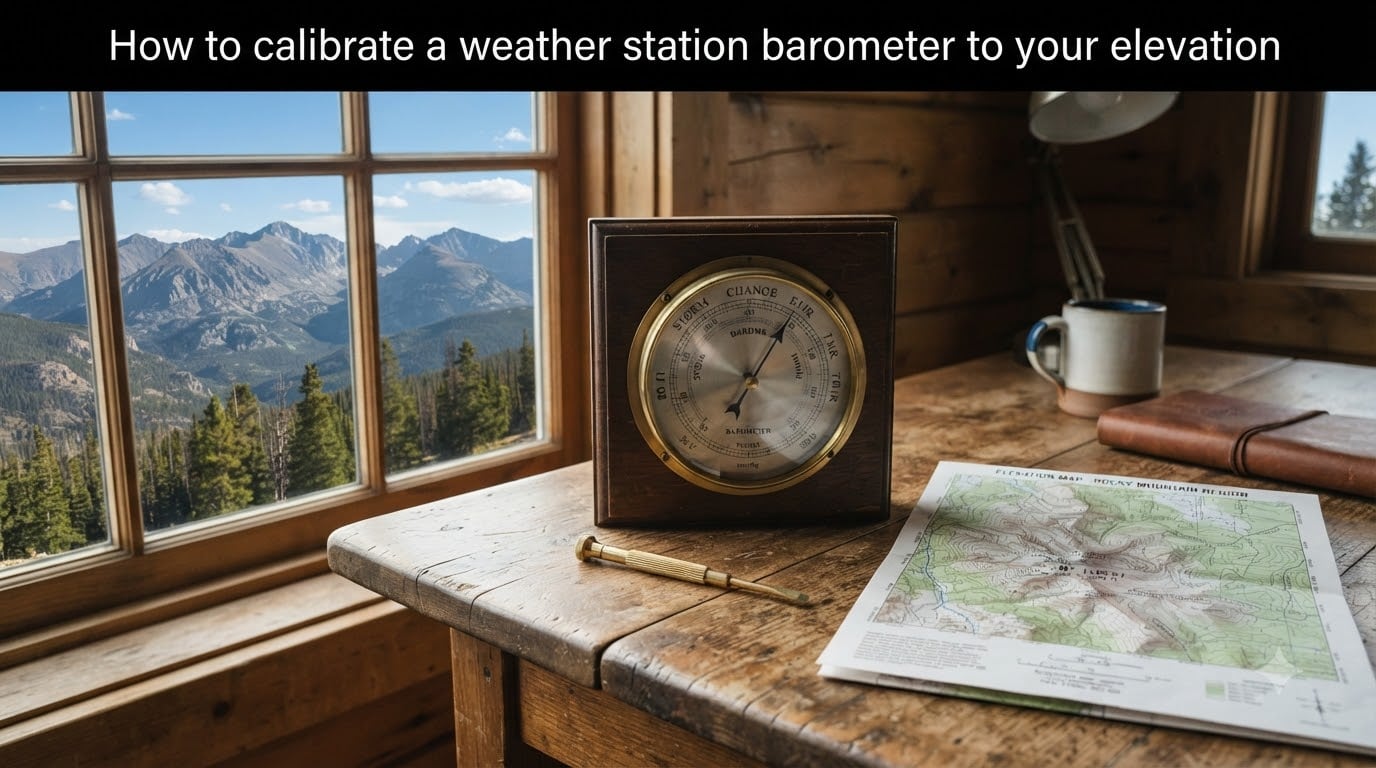
If your weather station barometer consistently reads high or low, the most likely culprit is elevation. Atmospheric pressure drops about 1 hPa for every 8 to 10 meters you climb above sea level, which means an uncalibrated barometer at 500 meters can be off by 50 hPa or more. Learning how to calibrate a weather station barometer to your elevation fixes this gap and gives you readings that actually reflect real atmospheric conditions.
I have helped dozens of home weather station owners dial in their sensors over the years, and the process is the same whether you have a classic aneroid wall barometer or a digital console. You need a trusted sea-level reference, your exact elevation, and a few minutes of patience. This guide walks through each step, covers both analog and digital calibration methods, and addresses the common pitfalls that cause drift.
By the end, you will know the difference between absolute and relative pressure, where to find a reliable calibration reference, and exactly which screw or menu setting to adjust on your device.
Table of Contents
Why Barometer Calibration Matters for Your Elevation?
A barometer measures the weight of the air above it. The higher you go, the less air sits on top of the sensor, so the pressure reading naturally drops. This is not a defect. It is physics.
Without correcting for elevation, your barometer reports absolute pressure (ABS), which is the raw pressure at your location. Weather forecasts, however, use relative pressure (REL) reduced to sea level. If your device never gets calibrated to account for your altitude, the numbers on your display will not match any weather report, and your short-term forecasts will be unreliable.
Drift adds another layer. Aneroid barometers use a small metal capsule that flexes with pressure changes. Over time, the metal fatigues and the capsule weakens. Shipping, temperature swings, and even vibrations from being moved across the house can throw the reading off. Digital sensors experience similar drift in their piezo-resistive elements. Recalibration every few months keeps both types accurate.
Understanding ABS vs REL Pressure Readings
The single biggest source of confusion I see on weather station forums is the difference between ABS and REL. Get this concept clear before touching any screws, and the calibration process becomes straightforward.
ABS (Absolute Pressure) is the actual, uncorrected atmospheric pressure at your sensor’s physical location. If you live at 300 meters elevation, your ABS will always be lower than sea-level pressure by roughly 35 hPa. This value is real and physically correct for where you are standing.
REL (Relative Pressure) is your ABS reading mathematically reduced to what it would be at sea level. This is what meteorologists, aviation reports, and weather apps all publish. To get REL, your station adds an elevation correction factor to the ABS value.
The relationship is simple: REL equals ABS plus the pressure difference caused by your elevation. When you calibrate, you are either adjusting the REL offset directly or entering your altitude so the station computes REL for you. The goal is to make your REL match the official sea-level pressure for your area.
How Altitude Affects Barometric Pressure?
Pressure decreases with altitude because fewer air molecules sit above you. The International Civil Aviation Organization (ICAO) standard atmosphere model defines this relationship with a predictable formula.
For quick reference, pressure drops approximately 1 hPa for every 8 to 10 meters of elevation gain near sea level. At higher altitudes the rate slows slightly because the air is thinner. A useful rule of thumb: for every 100 meters of elevation, expect your ABS to be about 11 to 12 hPa lower than the sea-level value.
The full barometric formula for reducing station pressure to sea level is: P0 = P x (1 – 0.0065h / (T + 0.0065h + 273.15))^(-5.257), where P0 is sea-level pressure, P is your station pressure, h is your elevation in meters, and T is temperature in Celsius. Most digital weather stations handle this calculation internally once you enter your altitude.
If your station does not have an altitude input, you can calculate the correction manually. Find your elevation, use the ICAO formula or an online pressure-to-altitude calculator, and add the resulting offset to your ABS reading.
Step-by-Step Guide: How to Calibrate a Weather Station Barometer to Your Elevation
Follow these steps to calibrate any barometer, analog or digital. I have broken out specific instructions for each type in the sections that follow.
Find your exact elevation. Use a GPS app, Google Earth, or your local government survey data. Get the number in meters to the nearest 5 meters for best accuracy.
Get the current sea-level pressure for your location. Check your national weather service, a nearby airport’s METAR report, or an aviation weather source. Note the time of the reading.
Read your barometer’s current ABS value. For digital stations, switch the display to ABS mode. For aneroid barometers, lightly tap the glass and read the needle position.
Compare your ABS to the reference sea-level pressure. The difference between the two is your elevation correction plus any sensor drift.
Adjust the calibration. Use the screw on an aneroid barometer or the calibration menu on a digital station to set the REL reading equal to the reference sea-level pressure.
Wait 15 minutes and verify. Atmospheric pressure fluctuates slightly minute to minute. Check that your reading still matches the reference after a short wait.
Document the offset. Write down the correction value and date so you can track drift over time.
Finding Your Local Sea-Level Pressure Reference
Your calibration is only as good as your reference source. I recommend using official data rather than a neighbour’s weather station or a phone app, since those may themselves be uncalibrated.
National weather services: In Australia, the Bureau of Meteorology publishes current mean sea-level pressure (MSLP) for hundreds of stations. In the US, the National Weather Service provides the same. In the UK, the Met Office offers regional pressure readings. Find the station closest to you, ideally within 50 km.
Airport METAR reports: Aviation data is tightly regulated and updated at least hourly. Search for your nearest airport’s METAR to find the altimeter setting, which is sea-level pressure expressed in inches of mercury (inHg) or hectopascals (hPa). The aviation term for this is QNH.
Online weather services: Sites like Windy, WeatherUnderground, or aviationweather.gov pull from official sensors and display current MSLP. These are convenient but verify the timestamp is recent.
One important note: airport altimeter settings and weather service MSLP can differ by 1 to 2 hPa because they use slightly different reduction formulas. Pick one source and stick with it for consistency across recalibrations.
Calibrating an Aneroid Barometer (Manual Screw Method)
Traditional aneroid barometers, like the classic Fischer or TFA wall models, use a mechanical adjustment screw. The process takes about 5 minutes.
Tap the glass lightly. Aneroid needles can stick due to friction. Tapping frees the mechanism so you read the true value. If the needle jumps more than 1 hPa after tapping, that indicates a sticky mechanism that needs attention.
Note the current reading. Record what the needle shows right now.
Get your reference sea-level pressure. Pull the current MSLP from your nearest official source.
Locate the calibration screw. On most aneroid barometers, a small screw sits on the back of the casing. Some models hide it behind a removable cover. Turn it gently with a small flathead screwdriver.
Turn the screw slowly. Rotate clockwise to increase the reading, counterclockwise to decrease. Move in small increments. The needle responds immediately on quality units.
Match the needle to the reference value. Stop turning when the needle points exactly to the current sea-level pressure for your area.
Tap and recheck. Tap the glass again. The needle should settle back on the correct value. If it drifts, the capsule may be fatigued and need professional servicing.
Never force the screw. If you feel resistance, stop. Overtightening can damage the spring mechanism and ruin the barometer.
Calibrating a Digital Weather Station (Menu and Offset Method)
Digital weather stations from brands like Ambient Weather, Davis, or La Crosse handle calibration through on-screen menus. The exact button sequence varies, but the principle is the same: you either enter your altitude and let the station compute REL, or you manually adjust the REL offset.
Enter your elevation in the station settings. Most modern consoles have an altitude input field in the setup menu. Once entered, the station automatically applies the ICAO reduction formula to compute REL from ABS.
If elevation input is not available, use the offset method. Calculate the difference between your ABS and the local sea-level pressure, then enter that value as a calibration offset. On Ambient Weather consoles, press and hold the SET button for two seconds, then press SET repeatedly (sometimes 11 or more times) until the pressure value flashes.
Adjust the flashing value to match your reference. Use the up and down arrows to change the REL reading until it equals the current official sea-level pressure.
Press SET to confirm. The station saves the offset and applies it to all future readings.
Switch between ABS and REL on the display. Verify both values look reasonable. ABS should be lower than REL by roughly your elevation correction, and REL should match the reference.
For software-connected stations running WeeWX, Weather Display, or similar platforms, you can also set the calibration offset in the software configuration. This is useful if the console hardware does not allow fine enough adjustment.
Verifying Your Calibration and Troubleshooting Common Issues
After calibrating, check your work. Compare your REL reading to the official source at three different times over 24 hours. All three should match within 1 to 2 hPa. Larger discrepancies signal a problem.
Stuck needle on aneroid barometers: If tapping the glass causes the needle to jump significantly, the mechanism has friction. Repeat the tap-and-read cycle several times. If it keeps sticking, the unit needs professional cleaning or a new capsule. Do not attempt to oil or lubricate the mechanism yourself.
Constant drift after calibration: If your readings wander by more than 3 to 4 hPa per week, the sensor has a problem. For digital stations, check the firmware for known sensor issues. For aneroid units, the capsule may be reaching end of life. Quality aneroid capsules last 10 to 15 years.
Readings correct but weather station shows wrong value: This usually means the console is displaying ABS when you expect REL, or vice versa. Check your display mode setting. Some consoles default to ABS out of the box.
Temperature sensitivity: If your barometer reads differently in the morning versus afternoon even when actual pressure is stable, the sensor has temperature compensation issues. Quality units compensate automatically, but cheap sensors drift with temperature. Mount your sensor away from direct sun and heat sources.
Pressure Unit Conversions: hPa, inHg, and mb
Different sources report pressure in different units. Knowing the conversions helps you compare your reading to any reference.
1 hectopascal (hPa) = 1 millibar (mb). These are identical units with different names.
1 inch of mercury (inHg) = 33.8639 hPa. To convert inHg to hPa, multiply by 33.8639.
1 hPa = 0.02953 inHg. To convert hPa to inHg, multiply by 0.02953.
Standard sea-level pressure is 1013.25 hPa, 1013.25 mb, or 29.92 inHg.
Most digital weather stations let you switch between units in the display settings. Set your station to match the unit your reference source uses, or keep a conversion calculator handy.
Maintenance Schedule to Keep Your Barometer Accurate
Calibration is not a one-time task. Sensors drift, mechanisms fatigue, and environmental conditions change. Build a simple maintenance routine.
Check monthly: Compare your REL reading to an official source once a month. If the difference exceeds 2 hPa, recalibrate.
Recalibrate seasonally: Temperature swings between summer and winter affect sensor accuracy. Do a full calibration at the start of each season.
Recalibrate after moving: If you relocate the station to a different room, floor, or building, the elevation may have changed enough to require adjustment.
Recalibrate after shipping: New weather stations often arrive with factory calibration that does not match your altitude. Calibrate on day one before trusting any readings.
Track your offsets: Keep a log of each calibration date and the correction value applied. If the offset keeps growing month over month, the sensor is degrading and may need replacement.
A well-maintained aneroid barometer can stay within 1 hPa for years. Digital sensors typically hold accuracy for 2 to 5 years before drift becomes noticeable. Treat calibration as routine maintenance, not a repair task.
Frequently Asked Questions
How do I adjust my barometer to my altitude?
To adjust your barometer to your altitude, first find your exact elevation using GPS or survey data. Then get the current sea-level pressure from your nearest weather service or airport METAR report. On a digital station, enter your elevation in the settings menu so it automatically computes relative pressure. On an aneroid barometer, turn the calibration screw on the back of the unit until the needle matches the current sea-level pressure for your area.
How to tell if a barometer is accurate?
Compare your barometer’s relative pressure reading to an official sea-level pressure source like a national weather service or airport report. If the values match within 1 to 2 hPa, your barometer is accurate. Check at three different times over 24 hours for a reliable assessment. Persistent differences of more than 3 hPa indicate the unit needs recalibration or servicing.
How to convert barometric pressure to altitude?
Use the ICAO standard atmosphere formula: pressure drops approximately 1 hPa for every 8 to 10 meters of elevation gain. For precise conversions, use the barometric formula P0 = P x (1 – 0.0065h / (T + 0.0065h + 273.15))^(-5.257), where h is elevation in meters and T is temperature in Celsius. Online pressure-to-altitude calculators handle this computation automatically.
How do I calibrate my weather station?
Calibrate your weather station by finding your exact elevation, getting the current official sea-level pressure for your area, and adjusting your station’s relative pressure setting to match. For digital consoles, navigate to the calibration menu, enter your altitude or manually set the REL offset. For aneroid barometers, turn the adjustment screw on the back until the needle matches the reference. Verify accuracy by comparing readings over 24 hours.
Conclusion
Knowing how to calibrate a weather station barometer to your elevation transforms unreliable numbers into accurate, forecast-ready data. The process comes down to three things: knowing your elevation, finding a trusted sea-level pressure reference, and making the right adjustment to your specific device.
Whether you turn a screw on an analog barometer or navigate a menu on a digital console, the principle is identical. Match your relative pressure to the official reading, verify over 24 hours, and recalibrate every few months to account for drift.
Take 10 minutes today to check your barometer against a local weather service reading. If it is off by more than 2 hPa, run through the calibration steps above. Your forecasts will be sharper, your data will be trustworthy, and you will catch weather changes before they arrive.