
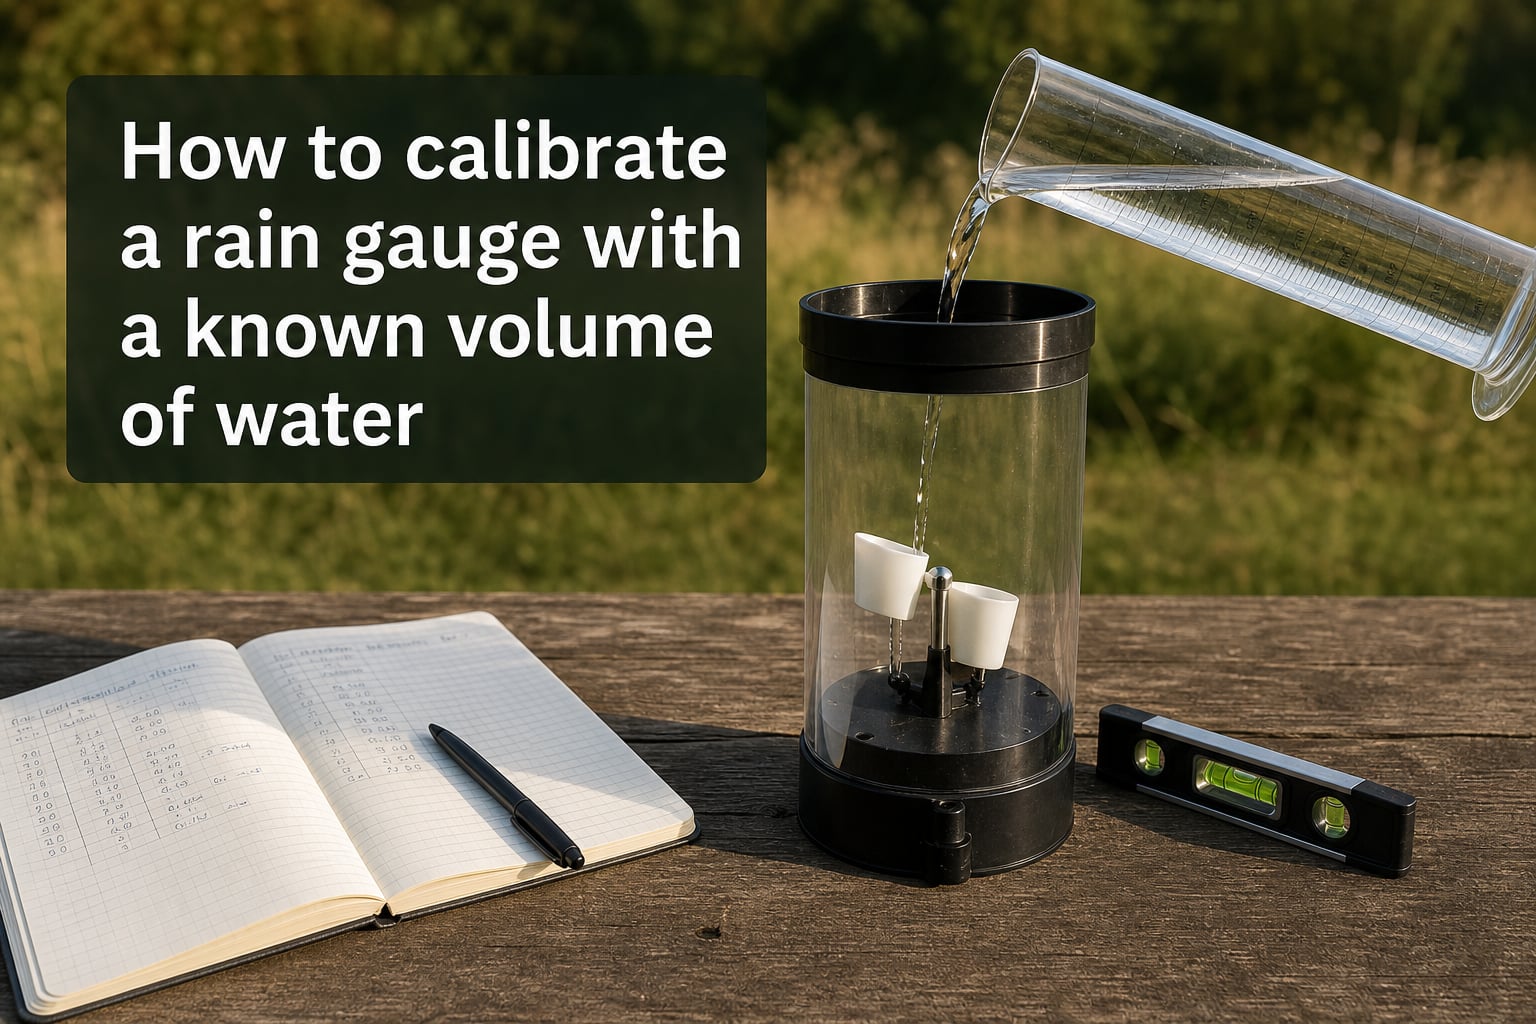
If your weather station has been telling you that last week dropped twice as much rain as your neighbor’s gauge showed, you are not alone. I have run into this exact problem many times testing instruments for citizen science projects. The fix is almost always the same: you calibrate your rain gauge with a known volume of water. This simple test takes about 20 minutes and turns rough guesses into defensible numbers.
Rain gauge calibration is the process of verifying that your instrument correctly converts collected water into a rainfall depth. You do this by introducing a measured volume of water into the gauge and checking whether its reading matches what the math predicts. Done right, it gives you confidence that every storm you log afterward reflects reality.
Table of Contents
What Is Rain Gauge Calibration and Why It Matters?
Rain gauge calibration compares your gauge’s reading to a known input. You pour a precise amount of water into the collector under controlled conditions, then read what the gauge reports.
If the gauge reads 10 mm and you added the water that should equal exactly 10 mm, it is calibrated. If it reads 9 mm or 11 mm, you have a calibration error you can correct or document.
Accurate rainfall data matters far beyond casual curiosity. Farmers use it to schedule irrigation. Hydrologists feed it into flood models. Citizen scientists contribute it to regional rainfall maps like CoCoRaHS. Even a 10 percent error over a season can shift your conclusions about drought or runoff.
The good news: you do not need a lab to do this. A graduated cylinder, a steady hand, and a little math are enough.
Tools You Need to Calibrate a Rain Gauge
Before you start, gather these items. I keep them in a single bin so calibration day takes 20 minutes, not two hours.
Graduated cylinder or calibration beaker: A 100 mL or 250 mL lab cylinder gives best precision. Many tipping bucket gauges ship with a 946 mL calibration beaker.
Syringe (optional): A 50 mL or 60 mL syringe works well for low-flow tests on tipping bucket gauges. It allows you to drip water at simulated rainfall rates.
Stopwatch or phone timer: Needed if you are testing accuracy at different rainfall intensities.
Level surface: A small bubble level confirms the gauge sits perfectly flat. Even a 2 degree tilt can throw off readings.
Notebook or data sheet: Record volume poured, time, gauge reading, and temperature. NIST-traceable labs document every test. You should too.
Distilled or tap water: Distilled avoids mineral residue in narrow tubes. Room-temperature water prevents volume contraction errors.
The Volume-to-Rainfall Conversion Formula
Every rain gauge works on one principle: rainfall depth equals volume divided by catchment area. The formula is simple once you see it.
Rainfall (mm) = Volume (mL) ÷ Catchment Area (cm²) × 10
The factor of 10 converts the units. One millimeter of rain over one square centimeter equals one milliliter of water. That is a useful shortcut to memorize.
Here is a worked example. Your gauge has a 200 cm² catchment opening (typical for many tipping bucket designs). You pour 200 mL of water in. Expected reading: 200 mL ÷ 200 cm² × 10 = 10 mm. If the gauge reads 10.1 mm after the test, you are within 1 percent. Excellent.
Reverse the calculation to figure out how much water to pour for a target reading. If you want to simulate a 25 mm rain event on a 200 cm² collector, you need 25 mm × 200 cm² ÷ 10 = 500 mL of water.
For a quick reference without a calculator: 10 times the surface area of the opening in cm² equals the milliliters of water that represent 1 mm of rain. A gauge with a 100 cm² opening takes 1000 mL to deliver 10 mm. A gauge with a 50 cm² opening takes 500 mL for the same 10 mm.
Step-by-Step Calibration Procedure Using a Known Volume
Follow these steps in order. I run them every quarter on my home weather station and have caught drift within 3 percent twice.
Step 1: Prepare the gauge. Remove debris, spider webs, and old water from the funnel. Place the gauge on a level surface away from structures that block rain or create splash.
Step 2: Record the current reading. Note the baseline value on the gauge or data logger. Make sure the data logger timestamp is correct.
Step 3: Measure the test volume. Using your graduated cylinder, measure the water volume that should produce a specific rainfall depth. For a 200 cm² gauge and a 10 mm target, measure exactly 200 mL.
Step 4: Pour at a controlled rate. Pour steadily so the gauge does not overflow. For tipping bucket gauges, pour slowly enough that each tip can complete before the next arrives. A typical 0.1 mm resolution bucket tips every 2 mL or so.
Step 5: Record the final reading. Once all water has drained through, wait 30 seconds for the last drops, then read the total.
Step 6: Compare to expected value. Use the formula to calculate what the reading should have been. Note the difference.
Step 7: Calculate the error. Error percent = (Measured − Expected) ÷ Expected × 100.
Step 8: Repeat three times. One test is not enough. Run the procedure three times and average the results. This reduces random error.
Three Calibration Methods You Can Use
Different tools produce different tests. The method you pick depends on the gauge type and what you want to learn.
Direct pour with a graduated cylinder. The simplest method. Pour the full measured volume steadily into the funnel. Best for verifying total accumulation accuracy. Works on any gauge type including manual tube and tipping bucket.
Syringe drip method. A 50 or 60 mL syringe lets you drip water slowly, simulating real rain intensity. This catches errors that the direct pour method misses, especially in tipping bucket gauges where fast flows can cause tipping errors or splashing. A typical test takes 5 to 10 minutes per 10 mm of simulated rain.
Calibration beaker method. Professional gauges ship with a calibration beaker (often 946 mL for a 1 inch target). The beaker pours water at a fixed, calibrated rate. This is the method Campbell Scientific and other manufacturers use. It produces consistent, repeatable results across test sessions.
For a 0.1 mm resolution tipping bucket gauge with a 200 cm² catchment area, each tip represents 2 mL of water. If you see 50 tips after pouring 100 mL when the math says you should have seen 50 tips (each at 2 mL), the gauge is dead-on accurate.
How to Calculate Accuracy and Error
Accuracy is the closeness of a measurement to the true value. Most professional weather gauges are rated within ±2 percent up to 25 mm per hour. Anything within ±5 percent is generally acceptable for home or citizen science use.
To calculate your error, take the difference between measured and expected, divide by expected, and multiply by 100.
Example: you pour 500 mL into a 200 cm² gauge expecting 25 mm. The gauge reads 24.2 mm. Error = (24.2 − 25) ÷ 25 × 100 = −3.2 percent. That is a small underread, easy to compensate for in a data logger gain setting.
If your error is greater than 5 percent, look for the cause before recalibrating. Check level, look for clogs, and inspect the funnel for damage. Only after mechanical issues are ruled out should you apply software corrections.
Common Mistakes and Pro Tips
I have made most of these mistakes myself at some point. Save yourself the trouble.
Skipping the level check. A tilted gauge reads low. Always confirm level first.
Pouring too fast. Fast pours cause splashing out of the funnel. Slow down.
Using cold water. Cold water contracts and changes volume. Use room-temperature water for precision work.
Testing only once. One trial has too much random error. Always run at least three.
Ignoring intensity. A gauge can be accurate at 5 mm per hour but sloppy at 50 mm. Test at multiple drip rates if your setup allows.
Forgetting debris. A leaf in the funnel reduces catchment area. Clean before every test.
One pro tip I learned from a Campbell Scientific engineer: log the temperature of your test water. Every 5 degrees Celsius shift changes water volume by about 0.1 percent. Small, but it adds up over careful work.
Maintaining Calibration Over Time
Calibration drifts. UV degrades plastics, dust changes the catchment area, and the magnetic reed switch inside a tipping bucket wears. Plan to recalibrate at least once per year, ideally at the start of the wet season.
Clean the funnel monthly. Inspect the level every few months. Keep records of every test so you can spot trends. I file mine in a spreadsheet with date, volume, expected, measured, and error percent columns. After three years of data, I can see my own gauge drifts roughly 1 percent per year and I now schedule calibration every six months.
For the most rigorous work, send your gauge to a NIST-traceable calibration lab every two to three years. They will issue a certificate with measured accuracy at multiple rainfall intensities. That kind of documentation is the gold standard for research-grade data.
Frequently Asked Questions
How do I calibrate a homemade rain gauge?
Use a graduated cylinder to measure a known volume of water, then pour it slowly into your homemade gauge. Compare the reading to what the formula predicts: rainfall (mm) = volume (mL) ÷ catchment area (cm²) × 10. Run three trials and average the result. A reading within 5 percent of expected is acceptable for most citizen science work.
How do I know if my rain gauge is accurate?
Pour a measured volume of water into the gauge under controlled conditions. If the gauge reading matches the volume-to-rainfall conversion formula prediction within 2 to 5 percent, your gauge is accurate. Comparison with a neighbor’s calibrated gauge also reveals accuracy over time.
How big does a rain gauge have to be to be accurate?
Accuracy depends more on calibration than size, but larger catchment areas reduce measurement uncertainty. A gauge with a 200 cm² opening is standard for professional use. Smaller gauges work fine for home use as long as you calibrate them regularly and read the level precisely.
Are rain gauges calibrated at the factory?
Most professional tipping bucket gauges are factory calibrated to within 2 percent using a NIST-traceable process. However, gauges drift over time from wear, debris, and UV exposure. Annual recalibration is recommended for research-grade data collection.
How do I calibrate a tipping bucket rain gauge?
Use a graduated cylinder or syringe to slowly drip a known volume of water into the funnel. Count the tips produced. Compare to the expected number based on the manufacturer’s mL-per-tip specification. For example, a 0.1 mm gauge with 2 mL per tip should produce 50 tips from 100 mL of water.
Final Thoughts on Calibrating Your Rain Gauge
Learning how to calibrate a rain gauge with a known volume of water turns a passive rain counter into a real scientific instrument. Set aside 20 minutes, gather a graduated cylinder and a notebook, and run through the steps. Three trials and a simple error calculation will tell you exactly how your gauge performs.
Once you have a calibrated baseline, recalibrate at least once per year. Your weather data, and the science projects it supports, will be the better for it.