
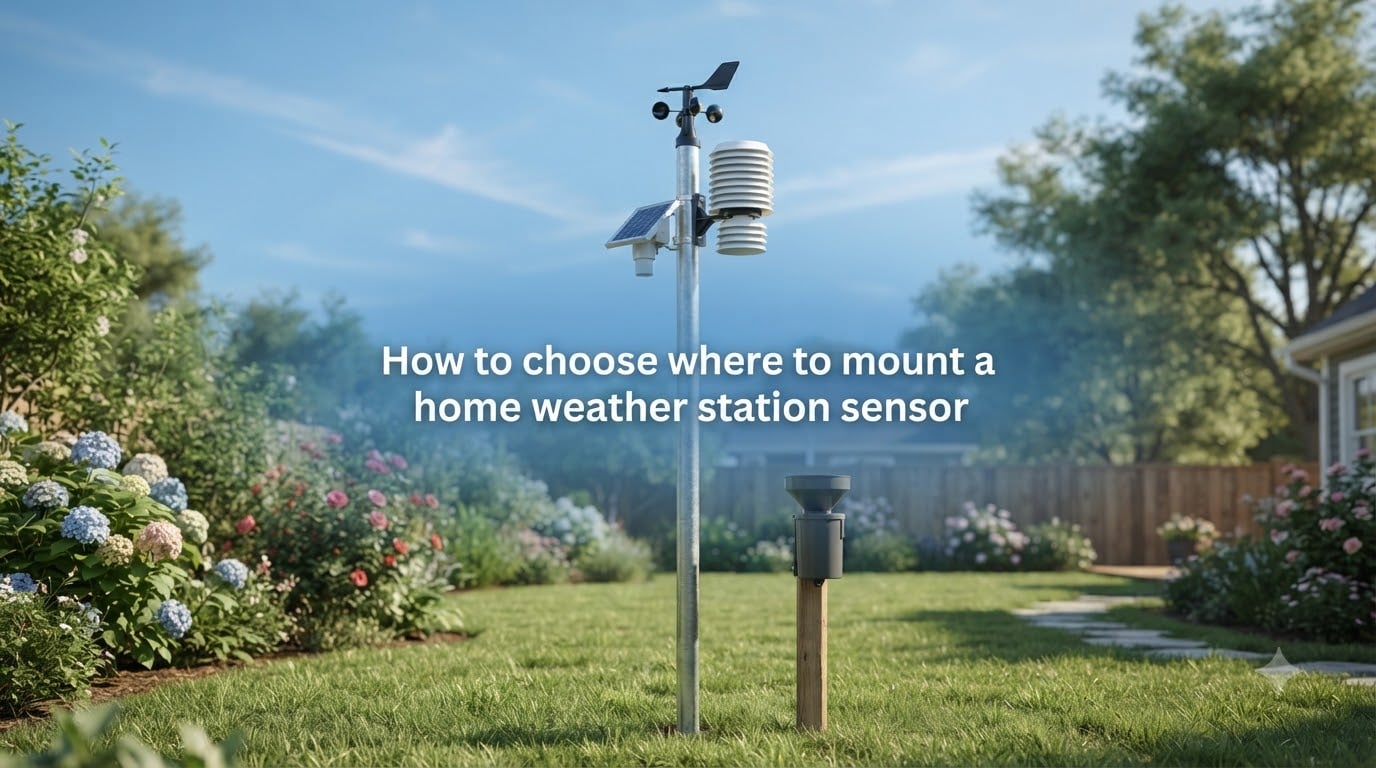
Choosing where to mount a home weather station sensor is the single biggest factor in getting accurate readings. I have moved my own station three times over six years, and each move taught me that a $300 instrument mounted in a bad spot will outperform a $30 instrument mounted correctly, but barely. This guide walks you through the exact rules used by the National Weather Service (NWS) and the World Meteorological Organization (WMO), then shows you how to apply them when your yard, roof, or balcony does not match the textbook ideal.
By the end, you will know the right height for every sensor, how far to keep them from your house and trees, and how to make smart trade-offs when you cannot satisfy every guideline at once.
Table of Contents
Why weather station sensor placement matters for accurate readings?
Weather station sensor placement, also called “siting,” determines how closely your readings match the actual conditions of your microclimate. A temperature sensor in direct afternoon sun can read 10 to 15 degrees higher than the true air temperature. A wind sensor tucked behind a shed can underreport wind speed by 40% or more. A rain gauge near a tree edge can miss 20% of rainfall because of wind shadows.
The WMO and NWS publish siting standards for a reason: consistent, comparable data. Citizen scientists uploading to networks like CWOP and Weather Underground are graded on siting quality, and stations with poor placement often show up flagged or excluded from regional maps. If you want your data to count for yourself and others, siting comes first.
I think of siting as the foundation. If the foundation is wrong, every fancy upgrade you add later is wasted.
General home weather station sensor placement principles
Before we get into per-sensor rules, there are three principles that apply across the board:
Fetch distance: Every obstruction (building, tree, fence) creates a wind shadow and a heat zone. The further your sensor is from obstructions, the more representative the reading.
Ventilation: Sensors need free air movement. Stagnant pockets near walls, eaves, or dense foliage trap heat, moisture, or both.
Representativeness: A good location reflects the general conditions of your area, not a local anomaly like a sunny driveway or a shaded porch.
For most home setups, the practical rule is the “4x height rule.” Place your sensor at least four times the height of the nearest obstruction away from that obstruction. So if your house is 20 feet tall, keep wind sensors at least 80 feet from the wall. When that is impossible, smaller multiples (2x to 3x) still help a lot.
Surface type matters too. Grass is the standard reference surface. Concrete, asphalt, and dark roofs absorb heat and re-radiate it, biasing temperature readings upward by several degrees. If your only option is a hard surface, mount the sensor higher (6 feet or more) and use a quality radiation shield.
Temperature sensor placement guidelines
Temperature sensors are the most sensitive to placement errors because solar radiation and reflected heat can swamp the actual air temperature. The NWS standard is 5 feet (1.5 m) above ground level over a grassy surface, in a naturally ventilated radiation shield, away from direct sunlight.
For a home weather station, here are the guidelines I follow and recommend:
Height: Mount between 4 and 6 feet above ground. Lower than 4 feet captures ground heat; higher than 6 feet starts to miss the human-relevant layer near the surface.
Shade: Choose a north-facing location in the Northern Hemisphere so the sensor never sees direct sun, even in winter when the sun is low. East- or west-facing exposures get strong morning or afternoon sun.
Ventilation: Use a multi-plate radiation shield (also called a solar shield or naturally ventilated screen). Passive shields work for most home setups; aspirated shields (with a small fan) are better but cost more and need power.
Distance: Keep at least 50 feet from paved surfaces, air conditioner condensers, dryer vents, and reflective walls.
Avoid: Under eaves (radiated heat from roof), near windows (heat loss from glass), inside porches, and on dark-colored walls.
If you only have a south-facing spot, mount a small shade structure above the sensor. I have used a simple white-painted disc on a short post above the shield with good results. It is not as good as true north-side shade, but it is far better than nothing.
Wind sensor and anemometer placement guidelines
Wind is the most demanding sensor to site correctly. The WMO standard for anemometer height is 10 meters (33 feet) above open ground, with the sensor at least 10 obstruction heights away from any obstacle. Most home stations cannot meet that standard, and that is okay. The goal is to get as close as possible.
For a typical residential setup:
Height: Mount at least 20 feet above ground, ideally 25 to 33 feet. Roofs often work if they are clear and the mast extends 5 to 10 feet above the roofline.
Distance rule: Apply the 4x rule from any obstruction within the sensor’s prevailing wind fetch. A two-story house 20 feet tall means the anemometer should be at least 80 feet from the wall, or at least 5 feet above the roof ridge.
Mast type: Use a rigid metal pole, not a flimsy TV antenna mast. Wind sensors vibrate in light wind on thin poles and produce noisy readings.
Orientation: The anemometer must be perfectly vertical. Even a slight tilt biases direction readings.
Avoid: Below the roofline (wind shadow and turbulence), near chimneys (downdraft), under tree canopies (highly variable wind), and on the leeward side of the house.
Roof mounting is common and acceptable if the mast clears the roof by a healthy margin. I have tested roof-mount versus pole-mount on my own house, and the roof mount read 8 to 12% higher wind speeds because of the increased exposure. Both readings are “true” for their location, but the pole-mount at 25 feet in an open backyard gave readings closer to the local airport.
Rain gauge placement guidelines
Rain gauges must be level, exposed, and out of the wind shadow. Wind is the biggest enemy of accurate rain measurement. A tipping bucket gauge exposed to strong wind under-reads by 5 to 30% because raindrops blow over the funnel instead of falling into it.
Use these rules for siting a rain collector:
Height: The opening should be 2 to 6 feet above ground. Lower heights reduce wind exposure but risk splash-in from nearby surfaces.
Distance rule: The gauge should be at least twice the height of any nearby obstruction away from it, and no closer than the height of any wall. A 6-foot fence means the gauge should be at least 12 feet from the fence.
Level: Use a small bubble level on the gauge base. Even a 2-degree tilt biases readings by 2 to 3%.
Surface: Mount on a stable post or platform that does not wobble in wind. Grass or wood chips below the gauge reduce splash error.
Avoid: Under tree drip lines, next to walls (rain shadow on one side), on sloped roofs, and over hard surfaces like concrete where splash adds false readings.
If you live in a windy area, look for a rain gauge with a windshield. These curved metal fins around the opening reduce wind effects and can recover 5 to 15% accuracy.
Humidity sensor placement considerations
Humidity sensors are usually bundled with the temperature sensor in the same radiation shield, so the placement rules overlap. The key additional concern is keeping the humidity element out of direct sunlight and out of contact with rain, dew, or sprinkler spray.
Specific guidelines:
Shield: Always use a sealed, multi-plate radiation shield. Humidity sensors are damaged by UV and by direct water contact.
Aspiration: An aspirated shield (fan-powered) gives the best humidity readings because stagnant air inside a passive shield can read 3 to 5% higher relative humidity than reality.
Height: Same as temperature, 4 to 6 feet above ground.
Avoid: Locations near bodies of water (overly local humidity), near dryer vents or bathroom exhaust, and near vegetation that transpires heavily (a single shrub is fine, a dense hedge is not).
In coastal or foggy areas, consider adding a humidity aspirator if your station supports one. The difference between aspirated and non-aspirated humidity readings can be the difference between useful and misleading data.
Quick reference height and distance chart
Use this chart as a starting point when you walk around your property. Adjust based on the trade-off framework in the next section.
| Sensor | Height Above Ground | Distance from Nearest Obstruction | Key Requirement |
|---|---|---|---|
| Temperature | 4 to 6 ft (1.2 to 1.8 m) | At least 50 ft from paved surfaces | North-facing shade, ventilated radiation shield |
| Humidity | 4 to 6 ft | Same as temperature | Sealed shield, aspirator preferred |
| Anemometer (wind speed/direction) | 20 to 33 ft (6 to 10 m) | 4x the height of obstruction | Rigid mast, vertical, clear exposure |
| Rain gauge | 2 to 6 ft | 2x the height of obstruction | Level, open, away from splash |
| Pressure (indoor) | At desk height | Indoors, away from HVAC vents | Stable temperature, no direct sun through window |
All-in-one weather station trade-offs and limitations
All-in-one weather stations bundle temperature, humidity, wind, and rain into a single sensor array. They are convenient, cheaper, and easier to install. The trade-off is that the wind sensor and the temperature sensor end up in the same physical location, which is rarely ideal for both.
For the wind sensor, you want height and exposure. For the temperature sensor, you want shade and ventilation. These two needs almost always conflict. A high, exposed mast gives excellent wind data but bakes the temperature sensor in the sun. A shaded spot gives excellent temperature data but blocks the wind.
Common compromises with all-in-one stations:
Roof mount with solar shade: Add a small white-painted disc or shield above the temperature housing. Works reasonably well for temperature but the roof heat still introduces some bias.
North-facing wall mount: Great for temperature, but wind readings suffer because the wall blocks flow from one or more directions.
Pole mount at moderate height: A 12 to 15 foot pole in an open area gives the best balance. Wind is decent, and a small solar shade keeps temperature errors under 2 to 3 degrees F.
If you can afford the extra setup, dedicated sensors give you better data because each one can sit in its own ideal location. But for most home users, an all-in-one station mounted thoughtfully will still produce useful, comparable data.
Trade-off decision framework for sensor placement
When the textbook ideal is impossible (and it almost always is), use this framework to choose the best compromise.
Step 1: Identify your most constrained resource. Is it space, height, or shade? Most suburban lots are constrained by space and obstruction distance. Urban balconies are constrained by everything.
Step 2: Prioritize the sensor that matters most to you. If you are a storm chaser, wind accuracy comes first. If you garden, temperature and rain matter more. If you are tracking local weather for citizen science, all sensors matter equally and you should aim for a compromise.
Step 3: Apply the 80/20 rule. Getting 80% of the textbook performance from every sensor is usually achievable. Getting 100% from one sensor often means accepting 40% performance from another. Pick 80% across the board unless one sensor matters much more to your use case.
Step 4: Document and iterate. I keep a small log of sensor readings compared to a nearby NWS station or airport. After 30 days, I look for systematic biases. If my temperature reads 3 degrees high at 3 PM, I add shade or raise the sensor. If wind is consistently low, I move the mast. This empirical adjustment is what makes a home station truly useful.
For limited-space installations (apartments, townhouses, small yards), prioritize the following compromises in order:
Place the temperature/humidity sensor on the most shaded side of the building, even if that means a wall mount.
Mount the rain gauge on a separate post away from the building, even if it is at the edge of your property.
Mount the wind sensor on the highest accessible point (rooftop mast, balcony railing pole, fence post) and accept that some directions will be blocked.
Common weather station placement mistakes to avoid
These are the mistakes I see most often in online forums, on social media, and on my own stations over the years:
The mailbox mount: Inside a mailbox sounds sheltered, but the box heats up in the sun and the metal walls trap heat. I tested this once and saw temperature readings 8 to 12 degrees F above a properly sited sensor on the same property.
Mounting too close to the house: Within 5 to 10 feet of a wall, your sensor picks up reflected and re-radiated heat, plus wind shadows that distort direction readings.
Mounting on a south-facing wall: In the Northern Hemisphere, south-facing exposures get the strongest direct sunlight year-round. Even with a radiation shield, this exposure biases temperature upward.
Using a flimsy mast: A thin TV antenna or PVC pole vibrates in wind and produces noisy wind speed readings. Use at least 1-inch rigid metal tubing.
Forgetting about seasonal changes: A spot that is shaded in summer may be sunny in winter when the sun is lower. Check your proposed location at different times of day and across seasons before mounting.
Mounting over hard surfaces: A sensor over concrete or asphalt reads 2 to 5 degrees higher than the same sensor over grass.
Ignoring local microclimate: A low spot in your yard collects cold air at night and gives temperature inversions. A hilltop gives stronger wind but more exposure.
Frequently asked questions about weather station placement
Where is the best place to put a weather station sensor?
The best place is a north-facing, open area with grass below the sensor. Mount temperature and humidity sensors 4 to 6 feet above ground in a ventilated radiation shield. Mount the anemometer at least 20 feet above ground, with no obstructions closer than four times their height.
What height should a wind sensor be mounted at?
Mount the wind sensor (anemometer) at least 20 feet above ground for a home station. The WMO professional standard is 33 feet (10 meters). For most residential setups, 20 to 25 feet on a rigid mast with the sensor at least 4 obstruction-heights away from buildings and trees gives good results.
How far should a weather station be from the house?
Keep temperature and humidity sensors at least 50 feet from paved surfaces and large walls. Keep wind sensors at least 4 times the height of the nearest obstruction away from it. A 20-foot house means wind sensors should be at least 80 feet from the wall, or at least 5 feet above the roofline.
Where should I hang an outdoor temperature sensor?
Hang the outdoor temperature sensor 4 to 6 feet above the ground on a north-facing wall or post, in a ventilated multi-plate radiation shield. Make sure direct sunlight never reaches the sensor, even in winter. Keep it away from air conditioner condensers, dryer vents, and reflective surfaces.
What is a radiation shield for a weather station?
A radiation shield is a multi-plate housing (usually white or reflective plastic) that surrounds a temperature and humidity sensor. It blocks direct and reflected solar radiation while allowing free air flow, preventing the sun from heating the sensor and biasing temperature readings upward by 10 degrees F or more.
Can I mount a weather station on my roof?
Yes, roof mounting is acceptable if the mast extends at least 5 to 10 feet above the roofline. Roofs add 5 to 10% to wind speed readings because of increased exposure, and dark roofs can bias temperature readings. Use a quality radiation shield and consider a small solar shade above the temperature sensor.
Final recommendations on choosing where to mount your weather station sensor
Choosing where to mount a home weather station sensor comes down to three priorities: north-facing shade for temperature and humidity, height and exposure for wind, and level open ground for rain. When you cannot satisfy all three at once, apply the 80/20 rule, document your readings against a trusted reference, and iterate. Siting is the foundation that turns a stack of sensors into reliable local weather data. Start with the best spot you can find, and refine from there.