
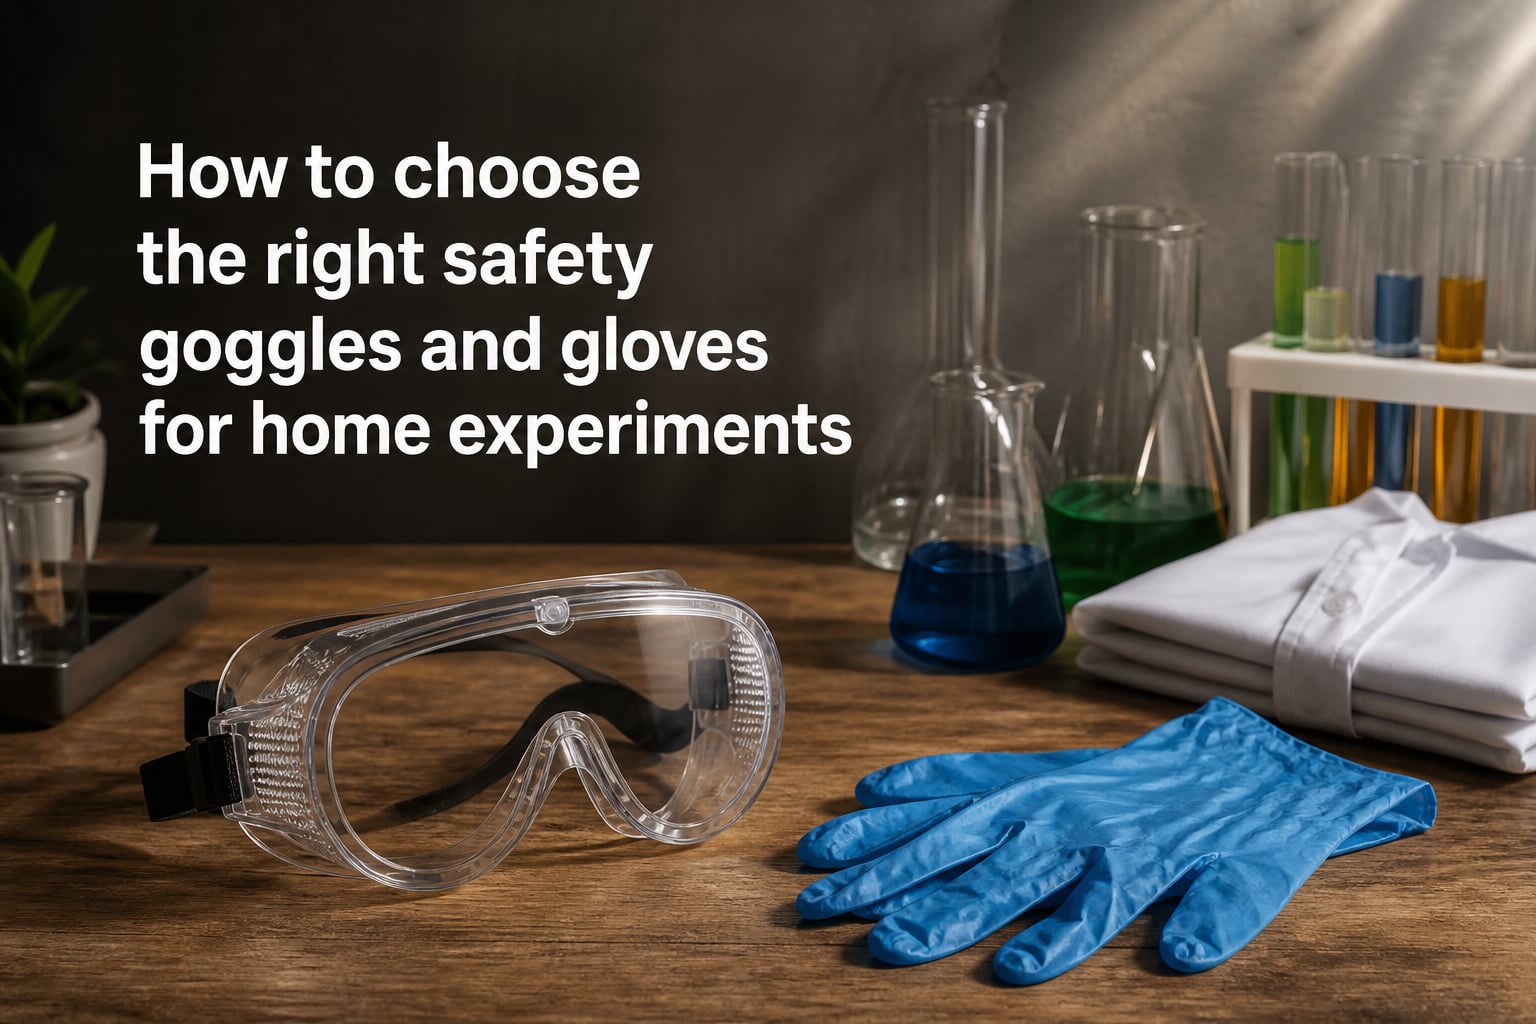
Running science experiments at home is one of the most rewarding ways to learn chemistry, biology, and physics. But whether you are a homeschool parent, a hobbyist, or a curious student, one thing separates a fun afternoon from an emergency room visit: the right safety goggles and gloves for home experiments.
Every year, thousands of avoidable eye injuries and chemical burns happen in home labs and school projects. A splash of vinegar and baking soda is harmless, but a flying glass shard or an unexpected chemical reaction can cause permanent damage in seconds. Personal protective equipment (PPE) is your last line of defense.
In this guide, I will walk you through everything you need to know to choose the right safety goggles and gloves for your home experiments. You will learn about ANSI Z87 safety ratings, the differences between goggle types, how to match glove materials to the chemicals you use, and how to build a practical PPE kit on any budget.
By the end, you will have a clear framework for protecting your eyes and hands no matter what experiment you tackle next.
Table of Contents
Why Safety Gear Matters for Home Experiments?
Home labs rarely have the safety infrastructure of a professional laboratory. There is no fume hood in your kitchen, no emergency eyewash station in your garage, and no safety officer double-checking your setup. That makes your personal protective equipment even more important.
The American Academy of Ophthalmology reports that roughly 2,000 work-related eye injuries happen every day in the United States, and a significant share occur during DIY science and chemistry activities. Chemical splashes, flying debris from reactions, and broken glassware are the top culprits.
I have read through hundreds of threads on Reddit’s r/chemistry and r/labrats communities, and one message comes through loud and clear from experienced chemists: never skip PPE, even for experiments that seem simple. One user described getting a caustic splash in the eye during a routine titration. Another shared how a cracked beaker sent glass fragments toward their face.
The reality is that experiments are unpredictable. A reaction that worked fine yesterday might boil over today because of slightly different temperatures or concentrations. Your goggles and gloves exist for that one moment when something goes wrong.
Think of PPE as an insurance policy. You wear your seatbelt every time you drive, not because you expect a crash, but because the cost of not wearing it is unacceptable. The same logic applies to safety gear in your home lab.
Understanding Safety Ratings: ANSI Z87 Explained
When you shop for safety goggles, you will see markings like Z87, Z87+, and Z87.1-2020 stamped on the lens or frame. These are not marketing labels. They are certification marks from the American National Standards Institute (ANSI), and they tell you exactly what level of protection the eyewear provides.
The ANSI Z87.1 standard is the current U.S. benchmark for occupational and educational eye protection. The most recent revision is ANSI/ISEA Z87.1-2020, which sets test requirements for impact resistance, splash protection, optical clarity, and coverage.
Here is what the markings mean:
Z87 means the eyewear meets basic impact standards. It can withstand a test where a steel ball is dropped onto the lens from a specific height. This is the minimum rating for any eyewear you use during experiments involving potential flying debris.
Z87+ means the eyewear meets high-velocity and high-mass impact standards. This is a stricter test that involves a steel ball fired at the lens at high speed. If you are working with anything that could shatter, pressurize, or explode (even small chemical reactions in sealed containers), look for the Z87+ rating.
D3 indicates splash protection. This means the goggles have been tested to prevent liquid droplets from reaching your eyes. If you are doing chemistry experiments with acids, bases, or any liquid chemicals, D3-rated splash goggles are what you need.
D4 and D5 indicate dust and fine-dust protection respectively, which matters less for most home experiments but can be relevant when working with powders.
Many people ask whether Z87+ is better than Z87. The short answer is yes. Z87+ exceeds Z87 requirements and provides higher impact protection. For home experiments, I always recommend Z87+ rated goggles because the cost difference is negligible and the protection is significantly better.
To verify a product’s certification, look for the Z87 or Z87+ mark permanently etched or stamped on the lens or frame. Legitimate safety eyewear will always have this marking. If you cannot find it, the product is not certified and should not be used for experiments.
Types of Safety Goggles for Home Experiments
Not all eye protection is the same. The type you need depends on what you are doing. Let me break down the main categories.
Safety Glasses
Safety glasses look like regular eyeglasses but have impact-resistant polycarbonate lenses with Z87 or Z87+ ratings. They protect against flying debris but do not form a seal around your eyes. This means chemical splashes can run around the edges and reach your eyes.
Safety glasses are fine for low-risk activities like sanding, hammering, or observing experiments from a distance. They are not appropriate for chemistry experiments where splashes are possible.
Safety Goggles (Splash Goggles)
Safety goggles form a complete seal around your eye area using soft rubber or foam padding. This seal is what prevents liquids, dust, and debris from entering from any angle. For chemistry experiments, splash goggles are the standard.
Most splash goggles have indirect ventilation, which means small vents allow air circulation to reduce fogging while still blocking liquid entry. This is the most versatile goggle type for home experimenters.
Impact Goggles
Impact goggles are designed for physical hazards like flying debris, shrapnel, or broken glass. They typically have direct ventilation, which means open vents that allow maximum airflow. This makes them comfortable and fog-resistant, but those vents also let liquids in.
Use impact goggles for physics experiments, rock and mineral testing, or any activity where the hazard is physical rather than chemical. Never use directly vented goggles for chemistry experiments with liquids.
Face Shields
Face shields provide additional protection for your entire face but are always worn over safety goggles, never instead of them. Use a face shield when working with highly reactive chemicals, large volumes of hazardous materials, or experiments with a risk of violent reactions.
For most home experiments, a good pair of indirect-vent splash goggles is all you need. Face shields are an optional upgrade for higher-risk work.
Anti-Fog Features
One of the most common complaints from home experimenters is goggles fogging up. Reddit users in r/chemistry frequently mention this as a reason people remove their goggles mid-experiment, which defeats the purpose entirely.
Look for goggles with anti-fog coatings or dual-pane lenses. Indirect ventilation also helps. If your goggles still fog, try a commercial anti-fog spray designed for safety eyewear. Never remove your goggles during an active experiment, even for a few seconds.
Prescription Lens Options
Regular eyeglasses are not safety eyewear. If you wear prescription glasses, you have two options. First, you can wear over-the-glasses (OTG) safety goggles that are sized to fit over your existing frames. Second, you can get prescription safety glasses with Z87-rated lenses from an optician.
OTG goggles are the more affordable option and work well for most home experimenters.
How to Choose Safety Goggles: Step-by-Step
Choosing the right goggles becomes straightforward once you break it down into a process. Here is the step-by-step method I recommend.
Step 1: Identify your experiment hazards. Write down what could go wrong. Are you working with liquid chemicals that could splash? Could something shatter? Is there a risk of pressurized gas? Your hazard list determines your goggle type.
Step 2: Check the ANSI Z87 rating. Look for Z87+ on the lens or frame. For chemistry, also look for the D3 splash protection mark. If the product does not have these markings, move on.
Step 3: Choose your vent type. For chemistry and biology experiments with liquids, choose indirect-vent splash goggles. For physics and mechanical experiments with debris, direct-vent impact goggles are acceptable.
Step 4: Test the fit. Put the goggles on and press them gently against your face. The soft seal should make full contact around your eye area with no gaps. Move your head around. The goggles should stay in place without pinching.
Step 5: Check the anti-fog coating. Look for goggles marketed as anti-fog or with dual-pane construction. This is especially important if you will be wearing them for more than 15 minutes at a time.
Step 6: Consider your prescription. If you wear glasses, either choose OTG goggles or factor in the cost of prescription safety lenses.
Follow these six steps every time you start a new type of experiment. Your goggle needs may change as your experiments get more advanced.
Types of Gloves for Home Experiments
Hand protection is just as important as eye protection, but the world of lab gloves is more nuanced. The right glove depends entirely on what chemical or material you are touching. Here are the main types you need to know about.
Nitrile Gloves
Nitrile gloves are the workhorse of home labs everywhere. Made from a synthetic rubber compound, nitrile provides excellent resistance to a wide range of chemicals including oils, greases, many acids, and most common laboratory solvents.
Nitrile is also the best choice for anyone with latex allergies. It is puncture-resistant, fits snugly for good dexterity, and is available in disposable form at a reasonable cost. For most home chemistry experiments, a 4-mil or 5-mil nitrile glove is the standard recommendation.
The experienced chemists on r/chemistry consistently recommend keeping a stash of nitrile gloves for everyday lab work. They are the go-to for handling household chemicals, dilute acids and bases, and biological specimens.
Latex Gloves
Latex gloves are made from natural rubber and offer excellent comfort, elasticity, and tactile sensitivity. They work well for biological work and general cleaning.
However, latex has significant drawbacks for home experiments. First, latex allergies are common and can develop with repeated exposure. Second, latex provides poor resistance to many chemicals, including most organic solvents. Oils and hydrocarbons degrade latex quickly.
I do not recommend latex gloves for chemistry experiments. If you use them for biology work, be aware of the allergy risk.
Neoprene Gloves
Neoprene is a synthetic rubber that offers broader chemical resistance than nitrile. It handles a wider range of acids, bases, and solvents, including some chemicals that degrade nitrile. Neoprene gloves are typically thicker and more durable, making them ideal for handling concentrated or particularly hazardous chemicals.
For most home experiments, neoprene is overkill. But if you are working with strong acids like concentrated sulfuric acid or aggressive solvents, neoprene provides the extra protection you need.
Heat-Resistant Gloves
Thermal experiments involving Bunsen burners, hot plates, or exothermic reactions require heat-resistant gloves. These are typically made from materials like Kevlar, Nomex, or silicone-treated fabrics. Never use chemical gloves for heat protection or vice versa, as they are designed for completely different hazards.
Reddit users frequently recommend Nomex gloves for any work involving open flames or high-temperature reactions in home labs.
Thickness and Permeation
Glove thickness matters. Thicker gloves (8 mil or above) provide better chemical resistance but reduce dexterity. Thinner gloves (4 mil) offer better feel but have shorter chemical breakthrough times. For most home experiments, 4 to 5 mil nitrile gloves strike the right balance.
Permeation is the process by which chemicals pass through the glove material at a molecular level, even without visible damage. Every glove material has a breakthrough time for each chemical, which is how long it takes for the chemical to reach your skin. This is why even intact gloves need to be changed regularly during extended experiments.
Chemical Resistance Guide: Matching Gloves to Chemicals
Understanding chemical resistance is essential for choosing the right gloves. No single glove material protects against every chemical. Let me walk you through how to think about this.
What Is Breakthrough Time?
Breakthrough time is the elapsed time between initial contact of a chemical with the glove’s exterior surface and the detection of that chemical on the interior surface. Manufacturers test this for specific chemical and glove material combinations.
A glove with a 30-minute breakthrough time for a particular chemical means you have roughly 30 minutes of safe contact. After that, the chemical starts reaching your skin.
Common Household Chemicals and Safe Gloves
Here is a quick reference for common chemicals used in home experiments:
Acetic acid (vinegar concentrate): Nitrile gloves provide adequate protection for dilute solutions. For glacial acetic acid, use thicker nitrile or neoprene.
Hydrogen peroxide (household 3%): Nitrile gloves are suitable.
Sodium hydroxide (lye): Nitrile gloves work for dilute solutions. For concentrated lye, neoprene provides better protection.
Hydrochloric acid (muriatic acid): Nitrile gloves handle dilute solutions. Concentrated acid requires neoprene or thicker chemical-resistant gloves.
Alcohols (ethanol, isopropanol): Nitrile gloves provide good short-term protection. Change them frequently if working with large volumes.
Acetone: Nitrile degrades relatively quickly in acetone. For prolonged contact, neoprene or butyl rubber gloves are better.
Paint thinner and mineral spirits: Nitrile provides short-term protection. For extended work, consider thicker chemical-resistant gloves.
When Nitrile Is Not Enough
Nitrile is versatile, but it is not invincible. Several common chemicals degrade nitrile relatively quickly. These include acetone, concentrated nitric acid, concentrated sulfuric acid, and many chlorinated solvents.
If your experiments involve any of these chemicals, you need neoprene, butyl rubber, or other specialized glove materials. Always check the manufacturer’s chemical resistance chart before starting work with a new chemical.
How to Check Manufacturer Charts
Reputable glove manufacturers publish chemical resistance charts listing breakthrough times for hundreds of chemicals. You can find these on manufacturer websites by searching for the product name plus “chemical resistance chart.”
Look for the breakthrough time for your specific chemical at the concentration you plan to use. If the breakthrough time is less than 30 minutes, consider a different glove material or plan to change gloves frequently.
How to Choose the Right Gloves: Step-by-Step
Selecting gloves does not have to be complicated. Follow this process every time you start working with a new chemical.
Step 1: List every chemical you will handle. Write down the chemical name, concentration, and whether it is a liquid, solid, or gas. This list is your starting point.
Step 2: Check a chemical resistance chart. For each chemical on your list, look up the recommended glove material and breakthrough time. Use the manufacturer’s chart or a university safety office’s published reference.
Step 3: Select your glove material. Choose the material that protects against every chemical on your list. If one chemical requires neoprene, use neoprene for the entire experiment.
Step 4: Choose the right thickness. For precision work with small items, thinner gloves (4 mil) give better dexterity. For hazardous chemicals, thicker gloves (8 mil or above) provide more protection.
Step 5: Find the right size. Gloves that are too large slip and reduce grip. Gloves that are too small tear more easily. Measure your hand and use the manufacturer sizing chart.
Step 6: Plan your change schedule. Know the breakthrough time for the most aggressive chemical you are using. Plan to change gloves before that time expires.
Experiment Type to PPE Mapping
One of the biggest content gaps I found in researching this guide is that no competitor offers a clear mapping between experiment types and the PPE you need. Here is that reference.
Chemistry experiments (acids, bases, solutions): Indirect-vent splash goggles (Z87+, D3 rated) and nitrile gloves. Add a lab apron or old long-sleeve shirt for body protection.
Biology dissection (preserved specimens): Indirect-vent splash goggles and nitrile gloves. Preservatives like formaldehyde can irritate skin and eyes.
Physics and mechanics (projectiles, tension, collision): Impact goggles (Z87+) and cut-resistant gloves. No splash protection needed unless liquids are involved.
Heat and thermal experiments (burners, exothermic reactions): Heat-resistant safety goggles and heat-resistant gloves. Keep a fire extinguisher nearby.
Crystal growing and low-risk observations: Splash goggles recommended during preparation. Nitrile gloves when handling solutes. Eye protection can be relaxed during passive observation phases once the experiment is sealed.
Electrical experiments: Insulated gloves rated for the voltage you are working with. Safety glasses for any soldering or wire cutting.
This mapping is a starting point. When in doubt, choose the higher level of protection.
Common Safety Mistakes to Avoid
After reading through forum discussions and safety incident reports, several patterns emerge. Here are the most common mistakes home experimenters make with PPE.
Mistake 1: Using regular glasses instead of safety goggles. Prescription glasses and sunglasses do not have side shields, impact ratings, or splash protection. A chemical splash goes right around the edges. Always use proper Z87-rated goggles over your glasses.
Mistake 2: Reusing disposable gloves. Disposable nitrile gloves are designed for single use. Once you handle a chemical, the outside is contaminated. Removing and reusing them means you are touching the contaminated surface. Always use a fresh pair.
Mistake 3: Removing goggles because they fog. Fogging is a comfort problem, not a reason to go unprotected. Use anti-fog spray, take breaks between experiment phases, or buy better-vented goggles.
Mistake 4: Choosing the wrong glove material. Using nitrile gloves with acetone because nitrile is “chemical resistant” gives a false sense of security. Always check the specific chemical compatibility.
Mistake 5: Treating PPE as your only safety measure. Ventilation is just as important as gloves and goggles. Work near an open window or under a range hood. Reddit’s chemistry community repeatedly emphasizes that engineering controls like ventilation come before PPE in the safety hierarchy.
Mistake 6: Wearing damaged goggles. Scratched lenses reduce visibility. Cracked frames break the splash seal. Replace damaged eyewear immediately.
Mistake 7: Forgetting about body protection. A splash that misses your goggles can hit your arms or chest. Wear a lab apron, a dedicated lab coat, or at minimum a long-sleeve shirt you do not mind staining.
Budget-Friendly PPE Options for Home Experimenters
You do not need to spend a fortune to stay safe. Budget PPE can provide excellent protection if you know what to look for.
The most important thing is the ANSI Z87 rating, not the brand name. A $5 pair of Z87+ splash goggles from a hardware store provides the same certified protection as a $25 pair from a specialty science supplier. The difference is comfort, fog resistance, and durability, not the level of protection.
For gloves, buying nitrile gloves in bulk is the most cost-effective approach. A box of 100 disposable nitrile gloves costs significantly less per pair than small packs and will last through dozens of experiment sessions.
Where should you not cut corners? Never buy uncertified eyewear. If there is no Z87 marking, do not use it for experiments. Never buy gloves without checking chemical compatibility. And never substitute household items for rated safety equipment.
Many home experimenters ask whether there is a safe substitute for safety goggles. The honest answer is no. Sunglasses, swimming goggles, and reading glasses do not meet impact or splash standards. If you cannot get proper safety goggles, postpone your experiment until you can.
A basic home lab PPE kit costs about $20 to $30: one pair of Z87+ splash goggles, a box of nitrile gloves, and a simple vinyl apron. That is a small price for protecting your eyes and skin.
Frequently Asked Questions
How to choose the right safety goggles?
Look for ANSI Z87+ certification, choose indirect-vent splash goggles for chemistry experiments, and make sure they form a complete seal around your eyes. Check for anti-fog coating and consider over-the-glasses options if you wear prescription lenses.
Is Z87 2 better than Z87+?
Z87+ is the higher impact protection rating under the ANSI Z87.1 standard. The number 2 is not a standard ANSI marking for impact protection. For home experiments, always look for Z87+ which indicates high-velocity and high-mass impact resistance.
What type of safety goggles are used in laboratories?
Most laboratories use indirect-vent chemical splash goggles rated ANSI Z87+ with D3 splash protection. These form a seal around the eyes to block liquids while allowing limited airflow to reduce fogging. Some labs also use face shields over goggles for high-risk work.
Which kind of gloves should you wear in a lab?
Nitrile gloves are the most common choice for general lab work because they resist many chemicals and are latex-allergy safe. For concentrated acids, strong solvents, or prolonged chemical contact, neoprene or butyl rubber gloves provide better protection. Always check a chemical resistance chart for your specific chemicals.
What can you use at home as a substitute for safety goggles?
There is no safe substitute for ANSI Z87 rated safety goggles. Sunglasses, prescription glasses, and swimming goggles do not meet impact or splash protection standards. If you do not have proper safety goggles, postpone your experiment until you can get a certified pair.
What happens if you don’t wear goggles in a lab?
Without safety goggles you risk permanent eye damage from chemical splashes, flying debris, shattered glass, and reactive sprays. Many eye injuries happen in seconds and some cause irreversible vision loss. Proper goggles are the only reliable way to prevent these injuries.
Conclusion
Choosing the right safety goggles and gloves for home experiments comes down to understanding your hazards, knowing the safety standards, and matching your PPE to the specific work you are doing.
Always look for ANSI Z87+ certification on your eyewear. Choose indirect-vent splash goggles for chemistry and biology, impact goggles for physics, and heat-resistant options for thermal work. For gloves, nitrile is your everyday workhorse, neoprene handles tougher chemicals, and you should always verify compatibility with a chemical resistance chart.
Build your PPE kit before you need it, not after an accident forces you to. A reliable pair of splash goggles, a box of nitrile gloves, and a simple apron cost less than a single emergency room copay. Treat them as non-negotiable parts of your home lab, every single experiment.
Your eyes and hands are irreplaceable. Protect them so you can keep exploring, experimenting, and discovering for years to come.