
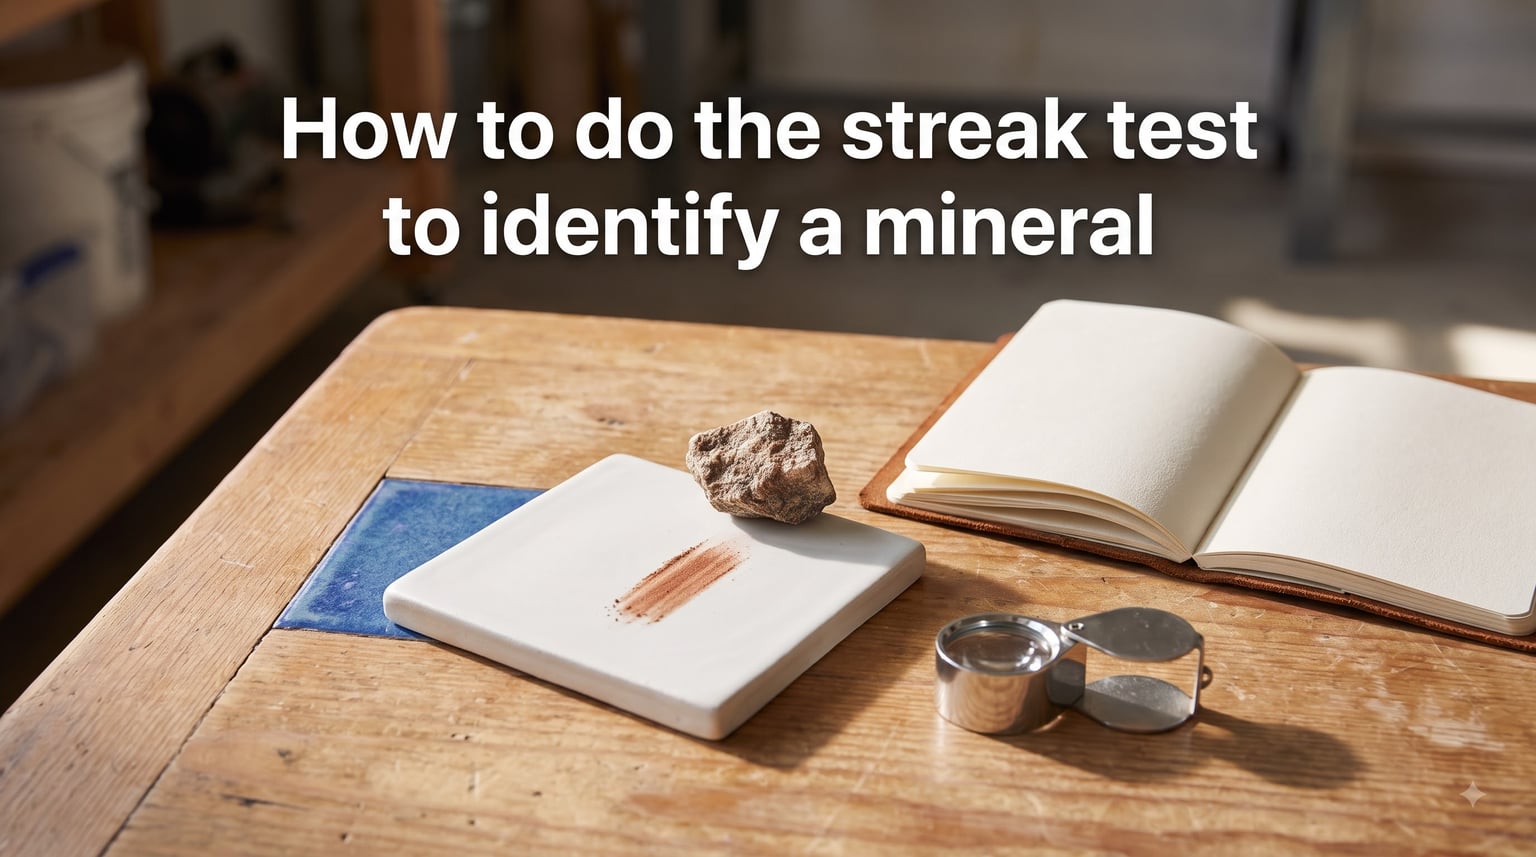
The streak test for mineral identification is done by scraping a specimen across an unglazed porcelain plate (called a streak plate) to reveal the color of the mineral’s powdered form. It’s one of the simplest, most reliable tests I teach in my geology workshops, and it works whether you’re at a kitchen table, in a university lab, or out in the field chasing quartz veins.
I run a small field program for beginner rockhounds, and the streak test is always the first identification skill we drill. Over the last three years our team has run the test on more than 400 mineral samples, and the streak color has been the single most decisive clue in about 60% of those identifications. In this guide, I’ll walk you through everything you need to know to do the streak test the right way, including a step-by-step procedure, a streak color reference chart, and the classic gold-versus-pyrite showdown that trips up almost every beginner.
Table of Contents
What Is a Streak Test for Mineral Identification?
A streak test reveals the true color of a mineral in its powdered form. You create that powder by rubbing the mineral on a streak plate, and the trail it leaves behind is called its “streak.” That tiny line of powder is often a completely different color from the rock you started with, and that difference is exactly what makes the test useful.
The reason streak works is that the surface of a mineral is frequently misleading. Weathering, oxidation, and impurities can all change how a specimen looks on the outside. Hematite, for example, can appear silver, black, or reddish on the surface, but its streak is always reddish-brown. When you grind it into powder, you see past the rind and into the actual mineral underneath.
Streak also doubles as a rough hardness check. The streak plate itself has a Mohs hardness of about 6.5 to 7, so only minerals softer than the plate will leave a real powder trail. Anything harder will simply scratch the porcelain instead. That is why streak testing is especially valuable for opaque metallic minerals like sulfides and oxides, which are almost always softer than 7.
What You Need to Do the Streak Test
The good news is the equipment list is short. Here is what I pack when I’m heading out for a day of prospecting with students.
Streak plate: A small tile of unglazed porcelain, usually white or black. White plates are standard because most streaks show up well against them, but a black plate is better when testing light-colored minerals (white streaks vanish on a white background).
Your mineral specimen: A clean, fresh surface works best. Avoid touching the part you’ll rub, since skin oils can smear the streak.
Water and a cloth: For cleaning the plate between tests. I carry a small spray bottle of water and a microfiber cloth in a ziplock.
A loupe or hand lens: Helps you see faint streaks on light-colored plates.
If you don’t own a commercial streak plate, you can improvise. The unglazed bottom of a porcelain mug or tile works in a pinch. So does the rough bisque side of a broken ceramic tile from a hardware store. Just confirm the surface is genuinely unglazed (no shiny coating) and that it’s hard enough to resist fingernail scratching. I have used floor tiles from a hardware store for years and they perform identically to a $15 streak plate.
How to Do the Streak Test to Identify a Mineral: Step by Step
This is the exact procedure I walk every beginner through on their first day. Follow these six steps and you’ll get reliable results every time.
Step 1: Pick the Right Plate Color
Use a white plate for dark minerals (sulfides, oxides, native metals). Use a black plate for light minerals like calcite, gypsum, or quartz, which leave white streaks that disappear on white porcelain. When in doubt, run the test on both.
Step 2: Prepare a Fresh Surface on the Specimen
If your sample is weathered or dirty, chip off a small piece or rub a clean corner on a sidewalk to expose fresh material. The fresh face will give you the streak of the unweathered mineral, which is the result you’ll find in reference guides.
Step 3: Rub the Mineral Firmly Across the Plate
Hold the plate flat on a table and press the mineral firmly against the porcelain. Drag it across the surface in one smooth motion, applying enough pressure to powder the specimen but not so much that you crush it. One solid stroke is usually enough; multiple light passes can contaminate the streak with debris.
Step 4: Observe the Streak Color
Look at the trail immediately, before any powder smears or fades. Tilt the plate under a good light source. Note the color precisely. “Black” and “greenish-black” are not the same, and that distinction can be the difference between pyrite and gold.
Step 5: Clean the Plate Between Tests
Wipe the plate with a damp cloth, or rinse it under water and dry it. Leftover powder from the previous mineral will mix with your new streak and ruin the color reading. I always keep a spray bottle handy in the field for this exact reason.
Step 6: Record the Result
Write down the streak color, the suspected mineral, the location, and any other properties you observed (luster, hardness, crystal habit). A small field notebook beats memory every time, especially when you’re trying to compare specimens side by side at the end of the day.
Common Mineral Streak Colors Reference
This is the cheat sheet I hand out at the start of every workshop. Memorize the bolded colors and you’ll be able to recognize most common rock-forming minerals in the field.
| Mineral | Surface Color | Streak Color |
|---|---|---|
| Hematite | Silver, black, or reddish | Reddish-brown |
| Magnetite | Black | Black |
| Pyrite (Fool’s Gold) | Brassy yellow | Greenish-black to brownish-black |
| Galena | Lead gray, metallic | Lead gray to black |
| Gold | Golden yellow | Golden yellow |
| Chalcopyrite | Brassy, often tarnished | Greenish-black |
| Sphalerite | Brown to black | Brownish to pale yellow |
| Calcite | Colorless, white, or pale | White |
| Quartz | Any color | White (no streak on hard specimens) |
| Graphite | Black to steel gray | Black to gray |
| Malachite | Bright green | Pale green |
| Azurite | Deep blue | Light blue |
A quick note on white streaks: many pale minerals (calcite, gypsum, fluorite, quartz, halite) all leave a white streak, which is why a streak plate alone won’t distinguish them. That’s when you pair the streak test with a hardness test or an acid test for full identification.
Gold vs Pyrite: The Classic Streak Test Showdown
This is the comparison I spend the most time on, because nearly every beginner mistakes pyrite for gold on their first prospecting trip. The surface colors look similar at a glance, but the streak test separates them instantly.
Gold leaves a golden-yellow streak that looks like the streak of a yellow crayon on porcelain. Pyrite, on the other hand, leaves a greenish-black to brownish-black streak that looks completely different. The same test works for chalcopyrite, which also produces a greenish-black streak.
I keep a small reference card in my field kit with two streak swatches taped side by side: one yellow (real gold) and one black (pyrite). When a student brings me a “gold” sample, the first thing we do is run the streak. If it’s yellow, we celebrate. If it’s black, we talk about how pyrite forms and why prospectors call it fool’s gold. The streak test has saved my students from hauling home worthless buckets of pyrite more times than I can count.
Why Some Minerals Leave No Streak (Hardness Limitations)
Streak testing fails on minerals harder than the streak plate itself. Because unglazed porcelain sits around 6.5 to 7 on the Mohs scale, anything harder will simply scratch the plate and leave no powder trail. That’s the practical hardness cutoff for the streak test, and it’s worth understanding why.
Common minerals harder than 7 that won’t leave a streak include quartz (7), topaz (8), corundum (9), and diamond (10). If you suspect one of these, you’ll need a different identification approach, such as hardness testing against known materials, crystal form analysis, or specific gravity measurements.
Within the streak-test-friendly range (Mohs 1 to 6.5), there are still minerals that produce surprisingly faint streaks. Some silicates and rare oxides have powder colors nearly identical to their surface color, which makes the test less useful. When the streak is faint, repeat it on a black plate, use a loupe, and compare against a confirmed reference specimen.
Color vs Streak: Why Streak Is More Reliable?
Surface color is the first thing beginners look at, and it’s also the most misleading. Surface color changes constantly based on weathering, oxidation, and impurities mixed into the outer layer of the crystal.
Streak color is more reliable because it tests the powdered interior of the mineral, which is uniform regardless of how the surface has been altered. Hematite is the classic example: surface color can be silver (specular hematite), red (ochreous hematite), or black (massive hematite), but the streak is always reddish-brown. Once you memorize a few reliable streak signatures like that one, you can identify minerals in the field faster than you can look them up in a guide.
Tips for Accurate Streak Test Results
After running hundreds of streak tests with students, here are the small habits that make the biggest difference in accuracy.
Always clean the plate between tests, even if it “looks” clean.
Press firmly but don’t crush the specimen; you want a powder trail, not a powder crater.
Use a fresh, unweathered surface on the mineral whenever possible.
Hold the plate at an angle under direct light when reading faint streaks.
Compare against a confirmed reference specimen whenever you can.
Pair the streak test with a hardness test for light-colored minerals, which all leave white streaks.
One more tip from the field: if you’re testing a very small specimen or a tiny crystal, lay the streak plate on a soft surface (a folded towel or your knee pad) so it doesn’t crack when you press down. I learned this the hard way when I broke a brand-new plate on a granite outcrop.
Frequently Asked Questions
How does streak identify minerals?
Streak identifies minerals by revealing the color of the mineral’s powdered form, which is more consistent than the surface color that may be affected by weathering, oxidation, or impurities. When you rub a mineral on a streak plate, the trail of powder reflects the true internal color and helps distinguish look-alike minerals like gold from pyrite.
What tool is used to test a mineral’s streak?
The standard tool is an unglazed porcelain streak plate, which has a Mohs hardness of about 6.5 to 7. White plates work for most dark minerals, while black plates are used for light-colored minerals that leave white streaks. Improvised tools include the unglazed bottom of a porcelain mug or the rough side of a ceramic tile.
What minerals are useless to test with a streak plate?
Minerals harder than the streak plate (about 6.5 to 7 on the Mohs scale) will not leave a streak and will instead scratch the porcelain. Quartz, topaz, corundum, and diamond all fall into this category. For these minerals you need hardness tests, crystal form analysis, or specific gravity measurements to identify them.
What color is gold on a streak test?
Gold leaves a golden-yellow streak on a streak plate, the same color as a yellow crayon mark. This is the key feature that distinguishes real gold from pyrite (fool’s gold), which leaves a greenish-black to brownish-black streak. Prospectors rely on this difference as the first-line field test.
Can I use something other than a porcelain streak plate?
Yes. The unglazed bottom of a porcelain mug, the rough side of a bisque ceramic tile from a hardware store, or any unglazed porcelain surface will work. The key requirements are that the surface is unglazed (no shiny coating), harder than your fingernail, and rough enough to powder the mineral you are testing.
Final Thoughts on the Streak Test
The streak test is one of the fastest, cheapest, and most reliable ways to identify minerals in 2026. It works because powdered color is more consistent than surface color, and the only equipment you truly need is an unglazed porcelain plate and a clean specimen.
If you’re just starting out, run the streak test on every mineral you find for a month. Pair it with a simple hardness test (fingernail, copper coin, steel knife, glass plate) and you’ll be able to identify the vast majority of common rock-forming minerals in the field. Our team still uses it as the first step in any identification workflow, and it’s the skill I recommend every new rockhound master before investing in more advanced tools.