
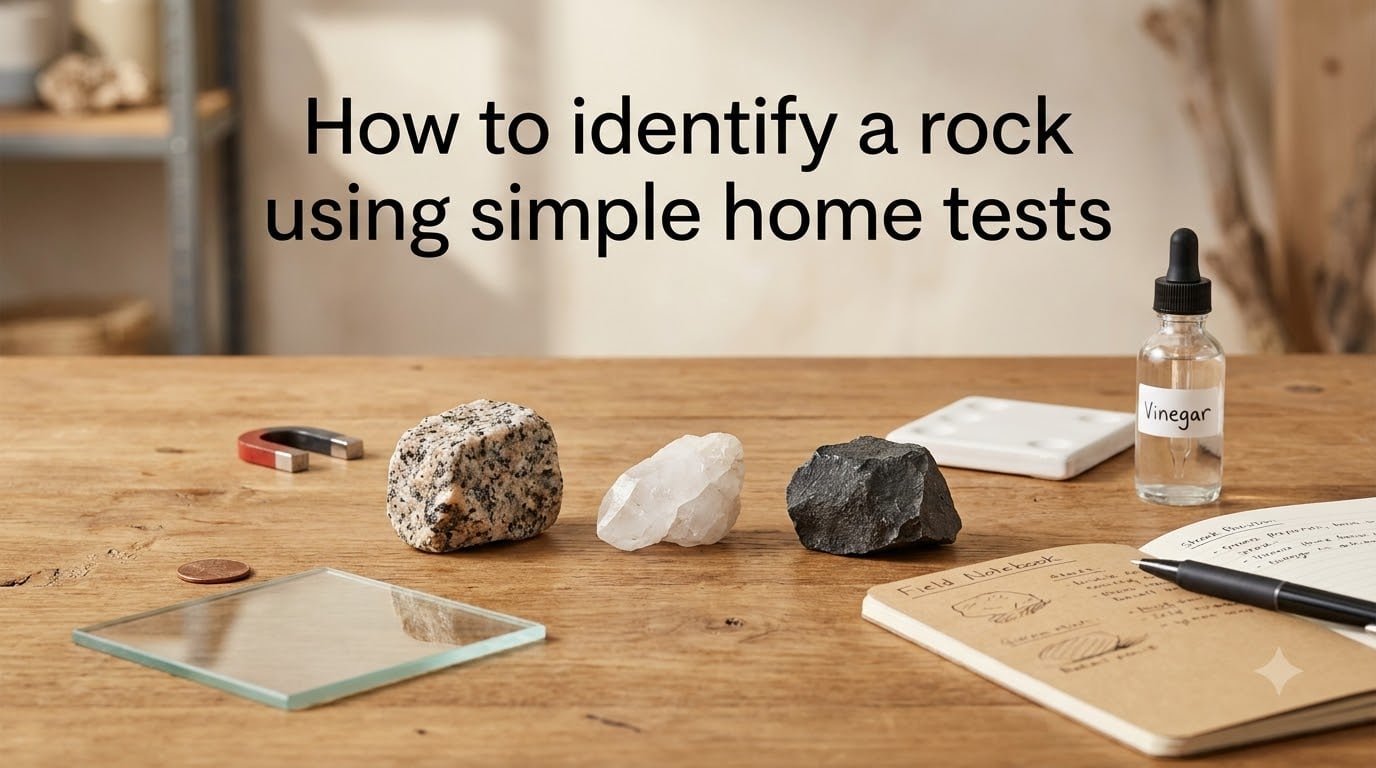
I still remember the first rock I ever tried to identify. I was eight years old, holding a chunky gray stone with sparkly bits, convinced I had found a diamond. I had not. It was granite. After that humbling moment, I spent years learning the simple tests that any curious person can run at home, and they are the same ones I teach my own kids today. If you are wondering how to identify a rock using simple home tests, this guide gives you everything I have learned in one place.
The good news is that you do not need a laboratory or expensive kit. A fingernail, a copper penny, a magnet from your refrigerator, and a bottle of white vinegar cover most beginner-level identifications. I have walked dozens of beginners through these tests at community rockhounding events, and the success rate is surprisingly high once you know what to look for.
Table of Contents
How to Identify a Rock Using Simple Home Tests: The Basics
Identifying a rock with simple home tests comes down to observing five core physical properties: hardness, streak color, magnetism, reaction to acid, and visible characteristics like color and crystal structure. Each test narrows down the possibilities until you have a confident identification. You use common household items, no specialized kit required.
This approach works because rocks and minerals have predictable physical properties. For example, calcite always fizzes in vinegar. Magnetite always attracts a magnet. Talc is always softer than your fingernail. The trick is running the tests in a consistent order and recording what you see. I keep a small notebook dedicated to my finds, and that habit has saved me from misidentifying the same rock twice.
The five tests covered in this guide are the same ones taught in introductory geology classes and used by rockhounding clubs worldwide. Master these, and you can identify hundreds of the most common specimens you will find in your backyard, on hikes, or in your local creeks.
What You Need: Materials for Home Rock Testing
You only need a handful of common household items to identify rocks at home. Most of these are already in your kitchen, junk drawer, or garage. Here is what I gather before I start testing:
Your fingernail (hardness of about 2.5 on the Mohs Scale)
A copper penny (hardness of about 3.5)
A glass plate or glass bottle (hardness of about 5.5)
An unglazed ceramic tile or the back of a porcelain tile (hardness of about 7)
A strong magnet (neodymium magnets work best, but refrigerator magnets often work)
White vinegar in a small dropper bottle
A piece of white unglazed porcelain for streak testing
Safety glasses (vinegar in eyes is no fun)
A notebook and pen
A magnifying glass or jeweler’s loupe if you have one
A small hammer and safety glasses for breaking rocks to see fresh surfaces
That is it. No expensive geology kit required. I have seen beginners get perfectly good results with nothing more than a penny, a glass jar, and a bottle of vinegar.
Test 1: Hardness Test Using the Mohs Scale
The Mohs hardness test measures how easily a rock can be scratched by other materials. The Mohs Scale runs from 1 (talc, the softest) to 10 (diamond, the hardest), and you can estimate where your rock falls using items you already have at home.
To run the test, start with the softest item and work your way up. Try to scratch your rock with your fingernail first. Then try the copper penny. Then the glass plate. Finally, try the unglazed ceramic tile. The point at which your rock gets scratched tells you its hardness range.
For example, if your fingernail scratches the rock, it has a hardness of less than 2.5. If the penny scratches it but your nail does not, it sits between 2.5 and 3.5. If glass scratches it but the penny does not, it sits between 3.5 and 5.5. If the ceramic tile scratches it but glass does not, it sits between 5.5 and 7. If none of them scratch it, the rock is harder than 7 and you have something tough like quartz, topaz, or corundum.
Mohs Hardness Scale Quick Reference
| Mohs Hardness | Test Material | Example Minerals |
|---|---|---|
| 1 | Soft as talc, marks paper | Talc, pyrophyllite |
| 2 | Fingernail scratches it | Gypsum, amber, graphite |
| 2.5 | Fingernail | Test tool: your fingernail |
| 3 | Copper penny just barely scratches it | Calcite, aragonite |
| 3.5 | Copper penny | Test tool: copper penny |
| 4 | Easily scratched by steel knife | Fluorite, malachite |
| 5 | Scratched by steel knife | Apatite, diopside |
| 5.5 | Glass plate | Test tool: glass plate |
| 6 | Scratches glass | Orthoclase, sphene |
| 7 | Unglazed ceramic tile scratches it | Quartz, garnet, tourmaline |
| 8 | Scratches ceramic tile | Topaz, beryl, aquamarine |
| 9 | Scratches almost anything | Corundum (ruby, sapphire) |
| 10 | Scratches everything | Diamond |
One important note from the rockhounding community: nails and knives have variable hardness, so they are not reliable Mohs test tools. Real Mohs hardness kits use calibrated mineral picks. For home use, the four items I listed above (fingernail, penny, glass, ceramic) will get you close enough for identification purposes.
Test 2: Streak Test for Mineral Color
The streak test reveals the true color of a mineral’s powder by rubbing it across an unglazed porcelain tile. This is one of my favorite tests because it reveals information that the rock’s surface color hides. A rock that looks metallic black on the outside might have a completely different streak color.
To run the test, drag the rock firmly across the unglazed back of a ceramic tile or a streak plate. The streak left behind is the powder color of the mineral. You are looking at the actual mineral content, not the weathered surface or dirt coating. Make sure to use an unglazed tile. Glazed ceramic will not give accurate results.
Common streak colors and what they mean: hematite and magnetite leave a dark gray to black streak, which is useful for identifying iron ores. Pyrite (fool’s gold) leaves a greenish-black streak, while real gold leaves a yellow streak. Limonite leaves a yellowish-brown streak. Calcite and quartz both leave a white streak, even when the rock itself looks different. Galena leaves a lead-gray streak.
I have used this test to catch mistakes I would otherwise make. Fool’s gold is called that for a reason. Its streak color reveals the truth within seconds.
Test 3: Magnetism Test to Find Iron-Bearing Minerals
The magnetism test reveals whether a rock contains iron-bearing minerals. Hold a strong magnet against your rock and see if it sticks or pulls. Magnetite and some forms of hematite are magnetic, which makes this test a quick filter for a specific set of minerals.
For best results, use a neodymium magnet (the small silver magnets sometimes sold as “rare earth magnets”). Standard refrigerator magnets often do not have enough pull. If the magnet snaps onto the rock with a satisfying click, you have very likely found magnetite. If it pulls weakly or not at all, the rock may still contain iron but not enough to be magnetic.
Common magnetic minerals include magnetite (strongly magnetic), pyrrhotite (weakly magnetic), and some weathered forms of hematite. Rocks like granite and basalt may also show weak magnetism due to trace iron content. The magnetism test alone does not identify a rock, but combined with the hardness test, it narrows down possibilities quickly.
Test 4: Acid Test (Vinegar) to Detect Carbonate Rocks
The acid test reveals whether a rock contains carbonate minerals, most commonly calcite. Place a few drops of white vinegar on the rock and watch for fizzing. Carbonate rocks react with acid to produce carbon dioxide bubbles, which look like tiny fizzing or foaming on the rock’s surface.
This reaction is what makes vinegar an effective test. Calcite (CaCO3) reacts with acetic acid in vinegar to release carbon dioxide gas, which you see as bubbles. Limestone, marble, chalk, and dolostone all contain carbonate and will fizz. Quartz, granite, and most igneous rocks will not fizz at all.
To run the test properly, place the rock on a flat surface and use a dropper to put 2-3 drops of vinegar on it. Watch closely for at least 30 seconds. Some carbonates fizz slowly. If you see even a faint fizz, the rock contains carbonate. Make sure to wear safety glasses because dropping vinegar into your eye is genuinely unpleasant.
A stronger version of this test uses dilute hydrochloric acid, but I do not recommend that for home use. Vinegar works well enough and is safe to handle. If you want a more dramatic reaction for educational purposes, lemon juice works almost as well as vinegar.
Test 5: Visual and Tactile Examination
Looking closely at your rock tells you a great deal before you even start with the tests. Color, luster, crystal structure, and weight are all useful clues. I do this step first because it guides which tests to prioritize and helps me compare with reference photos later.
Color
Color is the most obvious property but also the most misleading. Weathering, dirt, and oxidation can change a rock’s surface color dramatically. Always break the rock open (or look at fresh chips) when possible to see the true color inside. Fools gold looks metallic yellow on the outside but has a different streak color. Obsidian is always jet black. Quartz comes in many colors but is usually translucent.
Luster
Luster describes how light reflects off a mineral’s surface. Common categories include metallic (looks like metal), glassy or vitreous (looks like glass), dull or earthy (no shine), pearly, silky, and resinous. Pyrite has a metallic luster. Quartz has a glassy luster. Kaolinite has a dull luster. This is one of the easier properties for beginners to recognize.
Crystal Structure and Habit
Look for visible crystals or crystalline patterns. Granite has interlocking crystals you can see with the naked eye. Obsidian has no crystals at all. Mica forms thin, flat sheets. Garnet forms dodecahedrons. Crystals that look like cubes often indicate galena or halite. Six-sided crystals suggest quartz or corundum.
Weight and Density
Pick up the rock and feel its heft. Galena feels unnaturally heavy for its size. Pumite feels lighter than expected. Most common rocks have similar density, so this is a secondary clue rather than a primary test. I use it when a rock feels strangely heavy or light, which prompts closer inspection.
Putting It All Together: Identifying Your Rock
Once you have run your five tests, combine the results to narrow down your identification. Most beginners I work with use a simple decision tree, and after a few practice rounds, it becomes second nature.
Step 1: Run the magnetism test. If the rock is magnetic, you have magnetite or possibly pyrrhotite. Move to specific gravity or additional tests.
Step 2: Run the acid test. If the rock fizzes in vinegar, you have a carbonate. Calcite, limestone, marble, or chalk are likely.
Step 3: Run the hardness test. This is your main sorting tool. Hardness below 2.5 narrows you to talc, gypsum, or similar soft minerals. Hardness 7 or higher points to quartz, garnet, topaz, or harder.
Step 4: Run the streak test. A greenish-black streak rules out gold. A reddish-brown streak suggests hematite. A white streak rules out most metallic minerals.
Step 5: Look at visual and tactile clues. Color, luster, and crystal structure help you choose between candidates with similar hardness.
Quick Example: Identifying a Common White Rock
Say you find a white rock with a glassy luster. Is it quartz or calcite? Run the acid test. If it fizzes, it is calcite. If it does not fizz, and your fingernail cannot scratch it but your penny can, it is likely calcite regardless. If it does not fizz and your penny cannot scratch it but glass can, it is most likely quartz.
Recording these tests in your notebook helps you remember what you observed and lets you share results with other rockhounds. Photographic documentation increases trust when you ask for help online.
Common Mistakes to Avoid When Identifying Rocks
Beginners I have worked with make the same handful of mistakes repeatedly. Avoiding these will save you misidentifications and frustrations.
Testing Only Weathered Surfaces
The outside of a rock is often altered by exposure to air, water, and sun. Break the rock with a hammer and safety glasses to expose a fresh surface before running hardness, streak, or acid tests. The interior gives far more reliable readings.
Confusing Streak Color With Surface Color
Just because a rock looks gold on the outside does not mean it streaks gold. Fool’s gold (pyrite) leaves a greenish-black streak. Always trust the streak test over surface color when identifying minerals.
Relying on Apps Alone
Rock identifier apps are useful for getting rough ideas, but they cannot run physical tests. Most rockhounding experts agree that apps should be one tool among many, not the final word. The USGS itself cautions that photographs are extremely difficult to identify from and recommends in-person examination.
Skipping Location Information
Where you found a rock matters as much as what tests it passes. Certain minerals only exist in specific geological settings. When you post a rock to an identification forum, always include the location. Identifiers will rule out impossible candidates immediately.
Using Bad Photos
If you ask for help online, photograph the rock in good light against a plain background. Include a size reference (a coin works). Take close-ups of any distinctive features. Avoid blurry or dark photos because they lead to wrong identifications. Most rock identification forums have guidelines for posting photos.
Ignoring Dirt and Weathering
Wash your rock before testing if possible. Dirt and algae can hide the true surface. Use water and a brush, then dry the rock thoroughly before doing the streak or acid tests.
When to Seek Expert Help and Useful Tools?
Sometimes the home tests narrow you down to a few candidates, but you cannot fully identify the rock on your own. That is the right time to seek expert help, especially if you have something unusual or potentially valuable.
Local rock and mineral clubs are wonderful resources. Members love helping beginners, and many clubs have identification nights where experienced rockhounds look at your finds together. The Federation of Mineralogical Societies maintains a directory of local clubs across the United States and beyond.
Field guides give you reference photos and descriptions. Two I recommend for beginners are the Peterson Field Guide to Rocks and Minerals and the Smithsonian Handbook of Rocks and Minerals. Both are widely available and cover common specimens thoroughly. A good field guide turns rock hunting into a much richer experience.
Apps and online communities extend your reach. iNaturalist, Rock Identifier, and Mindat.org all help in different ways. iNaturalist connects you with naturalists who can confirm identifications. Rock Identifier gives quick suggestions from a photo. Mindat.org is the most comprehensive mineral database on the internet, useful for cross-referencing after you run the tests.
If you find something potentially valuable like gold, gems, or unusual specimens, consider sending a sample to a professional lab for confirmation. The cost is modest and removes all doubt.
Rock Identification FAQ: Simple Home Tests Explained
How can a beginner identify rocks?
Beginners can identify rocks by running five simple home tests in order: hardness (Mohs Scale using fingernail, penny, glass, ceramic), streak (rub on unglazed tile), magnetism (use a strong magnet), acid reaction (vinegar fizz test), and visual examination (color, luster, crystal structure). Record results in a notebook and compare with a beginner-friendly field guide.
How to test a rock at home?
To test a rock at home, follow these steps: (1) Wash and dry the rock, (2) Break it open to expose a fresh surface if possible, (3) Run the magnetism test with a strong magnet, (4) Run the acid test with white vinegar on a fresh surface, (5) Run the hardness test using your fingernail (2.5), a copper penny (3.5), a glass plate (5.5), and an unglazed ceramic tile (7) to scratch the rock, (6) Run the streak test by rubbing the rock on an unglazed porcelain tile, (7) Examine color, luster, and crystal structure visually, (8) Combine all results to narrow down identification using a field guide.
Can I take a picture of a rock and identify it?
A photo alone is rarely enough to identify a rock with certainty, and the USGS specifically warns against relying on photos for identification. Rocks require in-person examination from multiple angles, hardness testing, streak testing, and often acid or magnetism tests to confirm. Photos are useful for getting rough ideas or asking an expert for guidance, but you still need to run the physical tests for confirmation.
Is there a free rock identifier?
Yes, several free rock identifier tools exist. The Rock Identifier app offers free tier identification from photos. iNaturalist connects you with a community of naturalists who can confirm your identification. Mindat.org provides a free database of minerals with detailed search. None of these tools replace physical testing, but each helps narrow possibilities and learn more about specimens you find.
What does vinegar do to rocks?
Vinegar reacts with carbonate minerals in rocks to produce carbon dioxide gas, which appears as fizzing or bubbling on the rock’s surface. Calcite, limestone, marble, chalk, and dolostone all contain carbonate and will fizz when vinegar is applied. Rocks without carbonate, like quartz, granite, and most igneous specimens, will not react. This reaction makes vinegar an effective and safe home substitute for stronger mineral acids.
What is the most exact way to identify a rock?
The most exact way to identify a rock combines physical testing with chemical analysis. For home use, run all five tests (hardness, streak, magnetism, acid, visual) and use a field guide or expert consultation. For definitive identification, especially of valuable or unusual specimens, send a sample to a professional laboratory that uses techniques like X-ray diffraction, spectroscopy, or chemical assays.
Practice These Rock Tests and Build Your Confidence
Knowing how to identify a rock using simple home tests opens up a rewarding hobby that costs nothing to start. With a fingernail, a penny, a magnet, a glass plate, and some white vinegar, you can identify most rocks you encounter on a casual walk. The five tests in this guide cover hardness, streak, magnetism, acid reaction, and visual properties, and combining them turns identification from guesswork into a reliable process.
The best advice I can give you is to practice. Test rocks you already have at home first. Buy a small variety pack of rocks and minerals from a local educational supplier. Run the full battery of tests on each one and record your observations. After ten practice identifications, you will be more confident than you ever expected. After fifty, you will spot minerals most people walk right past.
Whether you are working on a science fair project, exploring rockhounding as a hobby, or just curious about the rocks in your backyard, these simple home tests are the foundation everything else builds on. Get out there, find some interesting stones, and start testing. The science is in your hands.