
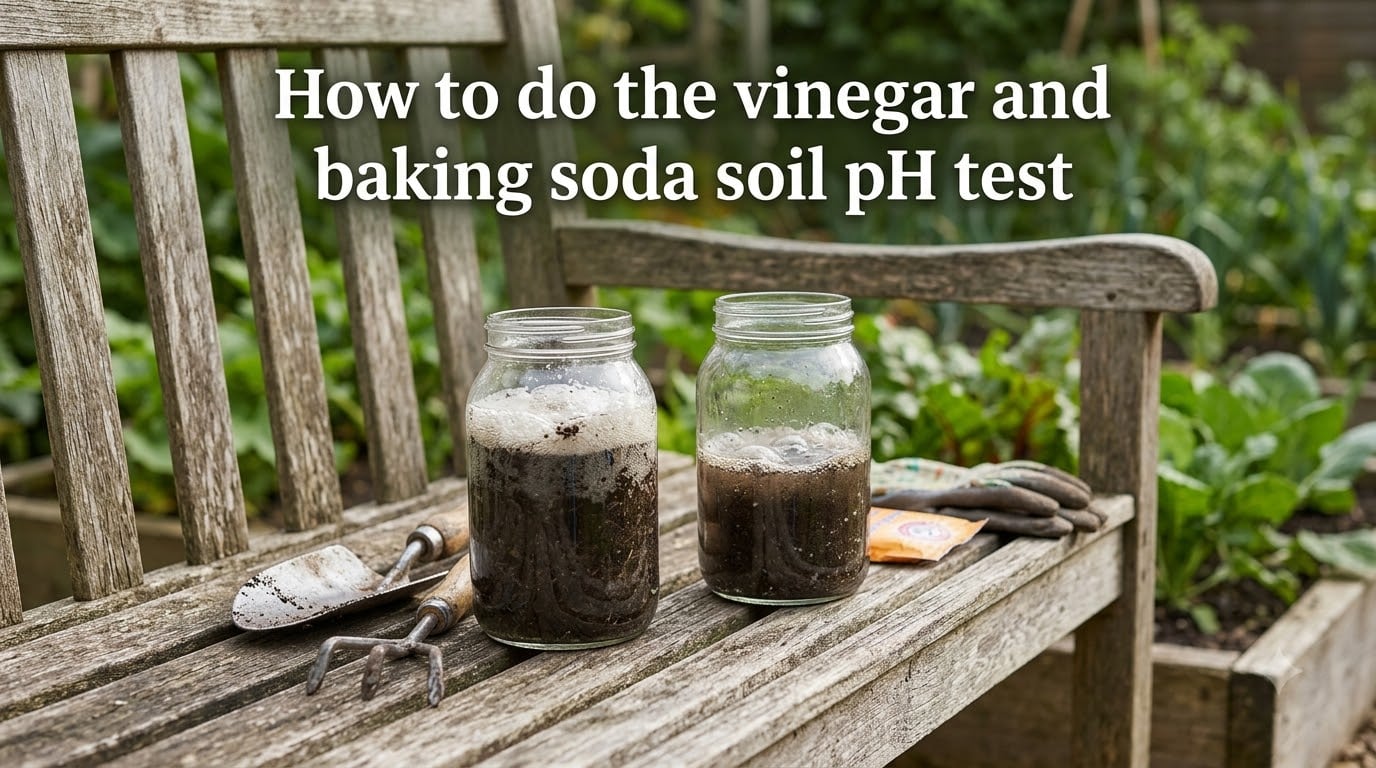
If you have ever wondered whether your garden soil is too acidic or too alkaline, you can find out in minutes using items already in your kitchen. The vinegar and baking soda soil pH test is a simple DIY method that gives gardeners a quick read on soil acidity without buying a $200 meter. I have used this method on vegetable beds, lawn patches, and container pots for years, and it reliably tells me which direction to push my soil next.
In this guide, I will walk you through every step of the vinegar and baking soda soil pH test, show you how to interpret fizzing (and non-fizzing) results, and explain when it makes sense to upgrade to a lab-quality kit. By the end, you will know exactly what your soil needs and how to fix it.
Table of Contents
What Is Soil pH and Why Does It Matter?
Soil pH is a measure of how acidic or alkaline your soil is on a scale from 0 to 14, with 7 being neutral. Numbers below 7 mean acidic soil, and numbers above 7 mean alkaline soil. Most garden vegetables, flowers, and lawn grasses grow best in a slightly acidic to neutral range of about 6.0 to 7.0.
pH matters because it controls how well plants can absorb nutrients from the soil. Even if your soil is rich in nitrogen, phosphorus, and potassium, plants cannot take those nutrients up if the pH is wrong. In acidic soil (below 5.5), for example, plants often struggle to absorb calcium and magnesium. In alkaline soil (above 7.5), iron and manganese become harder to access, which leads to yellowing leaves and stunted growth.
Understanding the pH scale (0 to 14)
The pH scale is logarithmic, which means each whole number is ten times more acidic or alkaline than the one next to it. A soil pH of 5.0 is ten times more acidic than a soil pH of 6.0. That is why small changes in pH can make a big difference in plant health.
Materials You Need for the Vinegar and Baking Soda Soil pH Test
The good news about this test is that you probably already own everything you need. Here is the full checklist:
White vinegar (the plain kind, not apple cider or balsamic)
Baking soda (sodium bicarbonate)
Distilled water (tap water can skew results if your tap is hard)
Two clean glass or plastic jars, or small bowls
A measuring spoon
A trowel or small shovel
Paper towels or newspaper for drying samples
How to collect a proper soil sample
Pull samples from two or three spots across the area you want to test, at about 4 to 6 inches deep. Mix them together in a clean bucket so you get an average reading for that bed or lawn section. Avoid sampling right after fertilizing, after heavy rain, or in obviously unusual spots like a compost pile or a place where the dog usually goes.
Spread your mixed sample on a paper towel and let it air dry until it is just damp, not wet. Wet soil dilutes both vinegar and baking soda and can give you a false negative.
How to Do the Vinegar Test for Alkaline Soil?
The vinegar test detects alkaline soil. Vinegar is a mild acid, so when it meets alkaline material it produces carbon dioxide gas, which you see as fizzing or bubbling.
Step-by-step vinegar procedure
Place about half a cup of your dry mixed soil sample into a clean jar.
Pour in roughly half a cup of white vinegar, enough to saturate the soil.
Watch the surface closely for any fizzing, bubbling, or foaming.
Note the strength of the reaction: a few small bubbles, vigorous fizzing, or nothing at all.
What the fizzing reaction means
If your soil fizzes noticeably with vinegar, it is on the alkaline side, generally with a pH between 7 and 8. The more vigorous the fizz, the higher the alkalinity tends to be. This reaction happens because the acetic acid in vinegar is reacting with calcium carbonate and other alkaline minerals in your soil.
If you see nothing happen at all, your soil is not alkaline. Move on to the baking soda test to check the other direction.
How to Do the Baking Soda Test for Acidic Soil?
The baking soda test detects acidic soil. Baking soda is a mild base, so it reacts with acidic material to produce the same telltale fizzing.
Step-by-step baking soda procedure
Place another half cup of your dry mixed soil sample into a second clean jar.
Add distilled water slowly and stir until the soil becomes a wet mud slurry, just enough water to pool slightly on top.
Add about two tablespoons of baking soda to the slurry.
Watch for any fizzing, bubbling, or foam.
What the fizzing reaction means
If your soil fizzes with baking soda, it is acidic, usually with a pH between 5 and 6. Strong fizzing suggests a lower pH. The reaction happens because sodium bicarbonate reacts with hydrogen ions in acidic soil, releasing carbon dioxide gas as bubbles.
If nothing happens with the baking soda either, your soil is sitting close to neutral, which I will explain in more detail next.
Interpreting Your Results and What No Reaction Means
Putting the two tests together gives you one of four possible outcomes. Here is how to read each one.
All four possible outcomes
Vinegar fizzes, baking soda does not: Your soil is alkaline, roughly pH 7 to 8.
Baking soda fizzes, vinegar does not: Your soil is acidic, roughly pH 5 to 6.
Both fizz strongly: Your soil has both acidic and alkaline components, which is unusual. Re-test with fresh samples to confirm.
Neither fizzes: Your soil is close to neutral, around pH 6.5 to 7.0. This is actually ideal for most plants.
Why neutral soil still matters
A no-reaction result does not mean you can skip soil care forever. Neutral pH can still drift over time, especially after heavy rainfall, prolonged use of certain fertilizers, or after adding large amounts of organic matter. Re-test each bed once a year, ideally in early spring before you plant.
Tips for Accurate Results and When to Upgrade to a Professional Test
Home tests like this one are excellent for a quick directional read, but they do have limits. Here is how to get the most out of them and when to consider a better tool.
Common mistakes to avoid
Do not use apple cider vinegar. Its color and acidity can confuse your read.
Skip the test on soil that is bone dry or soaking wet. Damp soil works best.
Do not add vinegar and baking soda to the same sample. The two will just neutralize each other and you will learn nothing.
Avoid sampling near recently limed or sulfur-treated areas, since residues will throw off the reaction.
Comparing the DIY test to professional kits
The vinegar and baking soda soil pH test gives you a broad yes-or-no answer for acidity direction. A digital pH meter gives you a precise number to one decimal place. A laboratory soil test, which you can order through your local cooperative extension, gives you exact pH plus nutrient levels for nitrogen, phosphorus, potassium, and micronutrients.
For most home gardeners, the DIY test is enough to decide whether to lime, sulfur, or do nothing. Reach for a professional test if you are starting a brand new lawn, growing blueberries or other acid-loving crops, or troubleshooting a stubborn plant that just will not thrive.
Ideal pH Ranges for Common Garden Plants
Here is a quick reference for the pH preferences of plants most home gardeners grow. Aim for the middle of each range when possible.
Tomatoes, peppers, beans: 6.0 to 7.0
Carrots, lettuce, onions: 6.0 to 7.0
Blueberries, azaleas, rhododendrons: 4.5 to 5.5 (acid-loving)
Lawn grasses (most types): 6.0 to 7.5
Roses and most flowering perennials: 6.0 to 7.0
How to Adjust Soil pH Naturally After Testing
Once you know which direction your soil needs to move, you can correct it gradually with common amendments.
Raising pH for acidic soil
To raise pH, the most common organic-friendly option is ground garden lime (calcium carbonate). Apply it in fall so it has time to work over winter. Wood ash also raises pH and adds potassium, but use it sparingly since it works fast.
Lowering pH for alkaline soil
To lower pH, elemental sulfur is the classic slow-release choice. Pine needles, peat moss, and coffee grounds will acidify soil over time as they break down, but they work slowly. For container plants, switching to an ericaceous (acidic) potting mix is the fastest fix.
After any amendment, wait at least 60 days and re-test before adding more. Over-correcting can stress plants as much as the original imbalance did.
Frequently Asked Questions
Is the vinegar and baking soda soil test accurate?
It is accurate as a directional test. If your soil fizzes with vinegar, it is alkaline. If it fizzes with baking soda, it is acidic. It does not give you an exact pH number the way a digital meter or lab test does, but it reliably tells you which side of neutral your soil sits on.
What does it mean if my soil does not fizz with either test?
No reaction on both tests means your soil is close to neutral, roughly pH 6.5 to 7.0. This is the ideal range for most vegetables, flowers, and lawn grasses, so you probably do not need to adjust pH at all.
Can I use apple cider vinegar instead of white vinegar?
It is better to stick with plain white vinegar. Apple cider vinegar has a different acidity level and a dark color that can make it harder to see fizzing clearly, which may give you a misleading result.
How often should I test my soil pH?
Test each garden bed or lawn area once a year, ideally in early spring before planting. Re-test about 60 days after any pH amendment so you can confirm the change before adding more.
Final Thoughts on Doing the Vinegar and Baking Soda Soil pH Test
The vinegar and baking soda soil pH test is one of the simplest, cheapest ways to learn the basics about your garden soil. In about 15 minutes, with two pantry staples, you can tell whether your soil runs acidic, alkaline, or neutral and decide whether to lime, sulfur, or simply plant and enjoy.
Grab a jar, mix up a soil sample, and try it this weekend. Once you see your soil react (or not), you will have the information you need to choose the right plants and amendments for a healthier garden in 2026.