
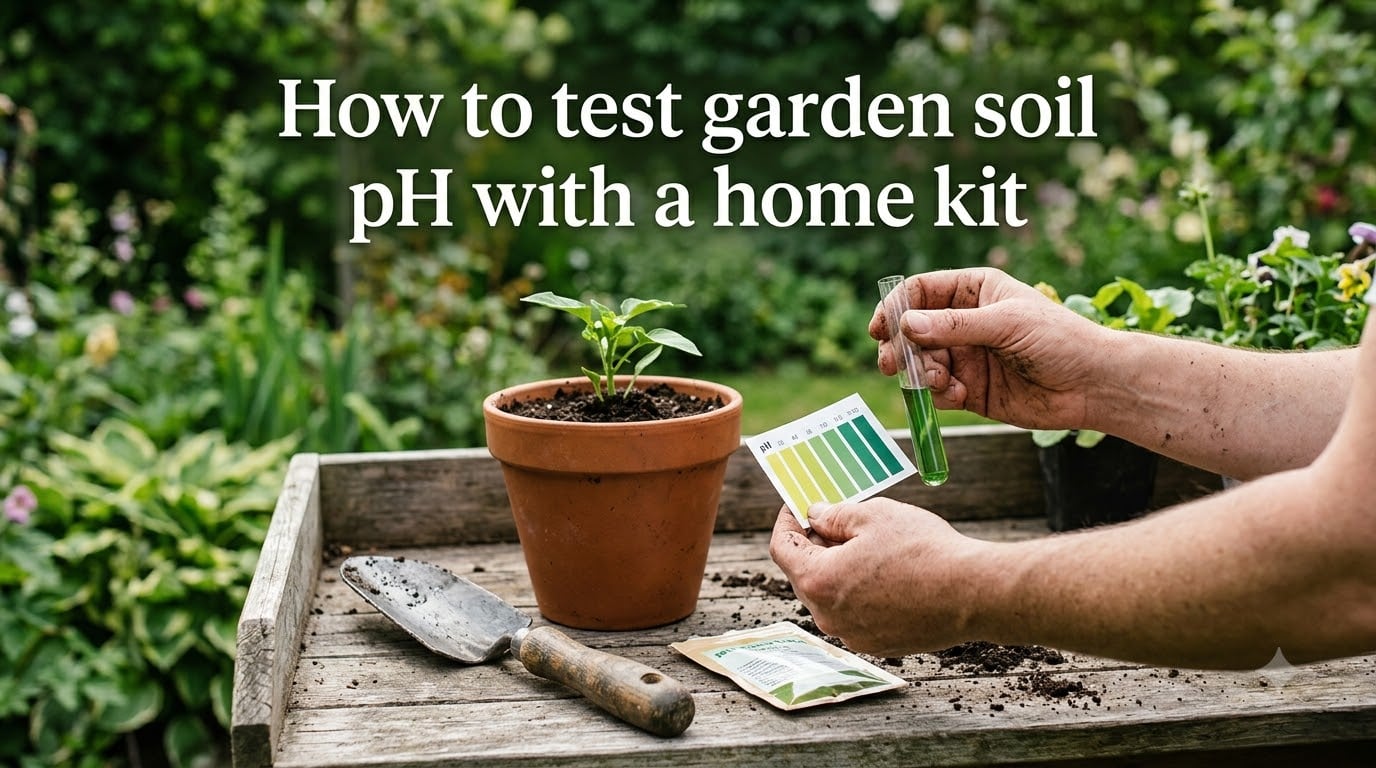
I spent three seasons fighting yellowing tomato leaves and stunted peppers before I ever thought about my soil. The moment I learned how to test garden soil pH with a home kit, the picture changed. My blueberries finally set fruit. My raised beds started producing the way I had always hoped they would.
Soil pH is the single most overlooked variable in the home garden. When it is off, fertilizers stop working, micronutrients lock up, and plants slowly starve in soil that looks perfectly fine on the surface. A simple test takes less than 30 minutes and costs roughly the price of a coffee.
In this guide I walk through the exact process our team uses each season: how to collect a representative sample, run a capsule-based home kit step by step, read the color chart accurately, and fix the most common problems gardeners hit. I also cover the DIY vinegar and baking soda method for anyone without a kit, plus an honest look at where home kits fall short.
If you want to stop guessing and start growing in soil your plants can actually use, this is how to test garden soil pH with a home kit.
Table of Contents
What Is Soil pH and Why Does It Matter for Your Garden?
Soil pH measures how acidic or alkaline your garden soil is on a scale from 0 to 14. A value of 7 is neutral. Below 7 the soil is acidic, and above 7 it is alkaline. Most vegetables and ornamentals thrive between 6.0 and 7.5, though some acid-loving plants like blueberries, rhododendrons, and azaleas prefer 4.5 to 5.5.
The pH Scale Explained
The pH scale is logarithmic, meaning each whole number change is a tenfold difference in acidity. Soil at pH 5.0 is ten times more acidic than soil at pH 6.0, and a hundred times more acidic than pH 7.0. That is why a seemingly small shift on the chart can mean a massive change for your plants.
Most garden soil falls somewhere between 5.0 and 8.0. Rainy regions tend toward acidity, while dry, arid climates often produce alkaline soil. Knowing your starting number tells you exactly what you are working with.
How pH Affects Nutrient Availability
pH controls whether your plants can actually absorb the nutrients in the soil. Even if your soil is rich in nitrogen, phosphorus, and potassium, the wrong pH locks those nutrients into forms roots cannot take up.
At a pH between 6.0 and 7.0, most primary nutrients (nitrogen, phosphorus, potassium), secondary nutrients (calcium, magnesium, sulfur), and micronutrients are all freely available. Drop below 5.5 and calcium, magnesium, and phosphorus become scarce. Climb above 7.5 and iron, manganese, zinc, and copper become locked away.
This is why adding more fertilizer rarely fixes a struggling garden when pH is the real culprit. The nutrients are there. The roots just cannot reach them.
Signs Your Soil pH Is Off
Plants tell you when the pH is wrong, though the symptoms often mimic other problems. Look for these indicators:
Yellowing leaves with green veins, known as chlorosis, usually signal iron lockup from alkaline soil. Stunted growth despite regular feeding points to phosphorus being unavailable at low pH. Purple-tinged stems on seedlings can also indicate phosphorus deficiency tied to acidic conditions.
Weeds are another clue. Dandelions, sorrel, and plantain thrive in acidic soil. If your lawn is full of them, your pH is likely below 6.0.
How to Collect a Soil Sample the Right Way?
Your test is only as good as your sample. A single scoop from one spot will mislead you. The goal is to capture a representative slice of the entire bed or area you want to test.
Tools You Need
Grab a clean trowel or soil probe, a plastic bucket (never galvanized metal, which contaminates samples with zinc), a clean container for drying, and a permanent marker for labeling. If you have multiple beds, plan to sample each one separately.
Where and How Deep to Sample
Collect 3 to 5 samples from different spots in the same garden bed. Dig down 4 to 6 inches for vegetable and flower beds. For lawns, 3 to 4 inches is sufficient since grass roots are shallow. Avoid sampling right after adding fertilizer, compost, or amendments because that skews the reading.
At each spot, scoop a vertical column of soil from the surface to your target depth. Place all the scoops from one area into the same bucket.
Mixing and Drying Your Sample
Thoroughly mix the scoops together in your bucket, breaking up clods and removing rocks, roots, and debris. Spread the mixed soil on a clean surface or newspaper and let it air dry for a few hours. Wet soil dilutes test chemicals and produces unreliable results.
Once dry, you have a representative sample ready for testing. If you are testing multiple beds, repeat this entire process for each one. Never combine soil from different areas into one sample.
How to Test Garden Soil pH With a Home Kit: Step-by-Step
This is the core process most gardeners use with a chemical capsule kit like the Luster Leaf Rapitest 1601, one of the most widely sold home kits. The steps are the same for nearly every colorimetric capsule kit on the market.
Step 1: Prepare Your Soil Sample
Start with your dried, mixed soil from the sampling process above. Crush any remaining clumps so the texture is fine and crumbly. This ensures the test chemicals react evenly with the soil particles.
Step 2: Add Soil to the Test Tube
Open your kit and locate the test chamber (usually a small plastic tube with a fill line). Add soil up to the marked line, typically the first line near the bottom. Use the kit’s included scoop for consistency. Tap the tube gently to level the soil without packing it down.
Step 3: Add Water and the Capsule
Add distilled water (never tap water, which has its own pH) up to the second fill line. Then carefully place one pH test capsule into the tube. These capsules contain a powdered indicator dye that reacts with the soil solution to produce a color change.
Forum gardeners have found that twisting capsules open rather than pulling them apart reduces breakage significantly. But you do not need to open them. The capsule dissolves on its own once submerged.
Step 4: Shake and Let It Settle
Cap the tube tightly and shake vigorously for 30 seconds. Then set it down and let the soil settle. In loamy or sandy soil this takes 1 to 2 minutes. In heavy clay soil it can take 30 minutes or longer.
Be patient. Forum users consistently report that clay soil needs far more settling time than expected. Reading the color before the sediment drops out gives muddy, unreadable results.
Step 5: Compare the Color to the Chart
Hold the tube up to natural daylight and compare the color of the liquid (not the sediment) to the kit’s color chart. The chart typically shows a gradient from yellow (acidic) through green (neutral) to blue or purple (alkaline).
Match the closest color swatch and read the corresponding pH value. Natural daylight matters here. Indoor lighting distorts colors, especially the green-to-blue range where most gardens fall.
For an NPK test (nitrogen, phosphorus, potassium), repeat this process using the separate N, P, and K capsules and their corresponding tubes. Be aware that nitrogen results are the least reliable of the three because nitrogen dissipates rapidly from soil samples.
How to Read and Interpret Your Soil pH Results
Once you have a color match, translating the number into action is straightforward. Most home kits report pH in 0.5 increments, giving you a useful ballpark rather than lab-grade precision.
What the Numbers Mean
If your result falls between 6.0 and 7.0, you are in the sweet spot for most vegetables and flowers. Leave it alone and focus on fertility. Between 5.0 and 6.0 means your soil is moderately acidic, ideal for blueberries, potatoes, and azaleas but too low for most other crops.
Anything above 7.5 is alkaline and likely locking up iron and other micronutrients. Below 5.0 is strongly acidic and probably limiting phosphorus, calcium, and magnesium availability.
Matching pH to What You’re Growing
Different plants want different pH ranges. Here is a quick reference:
Most vegetables (tomatoes, peppers, beans, lettuce, carrots): 6.0 to 7.0. Brassicas (broccoli, cabbage, kale): 6.0 to 7.5. Root crops (potatoes, sweet potatoes): 5.0 to 6.0. Blueberries, cranberries, rhododendrons: 4.5 to 5.5. Lawn grass: 6.0 to 7.0.
If you grow a mix of plants, aim for a compromise pH around 6.5. It serves the widest range of vegetables and still allows acid-loving plants in containers where you control the soil.
DIY Soil pH Test Without a Kit: Vinegar and Baking Soda
If you do not have a kit on hand, you can get a rough sense of your soil pH using two items from your pantry. This test does not give you a specific number, but it tells you whether your soil leans acidic or alkaline, which is often enough to decide your next step.
The Vinegar Test for Alkaline Soil
Place two tablespoons of dry soil in a clean cup or saucer. Add half a cup of white vinegar. If the mixture fizzes or bubbles, your soil is alkaline, with a pH likely above 7.5. The fizzing is caused by the vinegar (an acid) reacting with free calcium carbonate in the soil.
No fizz means your soil is either neutral or acidic. To narrow it down, move on to the baking soda test.
The Baking Soda Test for Acidic Soil
Place two tablespoons of fresh soil in a second container. Add just enough distilled water to make mud, then stir in a tablespoon of baking soda. If the mixture fizzes, your soil is acidic, likely below pH 6.0.
If neither test produces fizz, your soil is close to neutral (around pH 7.0). For many gardeners, that is all the information needed before deciding whether to amend.
Keep in mind this method only gives directional results. It cannot distinguish between pH 5.5 and 6.5, which is a meaningful difference for plant health. For any decision involving amendments, follow up with a kit or lab test.
How Accurate Are Home Soil pH Test Kits?
This is the question every gardener eventually asks, and the honest answer is: they are good enough for most home gardening decisions, but not perfect. Understanding their limits helps you use them wisely.
Where Home Kits Shine
Capsule-based kits reliably place your soil into the correct pH range. If your soil is strongly acidic, moderately acidic, neutral, or alkaline, a decent kit will tell you. That is usually enough information to decide whether to add lime, add sulfur, or leave things alone.
They are also inexpensive, fast, and require no special equipment. For a gardener who wants a seasonal check, they are a practical tool.
Where They Fall Short
Home kits read in 0.5 pH increments, which means they cannot detect a 0.2 change after an amendment. Their NPK readings are less dependable than the pH reading, with nitrogen being the most inconsistent because it dissipates quickly from soil samples.
Color interpretation is subjective. Two people can read the same tube and land on different values. Forum gardeners frequently report getting slightly different results from two different test methods on the same soil.
When to Use a Professional Lab
For important decisions, such as establishing a new orchard, investing in a large raised bed system, or diagnosing a persistent failure, send a sample to your county extension office or a private soil lab. Lab tests cost around $15 to $40 and give you exact pH, full nutrient analysis, micronutrient levels, organic matter percentage, and amendment recommendations calibrated to what you are growing.
Our team uses home kits for quick seasonal checks and turns to lab testing every two to three years for a detailed baseline. That combination gives us both speed and precision.
Troubleshooting Common Home Soil Test Kit Problems
Forums are full of gardener frustration with home kits. Most of these issues have practical solutions once you know what is happening.
Capsules That Break or Won’t Open
Fragile gelatin capsules are the number one complaint. Gardeners on r/gardening consistently report that pulling capsules apart causes them to shatter, scattering powder everywhere.
The fix: you do not need to open them at all. Drop the whole capsule into the tube and let it dissolve. If you must open one for a reagent test, twist rather than pull. Forum gardeners also recommend wearing gloves because the indicator dye stains skin.
Soil That Won’t Settle
If you are testing clay soil, the fine particles stay suspended far longer than the instructions suggest. Some gardeners wait 24 hours before the liquid clears enough to read.
The fix: be patient. Let the tube sit undisturbed for as long as it takes. Reading through muddy liquid produces unreliable colors. If you are in a rush, let the next batch of soil dry more thoroughly before testing because wet soil makes settling worse.
Nitrogen Results That Disappear
Many gardeners find their nitrogen test shows zero or near-zero even when they regularly fertilize. This is not necessarily a kit failure. Nitrogen, especially in nitrate form, is mobile in soil and dissipates from samples as they sit.
The fix: test as quickly as possible after collecting the sample. Do not let dried soil sit for days before running the nitrogen test. For accurate nitrogen data, a lab test is the only reliable option. Treat home kit NPK readings as approximate, and trust the pH result far more than the nutrient readings.
What to Do After You Test Your Soil pH?
Once you have your number, the next step depends on whether you need to raise it, lower it, or leave it alone.
Lowering pH With Sulfur or Organic Matter
If your soil is too alkaline (above 7.5), you can lower pH with elemental sulfur, aluminum sulfate, or organic amendments like pine needles, peat moss, and coffee grounds. Elemental sulfur is the most cost-effective but takes months to work because soil bacteria must convert it to sulfuric acid.
For blueberries and other acid-loving plants, work sulfur into the soil before planting and plan to reapply annually to maintain the low pH those plants require.
Raising pH With Garden Lime
If your soil is too acidic (below 6.0), garden lime (ground limestone) is the standard amendment. Dolomitic lime also adds magnesium, making it a good choice if your soil is low in that nutrient. Apply lime in fall because it takes three to six months to fully react.
Wood ash raises pH too, but apply it sparingly. It works faster than lime and can overshoot easily.
How Long Amendments Take to Work
Soil amendments are not instant. Lime and sulfur typically need three to six months to shift pH meaningfully. This is why testing in fall and amending before winter is ideal, giving the soil all winter to adjust before spring planting.
After amending, wait at least three months before retesting. Testing too soon shows the old pH because the amendments have not finished reacting.
Frequently Asked Questions
How to test garden soil pH at home?
Collect 3 to 5 soil samples from 4 to 6 inches deep across your garden bed, mix them together, and let the soil dry. Add soil to the fill line of your test tube, add distilled water to the second line, drop in a pH capsule, shake for 30 seconds, and compare the resulting color to the kit’s chart after the soil settles.
Are home soil pH tests accurate?
Home soil pH test kits are accurate enough to place your soil into the correct range (acidic, neutral, or alkaline) but read in 0.5 increments, so they cannot detect small changes. For exact pH and full nutrient analysis, send a sample to a county extension office or soil lab.
How often should I test my garden soil?
Test your garden soil every 2 to 3 years for a general check, or after making any pH amendment wait at least 3 months before retesting. New garden beds and lawns should be tested before planting to establish a baseline pH.
Can I use a pool test kit to check soil pH?
Some gardeners report using pool pH test kits as an alternative by mixing soil with distilled water and testing the resulting solution. This can give a rough pH reading, but standard soil test kits and digital pH meters are more reliable because they are calibrated for soil conditions rather than pool water.
Why is vinegar used for soil testing?
Vinegar is an acid that reacts with calcium carbonate in alkaline soil, producing visible fizzing bubbles. This makes it a simple DIY test to detect whether your soil is alkaline (above pH 7.5) without needing a commercial test kit.
Final Thoughts on Testing Your Soil pH at Home
Learning how to test garden soil pH with a home kit changed my gardening more than any other single thing I have done. It turned guessing into knowing and eliminated the cycle of adding fertilizer that my plants could not even use.
The process is simple: collect a representative sample at the right depth, run a capsule kit with patience, read the color in natural light, and match the result to what you are growing. When you need precision for a big decision, a lab test fills the gap.
Test this season, amend based on what you find, and give those amendments three to six months to work. Your plants will tell you the rest.