
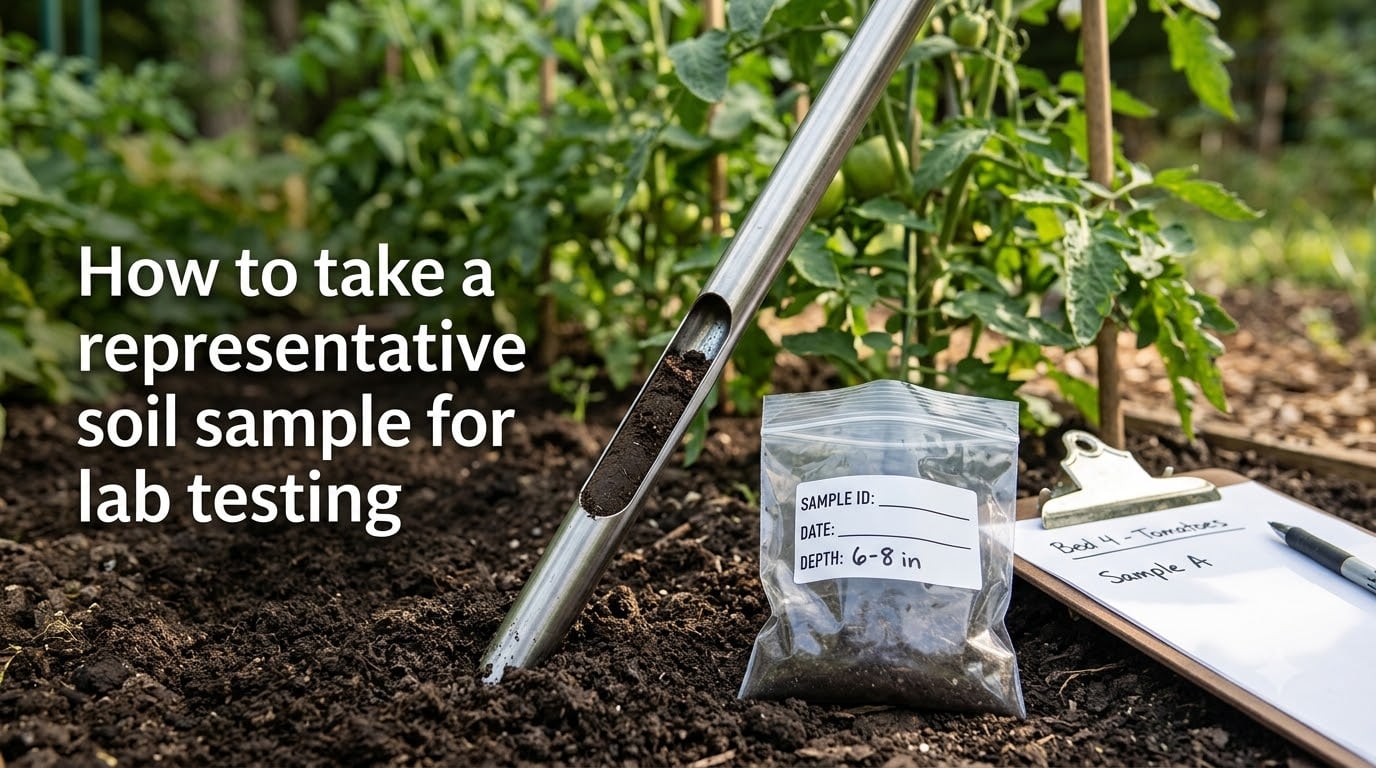
Last season I watched a neighbor spread three bags of lime across his lawn, then wonder why his grass still looked yellow. The problem was not the lime. The problem was that the soil test he relied on was based on a single scoop of dirt from one corner of his yard. That is the hidden danger behind soil analysis. Less than one ounce of soil gets tested, yet that ounce represents roughly 1,000 tons of soil per acre at a six-inch depth, according to Rock River Lab. If that ounce is taken from a weird spot, the recommendation you get back is a recommendation for a piece of soil that does not really exist.
This guide will walk you through how to take a representative soil sample for lab testing the right way, whether you grow tomatoes in raised beds, manage a half-acre lawn, or run a small farm. We have pulled together extension research from Penn State, Oregon State, Cornell, and Wisconsin to make the process clear and repeatable.
Table of Contents
Why a Representative Soil Sample Matters?
A representative soil sample is a small amount of soil collected from many locations that accurately reflects the overall conditions of your garden, lawn, or field. Because the lab only uses a fraction of an ounce for the actual test, every step you take in the field shapes the recommendation you receive in your mailbox two weeks later.
Poor samples mean poor recommendations. Pull a few cores from a low spot, an old compost pile, and right next to a fence post, and the lab will likely tell you to apply lime when the rest of your lawn does not need it. Skewed results lead to wasted fertilizer, wasted money, and plants that still struggle because the real problem was never diagnosed.
The stakes are bigger than most people think. County extension agents often point out that bad sampling, not bad labs, is the single most common reason home soil tests give strange answers. Spending an extra 30 minutes on the front end typically saves hours of frustration later.
Tools You Need to Take a Soil Sample
Before you walk out the door, gather your gear. You do not need much, but every item should be clean and free of rust, fertilizer residue, or old soil.
Soil probe or auger: the gold standard for cores because it pulls a uniform slice to a set depth.
Clean garden trowel or shovel: a fine backup if you do not own a probe, especially for gardens.
Plastic bucket: food-grade or new, never used for fertilizer or compost.
Sample bags or boxes: provided by most labs or plain zip-lock bags for short trips.
Permanent marker and labels: for marking each composite by zone and date.
Notebook or phone: to record the area sampled, last fertilizer, and recent amendments.
If a tool has touched fertilizer, manure, or lime recently, wash it with soapy water and let it dry. Contamination is one of the fastest ways to invalidate a sample.
When to Sample and Areas to Avoid
Timing makes a real difference. Sample in the fall after harvest, or in early spring before you apply fertilizer, so the results reflect the soil as it sits, not as you just fed it. Avoid sampling when the ground is soggy, frozen, or freshly limed within the last 60 days.
Equal care goes into where you pull cores. The University of Wisconsin extension recommends avoiding fence rows, dead furrows, headlands, point rows, old manure piles, burn piles, and any spot where the soil is clearly different from the rest of the area. These outliers pull the average away from the truth.
If a small section of your yard drains poorly or always grows better grass, sample it separately as its own zone. Mixed results from two very different areas are worse than a focused diagnosis on each one.
How to Take a Representative Soil Sample for Lab Testing Step by Step
The actual sampling routine is faster than most people expect once you have done it once. I ran through this on my own vegetable plot last fall and finished the whole yard in under 45 minutes.
Step 1: Divide your area into uniform zones. Treat the front lawn, back lawn, vegetable garden, and berry patch as separate sample areas. Each zone should have similar soil, plant type, and management history.
Step 2: Pull 10 to 20 cores per zone. Research from Wisconsin extension shows 10 to 20 cores per area gives a reliable composite. Walk in a W or zigzag pattern so cores are scattered, not clustered.
Step 3: Place cores in a clean plastic bucket. Drop each core straight into the bucket as you pull it. Do not touch it with your hands more than necessary, since oils and sweat can skew results on small samples.
Step 4: Mix the cores thoroughly. Break up the cores and stir with a clean hand or trowel until the color looks uniform. This is how the subsamples become one composite sample.
Step 5: Remove about 1 to 2 cups of the mixed soil. Place that representative portion into a labeled bag or the lab’s sample box. That is the soil that gets mailed off.
Step 6: Air dry if the soil is wet. Spread the sample on clean paper at room temperature. Do not use a stove or microwave, since heat destroys organic matter readings.
Sampling Depth by Crop Type
Depth is where most first-timers get tripped up, and crop type is the reason. The standard 6-inch depth is not right for every situation, so here is a quick-reference guide based on extension recommendations.
Lawns and turf: 2 to 4 inches, since most feeder roots sit near the surface.
Vegetable gardens and flower beds: 6 to 8 inches, matching tillage depth.
Row crops and agronomic fields: tillage depth, usually 6 to 8 inches.
Tree fruit and established shrubs: 6 to 12 inches, depending on root depth.
Pastures: 3 to 4 inches, since grazing roots are shallow.
If you do not know your tillage depth, measure the depth of the darkest topsoil layer in a spade slice and use that as your guide.
Common Mistakes to Avoid When Collecting Soil Samples
Most bad samples come from one of five problems we see again and again in extension feedback. Avoid these and you will be ahead of the average homeowner.
Sampling only one spot. A single trowel scoop from one corner tells you nothing about the rest of the lawn.
Wrong depth. Cores taken at 1 inch in a garden dramatically underestimate nutrient levels.
Dirty tools. A rusty shovel or a bucket that once held fertilizer will contaminate the sample before it leaves your yard.
Wet or moldy submission. Wet samples can rot in the mail and skew nitrogen and organic matter readings.
Mixed zones. Combining the vegetable garden with the front lawn in one bag makes any recommendation meaningless.
If you catch yourself rushing, slow down. The extra five minutes of care is the difference between a useful report and a useless one.
Preparing and Submitting Your Soil Sample to a Lab
Once your composite is mixed and dry, fill out the lab’s submission form. Most extension labs need to know the crop or lawn type, recent fertilizer history, and what concerns you are trying to solve, such as poor growth or moss takeover.
You have two main testing paths. Reddit users in r/lawncare and r/SelfSufficiency consistently recommend starting with a county extension office, which typically charges $10 to $25 and runs samples through state university labs. Commercial labs offer faster turnaround and more elaborate nutrient panels, but at higher cost.
Home test kits sold at garden centers are another option, but most reviewers consider them less accurate for pH and major nutrients. Use them as a quick check, not as the basis for lime or fertilizer decisions. Mail your sample in a padded mailer or sturdy box, keep the paperwork dry, and note the date so you can track results against next year’s test.
Frequently Asked Questions
How to collect a soil sample for soil testing?
Divide the area into uniform zones, then pull 10 to 20 cores from each zone in a zigzag or W pattern at the correct depth for the crop. Place cores in a clean plastic bucket, mix them thoroughly, and submit about 1 to 2 cups of the combined soil to a soil testing lab in a labeled bag.
How do I get a soil sample tested?
Send your composite sample to a soil testing lab such as your local county extension office, a state university lab, or a commercial soil testing service. Most extension labs charge between $10 and $25 per sample, while commercial labs charge more depending on the nutrient panel requested.
How to get a proper soil sample?
Use a clean soil probe or trowel, take 10 to 20 cores per zone at the correct depth, avoid outliers like fence rows and manure spots, and mix the cores in a clean bucket before submitting. Label the bag with the zone name, crop type, and date so the lab can match results to your management goals.
How many soil cores do I need for a representative sample?
Research from the University of Wisconsin extension shows that 10 to 20 cores per zone produces a reliable composite sample. Smaller areas like raised beds may need as few as 5 cores, while large fields or uneven lawns benefit from the full 15 to 20 cores.
Should I use a home test kit or send to a lab?
Home test kits give a rough read on pH but are considered less reliable than professional lab tests for nutrients like phosphorus, potassium, and organic matter. For decisions on lime and fertilizer, most extension agents recommend a professional lab, ideally through your county extension office.
Final Thoughts on Taking a Representative Soil Sample for Lab Testing
Learning how to take a representative soil sample for lab testing is a small investment that pays back for years. Pull 10 to 20 cores from each zone at the right depth, mix them in a clean bucket, dry the composite, and send it to a trusted lab. Skip the shortcuts on tool cleanliness, depth, and zone separation, and you will end up with recommendations that actually match the soil under your feet.
Once your results arrive, compare this year’s numbers to last year’s, apply only what the report suggests, and retest in two to three years. Soil changes slowly, so patience and good sampling will tell the story better than any quick-fix fertilizer ever will.