
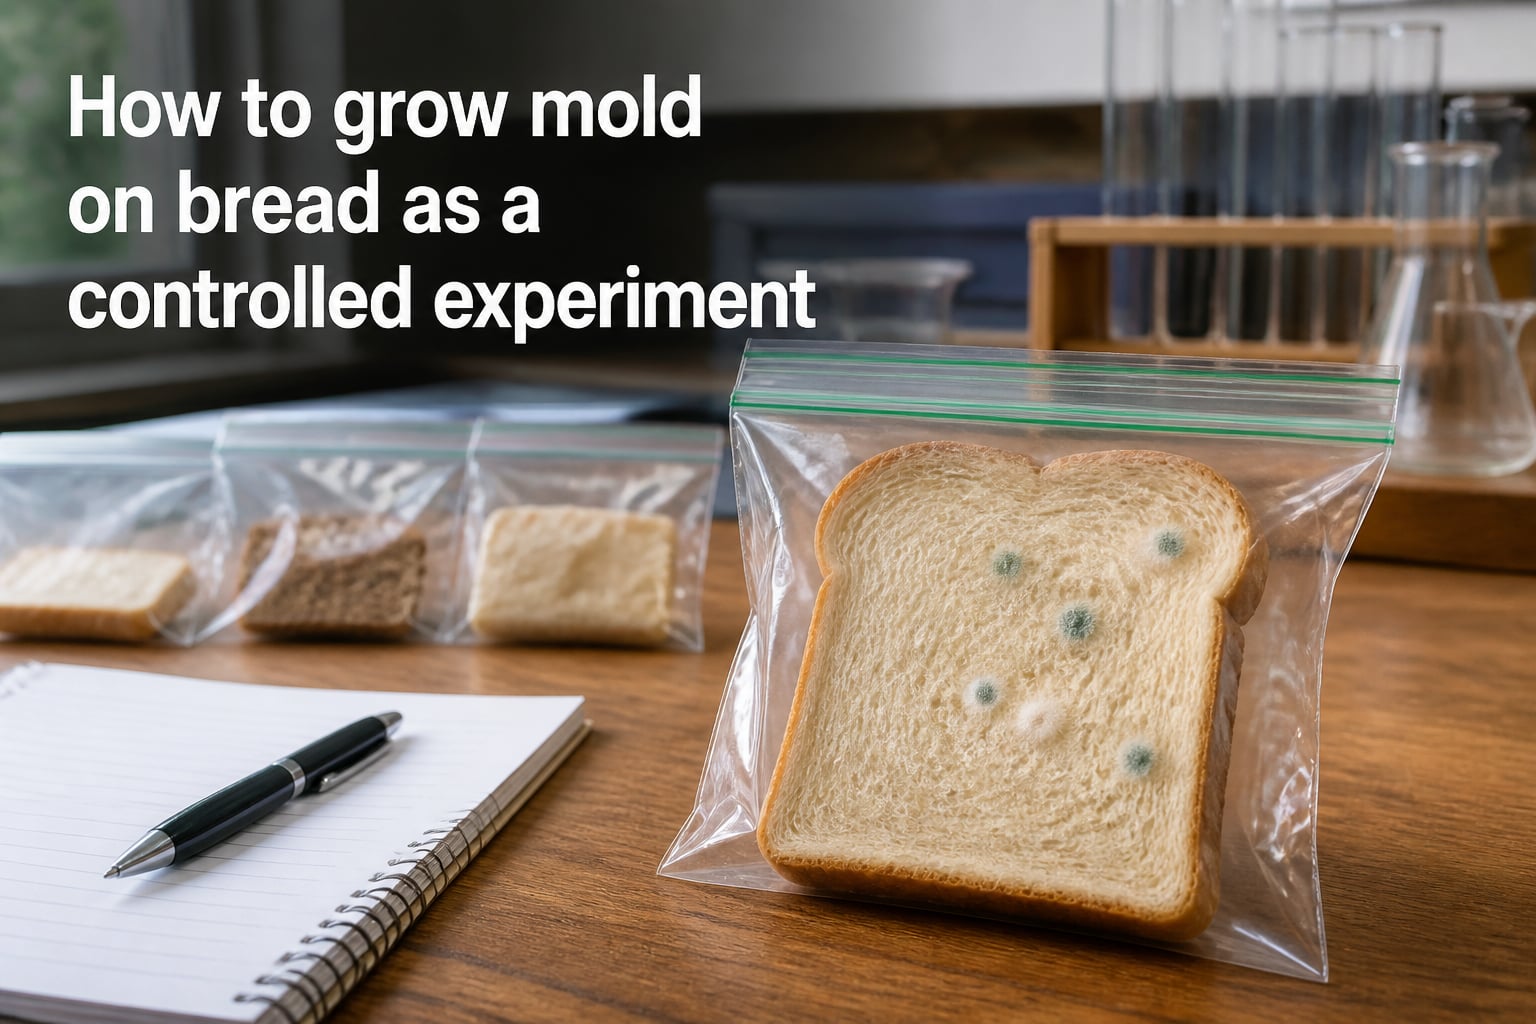
Growing mold on bread is one of the easiest and most rewarding science experiments you can do at home, in a classroom, or for a science fair. In this guide, I will walk you through how to grow mold on bread as a controlled experiment, including the supplies you need, the exact steps to follow, and how to keep the work safe and the results clear.
This activity is perfect for anyone curious about microbiology, decomposition, or the scientific method. By the end, you will have a working experiment that demonstrates how living organisms grow, respond to their environment, and break down organic matter.
Table of Contents
What Is Mold and Why Does It Grow on Bread?
Mold is a type of fungus, a living organism that belongs to a kingdom separate from plants and animals. Unlike plants, mold cannot make its own food through photosynthesis. Instead, mold grows by releasing enzymes that break down organic material and absorbing the nutrients released.
Mold spreads through spores, which are microscopic particles that travel through the air, land on surfaces, and germinate when conditions are right. Once a spore finds a moist food source, it grows into thread-like structures called hyphae. These hyphae weave together into a visible mass called mycelium, which is the fuzzy growth you actually see on bread.
Three key conditions allow mold to grow: moisture, a food source, and a suitable temperature. Bread supplies the carbohydrates mold needs to feed, while a damp surface and warm air give spores the moisture and warmth they require to germinate. When all three conditions align, mold colonies can appear in as little as 3 to 5 days.
Why Bread Is the Perfect Medium for Growing Mold
Bread is an ideal growth medium for several reasons. It is rich in carbohydrates, which mold can break down efficiently. It also absorbs and holds moisture well, which keeps the surface damp for days without becoming waterlogged.
Most importantly, preservative-free bread contains no chemicals that fight fungal growth. If you want consistent results, choose plain white or wheat bread without added preservatives like calcium propionate. Bread with preservatives can take weeks to show any growth, and many students give up before mold appears.
The texture of bread also matters. Soft sandwich bread provides a uniform surface for measuring growth, while denser artisan breads can produce more dramatic but slower results. For first-time experiments, I recommend starting with a simple, soft loaf.
Materials and Supplies You Will Need
Before you begin, gather the following items. You can find nearly all of them in your kitchen or at a local grocery store.
- 4 to 6 slices of preservative-free bread (white or wheat)
- Clear sealable plastic bags (sandwich or quart size)
- A permanent marker for labeling
- A small cup of water and a dropper or spoon
- A notebook or printed observation chart
- Optional: a camera or smartphone for daily photos
- Optional: cotton swabs if you want to test specific surfaces
Each slice of bread will become one experimental sample. Label every bag clearly with the variable you are testing (for example, “Dry,” “Damp,” “Light,” “Dark”) and the date you set it up. Good labeling is what separates a controlled experiment from a casual observation.
Step-by-Step Procedure for Your Controlled Experiment
Follow these steps carefully. A controlled experiment changes only one thing at a time so you can measure the effect of that single variable.
Step 1: Plan your variables. Decide which single factor you want to test, such as moisture, light, or temperature. Keep every other condition the same for all samples.
Step 2: Label your bags. Use a permanent marker to write the sample name and date on each bag before adding bread. This prevents mix-ups once the experiment begins.
Step 3: Prepare the bread slices. Handle each slice by the edges or use clean tongs to avoid adding extra mold from your hands. Place each slice in its labeled bag.
Step 4: Add moisture to test samples only. For your damp sample, lightly sprinkle 5 to 10 drops of water onto the bread surface until it is moist but not soaking. Leave control samples dry.
Step 5: Seal the bags. Press out excess air and seal each bag tightly. Trapped moisture and warmth inside the bag create the perfect greenhouse effect for mold growth.
Step 6: Choose your storage location. Place all bags in the same general area so temperature is consistent. A warm cupboard, a windowsill, or a shelf all work, depending on what you are testing.
Step 7: Observe daily. Check each bag once every 24 hours without opening it. Record what you see in your notebook using words, sketches, or photos.
Step 8: Run the experiment for 7 to 10 days. Most mold colonies become clearly visible within a week. Some samples may stay clean, and that is useful data too.
Forming Your Hypothesis and Identifying Variables
A strong science fair project starts with a hypothesis, an educated guess about what will happen. For example: “If bread is kept moist, then mold will grow faster than on dry bread.” This statement identifies both a cause and an expected effect.
Every controlled experiment has three types of variables. The independent variable is the one thing you change, such as moisture level. The dependent variable is what you measure, which in this case is the amount of mold growth. Controlled variables are everything else you keep the same, including bread type, temperature, bag size, and observation time.
Changing only one variable at a time is what makes your results meaningful. If you change three things at once, you cannot tell which one caused the difference you observe.
Observation Schedule: What to Expect From Day 1 to Day 7
Day 1 usually shows no visible change. The bread may look exactly as it did when you sealed the bag.
Day 2 to Day 3 is when faint discoloration or tiny specks may appear. Damp samples typically show the first signs during this window.
Day 4 to Day 5 is when mold usually becomes obvious. You will see fuzzy patches in white, green, black, or blue, depending on which species landed on the bread.
Day 6 to Day 7 brings faster spread. Once one colony establishes, new spores from that colony quickly colonize nearby areas.
Day 7 to Day 10 is the comparison window. By this point, differences between your samples should be clear and easy to record. If one sample has no mold, that is a meaningful finding for your conclusion.
Types of Mold You Might See (Rhizopus, Aspergillus, Penicillium)
Three common household molds tend to appear on bread. Each has a distinctive color and texture that makes identification possible without a microscope.
Rhizopus stolonifer is the classic black bread mold. It begins as white fuzz and darkens to black as it matures. You will often see tiny black dots, which are spore-producing structures called sporangia.
Aspergillus appears in shades of yellow, green, or black. It often forms dense, velvety patches and can have a powdery look as spores develop.
Penicillium is the green or blue-green mold you may recognize from cheese. It usually appears first as small white spots that grow into blue-green fuzzy circles.
You may also see combined growth where two or more species colonize the same slice. This is normal and reflects the variety of spores floating in the air around us.
Safety Precautions for Working With Mold
Mold spores can trigger allergic reactions in some people, so handle every sample carefully. Never open the sealed bags once mold has started growing, because this releases millions of spores into the air.
Keep bags away from food preparation areas, sleeping spaces, and anyone with asthma or known mold allergies. Always wash your hands after handling the bags, even if they remain sealed.
When the experiment is finished, place the sealed bags in a second plastic bag, tie them off, and throw them in the trash. Do not compost them. Do not open them to “look at the mold up close.” Surface-level observation through the bag is the safest way to study what you have grown.
For younger students, always perform the experiment with adult supervision and review safety rules before beginning.
Science Fair Project Tips and NGSS Alignment
A great science fair project does more than grow mold. It documents the process clearly, presents data visually, and explains what the results mean. Take a daily photo of every sample at the same time of day and use the same lighting so your comparison is fair.
Record your observations in a table with columns for date, sample name, color of mold, percentage of surface covered, and any unusual notes. Percent coverage is an easy way to compare growth between samples without needing lab equipment.
This experiment aligns well with several Next Generation Science Standards. It supports MS-LS1-5 and HS-LS1-3 by showing how organisms obtain and use resources, and it supports middle school engineering and design practices by requiring students to plan and carry out a fair test.
When you present your project, lead with your question and hypothesis, then show your data in a simple bar chart, and end with a conclusion that explains whether your hypothesis was supported.
Why Your Bread Mold Experiment Might Not Work
The most common reason an experiment fails is preservative-laden bread. Calcium propionate and other additives slow mold growth significantly. If your bread has a long shelf life on the package, it likely contains preservatives.
A dry environment is the second most common issue. If your sample is not visibly damp, mold spores may sit dormant for weeks. The third issue is a sealed, oxygen-free environment. Mold needs a small amount of oxygen, so make sure the bag is sealed but not vacuum-packed.
If nothing has grown after 10 days, try again with preservative-free bread, more moisture, and a warmer storage spot. The combination of those three changes almost always produces visible results within a week.
Frequently Asked Questions
How do you grow mold on bread for a science project?
Dampen a slice of preservative-free bread with a few drops of water, seal it in a clear plastic bag, and store it in a warm location. Mold spores are already present in the air and will colonize the bread within 3 to 5 days. Check the bag daily without opening it and record what you see.
How can you make mold grow faster on bread?
Use bread without preservatives, add enough water to make the surface damp but not soaked, seal the bag to hold in moisture, and store it in a warm spot around 70 to 80 degrees Fahrenheit. These four conditions together produce the fastest visible mold growth.
What is the hypothesis for a bread mold experiment?
A hypothesis is an educated guess phrased as an if-then statement. Example: If bread is kept moist and warm, then mold will grow on it within 5 days. Your hypothesis should name the variable you are changing and predict the outcome you expect.
Why won’t my bread mold in the experiment?
Bread with preservatives like calcium propionate resists mold for weeks. A dry sample, cool temperatures, or an airtight container without oxygen can also prevent growth. Switch to preservative-free bread, add more moisture, and store the bag in a warm spot.
Conclusion
Learning how to grow mold on bread as a controlled experiment is a hands-on way to explore microbiology, decomposition, and the scientific method. The process is simple: gather preservative-free bread, seal it in clear bags with controlled moisture, store the bags in a warm place, and observe what happens over 7 to 10 days.
The real learning comes from changing one variable at a time, recording your observations honestly, and drawing conclusions from what you actually see. Whether you are a student preparing a science fair project or an educator looking for a memorable classroom activity, this experiment offers clear, observable results that bring scientific thinking to life.
Set up your experiment today, document each day, and enjoy watching one of nature’s most efficient recyclers at work.