
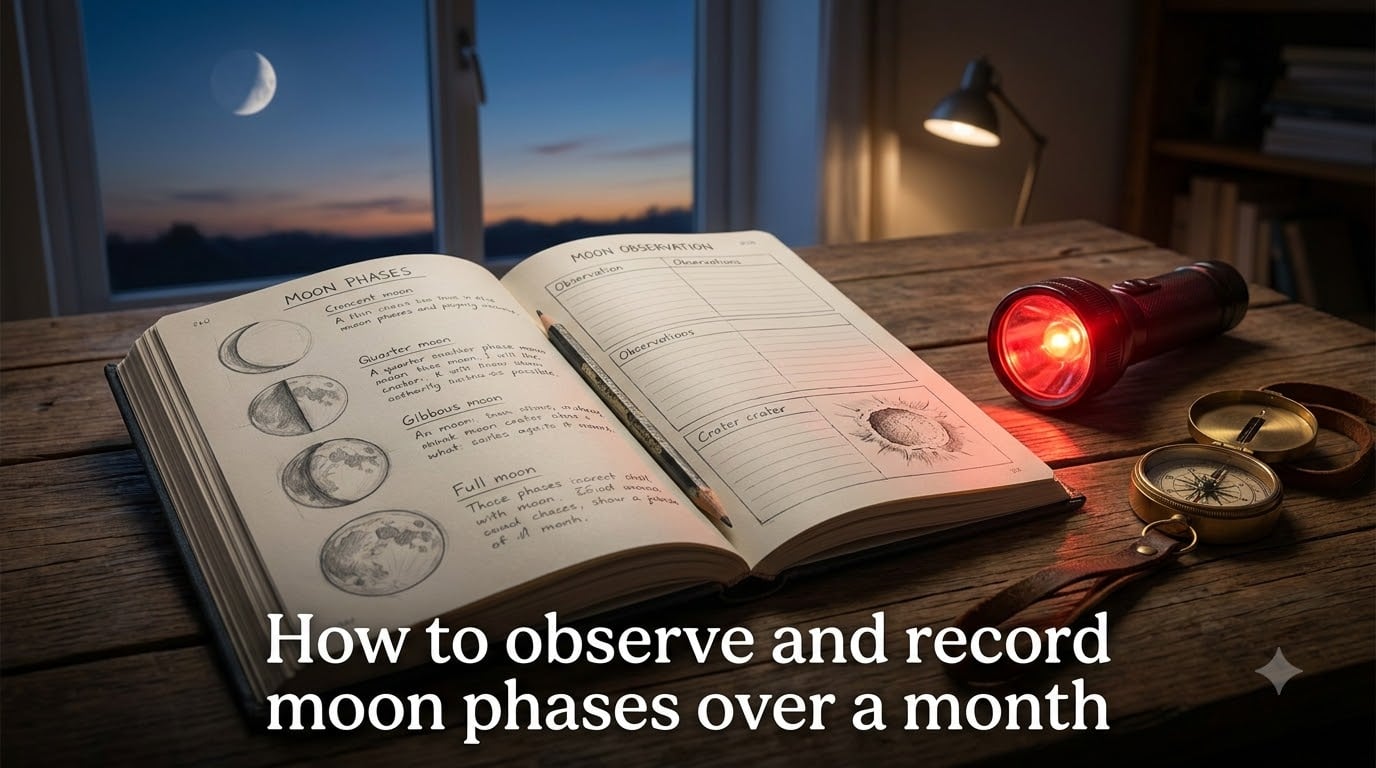
Spending a full month watching the sky sounds like a big commitment, but learning how to observe and record moon phases over a month is one of the easiest science projects you can start tonight. I have run moon journaling workshops with hundreds of students and families, and the same thing happens every time: by week two, people stop being surprised by the moon and start predicting it. That shift from observer to forecaster is the real reward, and you can reach it in 29.5 days.
In this guide, our team at March for Science SV walks you through the science behind the changing moon, the exact supplies you need, a daily observation routine, and how to turn your journal into a prediction tool. By the end, you will have a working record of an entire lunar cycle and the skills to repeat the project every month for the rest of your life.
Table of Contents
What Causes the Moon to Change Shape?
The moon does not actually change shape. What changes is how much of the sunlit half of the moon we can see from Earth, which depends on where the moon is in its orbit.
As the moon circles our planet once every 29.5 days (a period called a synodic month), the Sun lights up exactly half of it at all times. We only ever see one face of the moon, but the slice of the lit half that faces Earth grows from zero to full and back again. That predictable shift is what we call the phases of the moon.
Here is the part most beginners miss: the moon rises about 50 minutes later each night. That is why a full moon is up all evening in winter, while a waning crescent only peeks above the eastern horizon before sunrise. Once you internalize that fact, the order of the phases stops feeling random and starts feeling like clockwork.
Materials You Need for a Month of Moon Observation
You do not need a telescope. In fact, the human eye is one of the best instruments for moon phase work, because it captures the overall shape of the terminator (the line dividing night and day on the moon) far better than most scopes.
Here is the kit I hand out at our March for Science SV events:
A blank notebook or printed journal with one box per day for sketching. A printable PDF works well, and NASA’s Moon Observation Journal is a free template you can adapt.
A pencil with a good eraser. Graphite lets you shade the dark portions of the moon accurately.
A red flashlight for reading your journal in the dark without ruining your night vision.
A clock or phone for recording the exact time of each observation.
Optional: binoculars if you want to start identifying craters along the terminator line.
For a deeper project, add a small compass to note the moon’s compass direction, and a tide chart for your nearest coast so you can compare your observations to local tidal patterns.
How to Observe and Record Moon Phases Over a Month: Step-by-Step
The core routine takes about 10 minutes a day. Here is the exact process our team recommends, and the same routine NASA uses in their Moon Observation Journal project.
Step 1: Pick a consistent observation window
Choose the same time block every evening, ideally between sunset and one hour after moonrise for your location. Consistency matters more than the exact hour. I usually recommend 30 to 90 minutes after sunset, when the sky is dark enough to see the moon clearly but the moon is still relatively low and easy to track.
Step 2: Find the moon and note the basics
Look up, locate the moon, and record four facts: the date, the exact time, your compass direction (use north, south, east, west), and a quick note on weather (clear, hazy, partly cloudy).
Step 3: Sketch what you see
Draw the moon in its labeled box. Shade the dark side lightly with your pencil. Do not worry about artistic skill. The shape, position of the terminator line, and overall illumination percentage are what matter.
Step 4: Name the phase
After sketching, write down which of the eight phases matches your drawing. Use the reference list below if you are unsure.
Step 5: Add a one-sentence note
Write a brief observation: color, brightness, any stars or planets nearby, or how it felt to be outside. These small notes are what turn a science project into a record you will reread in five years.
Step 6: Repeat for 29.5 days
Commit to the full cycle. Missing a day or two is fine, but try to observe at least 25 out of 30 nights so you can see the complete pattern unfold.
By day 30, you will have a finished lunar cycle in your hands, and you will be ready to predict what the moon will do next month, which is genuinely one of the most satisfying skills in amateur astronomy.
The Eight Moon Phases in Order
There are eight recognized phases in the standard lunar cycle. Knowing them in order is the single biggest help when you sit down to label your sketches. Use this list as your cheat sheet.
New Moon – The moon is between Earth and the Sun. The lit side faces away from us, so the moon is invisible to the naked eye.
Waxing Crescent – A thin sliver appears on the right side (in the Northern Hemisphere). It grows each night.
First Quarter – The right half of the moon is illuminated. Rises around noon and sets around midnight.
Waxing Gibbous – More than half lit but not yet full. The terminator curves the opposite way from a crescent.
Full Moon – The entire face is illuminated. Rises at sunset and sets at sunrise.
Waning Gibbous – The illumination begins shrinking from the right side.
Last Quarter – The left half is lit. Rises around midnight and sets around noon.
Waning Crescent – A thin sliver remains on the left, visible in the early morning before sunrise.
One tip from our workshops: in the Southern Hemisphere, the lit side appears on the left during waxing and on the right during waning. The order stays the same; only the orientation flips.
Best Times of Day to Observe the Moon
The moon is technically up for roughly 12 hours each day, but most of that time it is lost in daylight glare. The best windows for naked-eye observation are within an hour of moonrise and an hour before moonset, when the moon is low and contrasts sharply against the horizon.
Because moonrise shifts about 50 minutes later each day, your best observation time will drift over the month. In week one, you will mostly watch the evening sky. In week four, you will find yourself up before dawn to catch the waning crescent. That drift is itself a beautiful confirmation that you are watching a real orbit, not just a static picture.
What to Do When Weather Blocks Your View?
Clouds are the number one complaint I hear from new moon journalers. After running this project for several years, our team has settled on three reliable workarounds.
First, check a satellite map or weather app for a 30 minute window of clear sky. Even on a partly cloudy night, the moon often peeks through for long enough to sketch.
Second, try the opposite time of day. If the moon is up during daylight hours (which it often is during the first and last quarter), a brief break in cloud cover during the afternoon is enough to log a sketch.
Third, supplement with a trusted moon phase app or the US Naval Observatory database for the days you genuinely cannot see the moon, but mark these entries clearly in your journal. The point is to build real observation habits, not to copy an app, but a few app entries will not break your dataset if you label them honestly.
Pattern Recognition and Predicting Future Phases
Around day 20 of your journal, something clicks. You will look up at the sky one evening and realize, before you check a calendar, exactly where the moon will be tomorrow night and what phase it will show. That is the goal of this whole project.
To accelerate the pattern recognition step, spend 10 minutes on day 30 laying all your sketches in a row. Look for three repeating patterns: the direction of the lit side flipping from right to left at the full moon, the gradual 50 minute delay in moonrise time, and the waxing/waning symmetry around the full moon.
Once you see those patterns, you can predict the moon’s behavior a week ahead with surprising accuracy. Our team has used this skill to plan stargazing nights, tide-watch trips, and even nighttime photography sessions without ever opening an app. That is what learning how to observe and record moon phases over a month really gives you: an intuitive sense of the sky that no single night of looking up can match.
Frequently Asked Questions
How do you keep track of moon phases?
The simplest way to keep track of moon phases is to observe the moon once per day at the same time, sketch what you see in a journal, and record the date, time, and compass direction. After 29.5 days you will have observed a full lunar cycle and can begin predicting the next one.
How do you create a moon observation journal?
Create a moon observation journal by setting up a notebook with one box per day for 30 days, plus columns for date, time, compass direction, and weather. Sketch the moon’s shape in each box, label the phase, and add a short observation note. NASA’s Moon Observation Journal is a free PDF template that works well.
Does it take a month to see all the moon phases?
Yes. It takes about 29.5 days, called a synodic month, to see the moon complete one full cycle of eight phases from new moon back to new moon. Even a few missed nights will still let you see all eight phases if you observe consistently.
How long does it take to observe the same moon phase twice?
It takes about 29.5 days to observe the same moon phase twice in a row, because that is the length of one full synodic lunar cycle. For example, two consecutive full moons are roughly 29.5 days apart, with the gap shortening to about 27 days for certain phases due to the moon’s elliptical orbit.
Start Your Moon Journal Tonight
Learning how to observe and record moon phases over a month is one of the most rewarding science projects you can do with nothing but your eyes, a pencil, and 10 minutes a night. You will come away with a finished lunar cycle, the eight phases memorized, and the ability to predict the moon’s behavior a week ahead.
Our team at March for Science SV encourages you to start tonight, even if you are mid-cycle. There is no wrong day to begin. Download a printable journal template, grab a pencil, and step outside after sunset. Thirty days from now, you will be reading the sky the way our ancestors did, with your own eyes and your own record.