
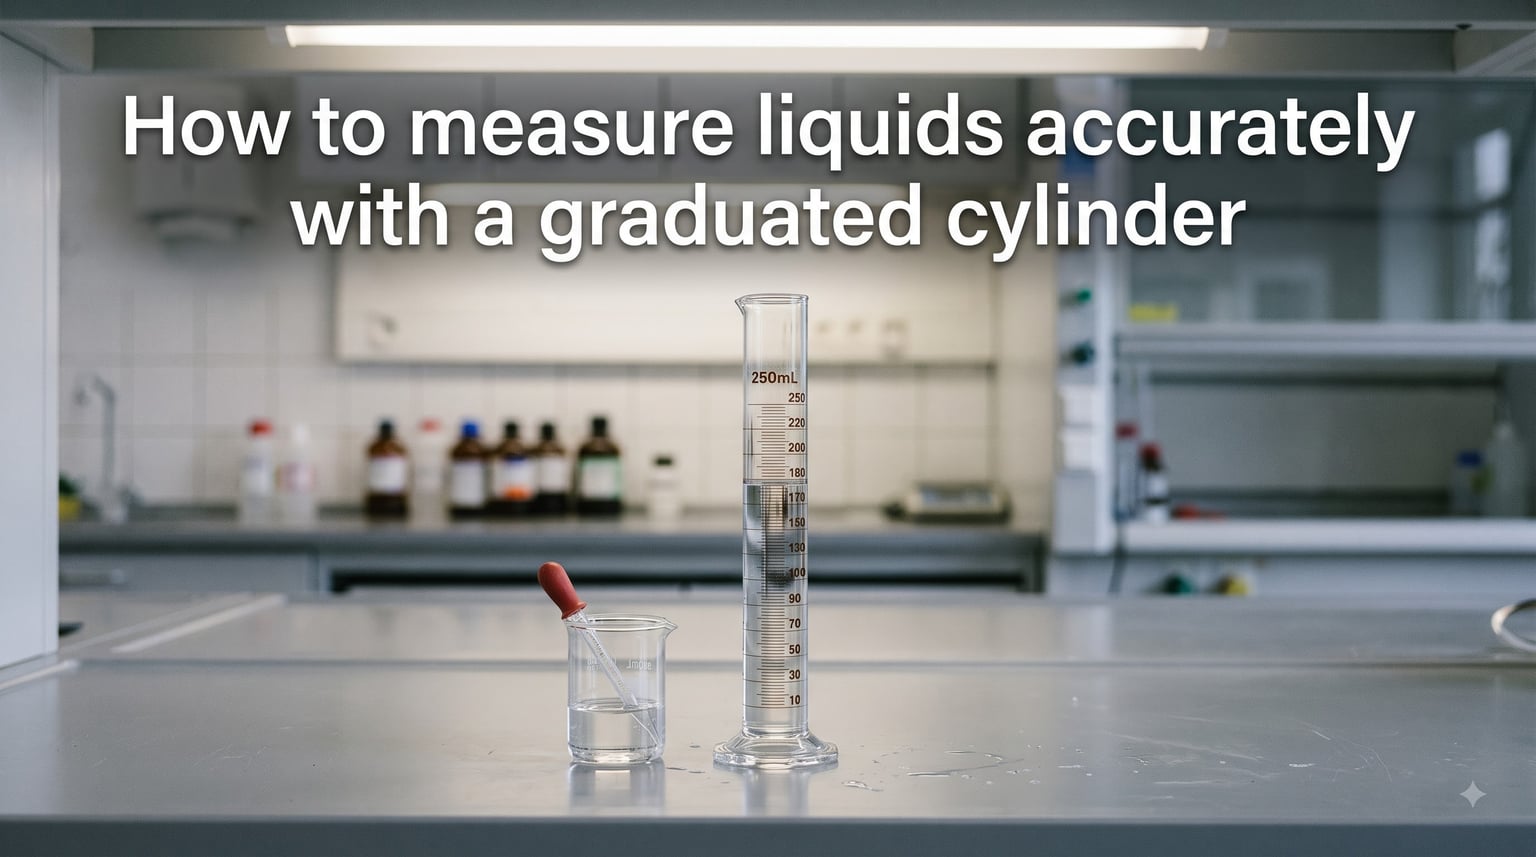
If you’ve ever watched a chemistry student squint at a cylinder and call out “exactly 50 mL,” you know accuracy in liquid measurement is a learned skill. I’ve trained undergraduate lab assistants for years, and the difference between a sloppy reading and a precise one comes down to a handful of habits you can build in an afternoon. In this guide, I’ll walk you through how to measure liquids accurately with a graduated cylinder, from choosing the right cylinder to reading the meniscus without parallax error.
Table of Contents
What Is a Graduated Cylinder?
A graduated cylinder is a tall, narrow container marked with a printed volume scale, used to measure the volume of a liquid in milliliters. It gives you far better accuracy than a beaker or Erlenmeyer flask because of its narrow diameter, which spreads a small change in volume across a larger change in height.
Our team relies on graduated cylinders every week for solution prep, density work, and reagent dilution. Students, lab technicians, researchers, and educators in chemistry, biology, and physics all use them daily. If you measure liquids for any experiment that needs to be reproduced, this tool is your baseline instrument.
Choosing the Right Cylinder for Your Measurement
The biggest mistake I see new lab workers make is grabbing the biggest cylinder they can find. Smaller cylinders give you finer graduations for small volumes, so picking the right size is the first step toward accurate measurement.
Match Cylinder Size to Your Volume
Always choose the smallest cylinder that can still hold your target volume. A 10 mL cylinder measures to 0.1 mL, while a 100 mL cylinder typically reads to 1 mL. If you need to measure 7 mL of a reagent, using a 100 mL cylinder forces you to estimate between coarse graduation lines. Pour that same 7 mL into a 10 mL cylinder and you can read it to one decimal place with confidence.
Glass vs Plastic Materials
Borosilicate glass cylinders resist heat and chemical attack, making them the standard for analytical work. Polypropylene (PP) and polymethylpentene (PMP) cylinders are shatterproof and lighter, which makes them safer for classrooms and fieldwork. HDPE cylinders are the cheapest plastic option but tend to warp with prolonged chemical exposure. I keep glass cylinders for titrations and plastic cylinders for student labs where breakage is the bigger risk.
Class A vs Class B Tolerance
Class A glassware meets the highest tolerance standards set by ASTM, with a typical 100 mL Class A cylinder accurate to ±0.5 mL at 20°C. Class B cylinders have roughly twice the tolerance and cost less. For routine teaching labs, Class B is fine. For analytical chemistry or published research, choose Class A and verify the calibration certificate.
Understanding Graduation Intervals
Before you pour, take five seconds to read the cylinder’s scale. Look at two adjacent labeled marks, subtract the lower value from the higher one, and divide by the number of spaces between them. That gives you the value of each graduation line.
For example, on a 100 mL cylinder where 80 mL and 90 mL are labeled and split into 10 equal spaces, each graduation equals 1 mL. On a 10 mL cylinder with 1 mL increments split into 5 spaces, each mark equals 0.2 mL. Knowing the interval is what lets you estimate one digit beyond the smallest mark.
How to Measure Liquids Accurately With a Graduated Cylinder?
Here’s the procedure our team uses every day. Follow these steps in order and you’ll get reproducible readings on the first try.
Set the cylinder on a flat, level surface. Holding it in your hand tilts the liquid and ruins the meniscus shape. A benchtop or lab jack is ideal.
Pour the liquid slowly down the inside wall. This reduces splashing and bubble formation, which would push your reading off.
Stop about 2 mL short of your target, then switch to a Pasteur pipette or dropper for the final additions. Dropwise control is the only way to hit the line exactly.
Wait 10 to 15 seconds for the liquid to settle. Foam on top and ripples at the wall need time to clear before you read.
Lower yourself so your eyes are level with the liquid surface. Do not read from above or below; this introduces parallax error, which I’ll explain below.
Read the bottom of the meniscus at the lowest point of the curve.
Record your value to one estimated digit beyond the smallest graduation. On a 1 mL scale, that means reporting to 0.1 mL, such as 47.3 mL.
Reading the Meniscus Correctly
The meniscus is the curved surface a liquid forms when it touches the walls of a container. Water and most aqueous solutions climb the glass slightly, creating a concave meniscus with the lowest point in the middle. Mercury and other non-wetting liquids form a convex meniscus with the highest point in the middle.
For water-based liquids, you always read the bottom of the meniscus. Position your eyes level with that lowest point and note where it crosses the graduation scale. For mercury, you read the top of the meniscus instead. A few liquids, like dark dies or opaque suspensions, obscure the curve; in those cases, you read the upper edge of the liquid column instead.
Avoiding Parallax Error
Parallax error happens when you read a scale from the wrong angle. If you look down at the liquid from above, the meniscus appears higher than it really is, and you will record a volume that’s too large. If you look up from below, the reading will be too small. Either mistake can shift your measurement by several percent.
The fix is simple: crouch down until your eye line is exactly horizontal with the meniscus. In a student lab, I often tape a small mirror to the back of the cylinder so you can see your eye and the meniscus align in one view. This trick alone has cut my students’ reading errors by half.
Common Mistakes to Avoid
After grading hundreds of lab notebooks, I’ve seen the same handful of errors over and over. Watch out for these five.
Reading from the top of the meniscus instead of the bottom. This gives a value that’s too high.
Eyeballing the meniscus from a standing position. Even a 10-degree angle can shift your reading.
Using a cylinder that’s far larger than the volume you need. You lose decimal precision.
Forgetting to wait for the liquid to settle after pouring, especially with viscous solvents like glycerol.
Writing down only the labeled digits instead of estimating one extra digit between the marks.
Significant Figures in Your Reading
This is the topic almost every guide on measuring liquids with a graduated cylinder skips, and it’s the one that costs students the most points on exams. The graduated cylinder is a piece of analog glassware, so the precision of your reading depends on the smallest graduation, plus one estimated digit.
On a 100 mL cylinder with 1 mL markings, your reading should be reported to the nearest 0.1 mL, such as 47.3 mL, not 47 mL. On a 10 mL cylinder with 0.2 mL markings, report to 0.02 mL, like 7.84 mL. The estimated digit is what carries real measurement information, and dropping it makes your result less reproducible than the tool actually allows.
Density Calculation by Water Displacement
One of the most useful applications of a graduated cylinder is finding the density of an irregular solid using water displacement, based on Archimedes’ principle. Fill the cylinder with a known volume of water, drop the object in, and record the new volume. The difference is the object’s volume.
Worked example: you place 20.0 mL of water in a 50 mL cylinder and drop in a small rock. The water rises to 21.5 mL. The rock’s volume is 21.5 mL minus 20.0 mL, or 1.5 mL, which equals 1.5 cm³. If you weigh the rock on a balance and get 4.05 g, its density is 4.05 g divided by 1.5 cm³, which equals 2.7 g/cm³. That matches the density of granite, so your reading was reasonable.
Cleaning and Maintenance Tips
Rinse the cylinder with the same solvent you are about to measure, then with distilled water, and let it air-dry upside down on a rack. Avoid abrasive brushes that scratch the graduation marks, and never expose plastic cylinders to strong acids or organic solvents for long periods. A well-cared-for Class A cylinder will stay within tolerance for years.
Frequently Asked Questions
What is the correct way to read a liquid level in a graduated cylinder?
Place the cylinder on a flat surface, lower yourself until your eyes are level with the liquid, and read the bottom of the concave meniscus at the lowest point of the curve. Always estimate one digit beyond the smallest graduation mark.
When using a graduated cylinder, how do we accurately measure our fluid?
Set the cylinder on a level surface, pour the liquid slowly down the inside wall, use a dropper for the final 1 to 2 mL, wait for the liquid to settle, then read the bottom of the meniscus at eye level. Record your value with one estimated digit beyond the smallest graduation.
How accurate is a graduated cylinder measurement?
A typical 100 mL Class B cylinder reads to 1 mL with a tolerance of about ±1 mL, while a 100 mL Class A cylinder is accurate to ±0.5 mL at 20°C. Smaller cylinders offer finer resolution; a 10 mL cylinder reads to 0.1 mL.
How do you measure liquid in a cylinder?
Pour the liquid down the inside wall of a cylinder on a flat surface, switch to a dropper near your target volume, wait a few seconds for the liquid to settle, then read the bottom of the meniscus with your eyes level with the surface. Report one estimated digit beyond the smallest graduation.
Final Thoughts on Measuring Liquids Accurately
Learning how to measure liquids accurately with a graduated cylinder comes down to three habits: pick the smallest cylinder that fits your volume, read the bottom of the meniscus at eye level, and report one estimated digit beyond the smallest mark. Practice these steps on water until they feel automatic, and every measurement that follows will be more reproducible. If you want to go deeper, try the density calculation by water displacement on a few household objects and check your results against published values.