
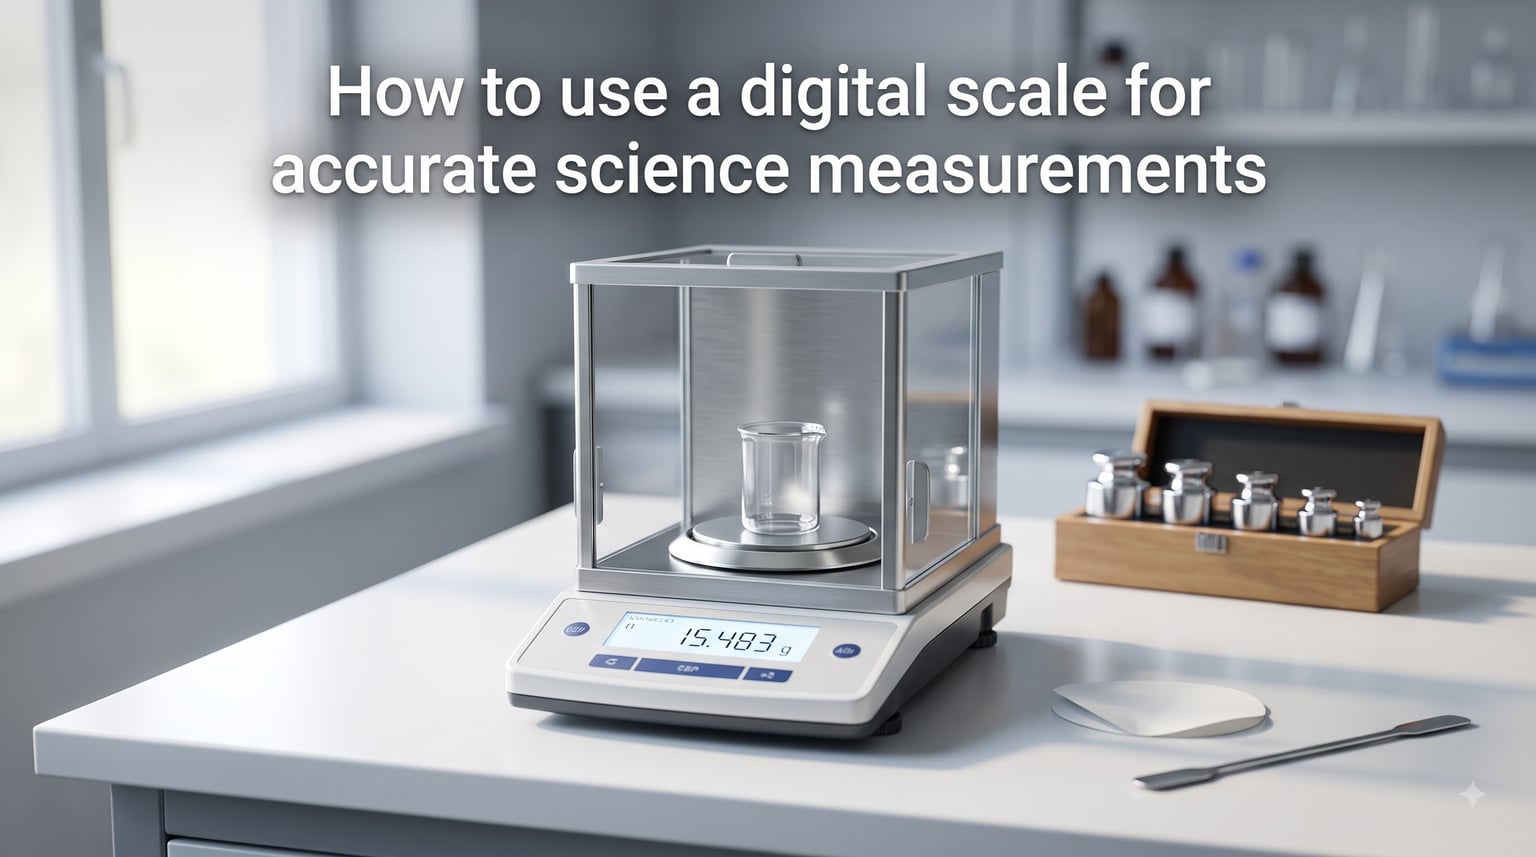
Accurate measurements are the backbone of reliable science. Whether you are weighing reagents in a chemistry lab, measuring biomass in a biology class, or calculating densities in a physics experiment, the precision of your digital scale directly determines the validity of your results. If you have ever asked how to use a digital scale for accurate science measurements, the answer comes down to a handful of repeatable habits: placing it on a stable surface, warming it up, calibrating it properly, and applying the tare function before each reading.
In our work supporting science classrooms and labs, I have seen students and teachers alike lose hours chasing inconsistencies that almost always trace back to a small handful of preventable setup errors. This guide walks through every step that matters, in plain language, so you can get trustworthy numbers from any modern digital scale.
Table of Contents
What Is a Digital Scale and How Does It Work?
A digital scale is a weighing device that converts the mechanical force of an object into a precise electronic signal, then displays that weight as a number on an LCD screen. Inside every digital scale, three subsystems handle this conversion: a load cell with strain gauges, an analog-to-digital converter (ADC), and a microcontroller that interprets and displays the reading.
Understanding what happens inside the scale helps explain why small things like temperature or a slightly tilted platform can change your results. It is not black-box magic. It is a chain of physical and electrical steps that you can control.
The Load Cell and Strain Gauge
When you place an object on the weighing platform, the force travels down into the load cell, a metal block with strain gauges bonded to its surface. A strain gauge is a thin wire pattern whose electrical resistance changes slightly when stretched or compressed. As the load cell flexes under the weight, the strain gauges deform and their resistance shifts by a tiny but measurable amount.
Most scales arrange four strain gauges in a Wheatstone bridge configuration. This clever circuit takes four resistors arranged in a diamond shape and detects tiny imbalances in resistance. When the load cell deforms, the bridge produces a small voltage proportional to the weight. The Wheatstone bridge is what gives modern digital scales their sensitivity, allowing readings down to 0.01 grams or even 0.001 grams on analytical balances.
From Analog Signal to Digital Reading
The voltage from the Wheatstone bridge is an analog signal that the analog-to-digital converter (ADC) then samples and converts into a numeric value. A microcontroller reads that number, applies a calibration factor, and pushes the final result to the LCD display. The whole process happens in under a second, but every step introduces a chance for error if the scale is not level, warmed up, or calibrated.
That chain is also why small things matter. A change in resistance can come from temperature, a draft of air, or a hand placed briefly on the bench. Once you see the scale as a sensitive measuring instrument rather than a kitchen tool, the right habits start to make sense.
How to Set Up Your Digital Scale for Accurate Science Measurements?
Correct setup is the foundation of accurate science measurements. Follow these steps each time before you start weighing, and you will eliminate most of the variability that drives people crazy.
Step 1: Place the scale on a stable, level surface. A heavy, vibration-free bench is ideal. Avoid carpet, foam pads, and flexible tables. Hard, flat, level surfaces produce the most reliable readings, especially for sub-gram precision.
Step 2: Check the bubble level. Many precision scales have a small bubble level on top. Adjust the feet until the bubble sits in the center circle. An unlevel scale transfers uneven force to the load cell and skews the result.
Step 3: Let the scale warm up. Turn the scale on at least 2 to 5 minutes before the first measurement. Internal electronics drift as they reach operating temperature, and warm-up readings are more stable. This step is one of the most overlooked in any digital scale workflow.
Step 4: Shield the weighing platform from air currents. Drafts from vents, windows, or open doors can push against the pan and add noise to the reading. For high-precision work, use the draft shield or glass enclosure that came with the scale.
Step 5: Tare to zero. With nothing on the platform, press the zero or tare button so the display reads exactly 0.000 g. This sets your baseline.
How to Calibrate a Digital Scale?
Calibration is the process of telling the scale exactly how its internal voltage corresponds to a known weight. Over time, the load cell, electronics, and ADC drift, so calibration keeps readings tied to a reference standard.
There are two main types of calibration. External calibration uses a certified weight you place on the platform, while internal calibration runs the scale through a built-in procedure using an on-board reference mass. Many lab scales support both, and some automate internal calibration on power-up.
When to Calibrate
Calibrate before any high-precision measurement session, especially after a move, after environmental changes, or if readings look off. For routine classroom use, a daily or weekly calibration is enough. For research-grade work, calibrate at the start of each session and after any large temperature shift.
Calibration Step-by-Step
Step 1: Turn on the scale and let it warm up.
Step 2: Press the Cal button. The display will usually flash or prompt for a calibration weight.
Step 3: Place the correct calibration weight on the platform. Use the value recommended in your scale’s manual, often 100 g, 200 g, or the scale’s maximum capacity. Calibration weights should be NIST-traceable for any laboratory work.
Step 4: Wait for confirmation. The display will hold steady once calibration finishes. Remove the weight and recheck zero.
For best results, we recommend running a quick verify check after calibration by weighing a known weight that was not used during calibration. If your verify weight reads correctly, the scale is ready.
Using the Tare Function and Zero Tracking Correctly
The tare function lets you subtract the weight of a container so the display shows only the sample’s mass. Press tare with the empty container on the platform, wait for the reading to settle at zero, and then add your sample.
Many digital scales also include zero tracking, a feature that continuously nudges the displayed value back toward zero if it detects small drifts. Zero tracking is great for routine weighing but can mask small sample losses during fine dispensing. For quantitative analytical work, consider disabling zero tracking so you see real drift in real time.
Avoid taring multiple times in a row. Each press recalibrates the zero point, and cumulative drift can sneak in. Tare once, weigh all your samples, then tare again only when you change containers.
Best Practices for Accurate Science Measurements
Once setup, calibration, and tare are part of your routine, applying a few best practices will push your measurements to the highest precision your scale can deliver.
Weigh samples at room temperature and let hot or cold samples equilibrate first.
Place samples in the center of the platform, not the edges.
Weigh by difference when possible: tare the container, weigh with sample, weigh the empty container after transfer, and let the scale do the math.
Avoid touching the platform with bare hands; skin oils and static electricity add tiny but measurable mass.
Record readings only after the display has stabilized for at least 3 seconds.
For trend tracking rather than absolute mass, weigh the same item at the same time of day. Many users find that consistency across sessions matters more than absolute accuracy in real-world tracking applications.
Factors That Affect Digital Scale Accuracy
Several environmental factors can shift your readings even when the scale is technically working fine.
Temperature changes the resistance of strain gauges and the geometry of the load cell. Most lab scales are rated for 20 to 25 degrees Celsius operation, and significant swings introduce drift. Air currents apply tiny forces on the pan that change with each gust. Vibrations from foot traffic, refrigerators, or nearby equipment can blur the reading or cause slow oscillation. Low or failing batteries reduce the voltage available to the ADC and produce unstable values. A static charge on the platform or container can attract or repel particles and add phantom grams.
If you suspect any of these factors, move the scale to a quieter corner, let it sit longer after move-in, switch to fresh batteries, or use an anti-static wipe on the pan. The single largest fix for most users, based on community feedback, is moving the scale off carpet onto a hard surface.
Common Mistakes to Avoid With Digital Scales
Avoiding a few common pitfalls can save you hours of troubleshooting and hundreds of dollars in wasted reagents.
Placing the scale on carpet or a flexible mat is one of the most common errors and produces wildly different readings when the same scale sits on different floors. Weighing immediately after a move without recalibrating is another, because any shift in mounting changes how the load cell sees the load. Skipping warm-up tends to give you readings that drift during your session. And weighing people or very heavy objects on a precision balance can force the scale to recalibrate or even damage the load cell. Treat your precision balance like a measuring instrument, not a household scale.
Digital Scale Applications in the Science Classroom
In a classroom setting, digital scales are workhorses for chemistry titration prep, biology specimen measurements, and physics density experiments. For density labs, students calculate mass using the scale and volume using water displacement, which only works when mass readings are reliable.
We have seen middle school classes improve lab accuracy noticeably just by adding a 60-second warm-up and using a single piece of weighing paper on the platform. Two simple habits, big results.
Maintenance and Care Tips for Long-Term Accuracy
A digital scale that is handled with care will deliver accurate readings for years. Clean the platform regularly with a soft, dry cloth or a slightly damp lint-free wipe; never spray cleaner directly onto the load cell area. Keep the scale covered when not in use so dust and spills cannot reach the interior, and store it on a stable shelf rather than the corner of a busy bench.
Replace batteries before they run completely dead. Many precision scales produce erratic readings when voltage drops below a threshold. Finally, schedule a calibration check monthly, even if everything seems fine. Catching drift early is far cheaper than discovering it after a week of questionable data.
Frequently Asked Questions
How to use a digital scale in science?
To use a digital scale in science, place it on a stable, level surface, let it warm up for a few minutes, tare it to zero, and then place your sample or container at the center of the platform. Calibrate with a known weight before high-precision work, and always read the value only after the display has stabilized.
How to use a digital scale correctly?
Use a digital scale correctly by setting it on a hard, flat surface, leveling it using the bubble indicator, allowing a 2 to 5 minute warm-up, pressing tare with your container, and placing the sample gently in the center of the platform. Record the reading only after it stabilizes for at least 3 seconds.
How to get the most accurate reading on a digital scale?
Get the most accurate reading by calibrating before each session, weighing at room temperature, shielding the platform from air currents, and keeping the sample centered on the pan. Use certified calibration weights for verification and avoid touching the platform with bare hands.
How often should I calibrate my digital scale?
Calibrate your digital scale before any high-precision session, and run a verification check weekly for classroom use or daily for research-grade work. Always recalibrate after moving the scale, after temperature shifts, or if readings look suspicious.
Why does my digital scale give different readings on carpet vs hard floor?
Carpet and flexible surfaces flex under the load cell, shifting force distribution and producing inconsistent readings. A hard, flat, level surface gives the load cell a stable foundation and is the single biggest fix for inconsistent readings in home and classroom setups.
Final Thoughts on Using a Digital Scale for Accurate Science Measurements
Learning how to use a digital scale for accurate science measurements is less about owning the most expensive instrument and more about applying the same five steps every time: place it on a hard, level surface, let it warm up, calibrate with a known weight, tare before each sample, and read only after the display stabilizes. Add consistent technique and a quick monthly check, and your digital scale will deliver repeatable, trustworthy numbers for every experiment you run.
Pick one habit from this guide to improve first. In our experience, simply moving the scale off carpet onto a hard bench fixes more reading problems than any other single change you can make today.