
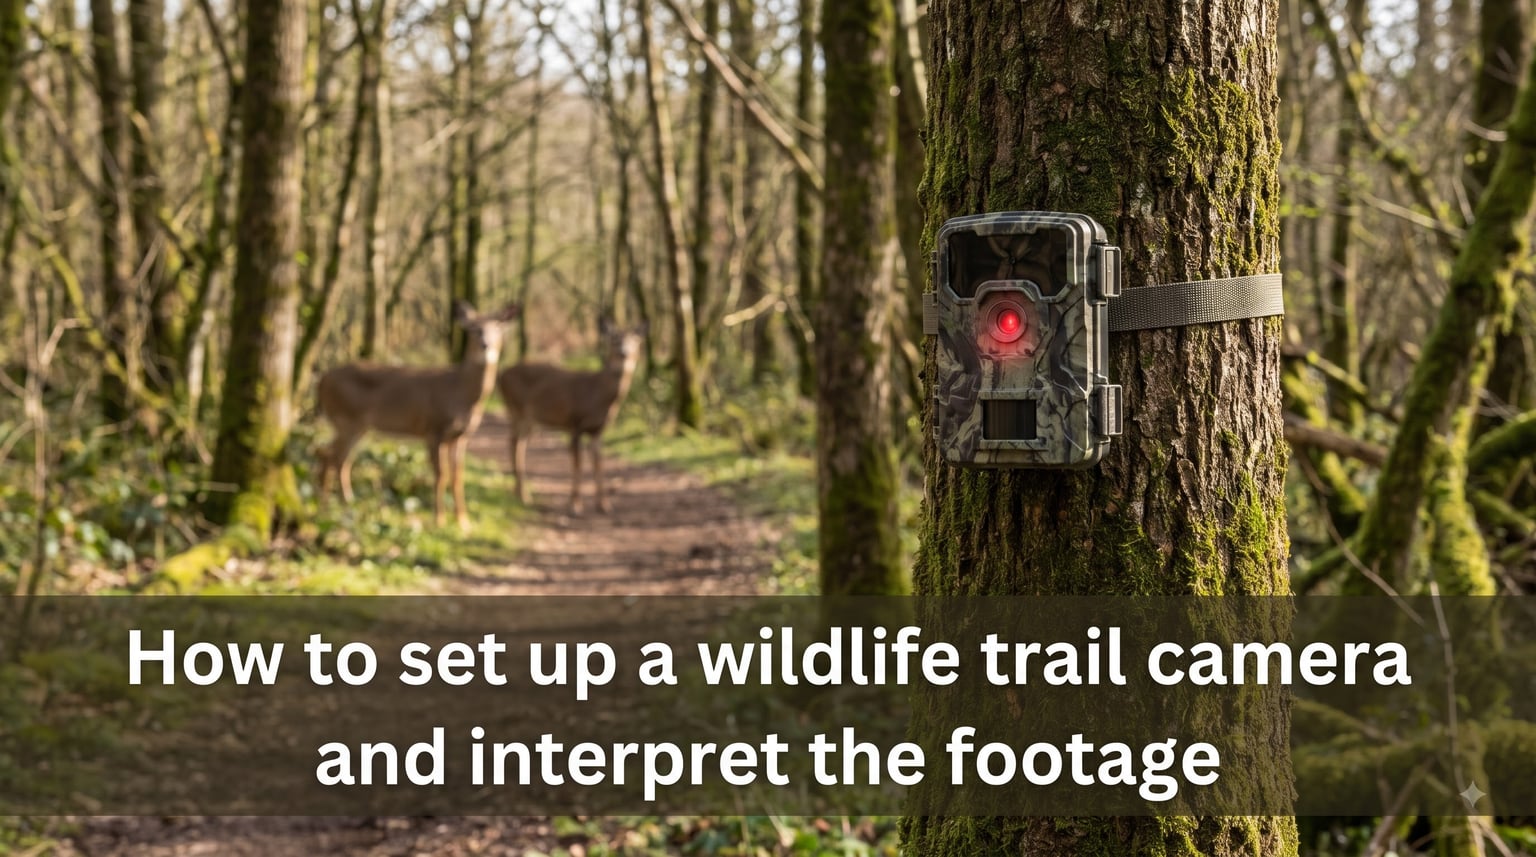
Setting up a wildlife trail camera is one of the most rewarding ways to discover what animals roam your property, local woods, or favorite hiking trails. These motion-activated cameras capture photos and videos day and night, giving you a window into wildlife behavior that most people never get to see. Whether you are a backyard nature enthusiast, a hunter scouting game trails, or a researcher documenting species, learning how to set up a wildlife trail camera and interpret the footage will completely change how you experience the outdoors.
The process might seem straightforward, but the difference between capturing a stunning wildlife photo and getting hundreds of blank or blurry images comes down to setup details. Camera height, angle, settings, and location all play a role. Even a camera that costs a few hundred dollars will produce poor results if mounted incorrectly or pointed at swaying vegetation.
In this guide, our team walks you through every step of the process. We cover how trail cameras work, the settings that matter most, placement strategies that actually attract good footage, and how to read the images you capture. We also address the most common frustrations from the trail camera community, including false triggers, dead batteries, and SD card problems.
By the end, you will know exactly how to deploy a camera trap, configure it for your specific wildlife goals, and analyze the footage like someone who has been doing this for years.
Table of Contents
How to Set Up a Wildlife Trail Camera and Interpret the Footage?
The process breaks down into a few clear stages: understanding how your camera works, preparing your gear, choosing a location, configuring settings, mounting the camera, and then analyzing what you capture. Each stage builds on the last, so skipping ahead often leads to disappointing results.
We have organized this guide to follow that exact sequence. Start with the basics, move through setup step by step, and then learn how to interpret the wildlife footage you collect.
Understanding How Trail Cameras Work
A trail camera (also called a camera trap) is a weatherproof, motion-activated device that automatically captures photos or videos when an animal enters its detection zone. It uses a passive infrared sensor, or PIR sensor, to detect both the body heat and the movement of an animal passing through its field of view.
When the PIR sensor detects a combination of heat and motion, it sends a signal that triggers the camera to take a photo or start recording video. The time between detection and the first image being captured is called the trigger speed. A faster trigger speed means fewer missed shots, especially for fast-moving animals like deer or coyotes.
Here are the key technical terms you need to know:
Detection range is the maximum distance at which the PIR sensor can pick up an animal’s heat and movement. Most cameras detect motion at 40 to 100 feet.
Trigger speed is how quickly the camera captures the first image after motion is detected. Quality cameras trigger in 0.2 to 0.8 seconds.
Recovery time is the delay between consecutive shots. Shorter recovery times let you capture sequences of an animal moving through.
Infrared flash illuminates the scene at night using infrared light. Low-glow cameras produce a faint red glow when firing, while no-glow cameras use a completely invisible flash that will not spook wary animals.
Trail cameras store everything on an SD card, just like a regular digital camera. Some models also transmit images over cellular networks or WiFi, letting you check footage remotely from your phone.
What You Need Before Setting Up?
Before heading into the field, gather everything you need so you do not have to make multiple trips. Here is a checklist that covers the essentials:
Camera and accessories: Your trail camera, mounting straps or bungee cords, and a security box or cable lock if theft is a concern in your area.
Power: Fresh batteries. Lithium AA batteries (like Energizer Ultimate Lithium) are the community favorite because they last longer and handle cold weather better than alkaline. Some cameras support rechargeable NiMH batteries or external solar panels.
Storage: An SD card formatted and ready to go. A 32GB or 64GB card is a good starting point for most users.
Tools: A small multi-tool or screwdriver for mounting plates, a step ladder if you are mounting high, and a spare SD card reader for checking footage on your phone or laptop in the field.
Optional extras: A lens wipe or microfiber cloth for cleaning the sensor window, bear-safe enclosure for predator country, and a notebook or phone app to log your camera locations.
Step-by-Step: How to Set Up a Trail Camera
Follow these steps in order for a reliable setup that produces clean, usable wildlife footage.
Step 1: Insert batteries and format the SD card. Load fresh batteries into the camera according to the polarity markings. Insert your SD card, then use the camera’s menu to format it. Formatting wipes the card clean and ensures it is compatible with your specific camera. Do this every time you swap cards.
Step 2: Set the date and time. This is the single most important setting on your trail camera. An accurate timestamp tells you exactly when an animal passed through, which helps you identify feeding patterns, travel routes, and peak activity times. Check the time format (12-hour or 24-hour) and confirm the date is correct before closing the camera.
Step 3: Choose your capture mode. Select photo mode, video mode, or both. Most cameras also let you set a photo-and-video combination that snaps a photo first, then records a short video clip. For general wildlife monitoring, the photo-plus-video option gives you the best of both worlds.
Step 4: Adjust resolution and image quality. Higher resolution captures more detail, but it fills your SD card faster and drains batteries more quickly. A medium-high resolution setting (around 12 to 16 megapixels for photos, 720p or 1080p for video) is a reliable balance for most situations.
Step 5: Set the sensitivity and trigger interval. Medium sensitivity works well for most wildlife. Set it to high if you are targeting small animals like squirrels or birds, and low if you are getting too many false triggers from wind-blown branches. Set the trigger interval (the wait time between captures) to 1 to 5 seconds for active game trails, or longer if you are monitoring a feeding station where animals linger.
Step 6: Choose your mounting location. Find a sturdy tree, fence post, or stake roughly 10 to 15 feet from where you expect animals to pass. Avoid pointing the camera toward the rising or setting sun, which causes glare and false triggers. Clear away branches, tall grass, and anything in the detection zone that could move in the wind.
Step 7: Mount the camera at the right height. Position the camera about 3 feet off the ground for most wildlife, which roughly matches the chest height of a deer. Angle it slightly downward to avoid sky exposure. For smaller animals like foxes or rabbits, lower the camera to 18 to 24 inches.
Step 8: Aim and secure. Use the camera’s built-in test mode or laser aim feature (if it has one) to confirm the detection zone covers your target area. Walk in front of the camera at different distances to trigger a test shot. Then tighten all straps and locks so the camera does not shift in wind or weather.
Step 9: Do a final walk test. Walk through the detection zone from several angles to make sure the sensor picks you up. Check the first few test images to confirm framing, focus, and exposure look right. Leave the area, and let the camera do its work.
Essential Trail Camera Settings Explained
Understanding what each setting does helps you fine-tune your camera for different wildlife scenarios. Here is a breakdown of the settings that matter most.
Photo mode captures still images and conserves battery life and storage space. It is ideal when you want to monitor a large area over weeks without checking the camera often.
Video mode records short clips (typically 5 to 30 seconds) that show animal behavior, gait, and interactions. Video uses more battery and storage, but it reveals far more about how animals move through an area.
Burst mode takes a rapid sequence of 2 to 5 photos per trigger event. This is useful for fast-moving animals that might be out of frame by the second shot in a single-photo setup.
Time-lapse mode captures images at fixed intervals (every 5 minutes, every hour, and so on) regardless of motion. It is perfect for monitoring a food plot, field edge, or feeding station over the course of a day.
IR flash power controls how brightly the infrared LEDs fire at night. Set it to high for open areas and low for close-range setups where the flash might wash out subjects. Some cameras auto-adjust based on distance.
Sensitivity controls how easily the PIR sensor triggers. High sensitivity detects small, distant animals but increases false triggers from heat shifts and moving foliage. Low sensitivity reduces false alarms but may miss small or slow-moving animals.
For beginners wondering what setting your trail camera should be on, a solid default is: photo plus video mode, medium resolution, medium sensitivity, 3-second interval, and medium IR flash. Adjust from there based on your first week of results.
Choosing the Right Location for Wildlife Footage
Location determines what animals you capture. Even the best camera will record nothing useful if placed in a spot animals do not frequent.
Game trails are natural paths animals use repeatedly. Look for narrow tracks through brush, worn-down vegetation, or muddy paths with footprints. Position your camera along these corridors, facing along the trail rather than across it, so animals walk toward or away from the lens.
Feeding areas and food plots attract animals that linger, giving you longer video clips and clearer photo sequences. Point the camera at the area where animals are most likely to congregate.
Water sources like creeks, ponds, and natural seeps are wildlife magnets. Animals visit water predictably, especially in dry conditions. This is one of the most productive locations for diverse species.
Backyard setups work well near bird feeders, compost bins, garden edges, and fence lines. If you are targeting specific animals, research their travel habits and place the camera where their paths intersect your property.
Avoid facing the camera directly east or west. Morning and evening sun creates heat shimmer and backlighting that triggers false shots and ruins image quality. Also, clear all swaying grass, spider webs, and branches from the detection zone. Moving vegetation is the number one cause of false triggers.
Memory Card and Storage Management
SD card management is where many beginners run into trouble. Using the wrong card, forgetting to format, or overfilling storage can cause your camera to stop recording or corrupt files.
Use a Class 10 SDHC or SDXC card from a reputable brand. Off-brand or very large cards (above 128GB) sometimes cause compatibility issues. A 32GB card is a reliable sweet spot for most users, and 64GB is ideal for video-heavy setups.
How many pictures will a 16GB SD card hold? Roughly 4,000 to 8,000 photos depending on resolution, or about 30 to 60 minutes of video. A 32GB card doubles those numbers. Format your card inside the camera before every deployment, and carry a spare so you can swap cards without losing monitoring time.
Never pull the SD card while the camera is writing. Power off the camera first, then remove the card. When checking footage in the field, use a dedicated SD card reader rather than connecting the camera directly to your phone or laptop.
Battery and Power Tips for Long-Term Monitoring
Battery choice directly affects how long your camera stays active in the field. Trail cameras on forums like Reddit consistently point to the same advice: use lithium batteries for reliability.
Energizer Ultimate Lithium AA batteries are the most recommended option. They last up to three times longer than alkaline batteries in trail cameras, handle sub-freezing temperatures without voltage drops, and resist leaking that can destroy your camera’s battery compartment.
Rechargeable NiMH batteries like Panasonic Eneloop Pro are a good eco-friendly alternative for users who check their cameras frequently. They hold a solid charge but self-discharge faster than lithium, so plan to swap them every 2 to 3 weeks.
If your camera supports an external power input, consider a 6V or 12V solar panel for remote locations. Solar setups let you monitor a site for months without visiting. Pair the panel with a rechargeable lead-acid or lithium battery pack sized for at least 5 days of backup power.
To extend battery life, turn off features you do not need. Lowering IR flash power, reducing video clip length, and increasing the trigger interval all reduce power draw. Video mode drains batteries 3 to 4 times faster than photo mode.
How to Interpret Trail Camera Footage?
Capturing footage is only half the job. The real value comes from understanding what your images tell you about animal behavior, activity patterns, and the species in your area.
Reading timestamps. Every photo your camera takes includes a timestamp. This data reveals when animals are most active. If you consistently see deer at 5:45 AM and again at 7:30 PM, you have identified their dawn and dusk feeding windows. Predators like foxes and coyotes often appear in the middle of the night. Track timestamps over a week or two to identify reliable patterns.
Identifying common species. Trail camera photos vary in clarity, but body shape, size, gait, and tail characteristics help you identify species. Deer have long legs, a horizontal back, and white undertails that flash when they run. Foxes move low to the ground with a bushy, sweeping tail. Raccoons walk with a hunched, waddling gait and often appear in pairs or family groups. Compare unclear images against wildlife identification guides for your region.
Interpreting animal behavior. Video clips reveal far more than still photos. Watch for how an animal enters the frame. A relaxed, grazing animal that lingers is comfortable in the area. A tense, ears-up posture or rapid movement suggests the animal detected something, including possibly your camera’s faint sounds. Multiple animals traveling together indicate family groups or herds. Repeated visits by the same species at the same time suggest a well-established travel route.
Day vs night footage. Daytime images are in full color and easiest to interpret. Night images rely on infrared flash, so they appear in black and white with some loss of detail. Look for eye reflections in night shots, which help identify species. Two large, side-by-side eye reflections high off the ground suggest a deer. Small, close-set eyes near the ground may indicate a rodent or rabbit.
Tracking wildlife patterns over time. Organize your photos by date and time to build a picture of seasonal shifts. Animals change their routes, feeding times, and even the species visiting a location depending on the season. Comparing footage month over month reveals migration patterns, breeding behavior, and changes in population.
Contributing to citizen science. Your trail camera footage can help local conservation efforts. Many wildlife trusts and research programs accept trail camera sightings to track species distribution. Report unusual or rare sightings to your local wildlife agency, and share common species data through citizen science platforms like iNaturalist.
Troubleshooting Common Trail Camera Problems
Even with a great setup, issues happen. Here are the most common problems and how to fix them.
Blank or empty images. If your camera triggers but captures nothing, the animal may be moving faster than your trigger speed. Raise the sensitivity, shorten the trigger interval, or reposition the camera farther back to give the sensor more time to react. Also check that the detection zone is not blocked by a branch or leaf.
Too many false triggers. Hundreds of photos of nothing usually means vegetation is moving in the detection zone. Clear all grass and branches within range. Lower the sensitivity one notch, and reposition the camera away from sun-facing angles that cause heat shimmer.
Batteries draining too fast. Switch to lithium batteries. Turn off video mode or shorten clip length. Reduce IR flash power and increase the trigger interval. Check for a firmware update that may improve power management.
Blurry night photos. Night blur happens when animals move faster than the camera’s shutter speed in low light. Position the camera closer to the target area so the IR flash is stronger. Avoid aiming across open fields where animals are far from the flash range.
SD card errors. If the camera shows a card error or stops recording, remove the card and format it inside the camera. If the problem persists, try a different card. Always format in the camera, never on your computer, because formatting methods differ slightly between devices.
Trail Camera Security and Theft Prevention
Trail cameras left in public or easily accessible areas are vulnerable to theft. Protecting your gear matters as much as setting it up correctly.
Use a metal security box designed for your camera model. These lockable enclosures bolt to a tree and protect against casual theft. Pair it with a python cable lock threaded through the box and around the trunk.
Position cameras off main trails where they are less visible to passersby. Avoid pointing them at paths where people walk, both for privacy reasons and to reduce theft risk. Some users place a second camera higher up, watching the primary camera, as a backup.
If you are using a cellular camera, enable PIN code protection and push notifications so you receive an alert if the camera is tampered with.
Camera Maintenance for Long-Term Performance
A few minutes of maintenance every few weeks keeps your camera running reliably for years.
Wipe the PIR sensor window and camera lens with a microfiber cloth each time you visit the camera. Dust, pollen, and water spots degrade image quality and sensor performance. Check the rubber seals around the battery and SD card compartments for cracks or debris that could let moisture inside.
Check for firmware updates from the manufacturer once or twice a year. Updated firmware can improve trigger performance, battery management, and image processing. Store cameras indoors during long periods of inactivity, and remove batteries to prevent corrosion.
Frequently Asked Questions
How to set a trail camera for beginners?
Insert fresh batteries and a formatted SD card, set the correct date and time, choose photo mode at medium resolution, set sensitivity to medium, mount the camera 3 feet off the ground facing along a game trail, clear vegetation from the detection zone, and run a walk test to confirm it triggers properly before leaving.
What setting should my trail camera be on?
A reliable default for most wildlife monitoring is photo plus video mode, medium-high resolution (12 to 16 megapixels), medium sensitivity, a 3-second trigger interval, and medium IR flash power. Adjust sensitivity down if you get false triggers from vegetation, and raise resolution if you want more detail.
How many trail camera pictures will a 16GB SD card hold?
A 16GB SD card holds roughly 4,000 to 8,000 photos depending on resolution, or about 30 to 60 minutes of video. Higher megapixel settings reduce the total count, while lower resolution settings increase it. Format the card in the camera before each deployment for best results.
How does a trail camera work for beginners?
A trail camera uses a passive infrared (PIR) sensor to detect the body heat and movement of an animal passing through its detection zone. When the sensor triggers, the camera automatically captures a photo or records a short video, saves it to the SD card with a timestamp, and resets for the next event.
Conclusion
Learning how to set up a wildlife trail camera and interpret the footage opens up an entirely new way to experience the natural world around you. The key steps are straightforward: understand how your camera detects wildlife, prepare your gear, mount the camera at the right height and angle along an active trail, configure the settings for your target species, and then analyze the timestamps and behavior captured in your images.
Start with the default settings we recommended, give your camera a week or two in the field, and then adjust based on what you see. The more footage you review, the better you will get at identifying species, reading behavior patterns, and predicting when and where animals will appear. Get your camera out there, be patient, and enjoy the incredible wildlife that has been passing through unnoticed all along.